Page 82 of 340
-. Going,about 35 mph (-5.6 km/h) or more, push the
accelerator all the way do.wn.
. .
You’ll shift,down to the next gear and have more
power.
D.(Third Gear)
This is like @, but you never.go into-Overdrive. - .
Here ’ue some tirnes kowmight dboose “ D ” instiad
of a:. -,
.. - When driving on hilly, winding roads
- When towing a- trailer, so there is less shifting
- When .going down a steep hill . . . !A
J between gears.
2 (Second Gear)
. This position gives you.more ,power but lower fuel
ecanomy. You can use
“2’’ on hills..Zt can help
cohtrol your
speed as. you go down steep mountain roads, but
then-you would also want
to use your
brakes
off and on.
1 (First Gear)
This position gives you even more power (but lower.
fuel economy) than
“2.” YOU can use it on,very steep
hills, or in deep snow or mud.
If the selector lever is
put in
“1,” the transmission won’t shift into first gear
until the vehicle is going slowly enough.
Page 84 of 340
,. To release the parking
brake:
Hold the regular brake
pedal down. Pull the brake
release lever.
,.( r
Jf YOU are .on a hill: See “Parking on Hills” in the Index.
That section
shows how to turn’ yoax front wheels.
If you are towinp a trailer and are.parking’on any hin:
‘See
“Towing a Trailer” in the Index. That section shows
:what
to do first to keep the trailer from moving.
. .(*
Shifting Into P (Park)
ci 99
It can be dangerous to get out of your vehicle if
the shift lever is not fully in T” (Park) with the
parking brake firmly
set. Your vehicle can roll.
If you have left the engine running, the vehicle
can move suddenly. You or others could be
, injured. To be sure your vehicle won’t move,
when you’re
on fairly level ground, use the
steps that follow.
If you are parking on a hill, ~r . 11
if you’re pulling a trailer, also see “Parking Or-.
Hills” or “Tcl ..:nu a Trailer” in the Index.
I
1 .. Hold the brake pedal down with your right foot and
set the parking brake.
Page 85 of 340
2. Move the shift lever into “P” (Park) position like
this:
0 Pull the lever toward you.
P
0 Move the lever up as far as it will go..
3. Move the ignition key to “Lock.”
4. Remove the key and take it with you. If you can
walk away from your vehicle with the ignition key
in
your hand, your vehicle is in “P” (Park).
83
Page 92 of 340

As you signal a turn or a lane change, if the arrows don't
flash but just stay on, a signal bulb may be burned out
and other drivers won't see your turn signal.
If a bulb is burned out, replace it to help avoid an
accident. If the green arrows don't go on at all when you
signal a turn, check the fuse (see "Fuses" in the Index)
and for burned-out bulbs.
If you have a trailer towing option with added wiring for
the .trailer lights, a different
turn signal flasher is used.
With this flasher installed, the signal indicator will flash
even if
a turn signal bulb is burned out. Check the front
and rear turn signal lights regularly to make sure they
are working.
Turn Signal Reminder
A chime will sound if your turn signal remains on after
having driven
1/2 mile, to remind you to turn off your
signal.
Operation of Lights
Although your vehicle's lighting system (headlamps,
parking lamps, fog lamps, side marker lamps and tail
lamps) meet all applicable Federal lighting
requirements, certain States and Provinces may apply their own lighting regulations that may require special
attention before you operate these lamps. For.example,
some jurisdictions may require that you operate your
lower beam lamps with fog lamps at -all times, or that
headlamps. be turned
on whenever you.must use your
windshield wipers. In addition, most jurisdictions
prohibit driving solely with parking lamps, especially at
dawn or dusk. It is recommended that you check with
you own State or Provincial highway authority. for
applicable lighting regulations.
Headlight High-Low Beam
To change the headlights.
l .from low beam to high or..'
:hi:& -to low, pull the turn
signal lever all the way
'toward you. Then .release it.
When the high beams are
on, a blue light, on the
instrument panel -also will
be on.
90
Page 109 of 340

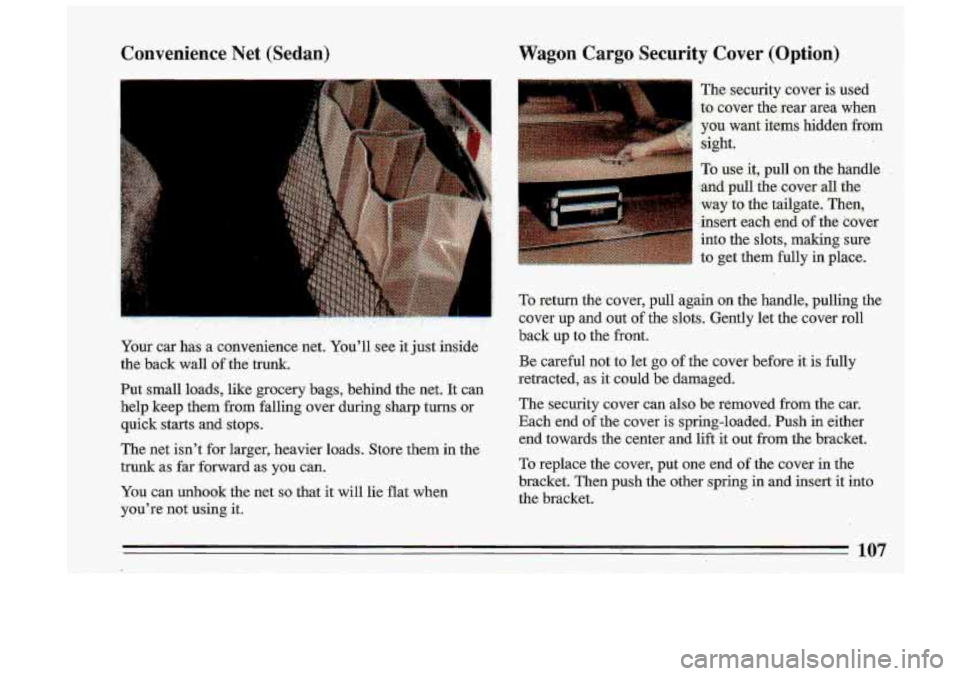
Convenience Net (Sedan)
f
Wagon Cargo Security Cover (Option)
The security cover is used
Your car has a convenience net. You'll see
it just inside
the
back wall of the trunk.
Put-small loads, like grocery bags, behind the net. It can
help keep them from falling over during
sharp turns or
quick starts and stops.
The
net isn't for larger, heavier loads. Store them in the
trunk as far forward as you can.
You can unhook the net so that it will lie flat when
you're .not using it.
41 to cover the rear area when
vou want items hidden from
,
sight.
To use it, pull on the handle
hnd pull the cover all the
way to the tailgate.
Then,
insert each end of the cover
into the slots, making sure
. . . . . . . to get them fully in place.
To return the cover, pull again on the handle, pulling the
cover up and
out of the slots. Gently let the cover roll
back up to the
front.
Be careful not to let go of the cover before it is fully
retracted, as it could be damaged.
The security covercan also be removed from the car.
Each end of the c.over is spring-loaded. Push in either
end towards the center and lift it out from the bracket.
To replace the cover, p.ut one end of .the cover in the
bracket. Then push the other spring in
and insert it into
the bracket.
107
Page 122 of 340

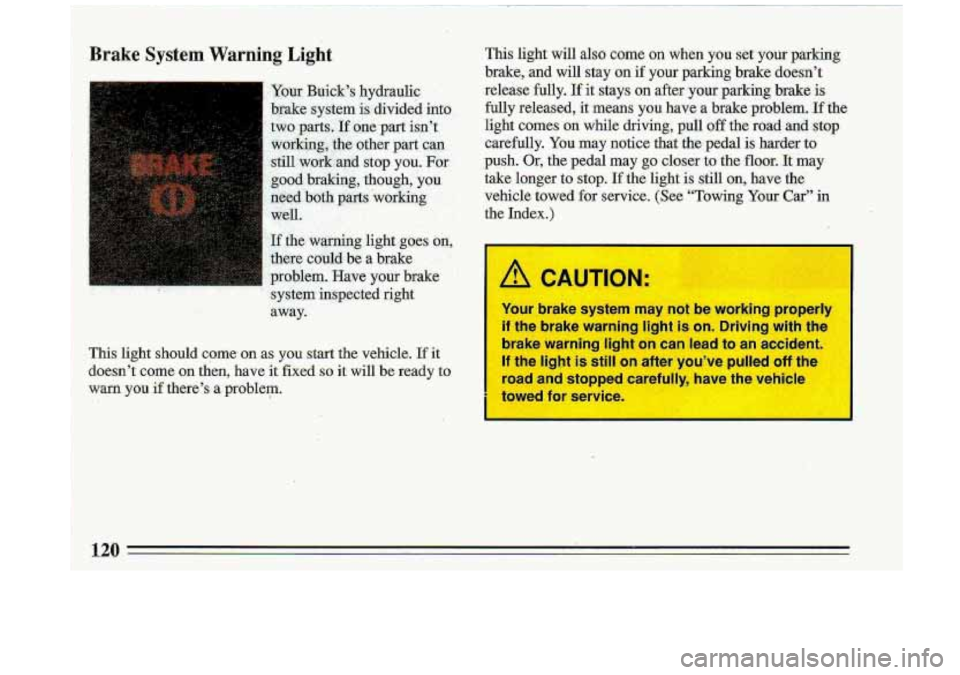
Brake System Warning Light
I Your Buick’s hydraulic .. . -
brake system is divided intd
two parts..If Qne-part isn’t
working, the other
part’ can
stil1,work:aT;lCl stop you. For
g,ood. braking, though, you.
need ‘both parts working,
.. ’.
well. - ’ . i; &. ..
If the. warning light goes an,
there -cbuld be a brake
.L_ ., . - , >.
problem. Have your brake ’
’ system inspected .. . right .. . ,
away.-
. . . , .I
-.., . .II . ,( ’,: :I !_.
This light should come’ on as you start the vehicle. If it
doesn’t corne on then, have it fixed
so it will be ready to
warn you
if there’s a problem.
This light will also come on when you set your parking
brake,
and will stay on if your parking brake doesn’t
release fully.
If it stays on after. your parking brake is
fully released,
it means you have a brake problem. If the
light comes on while driving, p.d off the- road and stop
carefully. You may notice that the pedal is harder
to
push. Or, the pedal may go closer to the floor. It may
take longer to stop.
If the light is still on, have the-
vehicle towed for service. (See “Towing Your Car” in
the Index.)
/! CAUTION.
Your brake system may not be working properly
if the brake warning light is on. Driving with the
brake warning light on can
lead to an accident.
If the light is still on after you’ve pulled off the
road and stopped carefully, have the vehicle
ta
?d for SE ice
Page 133 of 340
Defrost Rear Window Defogger (Option)
This setting will direct most
of the air flow toward the
windshield. Use this when
there is fog
or ice on the
windshield.
Defrost will work better
if any ice and snow is cleared
from the hood and the air inlet area between the hood
and the windshield.
Blower speed will be controlled automatically,
or you
can choose another speed by pushing the HI or LO
buttons.
If you have the heated outside rearview mirrors option,
the mirrors will be warmed when the rear defogger
is
on.
131
Page 135 of 340

i
the sun may adequately warm your upper body, but your
lower body may not be warm enough.
The Bi-level settbg directs outside air.into your vehicle
in two ways.-Cool air
is directed 'toward your upper
body through the front instrument panel outlets, ,while
slightly warmed
air is directed through the heater outlet
at
your feet.
.The air conditioner compressor operates in all Air
Conditioning positions, and the Defrost position when
.the outside temperature is above
40 OF (4.5 C).
R
Ventilation
For mild outside temperatures, when little heating ox ,
cooling is needed, slide the upper lever to Vent, Air will,'
flow through the .instrument panel outlets. Use the air
oudets to turn on, adjust and turn
off the air, flow. Adjust.
the lower lever to control the temperature;
'.
.. .
Heating
When outside temperatures are cold, 8liding:the upper .
lever to Heater and the' lower lever to :Warm will send,
heated air though the heater outlets, 'and-some through
the defroster vents. Vent and Heater arelabeled
economy positions. because the
dr conditioner
compres.sor doesn't run in these..two settings. "This . .
reduces engine load, resulting in impioyed I.. fyd.
economy.
Defrosting
The Defrost setting directs most of the- air through the
defroster vents, and some through.the heater outlets. Use
defrost when you want to remove fog
,6r ice from the
windshield.
133