Page 256 of 340

Automatic Transmission Fluid
When to Check and Change:
A good time to check your auiomatic transmission fluid
level is when the engine oil is changed. Refer to the
Maintenance Schedule to determine when to change
your fluid. See “Scheduled Maintenance Services” in
the Index.
How to Check:
Because this operation can be a little difficult, you may
choose to have this done at
a Buick,dealership Service
Department.
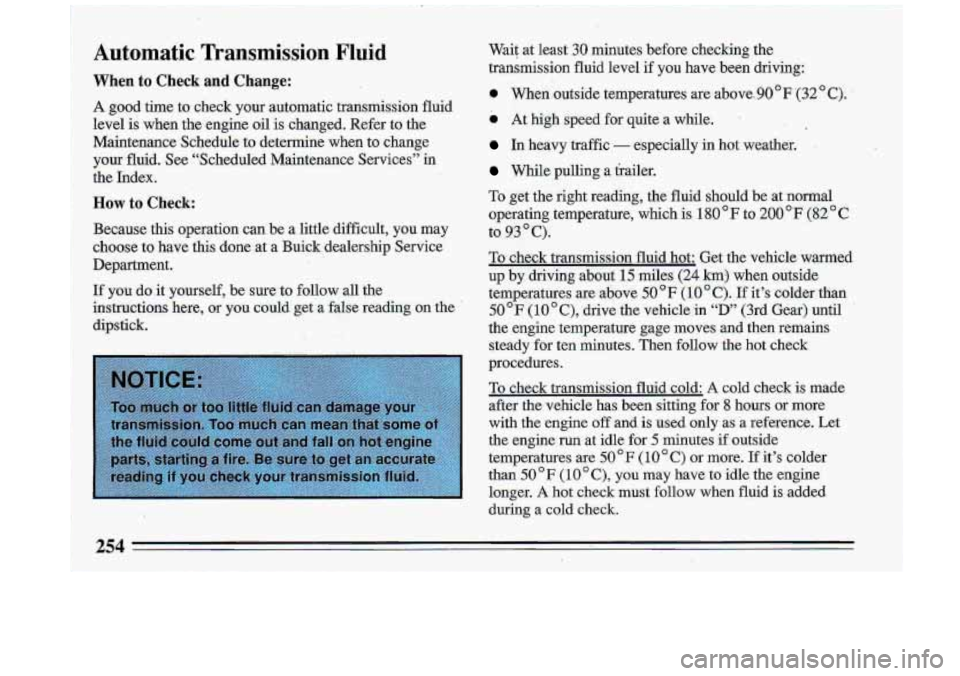
If
you do it yourself, be sure to follow all the
instructions here, or you could get a false reading on the
.
dipstick. Wait
at least
30 minutes before checking the
transmission fluid level
if you have been driving:
0 When outside temperatures are above. 90 F ‘(32 C);
0 At high speed for quite a while. I
In heavy traffic - &specially in hot weathEr.: . .
While pulling a trailer.
To get the right reading, the fluid should be at normal
operating temperature, which is
180 F to 200 *F (82 C
To check transmission fluid hot: Get the vehicle ‘warmed
up
by driving about 15 miles (24 krn) when outside
temperatures are above
50 F (1 0 C). If it’s colder than
50 F ( 10 C), drive the vehicle in “D” (3rd Gear) until
the engine temperature gage moves and then remains
steady for ten minutes. Then follow the hot check
procedures.
To check transmission fluid cold: A cold check is made
after the vehicle has been sitting for
8 hours or more
with the engine
off and is used only as a reference. Let
the engine run at idle for
5 minutes if outside
temperatures are
50 F (10 C) or more. If ‘it’s colder
than
50 OF (10 * C), you may have to idle the engine
longer.
A hot check must €0110~ when fluid is added
during
a cold check.
..
to 93 C).
254
Page 257 of 340
To check the fluid hot or cold:
0 Park your vehicle on a level place.
Place the shift.lever in “P” (Park) with the parking
brake applied.
0 With your foot on the brake pedal, move the shift
lever through each gear range, pausing for about 3
seconds in each range. Then, position the shift lever
in
“P” (Park).
Let the engine run at idle for 3 minutes or more.
Then, without shutting
off the enpine, follow these
steps:
1. Pull out the dipstick and wipe it with a clean rag or
paper towel.
2. Push it back in all the way, wait 3 seconds and then
pull it back out again.
3. Check both sides of the dipstick, and read the lower
level. The fluid level must be in the
COLD area for st
cold check or in the HOT area or cross-hatched area
for
a hot check.
4. If the fluid level is where it should be, push the
dipstick back in all the way.
255
Page 259 of 340
er to your cooling system
can be dangerous. Plain water,
or some other
liquid like alcohol, can boil before the proper
coolant mix will. Your vehicle’s coolant warning
system
is set for the proper coolant mix. Wi’th
plain water or the wrong mix, your engine could
get
too hot but you wouldn’t get the overheat
warning. Your engine could catch fire and you
or others could be burned. Use a
50/50 mix of
clean water and a proper antifreeze.
257
Page 260 of 340
.. .. ,I
Adding Coolant ': . .:,.
The coolant recovery tank .is located at the left of the
engine compartment, directly behind
.. the'battery.
.To Ch.eck.Coolant: When your engine is cold, the
co;olant,level sl~oultj be .at
"FULL COLD,'' or a little .
high_-..'When your engine is 'warm, the. level should'ke:
up to ',L;. - iLL,HOT," or'a .little higherd. ' . .. '. .... ,. .
.. ' .," . .. ..
ro Add Coolant: If you need more coolant, add the.
oronP.1:
mix at the coolant recovery tar&.
Page 261 of 340
Add coolant mix at the recovery tank, but be careful not
to spill it.
You can be burned if you spill coolant on hot
engine
parts. Coolant: contains ethylene glycol,
and
it will burn if the engine parts are ho
e ~h. Dg -k SI coolant on a hot engr ---
Radiator -Pressure Cap , ..
,... , . ..
I
When you replace your raidiator$re&l ', cap,.an 'I
cap is recommended. ..
. I
.Thermostat
Engine coolant temperature is controlled by a thermostat
in the .engine coolant system. The thermostat stops the- ,
flow of coolant through.the radiator until the coolant
reaches a preset temperature.
When
you replace your thermostat, an,AC@ thermostat. .
is recommended.
259
Page 262 of 340
How To Check Power Steering Fluid: , ’ .
’ Unscrew the cap and wipe the dipstick with a clean rag.
Replace the cap and completely tighten it. Then remove
the cap again and look at the fluid level on the dipstick.
When the engine compartment is hot, the level %-‘- L
should be at the “HOT” mark. *. s
When the engine Compartment is cool, the level
should be at the “FULL
COLD’; mark.
What to Add:
Refer to the Maintenance Schedule to determine what
kind
of fluid to use. See (‘Recommended Fluids and
Lubricants” in the Index.
k‘ T, ’ . I
Page 263 of 340
Windshield Washer Fluid
To Add:
The windshield washer reservoir is located at the left of
the engine compartment.
Open.
the cap labeled “WASHER FLUID ONLY.” Add
washer fluid until the bottle is full.
261
Page 289 of 340

Vehicle Identification Number (VIN)
II ID 111111111 1111 111 l~lllll11111111111111111 11111 llllDDlllll I
a SAMPLE4UXPMOM75 ’ h i II
ENGINE f \ASSEMBLY
CODE MODEL YEAR PLANT
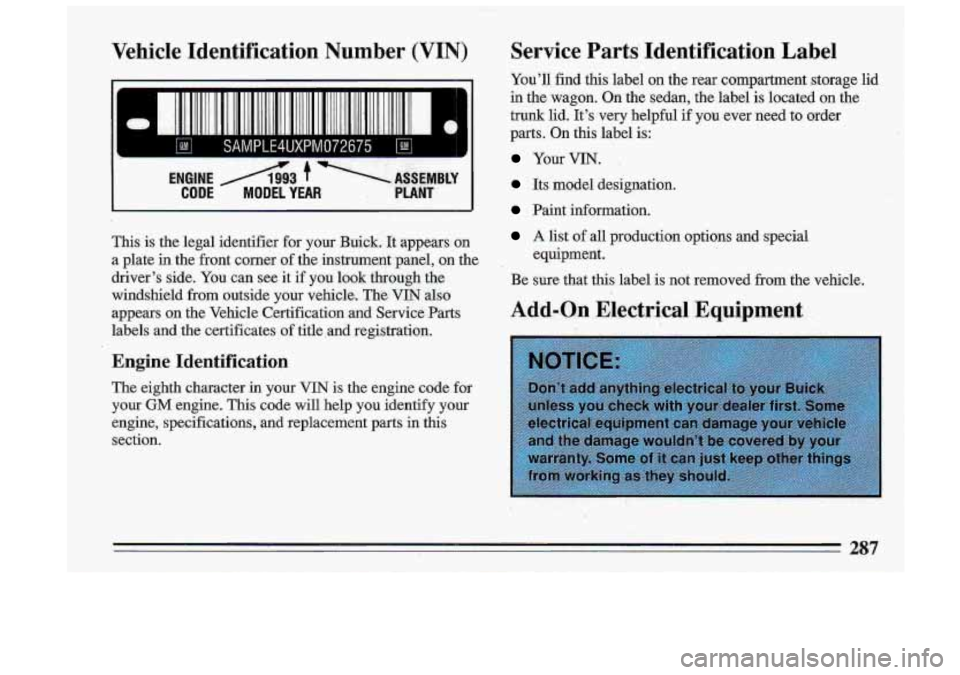
This is the legal identifier for your Buick. It appears on
a plate in the front corner of the instrument p,anel, on the
driver’s side. You can see it if you 1,ook through the
windshield from outside your vehicle,. The
VIN also
appears on the Vehicle Certification and Service Parts
labels and the certificates of title.and registration.
Engine Identification
The eighth character in your VIN is the engine code for
your
GM engine. This code will help you identify your
engine, specifications, and replacement parts in this section.
Service Parts Identification Label
You’ll find this label on the rear compartment storage lid
in the wagon. On the sedan, the label
is located on the
trunk lid. It’s very helpful if you ever need to order
parts. On this label
is:
Your VIN.
Its model designation.
Paint information.
A list of all production options and special
Be sure that this label is not removed from the vehicle.
equipment.
Add-.O.n Electrkal
E,quipment
i
287