Page 12 of 324

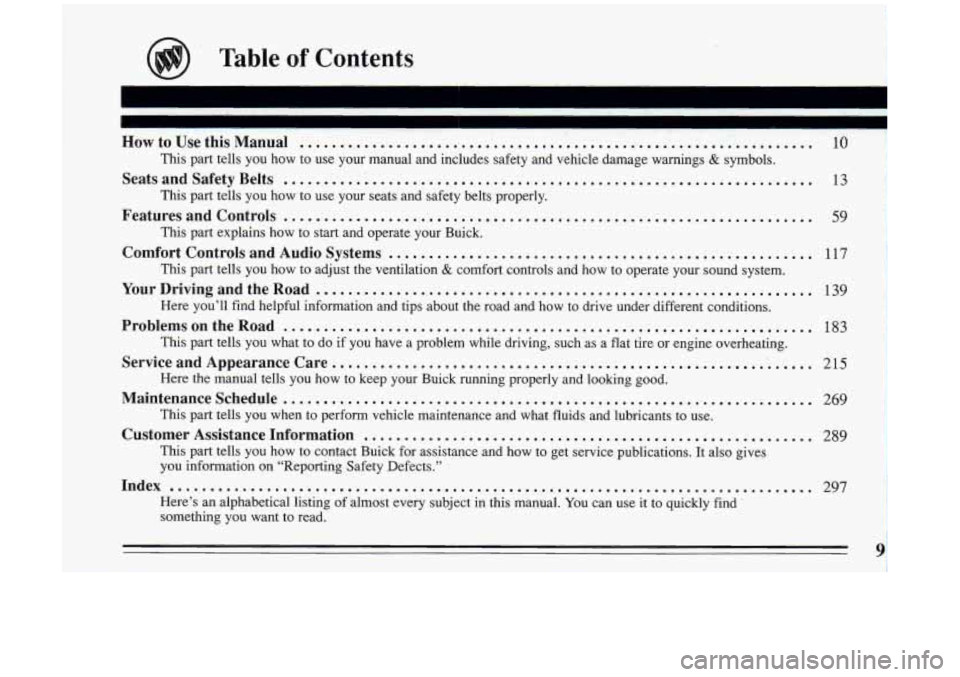
HowtoUsethisManual ................................................................
This part tells you how to use your manual and includes safety and vehicle damage warnings & symbols.
SeatsandSafetyBelts ..................................................................
This part tells you how to use your seats and safety belts properly.
Featuresandcontrols ..................................................................
This part explains how to start and operate your Buick.
This part tells you how to adjust the ventilation
& comfort controls and how to operate your sound system.
YourDrivingandtheRoad ..............................................................
Here you’ll find helpful information and tips about the road and how to drive under different conditions.
ProblemsontheRoad ..................................................................
This part tells you what to do if you have a problem while driving, such as a flat tire or engine overheating.
ServiceandAppearanceCare ............................................................
Here the manual tells you how to keep your Buick running properly and looking good.
Maintenanceschedule ..................................................................
This part tells you when to perform vehicle maintenance and what fluids and lubrica\
nts to use.
Customer Assistance Information ........................................................
This part tells you how to contact Buick for assistance and how to get service publications. It also gives
you information on “Reporting Safety Defects.”
Index ........................................................................\
........
Here’s an alphabetical listing of almost every subject in this manual. You can use it to quickly find
something
you want to read.
Comfort Controls and Audio Systems .....................................................
10
13
59
117
139
183
215
269
289
297
Page 38 of 324

-T
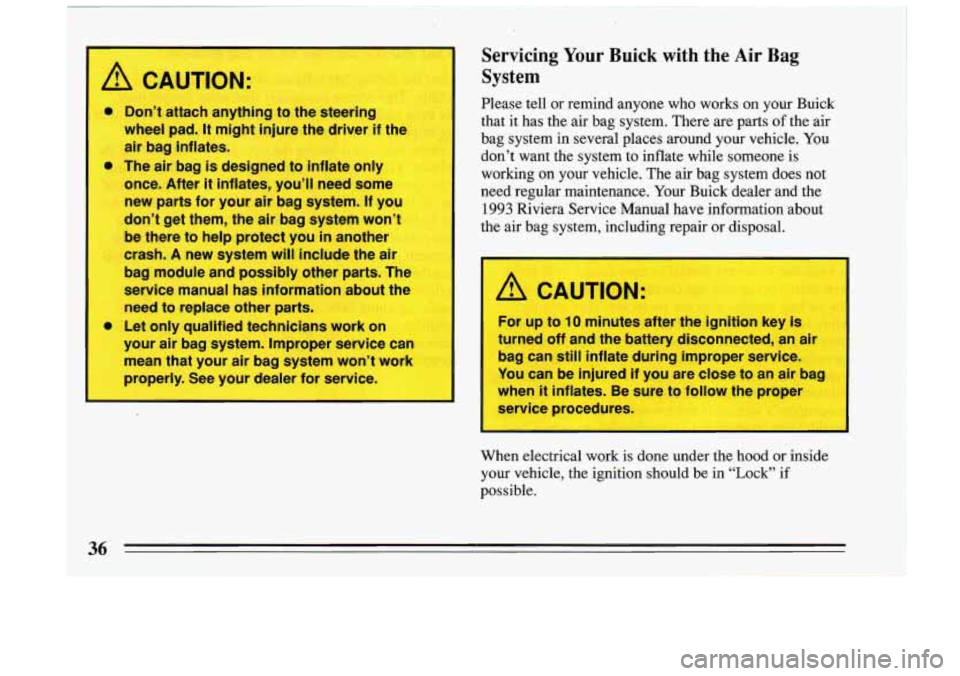
A C UTION:
A
0 Don’t attach anything to the steer J
wheel pad. It mi -It injure the driver if 1
air bag inflates.
The air bag is designed to inflate only
once. After
it inflates, you’ll need some
new parts for your air bag system.
If you
don’t get them, the air bag system won’t
be there to help protect you
in another
crash.
A new system will include the air
bag module and possibly other parts. The
service manual has information about the
need to replace other parts.
Let only qualified technicians work on
your air bag system. Improper service can
mean that your air bag system won’t work
properly. See your dealer for service.
Servicing Your Buick with the Air Bag
System
Please tell or remind anyone who works on your Buick
that it has the air bag system. There are parts
of the air
bag system in several places around your vehicle. You
don’t want the system to inflate while someone is
working on your vehicle. The air bag system does not
need regular maintenance. Your Buick dealer and the
1993 Riviera Service Manual have information about
the air bag system, including repair or disposal.
A CAUTION:
For up to 10 minutes a1 r the ignition key is
turned off and the battery disconnected, an air
bag can still inflate during improper service.
You can be injured
if you are close to an air bag
when
it inflates. Be sure to follow the proper
I service procedures.
When electrical work is done under the hood or inside
your vehicle, the ignition should be in “Lock” if
possible.
Page 143 of 324
’I
Y
Y
RAILROAD ADVANCE
CROSSING
I!
NARROW BRIDGE
h
x
c
Y
Y
A
1
U‘
LOW
SHOULDER FLAGGER
AHEAD
Y
Y
WORKERS AHEAD
YELLOW indicates a general warning. Slow down and
be careful when you see a yellow sign. It may signal a
railroad crossing ahead, a no passing zone, or some
other potentially dangerous situation. Likewise, a yellow solid line painted on the road means “Don’t Cross.” ORANGE indicates road construction or maintenance.
You’ll want to slow down when you see an orange sign,
as part
of the road may be closed off or tom up. And
there may be workers and maintenance vehicles around,
too.
141
Page 218 of 324
A CAUTION: I
You can be injured if you try to do service work
on a vehicle without knowing enough about
it. I
@ Be sure you have sufficient knowledge,
experience, and the proper replacement
parts and tools before you attempt any
Be sure to use the proper nuts, bolts and
other fasteners. "English" and "metric"
fasteners can be easily confused.
If you
use the wrong fasteners, parts
can later
break or fall
off. You could be hurt. $$g?$&$
~~~
vehicle maintenance task. gg@b%j.g ,;.. ,F!(7>>p I &. @fijy+; &~-*.,~<+@ %,.,!+:<$$
"Vil
."C.L.. .
Page 230 of 324
Air Cleaner
As you face the front of the vehicle, the air cleaner is in
the front right section of the engine compartment. There
is a filter inside the air cleaner.
Refer to -the Maintenance Schedule
to detemine when
to replace the air filter.
A I
A CAUTION:
Operating the engine with the air cleaner off can
cause you or others
to be burned. The air
cleaner not only cleans the air,
it stops flame if
I the engine backfires. If it isn’t there, and the
engine backfires, you could be burned. Don’t
drive with
it off, and be careful working on the
engine with the air cleaner off.
I
the air cleaner is off, a backfire can cause a
See “Scheduled Maintenance Services” in the Index.
228
Page 231 of 324
Automatic Transaxle Fluid
When to Check and Change:
A good time to check your automatic transaxle fluid
level is when the engine oil is changed. Refer to the
Maintenance Schedule to determine when
to change
your fluid. See “Scheduled Maintenance Services” in
the Index.
How to Check:
Because this operation can be a little difficult, you may
choose to have this done at a Buick dealership Service
Department.
If you do it yourself, be sure to follow all the
instructions here, or you could get a false reading on the
dipstick.
Page 232 of 324
Then, without shutting off the engine, follow these
stem:
1. Pull out the dipstick and
wipe it with a clean rag
or paper towel.
2. Push it ‘back in aa the way, wait three seconds and
I :then pull it back out again.
3. Check both sides ofthe
dipstick, and read the
lower level. The fluid
level must be
.in the
cross-hatched
mea.
P
4. If the fluid level is where it should be, push the
How to Add Fluid:
dipstick back in all the way.
Refer
to the Maintenance Schedule to determine what
kind of transaxle fluid to
use. See “Recommended
Fluids and Lubricants” in the Index.
If the- fluid level is low, add only enough of the proper
fluid
to bring the level into the cross-hatched area on the
dipstick. It doesn’t take much fluid, generally less than a \
pint. D,on’t overfill. We recommend you use only fluid
labeled DEXRONB-IIE, because fluids with that label
230
I
Page 236 of 324
i Power Steering Fluid I
What to Add:
Refer to the Maintenance Schedule to determine what
kind
of fluid to use. See “Recommended Fluids and
Lubricants”
in the Index.
I
i
How To Check Power Steering Fluid:
~ Unscrew the cap and wipe the dipstick with a clean rag.
: Replace the cap and completely tighten it. Then remove
~ the cap again and look at the fluid level on the dipstick.
When the engine compartment is hot, the level
When the engine compartment is cool, the level should be
at
the “HOT” mark.
should be at the
“FULL COLD” mark.
I