Page 108 of 324
Press and hold the Test
button with your car in Park
or Neutral. This test makes
sure all your bulbs and bar
graph segments are
working.
If any are not
working, have the bulbs
replaced.
Display Selection Test
By pushing the E/M
(Englishmetric) button, the
digital display can be
changed to read English
(miles) or metric
(kilometers).
Push the speed select button to change the digital and
graphical speed display to a graphical speed display
only. Push it again, and only the digital speed is
displayed. Push
it a third time and you will be back to i i the original display.
106
I
Page 112 of 324
Volts Gage and Light
c 1
Tachometer
When you turn the key to “Run,” the “LOW’ light will The tachometer tells you how fast the engine is go\
ing. It
come on briefly, to show that your alternator and battery disp\
lays engine speed
in revolutions per minute (RPM).
charging systems are working. If a light stays on, you As engine speed increases, the bars light up on the
need service, and you should take your Buick to the tachometer\
display. Each bar represents
100 RPM. Do
dealer at once. To save your battery until you get there, not operate your car’\
s engine in the red line range. If
turn
off all accessories, and set your air system to you do, you can cause severe engine damage.
“OFF.”
110
Page 121 of 324
Exterior Temp Off
Press this button to display
outdoor temperature. Press
it a.gah
to return to the
regblar display. The outside
temperature will display
if
the system is “OFF”.
When the system is off, the
ventilatioh system will
alhw air to
flow through -
your Buick when the
vehi@e
is moving. The
system
w’ill try to keep the
.air at the chosen
temperature, unless it is
very hot
or very cold
outside.
119
Page 122 of 324

Auto
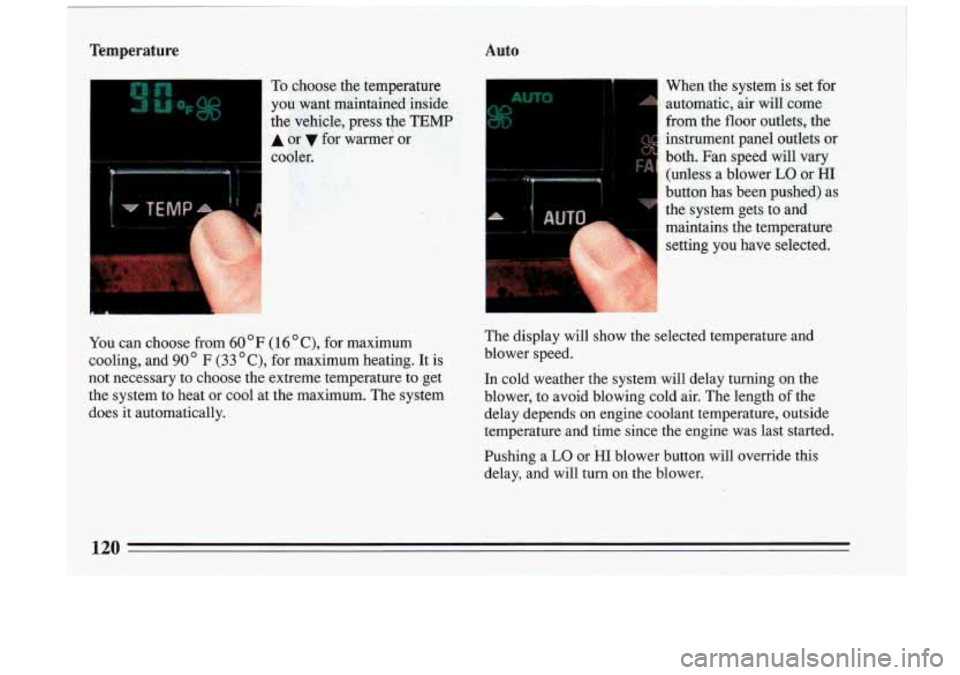
I- - To choose the temperature When the system is set
far
you- want maintained inside automatic, air
will come
the vehicle, press the
TEMP from the floor outlets, the
A or for warmer or instrument panel outlets or
cooler. both. Fan speed will vary
(unless a blower
LO or HI
:.if, button has been pushed) as
the system gets to and
maintains the temperature setting you have selected.
-
,..I . .
a
~
You can choose from 60 OF (1 6 " C), for maximum
1 cooling, and 90' F (33 "C), for maximum heating. It is The display will show the selected temperature and
blower speed.
! not necessary to choose the extreme temperature to get In cold weather the system will delay turning on the
the system to heat
or cool at the maximum. The system
blower, to avoid blowing cold air. The length of the
does it automatically. delay depends
on engine coolant temperature, outside
temperature and time since the engine was last started.
Pushing a
LO or HI blower button will override this
delay, and will turn on the blower.
120
Page 128 of 324
To Play This Radio It allows you to recall the frequency when the radio
It allows you to hear the other side of the tape. Press
is playing.
the upper knob while cassette is playing.
~ Bal
The control behind the upper knob allows you to
balance the sound between the right and left speakers.
! The Lower Knob
I Turn the lower knob to tune radio stations. Push it to get
I AMor FM.
Fade
The control behind the lower knob moves the sotifid
between your front and rear speakers.
Power
Press the On-Off button to turn the radio On or Off. Seek
The Upper Knob the next higher station and stop.
The upper
knob does these things:
It controls the volume. Rotate clockwise to increase Pressing the seek button will cause the receiver to seek
Scan
When you press scan,
the radio will go to the next
station and pause and keep scanning until you press scan
the volume.
It tells YOU the time. When
the ignition is off, push to again.
display the time.
126 -
Page 129 of 324

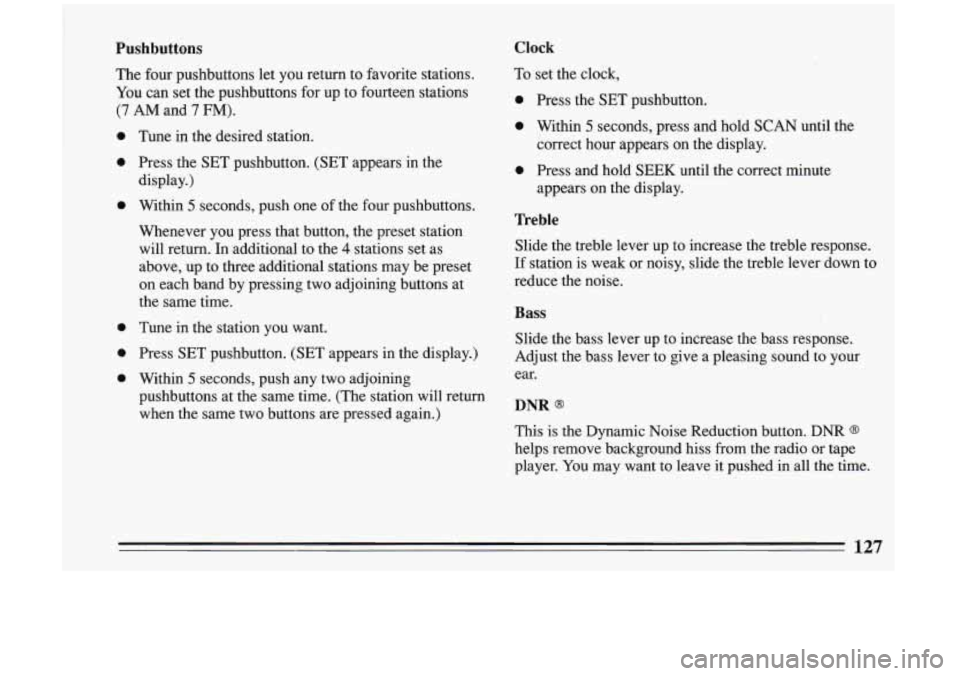
Pushbuttons
The four pushbuttons let you return to favorite stations.
You can set the pushbuttons for up to fourteen stations
(7 AM and 7 FM).
0
0
0
0
0
0
Tune in the desired station.
Press the SET pushbutton. (SET appears in the
display.)
Within
5 seconds, push one of the four pushbuttons.
Whenever you press that button, the preset station
will return. In additional to the
4 stations set as
above, up to three additional stations may be preset
on each band by pressing two adjoining buttons at
the same time.
Tune in the station you want.
Press SET pushbutton. (SET appears in the display.)
Within
5 seconds, push any two adjoining
pushbuttons at the same time. (The station will return
when the same two buttons are pressed again.)
Clock
To set the clock,
0 Press the SET pushbutton.
0 Within 5 seconds, press and hold SCAN until the
0 Press and hold SEEK until the correct minute correct hour appears on
the display.
appears on the display.
Treble
Slide the treble lever up to increase the treble response.
If station is weak or noisy, slide the treble lever down to
reduce the noise.
Bass
Slide the bass lever up to increase the bass response.
Adjust the bass lever to give a pleasing sound to your
ear.
DNR Q
This is the Dynamic Noise Reduction button. DNR Q
helps remove background hiss from the radio or tape
player. You may want to leave
it pushed in all the time.
127
Page 132 of 324

Setting The Clock
To set the clock:
Push SET (with the ignition on and the radio off').
Within 5 seconds, push and hold SEEK A or until
Press and hold SCAN until the correct minute the correct hour appears.
appears.
Recall
1 Press RCL to change the display between the clock and
the radio station frequency, when the radio is on. To
display the time with the ignition
off, press RCL.
AM-FM
Press the AM or FM buttons to select either the AM or
FM radio band. If the station is in stereo, a STEREO
indicator will also be displayed.
Fade
Press the top or the bottom of the FADE control to
adjust the balance between front and rear speakers. Press
the center
of the control to restore equal speaker sound
balance. Balance between the left and right speakers is
preset and is not adjustable.
Bass
Press the.BASS A or v to increase or decrease bass
tones. For the
BASS preset setting, press the center of
the control.
Treble
Press the TREB A or v to increase or decrease treble
tones. Press the center
of the TREB control for the
preset level.
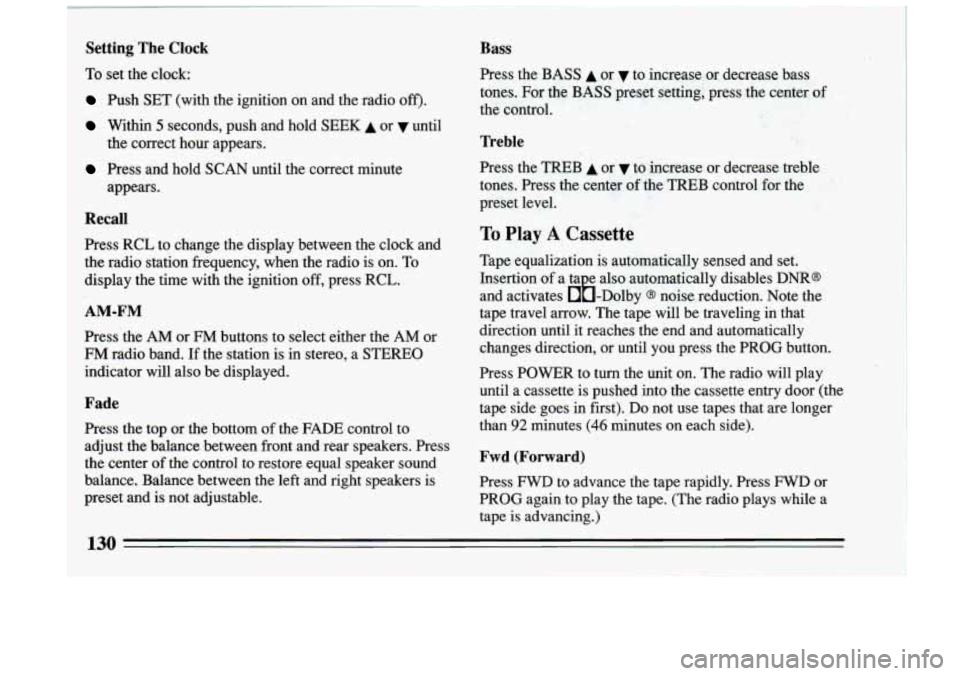
To Play A Cassette
Tape equalization is automatically sensed and set.
Insertion
of a ta e also automatically disables DNR@
and activates &-Dolby
@ noise reduction. Note the
tape travel arrow. The tape will be traveling in that
direction until it reaches the end and automatically
changes direction, or until you press the PROG button.
Press POWER to turn the unit
on. The radio will play
until a cassette is pushed into the cassette entry door (the
tape side goes
in first). Do not use tapes that are longer
than
92 minutes (46 minutes on each side).
Fwd (Forward)
Press FWD to advance the tape rapidly. Press FWD or
PROG again to play the tape. (The radio plays while a
tape is advancing.)
130
Page 135 of 324

Setting The Clock
To set the clock:
0
0
0
Push SET (with the ignition on and the radio off).
Within 5 seconds, push and hold SEEK A or until
the correct hour appears.
Press and hold
SCAN until the correct minute
appears.
Recall
Press RCL to change the display between the clock and
the radio station frequency, when the radio is on.
To
display the time with the ignition off, press RCL.
AM-FM
Press the AM or FM buttons to select either the AM or
FM radio band. If the station is in stereo, a STEREO
indicator will also be displayed.
Balance
Press the left, right, front or rear speaker controls to
adjust speaker balance. Press the center of the control to
restore equal speaker sound balance.
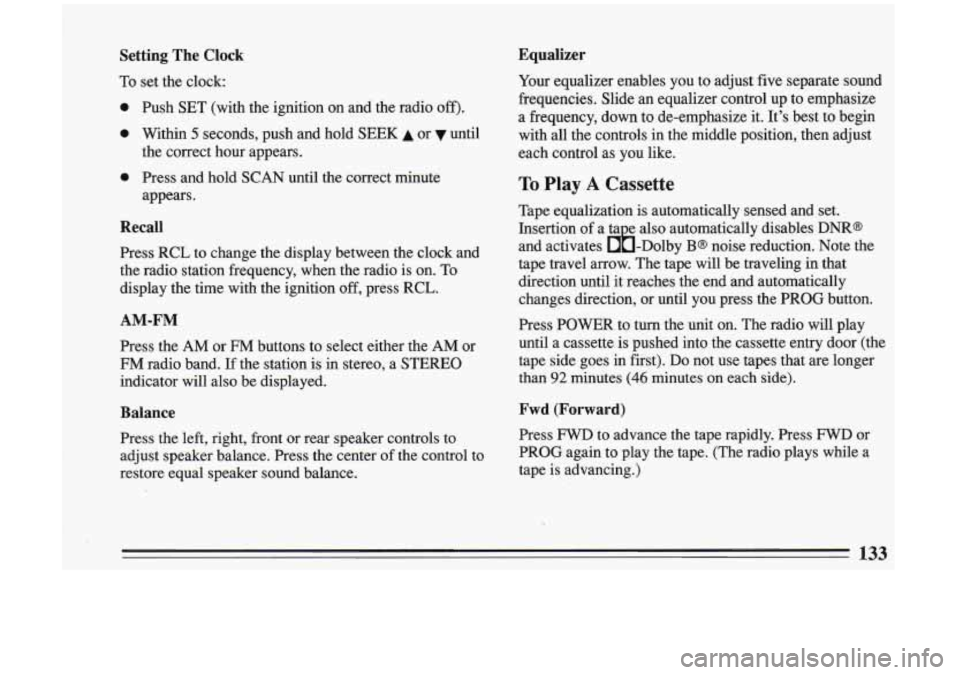
Equalizer
Your equalizer enables you to adjust five separate sound
frequencies. Slide an equalizer control up to emphasize
a frequency, down to de-emphasize it. It's best to begin
with all the controls in the middle position, then adjust
each control as you like.
To Play A Cassette
Tape equalization is automatically sensed and set.
Insertion of a ta e also automatically disables
DNR@
and activates &-Dolby B@ noise reduction. Note the
tape travel arrow. The tape will be traveling in that
direction until it reaches the end and automatically
changes direction, or until
you press the PROG button.
Press POWER
to turn the 'unit on. The radio will play
until a cassette is pushed into the cassette entry door (the
tape side goes in first). Do not use tapes that are longer
than
92 minutes (46 minutes on each side).
Fwd (Forward)
Press FWD to advance the tape rapidly. Press FWD or
PROG again to play the tape. (The radio plays while a
tape is advancing.)
133