1993 BUICK REGAL ESP
[x] Cancel search: ESPPage 171 of 308
stopped by the snow. Put on extra clothing or wrap a
blanket around you. If you have no blankets or extra
clothing, make body insulators from newspapers, burlap
bags, rags, floor mats
-- anything you can wrap around
yourself or
tuck under your clothing to keep warm.
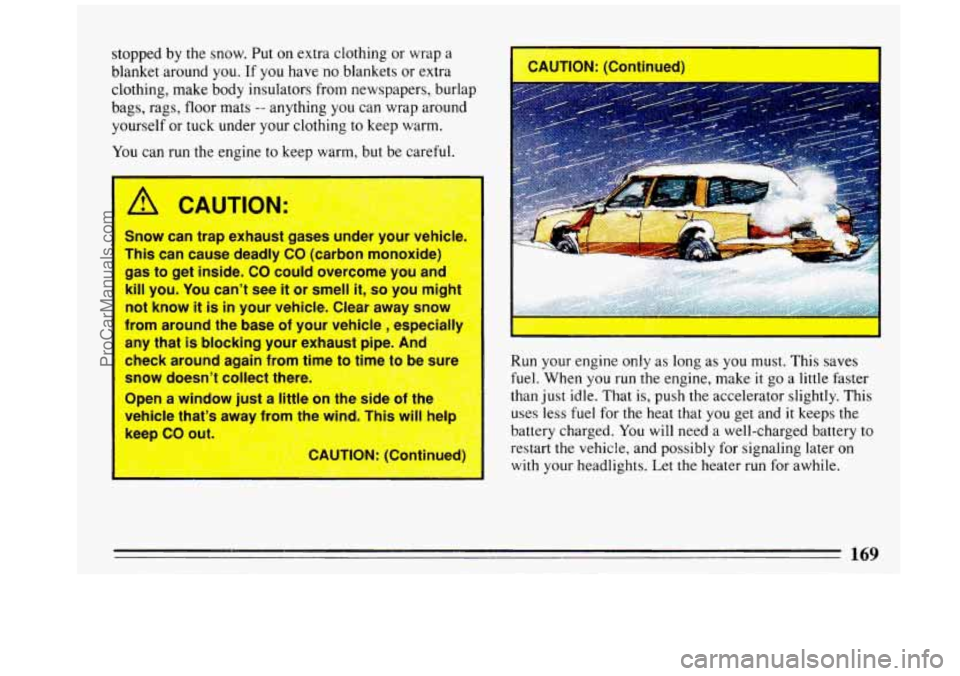
You can run the engine to keep warm, but be careful.
naust ases under your veh'ick
Snow can
trap 1
This can cause deadly CO (carbon monoxide)
gas to get inside.
CO could overcome you and
II you. You can't see it or smell it, so you mighl
not know
it is in your vehicle. Clear away snow
from around the base of your vehicle
, especial11
any that is blocking your exhaust pipe. And
r':.:%--l check around again from time to time to be surel ..,;I
. . ,;-< 4
Snow doesn't collect there. k, ..;:-- :,: -;-'-- , " ~ ' -. :< . . . ..',.;.L ,:--; .: ., ; ,&': - .. 1 .' . . . ,'--I -..
, , CA,UTION: (Continued)
I
Run your engine only as long as you must. This saves
fuel. When you run the engine, make
it go a little faster
than just idle. That
is, push the accelerator slightly. This
uses less fuel for the heat that you get and it keeps
the
battery charged. You will need a well-charged battery to
restart the vehicle, and possibly for signaling later on
with your headlights. Let the heater run for awhile.
169
ProCarManuals.com
Page 175 of 308
Safety Chains
You should always attach chains between your vehicle
and your trailer. Cross the safety chains under the
tongue of the trailer
so that the tongue will not drop to
the road if it becomes separated from the hitch.
Instructions about safety chains may be provided by the
hitch manufacturer or by the trailer manufacturer.
Follow the manufacturer’s recommendation for
attaching safety chains. Always leave just enough slack
so you can turn with your rig. And, never allow safety
chains to drag on the ground.
Trailer Brakes
If your trailer weighs more than 1,000 pounds (450 kg)
loaded, then it needs
its own brakes -- and they must be
adequate. Be sure
to read and follow the instructions for
the trailer brakes
so you’ll be able to install, adjust and
maintain them properly. If your vehicle has anti-lock
brakes, do not try
to tap into your vehicle’s brake
system. If you do, both brake systems won’t work well,
or at all. Even if your vehicle doesn’t have anti-lock
brakes, don’t tap into your vehicle’s brake system if
the
trailer’s brake system will use more than 0.02 cubic inch
(0.3 cc) of fluid from your vehicle’s master cylinder. If it
does, both braking systems won’t work well.
You could
even
lose your brakes.
Will the trailer brake parts take 3,000 psi (20 650
kPa) of pressure? If not, the trailer brake system
must not be used with your vehicle.
If everything checks out this far, then make the brake
fluid tap at the upper rear master cylinder port. But
don’t
use copper tubing for this. If you do, it will
bend and finally break
off. Use steel brake tubing.
Driving with a Trailer
Towing a trailer requires a certain amount of experience.
Before setting out for
the open road, you’ll want to get
to know your rig. Acquaint yourself with the feel of
handling and braking with the added weight of the
trailer. And always keep
in mind that the vehicle you are
driving is
now a good deal longer and not nearly so
responsive as your vehicle is by itself.
Before you start, check the trailer hitch and platform,
safety chains, electrical connector, lights, tires and
mirror adjustment. If the trailer has electric brakes, start
your vehicle and trailer moving and then apply the
trailer brake controller by hand to be sure
the brakes are
working. This lets you check your electrical connection
at the same time.
During your trip, check occasionally
to be sure that the
load is secure, and that the lights and any trailer brakes
are still working.
172
ProCarManuals.com
Page 177 of 308
Parking on Hills
You really should not park your vehicle, with a trailer
attached, on a hill. If something goes wrong, your rig
could start to move. People can be injured, and both
your vehicle and the trailer can be damaged.
But if
you ever have to park your rig on a hill, here’s
how to do it:
1.
2.
3.
4.
5.
Apply your regular brakes, but don’t shift into “P’
(Park) yet.
Have someone place chocks under the trailer wheels.
When the wheel chocks are in place, release the
regular brakes until the chocks absorb the load.
Reapply the regular brakes. Then apply your parking
brake, and then shift to “P” (Park).
Release the regular brakes.
When You Are Ready to Leave After
Parking on
a Hill
1. Apply your regular brakes and hold the pedal down
while you:
Start your engine;
Shift into a gear; and
0 Release the parking brake.
2. Let up on the brake pedal.
3. Drive slowly until the trailer is clear of the chocks.
4. Stop and have someone pick up and store the chocks.
Maintenance When Trailer Towing
Your vehicle will need service more often when you’re
pulling a trailer. See the Maintenance Schedule for more
on this. Things that are especially important in trailer
operation are automatic transaxle fluid (don’t overfill),
engine oil, belt, cooling system, and brake adjustment.
Each
of these is covered in this manual, and the Index
will help you find them quickly. If you’re trailering, it’s
a good idea to review these sections before
you start
your trip.
Check periodically to see that all hitch nuts and bolts are
tight.
175
ProCarManuals.com
Page 203 of 308
If a Tire Goes Flat
It’s unusual for a tire to “blow out” while you’re driving,
especially if you maintain your tires properly. If air goes
out
of a tire, it’s much more likely to leak out slowly.
But if
you should ever have a “blowout,” here are a few
tips about what to expect and what
to do:
If a front tire fails, the flat tire will create a drag that
pulls the vehicle toward that side. Take your foot off
the
accelerator pedal and grip the steering wheel firmly.
Steer
to maintain lane position, then gently brake to a
stop well out
of the traffic lane.
A rear blowout, particularly on a curve, acts much like a
skid and may require the same correction you’d use in a
skid. In any rear blowout, remove your foot fromthe
accelerator pedal. Get the vehicle under control by
steering the way you want the vehicle to go. It may be
very bumpy and noisy, but you can still steer. Gently
brake to a stop, well
off the road if possible.
If your tire goes flat, the next section shows how to use
your jacking equipment to change a flat tire safely.
Changing a Flat Tire
If a tire goes flat, avoid further tire and wheel damage
by driving slowly
to a level place. Turn on your hazard
warning flashers.
A CAUTION:
Changing a tire can cause an injury. The vehicle
can slip off the jack and roll over you or other
people. You and they could be badly injured. Find
a level place to change your tire. TO help prevent
be
! licle from moving:
. the parking brake firmly.
L. Put the shift lever in “P” (Park).
3. Turn off the engine.
To be even more certain the vehicle won’t move,
you can put chocks at the front and rear of
th
tire farthest away from the one being ehangec
That would be the tire
on the other side nG the
vehicle, at the
opposit- md. ;
201
ProCarManuals.com
Page 218 of 308

gasolines with these blending materials, such as MTBE
and ethanol. By doing
so, you can help clean the air,
especially
in those parts of the country that have high
carbon monoxide levels.
In addition, some gasoline suppliers are now producing
reformulated gasolines. These gasolines are specially
designed to reduce vehicle emissions. General Motors
recommends that
you use reformulated gasoline. By
doing
so, you can help clean the air, especially in those
parts of the country that have high ozone levels.
You should ask your service station operators
if their
gasolines contain detergents and oxygenates, and
if they
have been reformulated
to reduce vehicle emissions.
Fuels in Foreign Countries
If you plan on driving in another country outside the
U.S. or Canada, unleaded fuel may be hard to find. Do
not use leaded gasoline. If you use even one tankful,
your emission controls won’t work well or at all. With
continuous
use, spark plugs can get fouled, the exhaust
system can corrode, and your engine oil can deteriorate
quickly. Your vehicle’s oxygen sensor will be damaged.
All of that means costly repairs that wouldn’t be covered
by your warranty.
To check on fuel availability, ask an auto club, or
contact a major oil company that does business in the
country where you’ll be driving.
You can also write us at the following address for
advice. Just tell us where you’re going and give your
Vehicle Identification Number (VIN).
General Motors of Canada Ltd.
International Export Sales
P.O. Box 828
Oshawa, Ontario L1H 7N1, Canada
216
ProCarManuals.com
Page 228 of 308
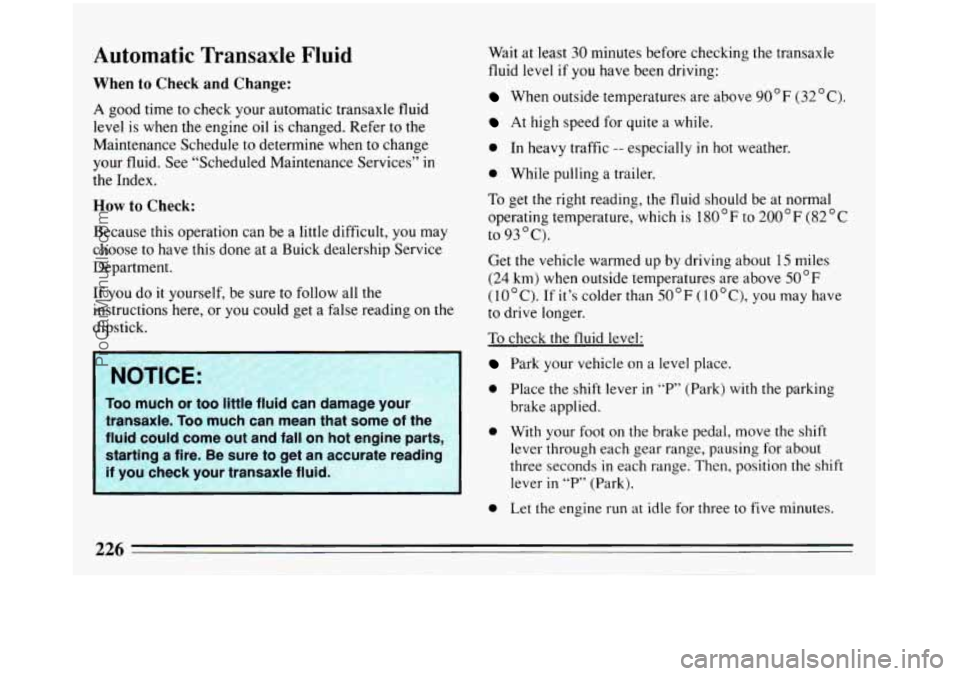
Automatic Transaxle Fluid
When to Check and Change:
A good time to check your automatic transaxle fluid
level is when
the engine oil is changed. Refer to the
Maintenance Schedule to determine when to change
your fluid. See “Scheduled Maintenance Services” in
the Index.
How to Check:
Because this operation can be a little difficult, you may
choose to have this done at a Buick dealership Service
Department.
If you do it yourself, be sure to follow all the
instructions here, or you could get a false reading on the
dipstick.
NOTICE:
Too much or too little fluid can damage your
transaxle.
Too much can mean that some of the
fluid could come out and fall
on hot engine parts,
starting a fire. Be sure to get an accurate reading
if you check your transaxle fluid.
Wait at least 30 minutes before checking the transaxle
fluid level if you have been driving:
When outside temperatures are above 90°F (32 ” C).
At high speed for quite a while.
0 In heavy traffic -- especially in hot weather.
0 While pulling a trailer.
To get the right reading, the fluid should be at normal
operating temperature, which is
180 F to 200 F (82 C
Get the vehicle warmed up by driving about 15 miles
(24 km) when outside temperatures are above
50°F
(10°C). If it’s colder than 50°F (lO°C), you may have
to drive longer.
To check the fluid level:
Park your vehicle on a level place.
0 Place the shift lever in “F’ (Park) with the parking
0 With your foot on the brake pedal, move the shift
to
93
O C).
brake applied.
lever through each gear range, pausing for about
three seconds
in each range. Then, position the shift
lever
in “P” (Park).
0 Let the engine run at idle for three to five minutes.
226
ProCarManuals.com
Page 230 of 308
If the fluid level is low, add only enough of the proper
fluid to bring the level into the cross-hatched area on the
dipstick. It doesn’t take much fluid, generally less than a
pint. Don’t overfill. We recommend you use only fluid
labeled DEXRONB-IIE, because fluids with that label
are made especially for your automatic transaxle.
Damage caused by fluid other than DEXRONB-IIE is
not covered by your new vehicle warranty.
After adding fluid, recheck the fluid level as
described under “How
to Check.”
When the correct fluid level is obtained, push the
dipstick back in all the way.
Engine Coolant
The following explains your cooling system and how to
add coolant when
it is low. If you have a problem with
engine overheat.ing or if you need to add coolant to your
radiator, see “Engine Overheating”
in the Index.
The proper coolant for your Buick will:
0 Give freezing protection down to -34OF (-37OC) .
0 Give boiling protection up to 262 OF (128 “C) .
Protect against rust and corrosion.
0 Help keep the proper engine temperature.
0 Let the warning lights work as they should.
What to Use:
Use a mixture of one-half clean water (preferably
distilled) and one-half antifreeze that meets
“GM
Specification 1825-M,” which won’t damage aluminum
parts. You can also use a recycled coolant conforming to
GM Specification 1825-M with a complete coolant flush
and refill. Use GM Engine Coolant Supplement (sealer)
with any complete coolant change. If you use these, you
don’t need to add anything else.
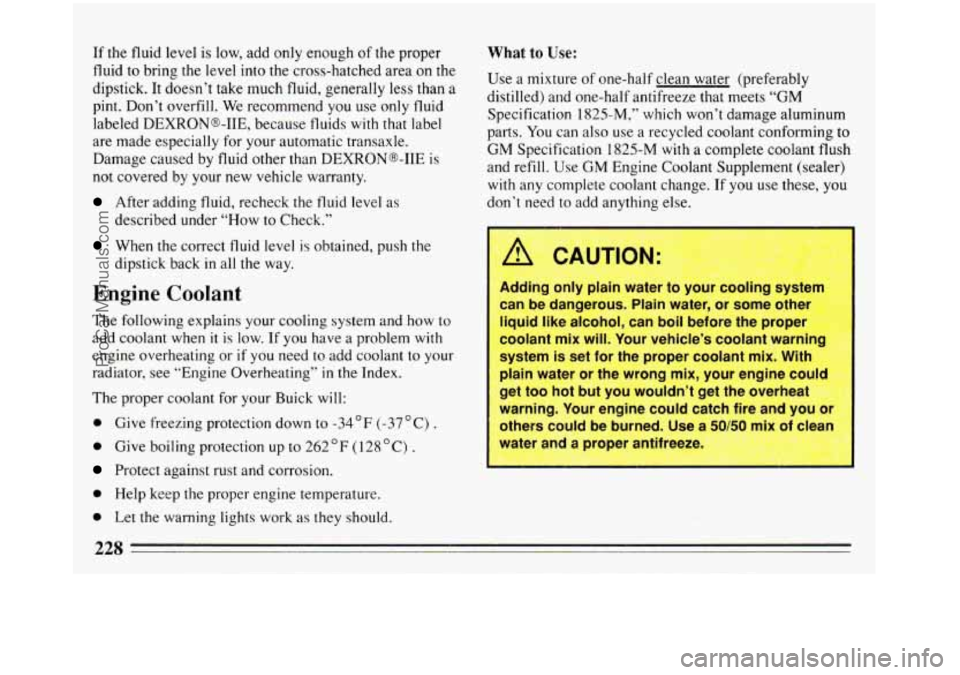
can be aangerous. Plain water, or some other
liquid like alcohol, can boil before the proper
coolant mix will. Your vehicle’s coolant warning
system is set for the proper coolant mix. With
plain water or the wrong mix, your engine could
get too hot but you wouldn’t get the overhe-”
warning. Your engine could catch fire and
yuu or
others could be burned. Use a 50/50 mix of clean
water and a proper antifreeze.
G:~Z.+T~:, p:.t+d+s
228
ProCarManuals.com
Page 238 of 308

Headlight bulbs can be changed as described by the
following procedure.
1. Remove the
electrical connector
(A) from the bulb
by raising the lock tab
(B) and pulling
the connector down
and away from the
bulb’s plastic base
(C).
2. Press and turn the plastic base (C) a 1/4 turn
counterclockwise and remove from the metal
retaining ring
(E) by gently pulling back and away
from
the headlight.
3. Install the new bulb by inserting the smallest tab (D)
located on top of the plastic base into the
corresponding
notch in the metal retaining ring (E).
Turn 1/4 turn clockwise until it stops. The small
plastic tab should be at the top
of the metal ring.
4. Install the electrical connector with slotted grooves
toward
to the front of vehicle.
Taillamp Bulb Replacement
ProCarManuals.com