1993 BUICK PARK AVENUE reset
[x] Cancel search: resetPage 100 of 340
To Resume a Set Speed
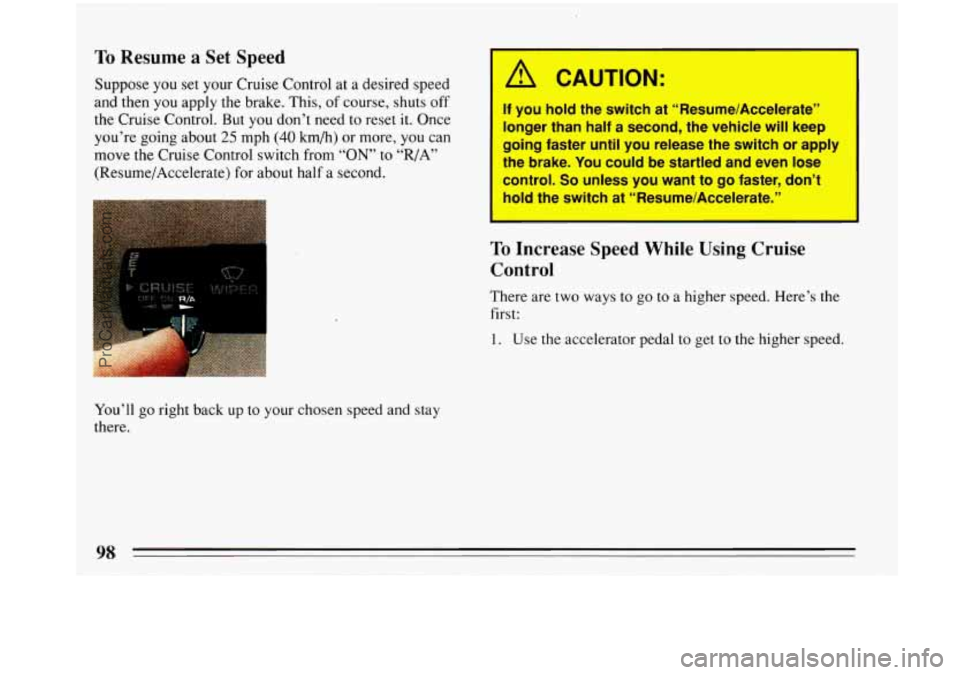
Suppose you set your Cruise Control at a desired speed
and then you apply the brake. This, of course, shuts off
the Cruise Control. But
you don’t need to reset it. Once
you’re going about
25 mph (40 km/h) or more, you can
move the Cruise Control switch from
“ON” to “R/A”
(Resume/Accelerate) for about
half a second.
F.
I I
I A CAUTION:
You’ll go right back up to your chosen speed and stay
there.
If you hold the switch at ‘‘Resume/AcceIerate”
longer than half a second, the vehicle
will keep
going faster until you release the switch or apply
the brake. You could
be startled and even lose
control. So unless you want to go faster, don’t
hold the switch at “Resume/Accelerate.”
To Increase Speed While Using Cruise
Control
There are two ways to go to a higher speed. Here’s the
first:
1. Use the accelerator pedal to get to the higher speed.
ProCarManuals.com
Page 119 of 340
Speedometer and Odometer
Your speedometer lets you see your speed in both miles
per hour (mph) and kilometers per hour (km/h). Your
odometer shows how far your vehicle has been driven,
in either miles (used in the
U.S.) or kilometers (used in
Canada).
Your Buick has a “tamper-resistant odometer.”
If you
can see very noticeable bright silver lines between the
numbers, probably someone has tried to turn it back.
The numbers may not be true.
You may wonder what happens if a car has to have a
new odometer installed. If possible, the new one has to
be set
to the same reading the old one had. If it can’t be,
then it’s set at zero, but
a label on the driver’s door must
show the old reading and when the new one was
installed.
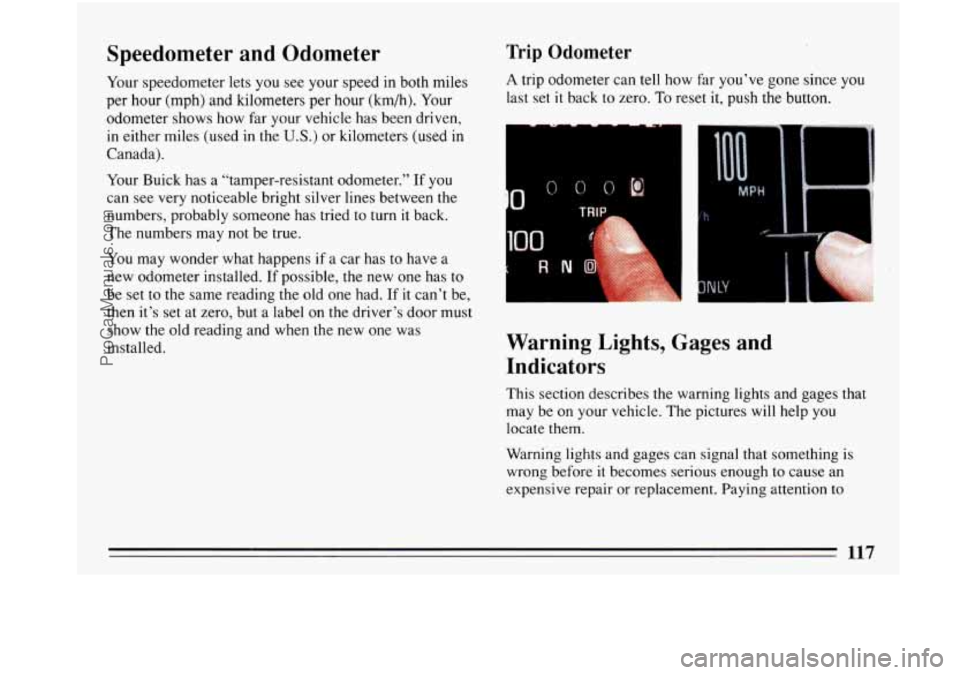
Trip Odometer
A trip odometer can tell how far you’ve gone since you
last set it back to zero. To reset it, push the button.
Warning Lights, Gages and
Indicators
This section describes the warning lights and gages that
may be on your vehicle. The pictures will help you
locate them.
Warning lights and gages can signal that something
is
wrong before it becomes serious enough to cause an
expensive repair or replacement. Paying attention
to
117
ProCarManuals.com
Page 122 of 340
This light will also come on when you set your parking
brake, and the light will stay on if your parking brake
doesn’t release fully. If
you try to drive off with the
parking brake set, a chime will also come
on until you
release the parking brake. If the light and chime stay on
after your parking brake is fully released, it means
you
have a brake problem. If the light and chime come on
while driving, pull
off the road and stop carefully. You
may notice that the pedal is harder to .push. Or, the peda
may go closer to the floor. It may take longer
to stop. If
the light
is still on, have the vehicle towed for service.
(See “Towing Your Car” in the Index.)
I -
A CAUTION:
Your brake system may not be working properly
if the brake warning light is on. Driving with the
brake warning light on can lead to an accident.
If
the light is still on after you’ve pulled off the road
and stopped carefully, have the vehicle towed for
service.
1
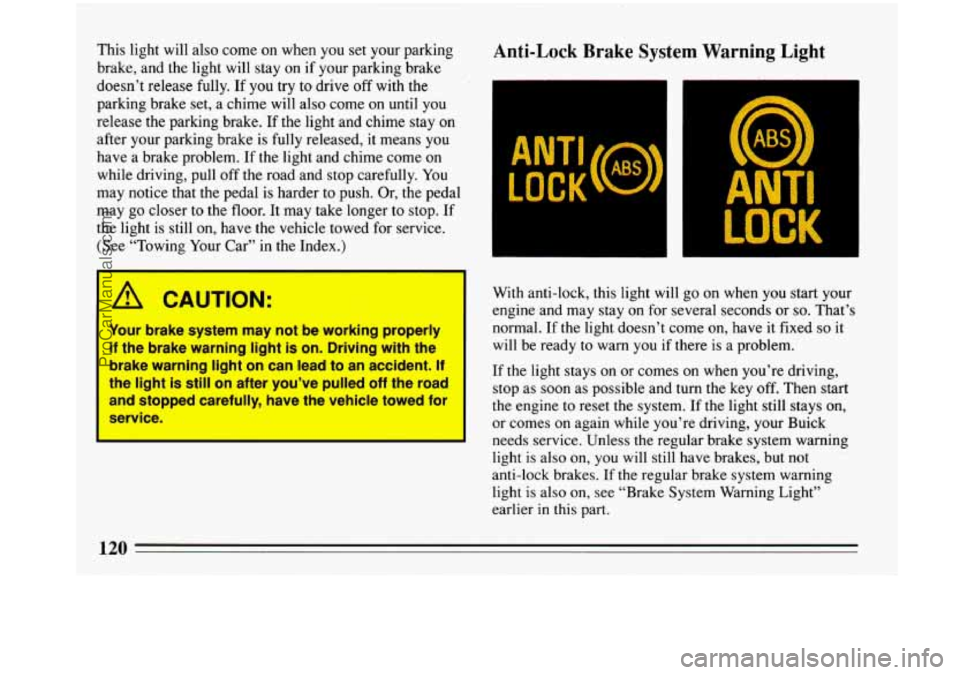
Anti-Lock Brake System Warning Light
With anti-lock, this light will go on when you start your
engine and may stay on for several seconds or
so. That’s
normal. If the light doesn’t come on, have it fixed
so it
will be ready to warn
you if there is a problem.
If the light stays
on or comes on when you’re driving,
stop as soon as possible and turn the key
off. Then start
the engine
to reset the system. If the light still stays on,
or comes on again while you’re driving, your Buick
needs service. Unless the regular brake system warning
light
is also on, you will still have brakes, but not
anti-lock brakes.
If the regular brake system warning
light
is also on, see “Brake System Warning Light”
earlier
in this part.
ProCarManuals.com
Page 127 of 340
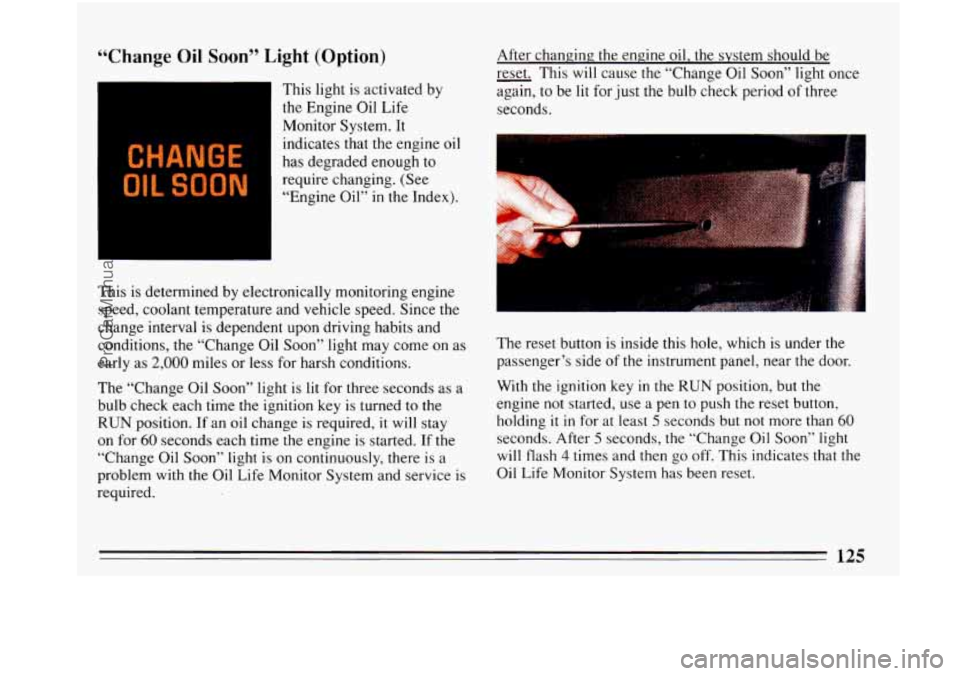
“Change Oil Soon” Light (Option)
CHANGE
OIL SOON
This light is activated by
the Engine Oil Life
Monitor System. It
indicates that the engine oil
has degraded enough to
require changing. (See
“Engine Oil” in the Index).
This is determined by electronically monitoring engine
speed, coolant temperature and vehicle speed. Since the
change interval is dependent upon driving habits and
conditions, the “Change Oil Soon” light may come on as
early as
2,000 miles or less for harsh conditions.
The “Change Oil Soon” light
is lit for three seconds as a
bulb check each time the ignition key is turned to the
RUN position. If an oil change is required, it will stay
on for
60 seconds each time the engine is started. If the
“Change Oil Soon” light is on continuously, there is a
problem with the Oil Life Monitor System and service is
required. After
changing; the engine oil, the system should be
- reset. This
will cause the “Change Oil Soon” light once
again,
to be lit for just the bulb check period of three
seconds.
The reset button is.inside this hole, which is under the
passenger’s side of the instrument panel, near the door.
With the ignition key in the
RUN position, but the
engine not started, use a pen to push the reset button,
holding
it in for at least 5 seconds but not more than 60
seconds. After 5 seconds, the “Change Oil Soon” light
will flash 4 times and then go off. This indicates that the
Oil Life Monitor System has been reset.
ProCarManuals.com
Page 144 of 340
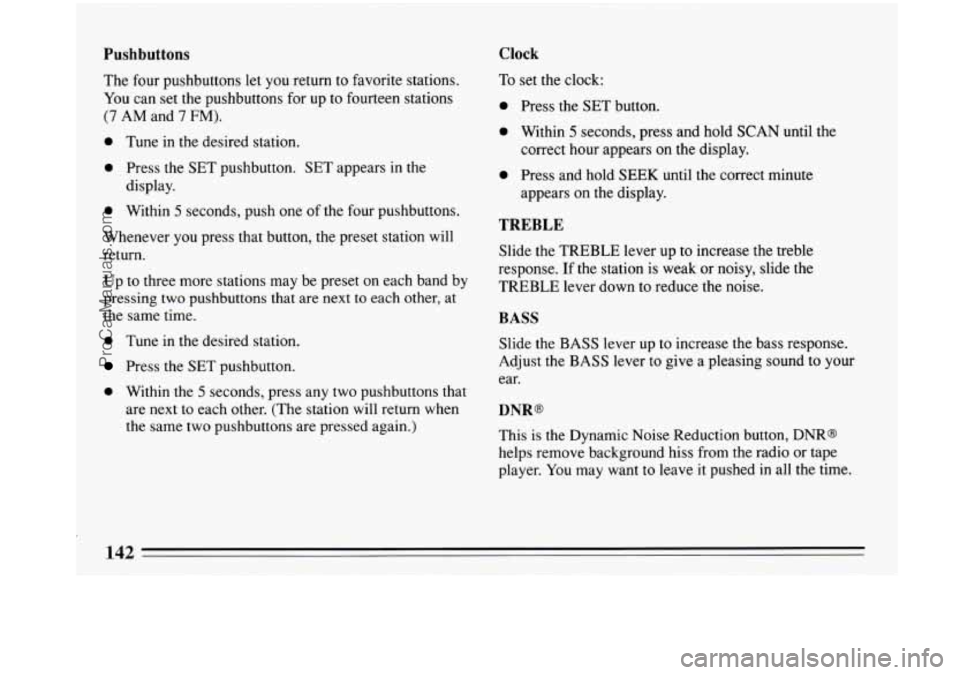
Pushbuttons Clock
The four pushbuttons let you return to favorite stations.
You can set the pushbuttons for up to fourteen stations
(7 AM and 7 FM).
0 Tune in the desired station.
0 Press the SET pushbutton. SET appears in the
display.
0 Within 5 seconds, push one of the four pushbuttons.
Whenever you press that button, the preset station will
return.
Up to three more stations may be preset on each band by
pressing two pushbuttons that are next to each other, at
the same time.
0 Tune in the desired station.
Press the SET pushbutton.
0 Within the 5 seconds, press any two pushbuttons that
are next to each other. (The station will return when
the same two pushbuttons are pressed again.) To
set the clock:
0 Press the SET button.
0 Within 5 seconds, press and hold SCAN until the
correct hour appears on the display.
0 Press and hold SEEK until the correct minute
appears on the display.
TREBLE
Slide the TREBLE lever up to increase the treble
response. If the station is weak or noisy, slide the
TREBLE lever down to reduce the noise.
BASS
Slide the BASS lever up to increase the bass response.
Adjust the BASS lever to give a pleasing sound to your
ear.
DNR@
This is the Dynamic Noise Reduction button, DNR@
helps remove background hiss from
the radio or tape
player.
You may want to leave it pushed in all the time.
ProCarManuals.com
Page 147 of 340
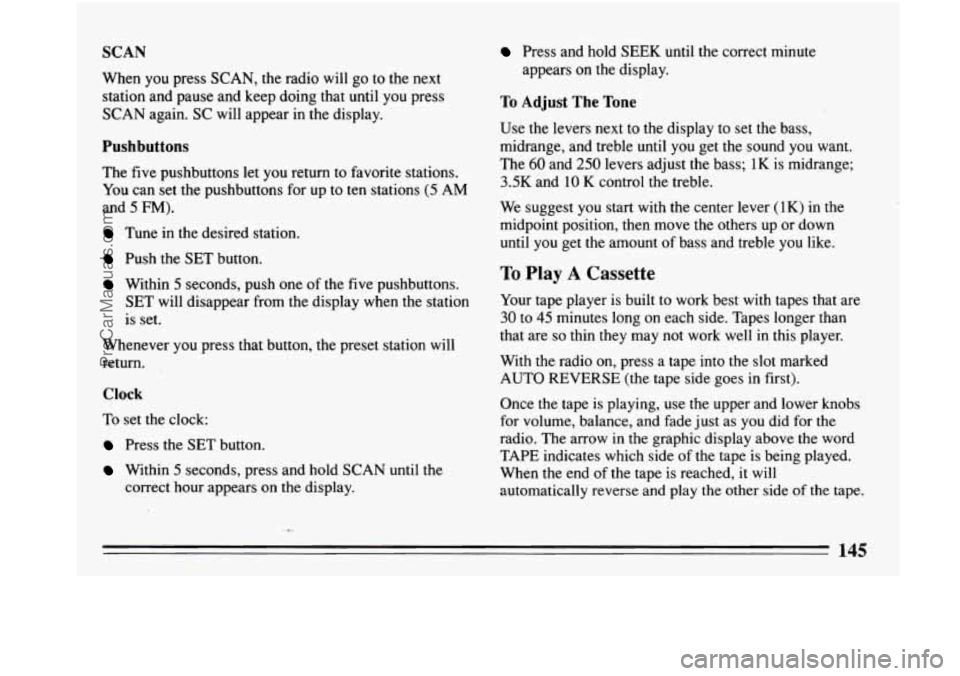
SCAN
When you press SCAN, the radio will go to the next
station and pause and keep doing that until
you press
SCAN again. SC will appear in the display.
Pushbuttons
The five pushbuttons let you return to favorite stations.
You can set the pushbuttons for up to ten stations (5 AM
and 5 FM).
Tune in the desired station.
Push the SET button.
Within 5 seconds, push one of the five pushbuttons.
SET will disappear from the display when the station
is set.
Whenever you press that button, the preset station will
return.
Clock
To set the clock:
Press the SET button.
Within 5 seconds, press and hold SCAN until the
correct hour appears on the display.
Press and hold SEEK until the correct minute
appears
on the display.
To Adjust The Tone
Use the levers next to the display to set the bass,
midrange, and treble until
you get the sound you want.
The
60 and 250 levers adjust the bass; 1K is midrange;
3.5K and 10 K control the treble.
We suggest you start with the center lever
(1K) in the
midpoint position, then move the others up or down
until you get the amount of bass and treble you like.
To Play A Cassette
Your tape player is built to work best with tapes that are
30 to 45 minutes long on each side. Tapes longer than
that are
so thin they may not work well in this player.
With the radio on, press a tape into the slot marked
AUTO REVERSE (the tape side goes in first).
Once the tape is playing, use the upper and lower knobs
for volume, balance, and fade just as you did for the
radio. The arrow
in the graphic display above the word
TAPE indicates which side
of the tape is being played.
When the end of the tape is reached, it
will
automatically reverse and play the other side of the tape.
. -,
145
ProCarManuals.com
Page 149 of 340
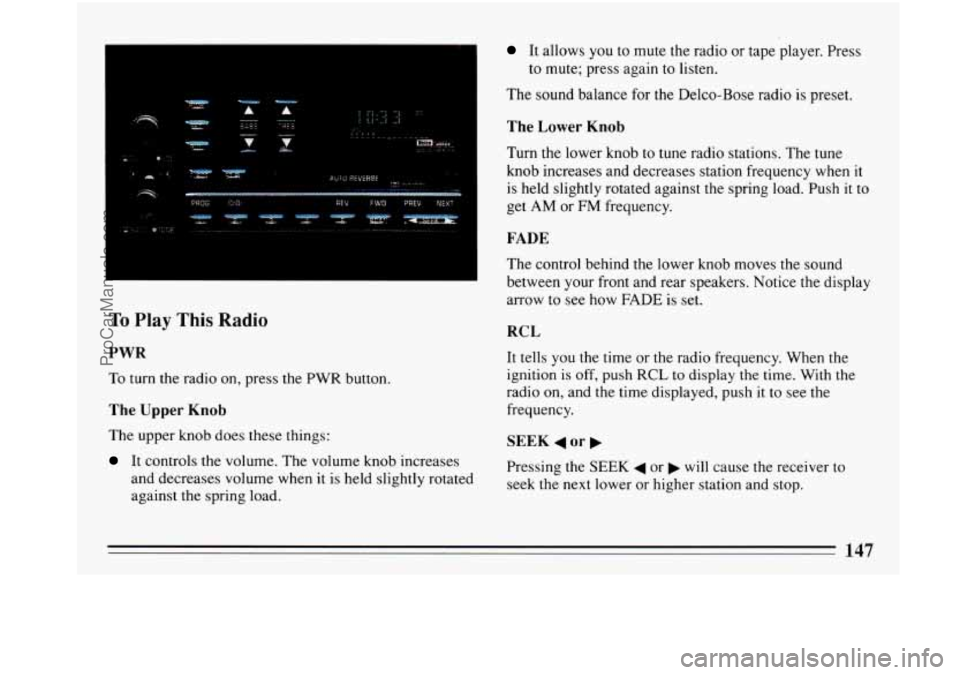
To Play This Radio
PWR
To turn the radio on, press the PWR button.
The Upper Knob
The upper knob does these things:
It controls the volume. The volume knob increases
and decreases volume when it is held slightly rotated
against the spring load.
It allows you to mute the radio or tape player. Press
The sound balance for the Delco-Bose radio is preset.
to
mute; press again to listen.
The Lower Knob
Turn the lower knob to tune radio stations. The tune
knob increases and decreases station frequency when it
is held slightly rotated against the spring load. Push
it to
get AM or
FM frequency.
FADE
The control behind the lower knob moves the sound
between your front and rear speakers. Notice the display
arrow to see how FADE is set.
RCL
It tells you the time or the radio frequency. When the
ignition is
off, push RCL to display the time. With the
radio on, and the time displayed, push it to see the
frequency.
SEEK 4 or b
Pressing the SEEK 4 or b will cause the receiver to
seek the next lower or higher station and stop.
ProCarManuals.com
Page 150 of 340
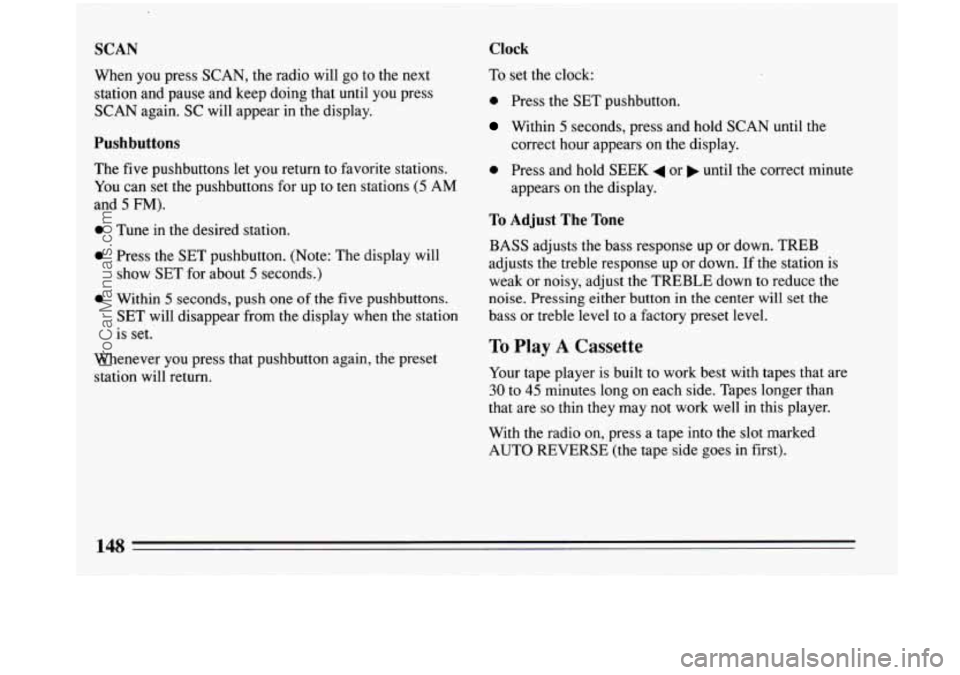
SCAN Clock
When you press SCAN, the radio will go to the next
station and pause and keep doing that until
you press
SCAN again. SC will appear in the display.
Pushbuttons
The five pushbuttons let you return to favorite stations.
You can set the pushbuttons for up to ten stations
(5 AM
and
5 FM).
0 Tune in the desired station.
0 Press the SET pushbutton. (Note: The display will
shQw SET for about
5 seconds.)
0 Within 5 seconds, push one of the five pushbuttons.
SET will disappear from the display when the station
is set.
Whenever you press that pushbutton again, the preset
station will return. To
set the clock:
0 Press the SET pushbutton.
Within 5 seconds, press and hold SCAN until the
correct hour appears on the display.
0 Press and hold SEEK 4 or until the correct minute
appears on the display.
To Adjust The Tone
BASS adjusts the bass response up or down. TREB
adjusts the treble response up or down. If the station is
weak or noisy, adjust the TREBLE.down to reduce the
noise. Pressing either button in the center will set the
bass or treble
level to a factory preset level.
To Play A Cassette
Your tape player is built to work best with tapes that are
30 to 45 minutes long on each side. Tapes longer than
that are
so thin they may not work well in this player.
With the radio on, press a tape into the
slot marked
AUTO REVERSE (the tape side goes in first).
ProCarManuals.com