1993 BUICK PARK AVENUE reset
[x] Cancel search: resetPage 153 of 340
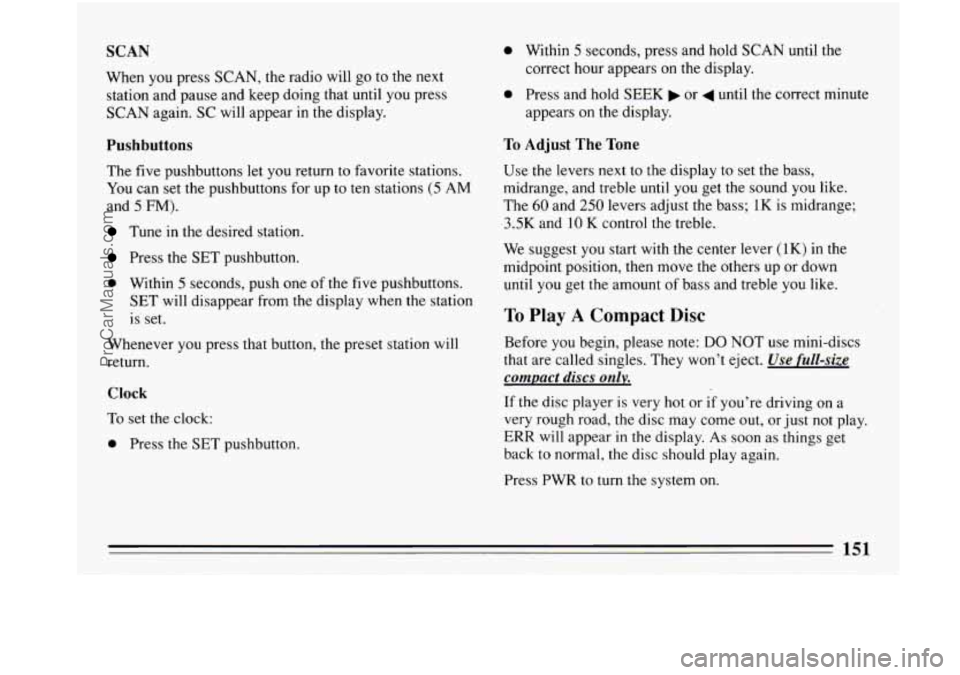
SCAN
When you press SCAN, the radio will go to the next
station and pause and keep doing that until you press
SCAN again. SC will appear in the display.
Pushbuttons
The five pushbuttons let you return to favorite stations.
You can set the pushbuttons for up to ten stations (5 AM
and 5 FM).
Tune in the desired station.
Press the SET pushbutton.
0 Within 5 seconds, push one of the five pushbuttons.
SET will disappear from the display when the station
is set.
Whenever
you press that button, the preset station will
return.
Clock
To set the clock:
0 Press the SET pushbutton.
0 Within 5 seconds, press and hold SCAN until the
correct hour appears on the display.
0 Press and hold SEEK or 4 until the correct minute
appears on the display.
To Adjust The Tone
Use the levers next to the display to set the bass,
midrange, and treble until you get the sound you like.
The
60 and 250 levers adjust the bass; 1K is midrange;
-3.5K and 10 K control the treble.
We suggest
you start with the center lever (1K) in the
midpoint position, then move the others up or down
until you get the amount
of bass and treble you like.
To Play A Compact Disc
Before you begin, please note: DO NOT use mini-discs
that are called singles. They won’t eject.
Use full-size
compact discs only.
If the disc player is very hot or if you’re driving on a
very rough road, the disc may come out, or just not play.
ERR will appear
in the display. As soon as things get
back to normal, the disc should play again.
Press PWR to turn the system on.
ProCarManuals.com
Page 155 of 340
Press the PWR button or turn the ignition key off to stop
the disc player. The disc stays in the player and will
resume playing at the point where it stopped.
EJECT
Press EJCT, the disc will eject and the radio will play.
The disc will start at track
1 when you reinsert it.
As a feature to protect the disc,
if you turn the ignition off
with the disc partway out of the slot (after eject), it will be
drawn back into the player in about 30 seconds. The disc
will play at track
1 when the radio is turned on again.
Anti-Theft Feature
Delco-Loc I1 is a security feature for the compact disc
player. It can be used or ignored.
If ignored, the system
plays normally. If it is used, your player won’t be usable
if it’s ever stolen, because it won’t turn on.
The instructions below tell you how to enter your
personal secret code into the system. If your vehicle loses
battery power for any reason, you must unlock the system
with the secret code again before the system will
turn on.
Be sure to read through the entire procedure and become
familiar with
the appropriate buttons and knobs before
starting.
Step
1. Write clown any 6-digit number and keep it in a
safe place. Step
2. Turn
the ignition to the ACC or RUN position.
Step
3. Press PWR to turn the radio off.
Step 4. Press preset 1 and 4 buttons together. Hold them
until
“---” shows on the display (at least 5 seconds).
You are now ready to enter your secret code. If you
pause more than
15 seconds between steps you may
have to start over.
Step
5. Press SET and “000” will appear on the display.
Step 6. Press SEEK and hold
it until the first digit of
your code appears.
Step 7. Rotate the tune knob right or left to make the
next two numbers agree
with your code.
Step
8. Press AM-FM knob and “000” will appear. Now
you are ready to enter the second three digits of the code
according to steps
6 and 7.
Step 9. Press the AM-FM knob. The display will show
“rEP” for
5 seconds, and then “OOO” will appear indicating
that some steps are to
be repeated for verification.
Step
10. Repeat steps 6,7, and 8.
Step 11. Press the AM-FM knob. If the display shows
“SEC”, the verification process was successful and the
system
is SECURE. If the display shows “---”, the
verification steps were not successful and the entire
sequence must be started again.
ProCarManuals.com
Page 156 of 340
To Unlock The System After a Power Loss
When battery power is reapplied to a secured radio, the
radio won’t turn on and
“LOC” will appear in the
display.
Enter your secret code as follows; pause no more than
15 seconds between steps.
Step
1. Turn the ignition ON (Radio off.)
Step 2. Press the SET button. The display will show
“000”.
Step 3. Enter the six digits of the code following steps 6
thru 9 on the preceding page. The display will show the
number as entered.
Step
4. Press the AM/FM button and the time appears -
indicating that the disabling sequence was successful. If
the display indicates “SEC”, the number did not match
and the unit is still secured.
Disabling The Theft System
Step 1. Press presets 1 and 4 for 5 seconds with the
ignition “On” and radio power “Off
”. The display will
show
“SEC”, indicating the unit is in the secure mode.
Step
2. Press the SET button. The display will show
“000”.
Step 3. Enter the first three digits of the code following
step
6 and 7 of the preceding directions. The display will
show the numbers as entered.
Step
4. Press the AM-FM button. The radio will display
“000”.
Step 5. Enter the second three digits of the code. The
display will show the numbers as entered.
Step
6. Press the AM-FM button. If the display shows
“ --- ” , the disabling sequence was successful. (The
numbers matched the user-selected code or the factory
back-up code) and the unit is in the UNSECURED
mode.
If the display shows “SEC”, the disabling
sequence was unsuccessful and the numbers did not
match either
of the codes and the unit will remain in the
SECURED mode.
ProCarManuals.com
Page 263 of 340
Radiator Pressure Cap
Your radiator pressure cap is a 15 psi (105 kPa)
pressure-type cap and must be tightly install
to prevent coolant
loss and possible engine
damage from overheating. Be sure the arro
the cap line up with the
ov be on t
radiator filler neck.
Power Steering Fluid
When you replace your radiator pressure cap, an AC@
cap
is recommended.
Thermostat
Engine coolant temperature is controlled by a thermostat
in the engine coolant system. The thermostat stops the
flow
of coolant through the radiator until the coolant
reaches a preset temperature.
When
you replace your thermostat, an AC@ thermostat
is recommended.
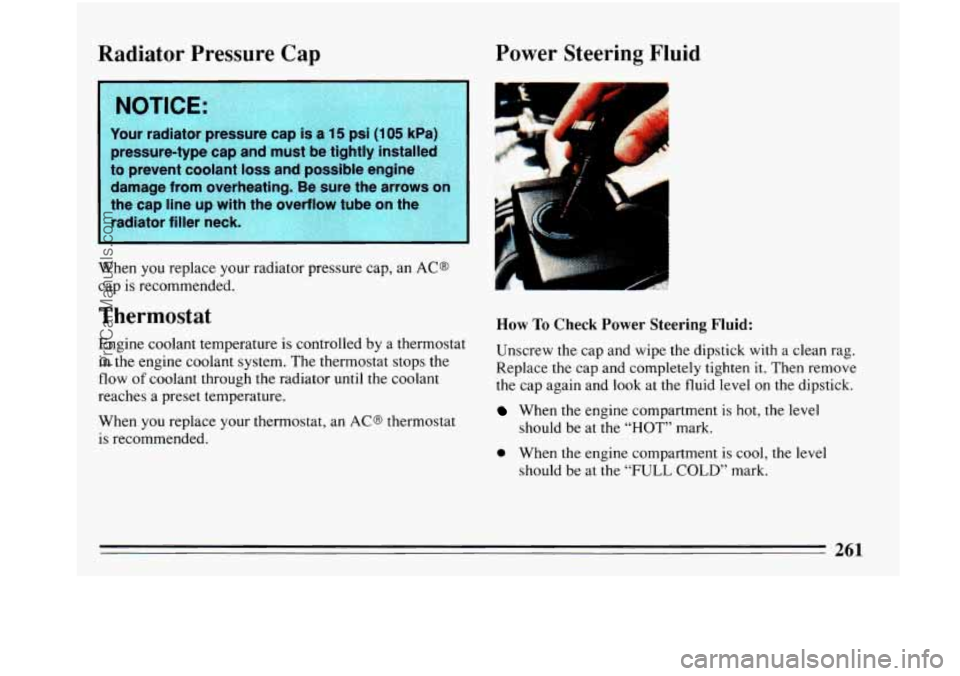
How To Check Power Steering Fluid:
Unscrew the cap and wipe the dipstick with a clean rag.
Replace
the cap and completely tighten it. Then remove
the cap again and look at the fluid level on the dipstick.
When the engine compartment is hot, the level
should be at the
“HOT” mark.
0 When the engine compartment is cool, the level
should be at the “FULL COLD” mark.
ProCarManuals.com
Page 278 of 340
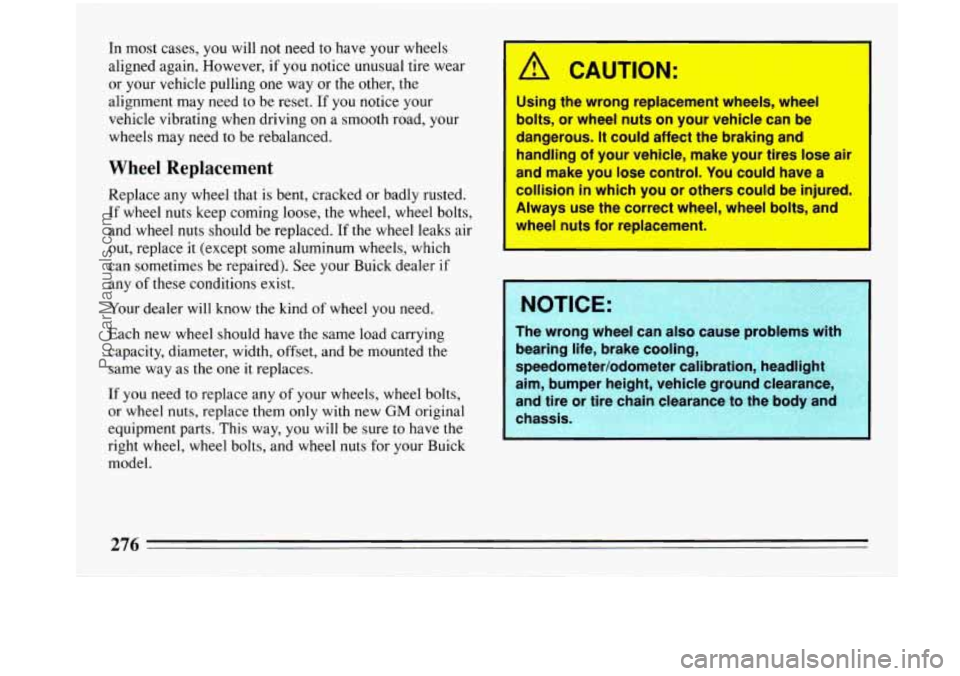
In most cases, you will not need to have your wheels
aligned again. However, if
you notice unusual tire wear
or your vehicle pulling one way or the other, the
alignment may need to be reset.
If you notice your
vehicle vibrating when driving on a smooth road, your
wheels may need to be rebalanced.
Wheel Replacement
Replace any wheel that is bent, cracked or badly rusted.
If wheel nuts keep coming loose, the wheel, wheel bolts,
and wheel nuts should be replaced.
If the wheel leaks air
out, replace it (except some aluminum wheels, which
can sometimes be repaired). See your Buick dealer if
any
of these conditions exist.
Your dealer will know the kind
of wheel you need.
Each new wheel should have the same load carrying
capacity, diameter, width, offset, and be mounted
the
same way as the one it replaces.
If
you need to replace any of your wheels, wheel bolts,
or wheel nuts, replace them
only with new GM original
equipment parts. This way, you will be sure
to have the
right wheel, wheel bolts, and wheel nuts for your Buick
model.
A CAUTION:
Using the wrong replacement wheels, wheel
bolts, or wheel nuts on your vehicle can be
rngerous. It could affect the braking and
.. ~ndling of your vehicle, make your tires lose air
and make you lose control. You could have a
collision
in which you or others could be injured.
- ..ways use the correct wheel, wheel bolts, ~ d
I wheel nuts
for replacement.
I
1: NOTICE:
The wrong wheel can atso cause Droblems with
bearing life, brake cooling,
speedometer/odometer calibration, headllgb,,
aim, bumper height, vehicle ground clearance
and tire or tire chain clearance to the body an(
chassis.
ProCarManuals.com