Page 218 of 324

If a Tire Goes Flat
It’s unusual for a tire to “blow out” while you’re driving,
especially if you maintain your tires properly.
If air goes
out of a tire, it’s much more likely to leak out slowly.
But if you should ever have a “blowout,” here are a few
tips about what to expect and what to do:
If a front tire fails,
the flat tire will create a drag that
pulls the vehicle toward that side. Take your foot off the
accelerator pedal and grip the steering wheel firmly. Steer to maintain lane position, then gently brake to a
stop well out
of the traffic lane.
A rear blowout, particularly on a curve, acts much like a
skid and may require the same correction you’d use in a
skid. In any rear blowout, remove your foot from the
accelerator pedal. Get the vehicle under control
by
steering the way you want the vehicle to go. It may be
very bumpy and noisy, but you can still steer. Gently
brake to a stop, well
off the road if possible.
If your tire goes flat, the next section shows how to use
your jacking equipment to change a flat tire safely.
Changing a Flat Tire
If a tire goes flat, avoid further tire and wheel damage
by driving slowly to
a level place. Turn on your hazard
warning flashers.
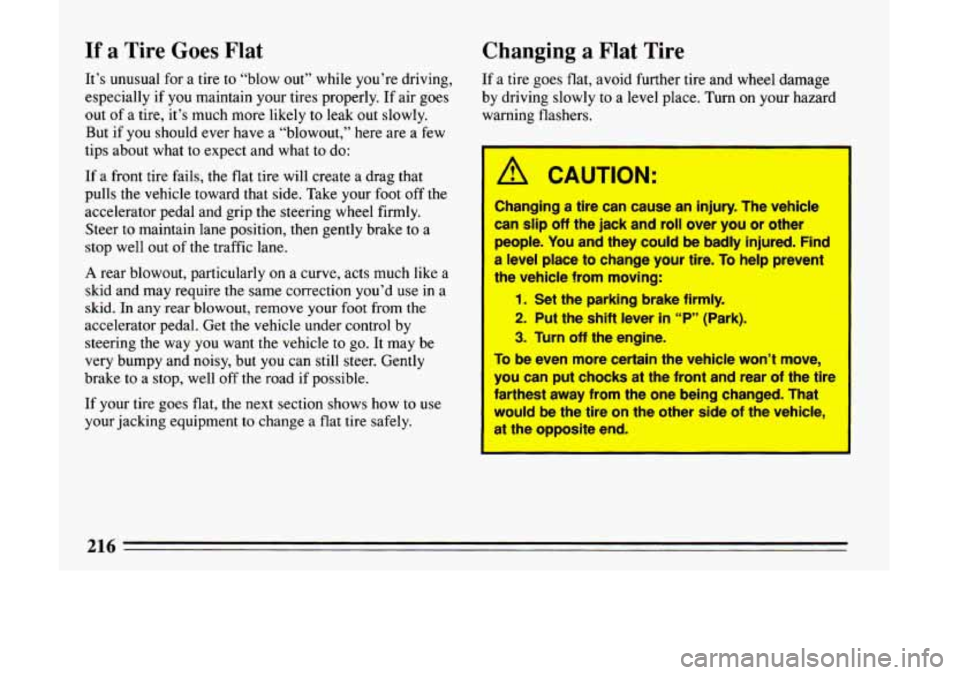
A CAUTION:
Changing 8 tire can cause an injury. The vehicle
can
slip off the jack and roll over you or other
people. You and they could be badly injured. Find
eve1 place to change your tire. To help prevent
the vehicle from moving:
1. Set the parking brake firmly.
2. Put the shift lever In “P” (Park).
3. Turn off the engine.
lo be even more certain the vehicle won’t move,
you can put chocks at the front and rear of the tire
Farthest away from the one being changed. That
would
be the tire on the other side of the vehicle,
at the oppll le end.
216
-
Page 225 of 324
Raise the vehicle by rotating the wheel wrench
clockwise. Raise
the vehicle far enough off the ground
so there is enough room for the spare tire to fit.
Remove all the wheel nuts and take off the flat tire.
pll
f
CAUTION:
Rust or dirt on the wheel, or on the parts to
which it is fastened, can make the wheel nuts
become loose after a time. The wheel could come
riff and cause an accident. When you change a
eel, remove any rust or dirt from the places
where the wheel attaches to the vehicle. In
an
erngrgeocy, you can use a cloth or a paper towel
to do this; but be sure to use a scraper or wire
dirt Offa "
brush later, if you need to, to get all the rust or
I
Remove any rust or dirt from the wheel bolts, mounting
surfaces or spare wheel.
223
Page 226 of 324
* A
wheel mounting surface.
..
, . ..
A?%%
-
I A CAUTION:
Replace the wheel nuts
with the rounded end of the
nuts toward the wheel.
Never use oil or grease on studs or nuts. If you Tighten each nut by hand
do; the nuts might come loose. Your wheel could until the wheel is held
fall off, causing a serious accident. against the hub.
Place the spare on the -- -
P
Page 230 of 324

If You’re Stuck: In Sand, Mud, Ice or
Snow
What you don’t want to do when your vehicle is stuck is
to spin your wheels. The method known as “rocking”
can help you get out when you’re stuck, but you must
use caution.
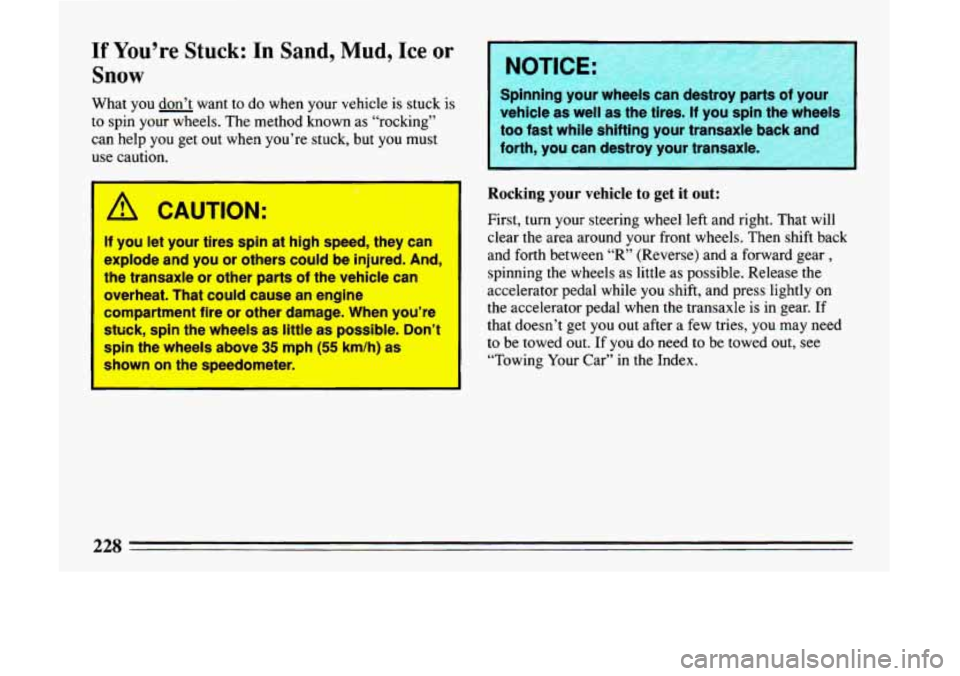
1 LAUTION:
If you let your tires spin at high speed, they can
explode and you or others could be injured. And,
the transaxle or other parts of the vehicle can
overheat. That could cause an engine
compartment fire or other damage. When you’re
stuck, spin the wheels as little as possible. Don’t
spin the wheels above 35 mph (55 km/h) as
own on the speedometer.
I
I AOTICE:
Spinning your troy pal I
vehicle as well as the tires. If you spin the wheels
too fast while shifting your transaxle
forth, you can destroy your transaxle.
Rocking your vehicle to get it out:
First, turn your steering wheel left and right. That will
clear the area around your front wheels. Then shift back
and forth between
“R” (Reverse) and a forward gear ,
spinning the wheels as little as possible. Release the
accelerator pedal while you shift, and press lightly on
the accelerator pedal when the transaxle
is in gear. If
that doesn’t get
you out after a few tries, you may need
to be towed out. If you do need to be towed out, see
“Towing Your Car” in the Index.
Page 239 of 324
To Check Engine Oil: Pull out the dipstick and clean it
with a paper towel or cloth, then push it back in all the
way. Remove it again, keeping the tip lower.
When to Add Oil: If the oil is at or below the ADD
line, then you’ll need to add some oil. But you must use
the right kind. This section explains what kind of
oil to
use. For crankcase capacity, see “Capacities and
Specifications” in the Index.
1 NOTICE:
Don’t add too much oil. If your engine has so
much oil that the oil level gets above the
cross-hatched area that
shows the proper
operating range, your engine could be damaged.
Use the engine oil fill cap next to the oil dipstick to add
oil.
Just fill it enough to put the level somewhere in the
proper operating range. Push
the dipstick all the way
back
in when you’re through.
I
237
Page 241 of 324

SAE low-30
As shown in the viscosity chart, SAE low-30 is best
for your vehicle. However, you can use SAE 5W-30
if
it’s going to be colder than 60 F ( 16 C) before
your next oil change. When it’s very cold, below
0 F (- 1 8 C), you should use SAE 5W-30.
These numbers on an oil container show its viscosity, or
thickness,
Do not use other viscosity oils such as SAE
1OW-40 or SAE 20W-50.
Energy Conserving I1
Oils with these words on the container will help
you
save fuel.
This doughnut-shaped logo (symbol) is used on most oil
containers to help
you select the correct oil.
You should look for this on the oil container, and use
only those oils that display the logo.
GM Goodwrench@
oil (in Canada, GM Engine Oil)
meets all the requirements for your vehicle.
Engine Oil Additives: Don’t add anything to your oil.
Your Buick dealer is ready to advise if you think
something should be added.
When to Change Engine Oil: See if any one of these
is true for you:
Then go
to the front of the vehicle and release the
secondary hood release. Lift the hood.
Most trips are less than 4 miles (6 km).
0 It’s below freezing outside and most trips are less
than
10 miles ( 16 km).
0 The engine is at low speed most of the time (as in
0 You tow a trailer often.
0 Most trips are through dusty places.
If any one of these is true for your vehicle, then you
need to change your oil and filter every 3,000 miles
(5 000 km) or 3 months -- whichever comes first.
(See “Change Oil Soon” in the Index.)
If none of them is true, change the oil every
7,500 miles
(12 500 km) or 12 months -- whichever comes first.
Change the filter at the first oil change and at every
other oil change after that. (See “Change Oil Soon”
in the Index.)
Engine Block Heater: An engine block heater can be a
big help if you have to park outside in very cold
weather,
0 F (- 18 C) or colder. If your vehicle has this
option,
see “Engine Block Heater” in the Index.
door-to-door delivery, or
in stop-and-go traffic).
239
Page 244 of 324

Wait at least 30 minutes before checking the transaxle
fluid level if
you have been driving:
0 When outside temperatures are above 90 " F (32 " C).
0 At high speed for quite a while.
0 In heavy traffic -- especially in hot weather.
While pulling a trailer.
To get the right reading, the fluid should be at normal
operating temperature, which is
180 F to 200 " F (82 " C
to 93 "C).
Get the vehicle warmed up by driving about 15 miles
(24 km) when outside temperatures are above 50 " F
(10' C). If it's colder than 50 " F (1 0 ' C), you may have
to drive longer.
To check the fluid level:
Park your vehicle on a level place.
Place the shift lever in 7'" (Park) with the parking
With your foot on the brake pedal, move the shift
brake
applied.
lever through each gear range, pausing for about
three seconds in each range.
Then, position the shift
lever in "P" (Park).
Let the engine run at idle for three to five minutes. Then, without
shutting off the engine, follow these
steps:
1. Pull out the dipstick and wipe it with a clean rag or
paper towel.
2. Push it back in all the way, wait three seconds and
then pull it back out again.
242
Page 259 of 324
Tire Inspection and Rotation
To make your tires last longer, have them inspected and
rotated at the mileages recommended in the
.
Maintenance Schedule. See “Scheduled Maintenance
Services’’ in the Index.
Use this rotation pattern. After
the tires have been rotated, adjust the front and
rear inflation pressure as shown on the Tire-Loading
Information label. Make certain that all wheel nuts are
properly tightened. See “Wheel Nut Torque” in the
Index.
I
A CAUTION:
Rust or dlrt on a wheel, or on the parts to which
it is fastetfed, can make wheel nuts become
loose after a time. The wheel could come off and
cause
an accident. When you change a wheel,
remove any rust or dirt from places where the
wheel attaches
to the vehicle. In an emergency,
you can use a cloth or a paper towel to do this;
but be
sure to use a scraper or wire brush later, if
you need to, to get all the rust or dirt off. (See
“Changing a FI; Tire’* On the Index.)