1993 BUICK LESABRE change time
[x] Cancel search: change timePage 4 of 324
.
GENERAL MOTORS, GM and the GM Emblem,
BUICK, and the
BUICK Emblem are registered
trademarks
of General Motors Corporation.
- I We support voluntary
technician certification.
VOCUNTARV TECHNICIAN WE SUPPORT
CERTIFICATION THROUGH
Nalnonal Instolute lor AUTOMOTIVE SERVICE EXCELLENCE
This
manual includes the latest information at the time it
was printed. We reserve the right to make changes in the
product after that time without further notice. For vehicles
For Canadian Owners Who Prefer a
first sold in Canada, substitute the name “General Motors
of Canada Limited” for Buick Motor Division whenever
it French Language h’hnual:
appears in this manual.
Aux propriktaires canadiens: Vous pouvez vous procurer
un exemplaire de ce guide en francais chez votre
Please keep this manual in your Buick,
SO it will be there if concessionaire ou DGN Marketing Services Ltd., 1500
YOU ever need it when you’re On the road. If YOU Sell the Bonhill Rd., Mississauga, Ontario L~T 1~7.
vehicle, please leave this manual in it so the new owner can
use it.
2
Page 65 of 324

I
-.. . BLK
LSSEMBLY LINE DIAGNOSTIC
NK (ALDL) CONNECTOR I
5. Still keeping the program terminal grounded, repeat
Step
4 with the second transmitter. If you disconnect
the ground wire before completing this step, only the
first transmitter is matched.
If you make a mistake,
disconnect the jumper wire and start over at Step
3.
6. Remove the jumper wire. (Note: The system will not
operate
if the jumper wire is still connected.)
7. Test the operation of both transmitters with the
vehicle.
3. Use a jumper wire with alligator clips at both ends to
ground (Terminal
A) to program (Terminal G).
Grounding the program terminal erases the system
memory and causes the doors
to lock and unlock
once. This means
the system is ready to be matched
to the transmitter.
4. Keeping the program terminal grounded, press the
UNLOCK button on the first transmitter. The door
locks will lock and unlock again to indicate
the
transmitter is now matched. If there is no response,
check the transmitter batteries. If
you do not want to
match a second transmitter, proceed to Step 6.
If the lock control does not work as it should, see your
Buick dealer.
Battery Replacement
Under normal use, the batteries in your key chain
transmitter should last about two years.
You can tell the batteries are weak if the transmitter
won’t work at
the normal range in any location. If you
have to get close to your vehicle before the transmitter
works, it’s probably time to change the batteries.
63
Page 89 of 324

some jurisdictions may require that you operate your
lower beam lamps with fog lamps at all times, or that
headlamps be turned on whenever you must
use your
windshield wipers.
In addition, most jurisdictions
prohibit driving solely with parking lamps, especially at
dawn or dusk. It
is recommended that you check with
you own State or Provincial highway authority for
applicable lighting regulations.
Headlight High-Low Beam
’ To change the headlights
from low beam to high or
high to low, pull the turn
signal lever all the way
toward you. Then release it.
When the high beams are
on, this blue light on the
instrument panel also will
be on.
Windshield Wipers
... ,rll
You control the windshield wipers by turning the band
marked “WIPER.”
For a single wiping cycle, turn the band to “MIST.”
Hold it there
until the wipers start, then let go. The
wipers will stop after one cycle. If you want more
cycles, hold the band
on “MIST” longer.
You can set the wiper speed for a long
or short delay
between wipes. This can be very
useful in light rain or
snow. Turn the band
to choose the delay time. The
closer to
“LO,” the shorter the delay.
87
Page 100 of 324

Daytime Running Lights (Canada Only)
The Canadian Federal Government has decided that
“Daytime Running Lights” (DRL) are a
useful feature,
in that DRL can make your vehicle more visible to
pedestrians and other drivers during daylight hours.
DRL are required on new vehicles sold in Canada.
Your DRL work with
a light sensor on top of the
instrument panel. Don’t cover it up.
The low beam headlights will come on at reduced
brightness in daylight when:
The ignition is on
The headlight switch is off, and
The transaxle is not in “P” (Park).
At dusk, the exterior lights will come
on automatically
and the low beams will change
to full brightness. At
dawn, the exterior lights will go out and the low beams
will change
to the reduced brightness of DRL (if the
headlight switch is
off).
Of course, you may still turn on the headlights any time
you need to.
To idle your vehicle with the DRL off, shift the
transaxle into
“P” (Park). The DRL will stay off until
you
shift out of “P” (Park).
To turn off all exterior lighting at night when
you are
parked, move the twilight sentinel control from
ON to
OFF, if it was on from the start. Or, move the control
from
OFF to ON, then back to OFF, if it was off from
the start. The lights will come back
on when you move
the transaxle
out of PARK.
Page 116 of 324
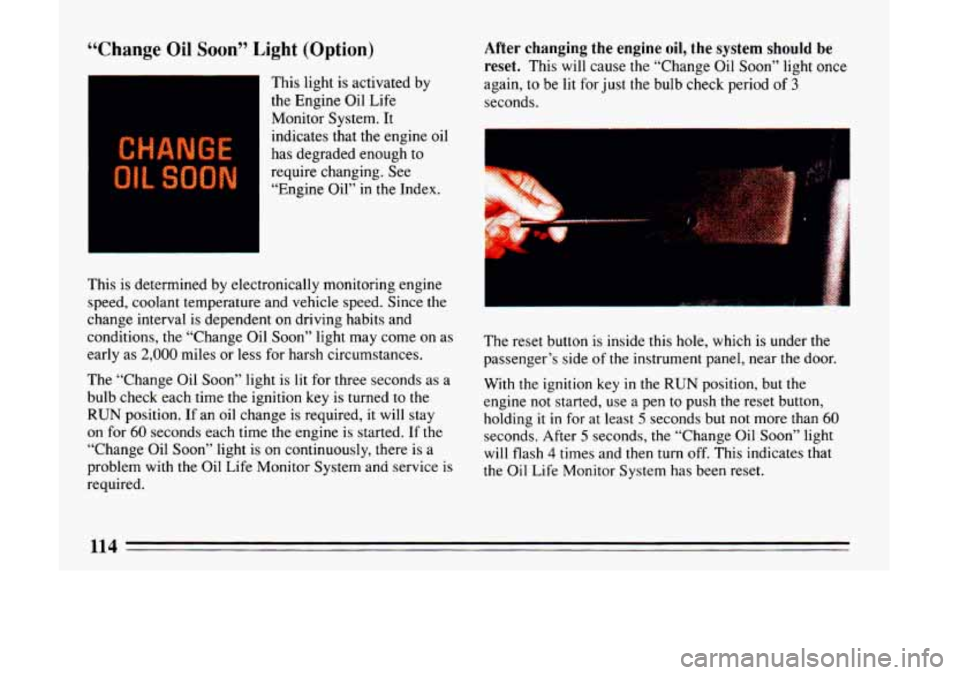
“Change Oil Soon’’ Light (Option)
This light is activated by
the Engine Oil Life
Monitor System. It
indicates that the engine oil
has degraded enough to
require changing. See
“Engine Oil”
in the Index.
After changing the engine oil, the system should be
reset.
This will cause the “Change Oil Soon” light once
again, to be lit for just
the bulb check period of 3
seconds.
This
is determined by electronically monitoring engine
speed, coolant temperature and vehicle speed. Since the
change interval is dependent on driving habits and
conditions, the “Change Oil Soon” light may come on as
early as
2,000 miles or less for harsh circumstances.
The “Change Oil Soon” light is lit for three seconds as a
bulb check each time the ignition key is turned to
the
RUN position. If an oil change is required, it will stay
on for 60 seconds each time the engine is started. If the
“Change Oil Soon” light is on continuously, there is a
problem with the Oil Life Monitor System and service
is
required. The reset button
is inside this hole, which is under the
passenger’s side of the instrument panel, near the door.
With the ignition key in
the RUN position, but the
engine not started, use a pen
to push the reset button,
holding
it in for at least 5 seconds but not more than 60
seconds. After 5 seconds, the “Change Oil Soon” light
will flash
4 times and then turn off. This indicates that
the Oil Life Monitor System has been reset.
1lA
I
Page 140 of 324
To Play A Compact Disc
Before you begin, please note: DO NOT use mini-discs
that are called singles. They won’t eject. Use full-size
compact discs only.
Press PWR
to turn the system on.
Insert a disc partway into the slot, label side up. The
player will pull it in. Wait a few seconds and the disc
should play.
If the disc comes back out, check whether:
0
0
0
0
The disc is upside down.
It is dirty, scratched, or wet.
There’s too much moisture in the air. (If there
is,
wait about an hour and try again.)
The disc player is too hot. If the disc player is very
hot, or if you’re driving on a very rough road, the
disc may come out or not play. ERR will appear in
the display.
As soon as things get back to normal, the
disc should play again.
RCL
Press RCL to see what track is playing. Press it again
within
5 seconds to see how long it has been playing.
The display will automatically return to the time of day.
The track number also appears when
you change the
volume or when a new track starts to play.
COMP
Pressing the COMP button makes soft and loud passages
more nearly equal in volume. COMP appears in the
graphic display.
RDM
The RDM button means random and when it is pressed,
it will play the tracks in random order rather than in the
sequential
1,2,3 ... order. Pressing RDM again will play
the disc in sequential order.
REV
Press and hold REV to return rapidly to a favorite
passage in a track. Release it to play the passage. Note
the counter reading in the graphic display.
138
Page 155 of 324
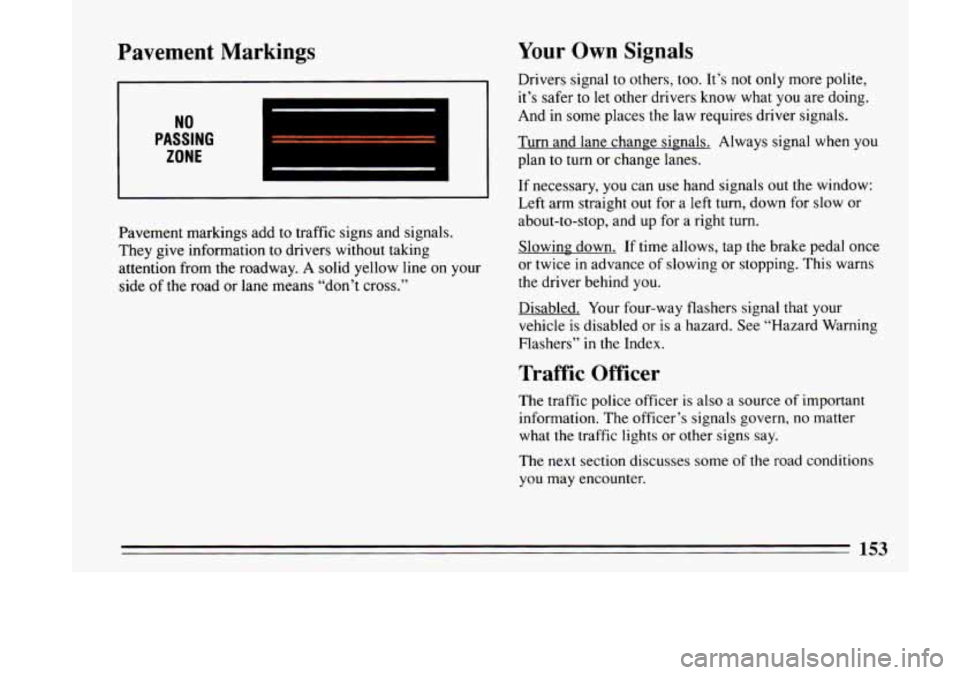
Pavement Markings
NO
PASSING
ZONE
Pavement markings add to traffic signs and signals.
They give information to drivers without taking
attention from the roadway. A solid yellow line on your
side
of the road or lane means “don’t cross.’’
Your Own Signals
Drivers signal to others, too. It’s not only more polite,
it’s safer to let other drivers know what
you are doing.
And in some places the law requires driver signals.
Turn and
lane change signals. Always signal when you
plan to turn or change lanes.
If necessary, you can use hand signals
out the window:
Left arm straight out for a left turn, down for slow or
about-to-stop, and
up for a right turn.
Slowinn down. If time allows, tap the brake pedal once
or twice in advance of slowing or stopping. This warns
the driver behind
you.
Disabled. Your four-way flashers signal that your
vehicle is disabled
or is a hazard. See “Hazard Warning
Flashers” in the Index.
Traffic Officer
The traffic police officer is also a source of important
information. The officer’s signals govern, no matter
what the traffic lights or other signs say.
The next section discusses some
of the road conditions
you may encounter.
153
Page 163 of 324
I
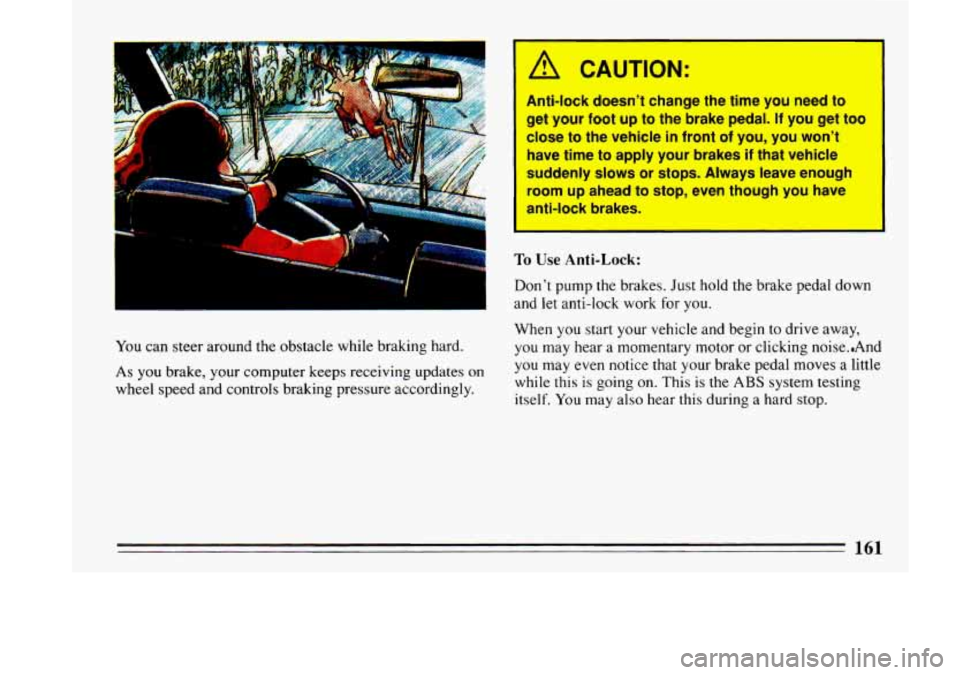
You can steer around the obstacle while braking hard.
As you brake, your computer keeps receiving updates on
wheel speed and controls braking pressure accordingly.
/A CAUTION:
1
1
Anti-lock doesn’t change the time you need to
get your foot up to the brake pedal. If you get too
close
to the vehicle in front of you, you won’t
have time to apply your brakes
if that vehicle
suddenly slows or stops. Always leave enough
room up ahead
to stop, even though you have
anti-lock brakes.
To Use Anti-Lock:
Don’t pump the brakes. Just hold the brake pedal down
and let anti-lock work for
you.
When you start your vehicle and begin to drive away,
you may hear a momentary motor or clicking noise..And
you may even notice that your brake pedal moves a little
while this
is going on. This is the ABS system testing
itself.
You may also hear this during a hard stop.