1993 BUICK LESABRE tow
[x] Cancel search: towPage 81 of 324
Leaving Your Vehicle With the Engine
Running
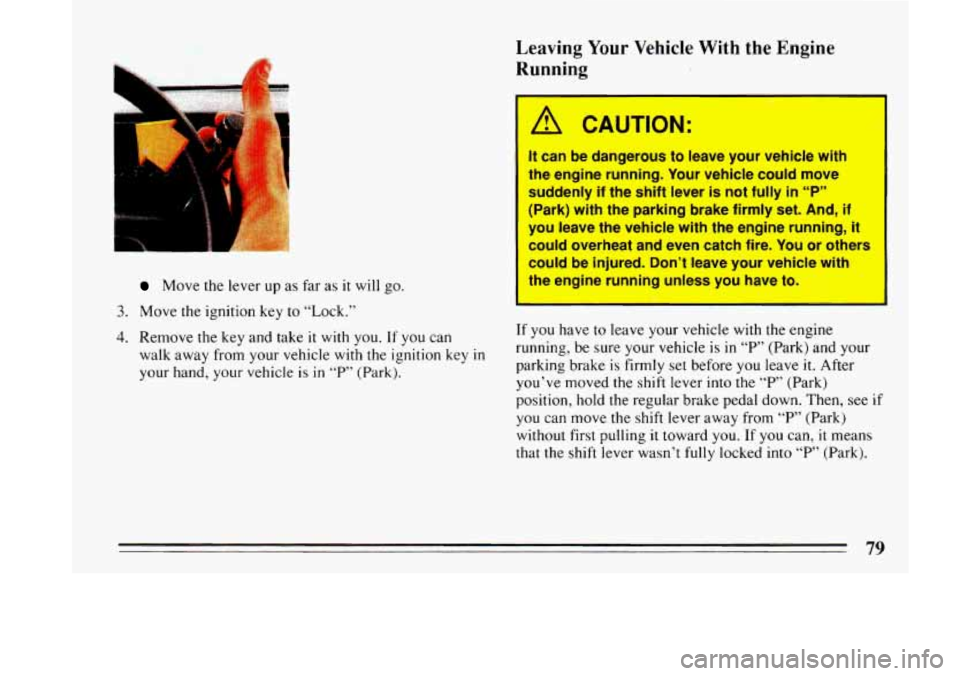
Move the lever up as far as it will go.
3. Move the ignition key to “Lock.”
4. Remove the key and take it with you. If you can
walk away from
your vehicle with the ignition key in
your hand, your vehicle is in “P” (Park).
It can be dangerous to leave your vehicle with
the engine running. Your vehicle could
move
suddenly if the shift lever is not fully in “P”
[Park) with the parking brake firmly set. And, if
you leave the vehicle with the engine running, St
could overheat and even catch fire. You or others
could be injured. Don’t leave your vehicle with
the engine running unless you have to.
If you have to leave your vehicle with the engine
running, be sure your vehicle is
in “P” (Park) and your
parking brake is firmly set before you leave it. After
you’ve moved the shift lever into the “P” (Park)
position, hold the regular brake pedal down. Then,
see if
you can move the shift lever away from
“P” (Park)
without first pulling it toward you. If
you can, it means
that the shift lever wasn’t fully locked into “P” (Park).
79
Page 84 of 324
CAUTION: (Continued)
It can be dangerous to get out of your vehicle if
the shift lever
is not fully in “P’ (Park) with the
parking brake firmly
set. Your vehicle can roll.
Don’t leave your vehicle when the engine
is
running unless you have to. If you’ve left the
engine running, the
vehicle can move suddenly.
You or others could be injured. To be sure your
vehicle won’t move, even when you’re
on fairly
level ground, always set your parking brake
and
after you move the shift lever to “P” (Park).&
Follow the proper steps to be sure your vehicle
won’t move. See “Shifting Into ‘P’ (Park)’’ in the’
Index.
If you are parking OR a hill, or if you’re pulling a
trailer, also $&e “Parking on Hills’’ or “Towing a
Trailer” in the Index. , I
Power Windows
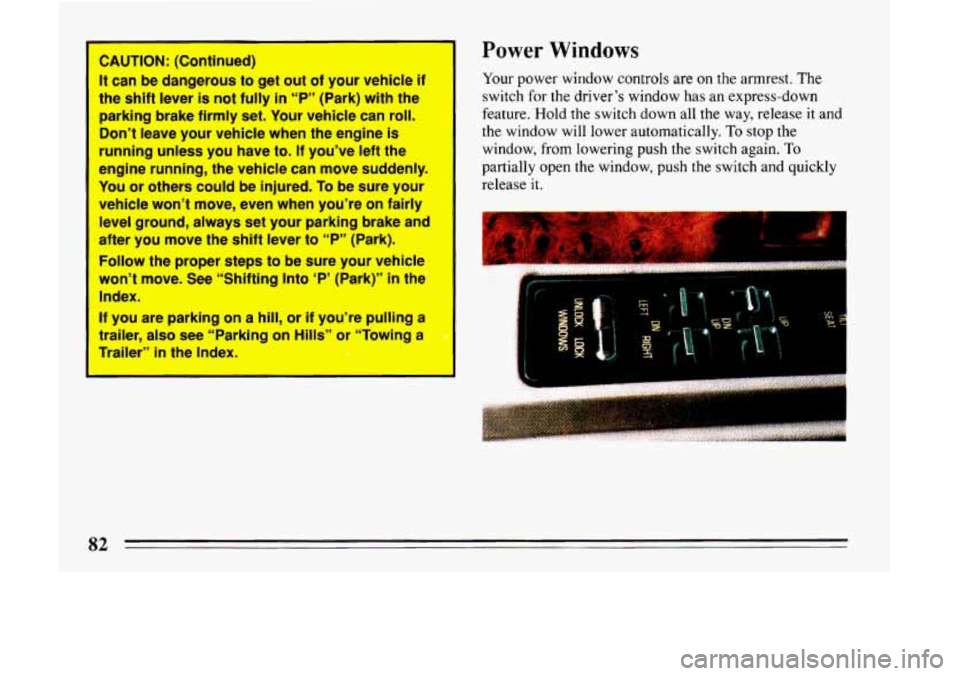
Your power window controls are on the armrest. The
switch for the driver’s window has an express-down
feature. Hold the switch down all the way, release it and
the window will lower automatically.
To stop the
window, from lowering push the switch again.
To
partially open the window, push the switch and quickly
release it.
82
Page 88 of 324
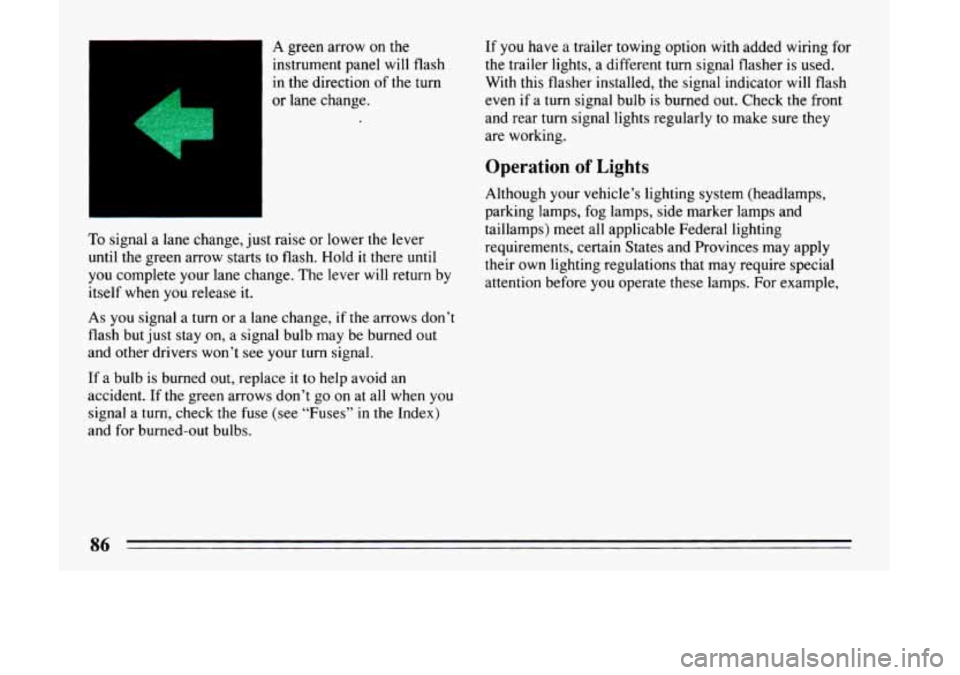
A green arrow on the
instrument panel will flash
in the direction
of the turn
or lane change. If
you have
a trailer towing option with added wiring for
the trailer lights, a different turn signal flasher is used.
With this flasher installed, the signal indicator will flash
even if a turn signal bulb is burned out. Check the front
and rear
turn signal lights regularly to make sure they
are working.
Operation of Lights
To signal a lane change, just raise or lower the lever
until the green arrow starts to flash. Hold
it there until
you complete your lane change. The lever will return by
itself when you release it.
As you signal a turn or a lane change, if the arrows don’t
flash
but just stay on, a signal bulb may be burned out
and other drivers won’t see your turn signal.
If a bulb is burned out, replace it
to help avoid an
accident. If the green arrows don’t
go on at all when you
signal a turn; check the fuse (see “Fuses” in the Index)
and for burned-out bulbs. Although your vehicle’s lighting system
(headlamps,
parking lamps, fog lamps, side marker lamps and
taillamps) meet all applicable Federal lighting
requirements, certain States and Provinces may apply
their own lighting regulations that may require special
attention before you operate
these lamps. For example,
Page 89 of 324

some jurisdictions may require that you operate your
lower beam lamps with fog lamps at all times, or that
headlamps be turned on whenever you must
use your
windshield wipers.
In addition, most jurisdictions
prohibit driving solely with parking lamps, especially at
dawn or dusk. It
is recommended that you check with
you own State or Provincial highway authority for
applicable lighting regulations.
Headlight High-Low Beam
’ To change the headlights
from low beam to high or
high to low, pull the turn
signal lever all the way
toward you. Then release it.
When the high beams are
on, this blue light on the
instrument panel also will
be on.
Windshield Wipers
... ,rll
You control the windshield wipers by turning the band
marked “WIPER.”
For a single wiping cycle, turn the band to “MIST.”
Hold it there
until the wipers start, then let go. The
wipers will stop after one cycle. If you want more
cycles, hold the band
on “MIST” longer.
You can set the wiper speed for a long
or short delay
between wipes. This can be very
useful in light rain or
snow. Turn the band
to choose the delay time. The
closer to
“LO,” the shorter the delay.
87
Page 110 of 324

parking brake set, a chime will also come on until you
release the parking brake. If the light and chime stay on
after your parking brake is
fully released, it means you
have a brake problem. If the light and chime come on
while driving, pull
off the road and stop carefully. You
may notice that the pedal is harder to push. Or, the pedal
may go closer to the floor. It may take longer to stop. If
the light is still on, have the vehicle towed for service.
(See “Towing Your Car” in the Index.)
1 &!A CAUTION:
Your brake system may not be working properly
if the brake warning light is on. Rriving with the
brake warning light on can lead to an accident. If
the light is still on after you’ve pulled off the road
and stopped carefully, have the vehicle towed for
service.
Anti-Lock Brake System Warning Light
1-
ANTI
LOCK
With anti-lock, this light will go on when you start your
engine and may stay on for several seconds or
so. That’s
normal. If the light doesn’t come on, have it fixed
so it
will be ready to warn you if there is a problem.
If the light stays on or comes
on when you’re driving,
stop as soon as possible and turn the key off. Then start
the engine
to reset the system. If the light still stays on,
or comes
on again while you’re driving, your Buick
needs service. Unless
the regular brake system warning
light is also
on, you will still have brakes, but not
anti-lock brakes. If the regular brake system warning
light
is also on, see “Brake System Warning Light”
earlier
in this part.
108
Page 126 of 324
Air entering the car will be evenly split between the
floor outlets and
the outlets near the windshield.
The blower speed will be controlled automatically,
but
you can choose another fan speed by pushing the HI or
LO buttons.
Defrost
This setting will direct most
of the air flow toward the
windshield. Use this when
there is fog or ice on the
I windshield.
Defrost will work better if any ice and snow is cleared
from the hood and the air inlet area between
the hood
and
the windshield.
Blower speed will be controlled automatically, but
you
can choose another speed by pushing the HI or LO
buttons.
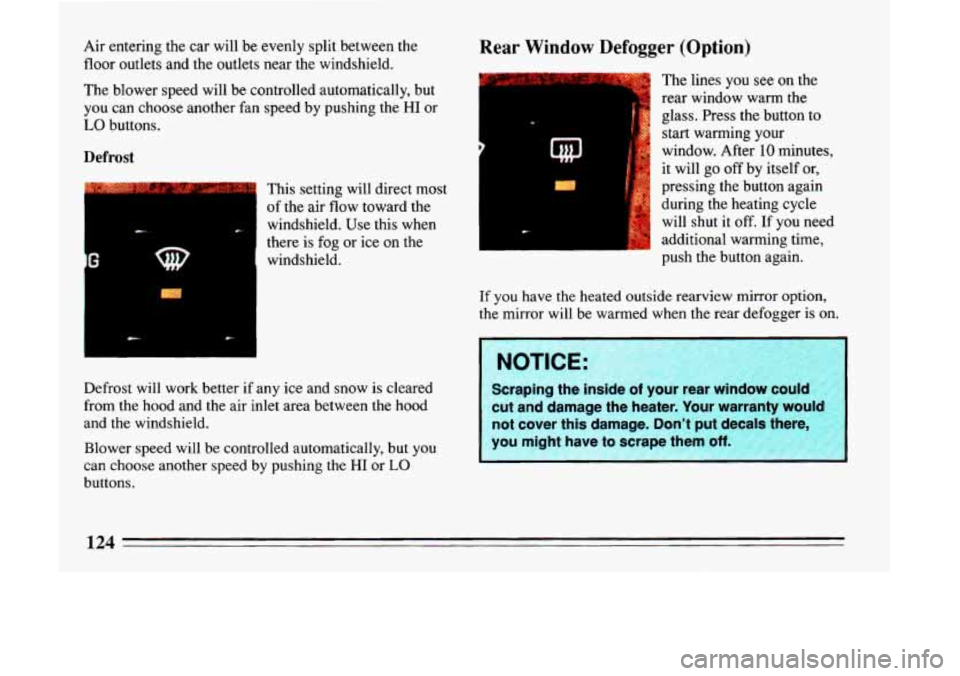
Rear Window Defogger (Option)
The lines you see on the
rear window warm the
glass. Press the button to
start warming your
window. After
10 minutes,
it will go
off by itself or,
pressing the button again
during the heating cycle
will shut it
off. If you need
additional warming time,
push the button again.
If you have the heated outside rearview mirror option,
the mirror will be warmed when the rear defogger is on.
I NOTICE:
Scraping the inside of your rear winoow could
cut and damage the heater. Your warranty wou’” not cover this damage. Don’t put decal? +here,
you might have to scrape them off.
Page 128 of 324
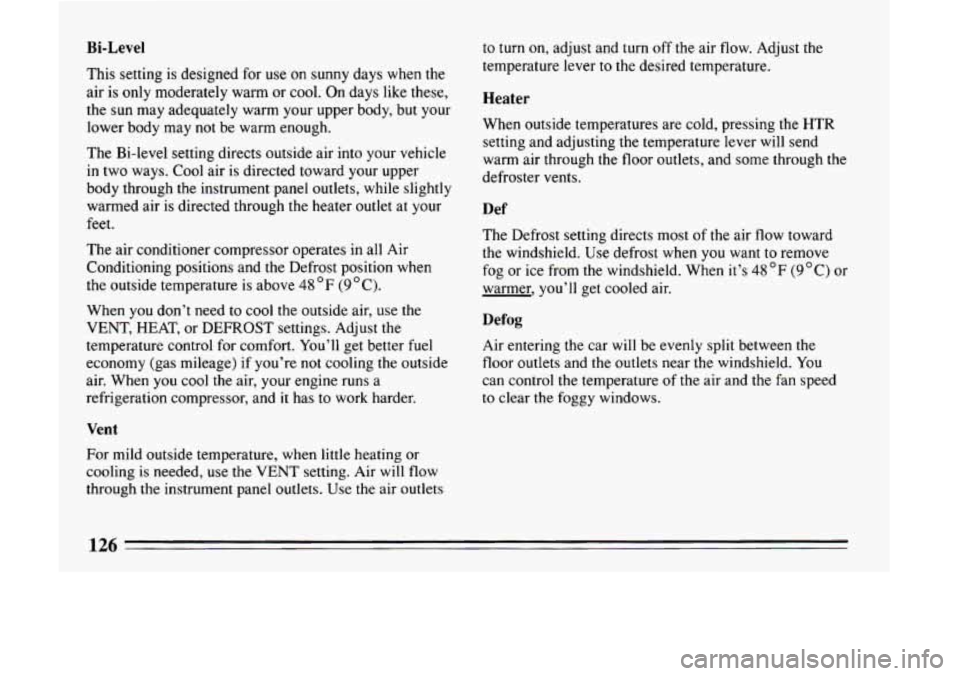
Bi-Level
This setting is designed for use on sunny days when the
air is only moderately warm or
cool. On days like these,
the sun may adequately warm your upper body, but your
lower body may
not be warm enough.
The Bi-level setting directs outside air into your vehicle
in two ways. Cool air is directed toward your upper
body through the instrument panel outlets, while slightly
warmed air is directed through the heater outlet at your
feet.
The air conditioner compressor operates in all Air
Conditioning positions and the Defrost position when
the outside temperature is above
48 OF (9OC).
When you don’t need to cool the outside air, use the
VENT, HEAT, or DEFROST settings. Adjust the
temperature control for comfort. You’ll get better fuel
economy (gas mileage) if you’re
not cooling the outside
air. When
you cool the air, your engine runs a
refrigeration compressor, and it has to work harder.
Vent
For mild outside temperature, when little heating or
cooling is needed, use the
VENT setting. Air will flow
through the instrument panel outlets. Use
the air outlets to
turn on, adjust and turn
off the air flow. Adjust the
temperature lever to the desired temperature.
Heater
When outside temperatures are cold, pressing the HTR
setting and adjusting the temperature lever
will send
warm air through the floor outlets, and some through the
defroster vents.
Def
The Defrost setting directs most of the air flow toward
the windshield. Use defrost when
you want to remove
fog or ice from
the windshield. When it’s 48 OF (9 “C) or
warmer, you’ll get cooled air.
Defog
Air entering the car will be evenly split between the
floor outlets and the outlets near the windshield. You
can control the temperature of the air and the fan speed
to clear the foggy windows.
126
Page 147 of 324
@ Part 4 Your Driving and the Road
Here you’ll find information about driving on different kinds of roads and in varying weather conditions .
We’ve also included many other useful tips on driving .
Part 4 includes:
Roadsigns
..................................................................... 146
DefensiveDriving
................................................................. 154
DrunkenDriving
.................................................................. 155
ControlofaVehicle
................................................................ 158
Braking
..................................................................... 158
Steering
..................................................................... 163
Passing
..................................................................... 166
LossofControl
............................................................... 168
DrivingatNight
................................................................... 169
DrivingintheRain
................................................................. 171
Driving in Fog, Mist and Haze ........................................................ 173
CityDriving
...................................................................... 175
FreewayDriving
................................................................... 176
DrivingonaLongTrip
............................................................. 178
HillandMountainRoads
............................................................ 180
ParkingonHills
................................................................... 182
WinterDriving .................................................................... 185
TowingaTrailer
................................................................... 189
145