Page 68 of 324

To cancel the rear door lock: Theft
1. Unlock the door from the inside and open the door
from the outside.
I
CHILD
SECURITY
LOCK
SET LEVER
REAR DOORS ON BOTH
2. Move the lever all the way down.
3. Do the same for the other rear door.
The rear door locks will now work normally. Vehicle theft
is big business, especially in
some cities.
Although your Buick has
a number of theft deterrent
features, we know that nothing we put on it can make it
impossible to steal. However, there are ways
you can
help.
Kev in the ignition: If you walk away from your
vehicle with the keys inside, it’s an
easy target for joy
riders or professional thieves
-- so don’t do it.
When
you park your Buick and open the driver’s door,
you’ll hear a tone reminding
you to remove your key
from the ignition and take it with
you. Always do this.
Your steering wheel will be locked, and
so will your
ignition and transaxle. And remember
to lock the doors.
Parking at Night: Park in a lighted spot, close all
windows and lock your vehicle. Remember to keep your
valuables out
of sight. Put them in a storage area, or take
them with you.
Parking Lots:
If you park in a lot where someone will
be watching your vehicle, it’s best
to lock it up and take
your keys. But what if you have to leave your ignition
key? What if you have
to leave something valuable in
your vehicle?
66
Page 69 of 324

e Put your valuables in a storage area, like your trunk
0 Lock the glove box.
Lock all the doors except the driver’s.
Then take the door key with you.
or glove box.
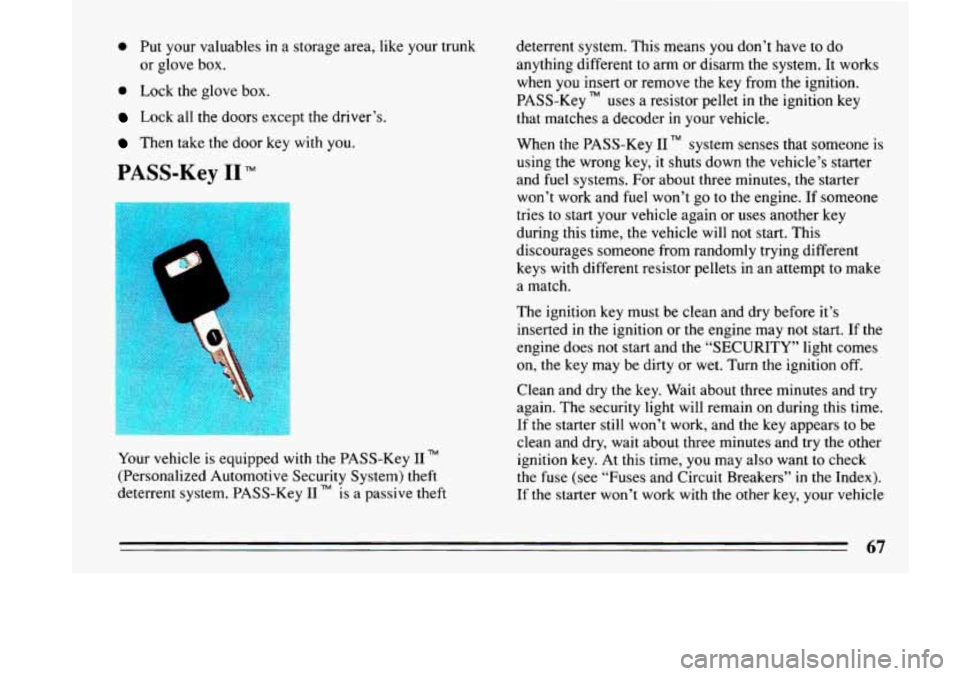
PASS-Key I1 TM
Your vehicle is equipped with the PASS-Key I1 TM
(Personalized Automotive Security System) theft
deterrent system. PASS-Key I1
TM is a passive theft deterrent system.
This means you don’t have to do
anything different
to arm or disarm the system. It works
when you insert or remove the key from the ignition.
PASS-Key uses a resistor pellet in the ignition key
that matches
a decoder in your vehicle.
When the PASS-Key I1
TM system senses that someone is
using the wrong key, it
shuts down the vehicle’s starter
and fuel systems. For about three minutes, the starter
won’t work and
fuel won’t go to the engine. If someone
tries to start your vehicle again or uses another key
during this time, the vehicle will not start. This
discourages someone from randomly trying different
keys with different resistor pellets in an attempt to make
a match.
The ignition key must be clean and dry before it’s
inserted in the ignition or the engine may not start.
If the
engine does not start and the “SECURITY” light comes
on, the key may be dirty or wet. Turn the ignition off.
Clean and dry the key. Wait about three minutes and try
again. The security light will remain on during this time.
If the starter still won’t work, and the key appears to be
clean and dry, wait about three minutes and try the other
ignition key. At this time, you may also want to check
the
fuse (see “Fuses and Circuit Breakers” in the Index).
If the starter won’t work with the other key, your vehicle
67
Page 70 of 324

needs service. If your vehicle does start, the first ignition
key may be faulty. See
your Buick dealer or a locksmith
who can service the PASS-Key
I1 .
If you accidentally use a key that has a damaged or
missing resistor pellet, the starter won’t work and the
security light will flash. But
you don’t have to wait three
minutes before trying one
of the other ignition keys.
See your Buick dealer or a locksmith who can service
the Pass-Key
I1 TM to have a new key made.
If you’re ever driving and
the “SECURITY” light comes
on and stays on,
you will be able to restart your engine if
you
turn it off. Your PASS-Key I1 system, however, is
not working properly and must be serviced by your
Buick dealer. Your vehicle is not protected by the
PASS-Key I1 system.
If you lose or damage a PASS-Key I1 TM ignition key, see
your Buick dealer or
a locksmith who can service
PASS-Key I1
TM to have a new key made.
New Vehicle CLBreak-InSS
Your modern
Don’t drive at any one speed -- f
-- for the first 500 miles i804 km). Don’
make full-throttle starts.
fee
Avoid making hard stops for the first ~UU
miles (322 km) or so. During this time your
I new brake linings aren’t yet broken in. Hard
stops with new linings can mean prematl
wear and earlier replacement. Follow
this
I “breaking-in” guidel’
Page 78 of 324
NOTICE:
If your front wh
drive. This might happen
if you were stuck i
very deep sand or mud or were up agains
object. You could damage your transaxle.
Also, if you stop when going uphill, don't ho
your vehicle there with
only the accelerator
pedal. This could overheat and damage the
transaxle. Use your brakes or shift into
"P'' Park
to hold your vehicle
in position on a hill.
Parking Brake
The parking brake uses the brakes on the rear wheels.
To set the parking brake:
Hold the regular brake pedal down with your right foot.
Push down the parking brake pedal with your left foot.
If the ignition
is on, the brake system warning light will
come on.
76
Page 79 of 324
1
To release the parking brake:
Hold the regular brake pedal down. Pull the brake
release lever.
If you try to drive more than
50 feet with the parking
brake
on, the brake light stays on and a chime sounds
until you release the parking brake or recycle the
ignition.
NOTICE
Driving with t
I
rear brakes to overheat. You may have to replace
them,
and you could also damage other parts
If you are on a hill: See “Parking on Hills” in the Index.
That section shows how to turn your front wheels.
If you are towing a trailer and are parking on any hill:
See “Towing a Trailer” in the Index. That section shows
what
to do first to keep the trailer from moving.
77
Page 87 of 324
The Turn Signal/Headlight Beam
Lever
The lever on the left side of the steering column
includes your:
0 Turn Signal and Lane Change Indicator
0 Headlight High-Low Beam & Passing Signal
0 Windshield Wipers
0 Windshield Washer
0 Cruise Control (Option)
Turn Signal and Lane Change Indicator
bi
The turn signal has two upward (for Right) and two
downward (for Left) positions. These positions allow
you to signal a turn
or a lane change.
To signal a turn, move the lever all the way up or down.
When
the turn is finished, the lever will return
automatically.
85
Page 88 of 324

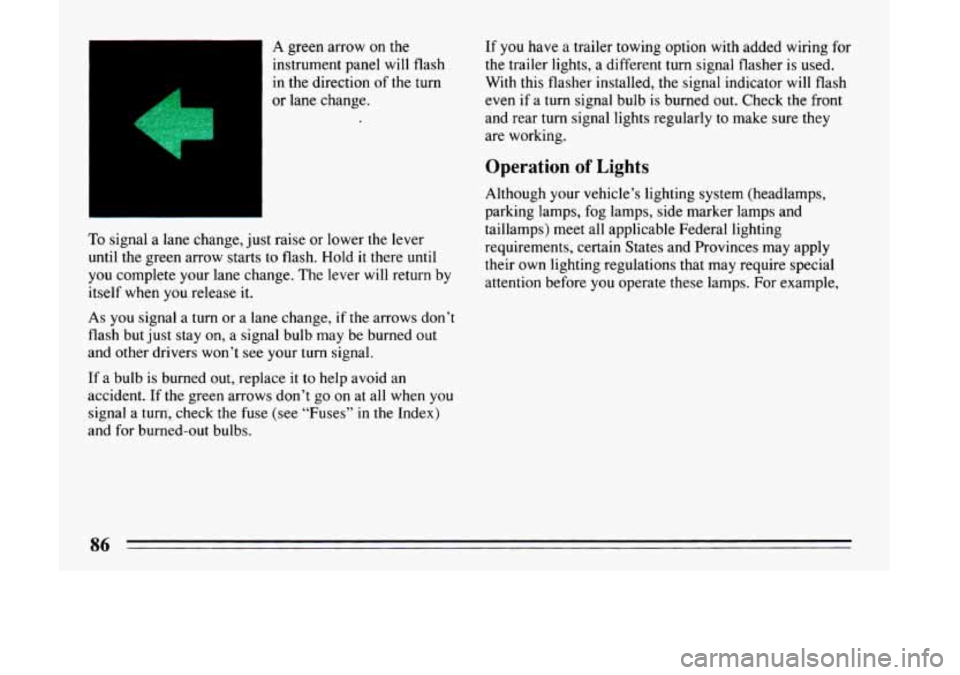
A green arrow on the
instrument panel will flash
in the direction
of the turn
or lane change. If
you have
a trailer towing option with added wiring for
the trailer lights, a different turn signal flasher is used.
With this flasher installed, the signal indicator will flash
even if a turn signal bulb is burned out. Check the front
and rear
turn signal lights regularly to make sure they
are working.
Operation of Lights
To signal a lane change, just raise or lower the lever
until the green arrow starts to flash. Hold
it there until
you complete your lane change. The lever will return by
itself when you release it.
As you signal a turn or a lane change, if the arrows don’t
flash
but just stay on, a signal bulb may be burned out
and other drivers won’t see your turn signal.
If a bulb is burned out, replace it
to help avoid an
accident. If the green arrows don’t
go on at all when you
signal a turn; check the fuse (see “Fuses” in the Index)
and for burned-out bulbs. Although your vehicle’s lighting system
(headlamps,
parking lamps, fog lamps, side marker lamps and
taillamps) meet all applicable Federal lighting
requirements, certain States and Provinces may apply
their own lighting regulations that may require special
attention before you operate
these lamps. For example,
Page 89 of 324

some jurisdictions may require that you operate your
lower beam lamps with fog lamps at all times, or that
headlamps be turned on whenever you must
use your
windshield wipers.
In addition, most jurisdictions
prohibit driving solely with parking lamps, especially at
dawn or dusk. It
is recommended that you check with
you own State or Provincial highway authority for
applicable lighting regulations.
Headlight High-Low Beam
’ To change the headlights
from low beam to high or
high to low, pull the turn
signal lever all the way
toward you. Then release it.
When the high beams are
on, this blue light on the
instrument panel also will
be on.
Windshield Wipers
... ,rll
You control the windshield wipers by turning the band
marked “WIPER.”
For a single wiping cycle, turn the band to “MIST.”
Hold it there
until the wipers start, then let go. The
wipers will stop after one cycle. If you want more
cycles, hold the band
on “MIST” longer.
You can set the wiper speed for a long
or short delay
between wipes. This can be very
useful in light rain or
snow. Turn the band
to choose the delay time. The
closer to
“LO,” the shorter the delay.
87