Page 115 of 324
2. If you’re “idling” at a stop sign, the light may blink
3. If you make a hard stop, the light may come on for a
on and then off.
moment.
But, when this light comes
on and stays on, it means
oil isn’t going through your engine properly.
You could
be low on oil, or you might have some other oil
problem.
I
A CAUTION:
Don’t keep driving if the 001 pressure is low. If
you do, your engine can become so hot that it
catches fire. You or others could be burned.
Check your oil
as soon as possible and have
your vehicle serviced.
I
I
problems can ed
your warranty. I
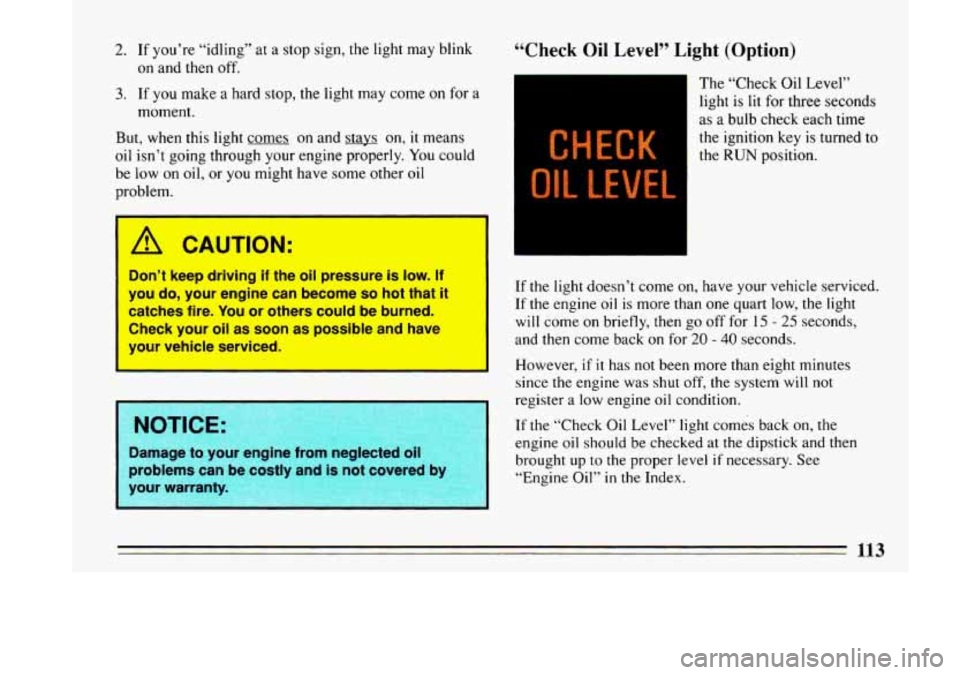
‘‘Check Oil Level” Light (Option)
CHECK
OIL LEVEL.,
The “Check Oil Level”
light is lit for three seconds
as a bulb check each time
the ignition key is turned to
the RUN position.
If
the light doesn’t come on, have your vehicle serviced.
If the engine
oil is more than one quart low, the light
will come
on briefly, then go off for 15 - 25 seconds,
and then come back
on for 20 - 40 seconds.
However,
if it has not been more than eight minutes
since the engine was
shut off, the system will not
register a low engine oil condition.
If the “Check Oil Level” light comes back on, the
engine oil should be checked at the dipstick and then
brought up
to the proper level if necessary. See
“Engine Oil”
in the Index.
Page 116 of 324
“Change Oil Soon’’ Light (Option)
This light is activated by
the Engine Oil Life
Monitor System. It
indicates that the engine oil
has degraded enough to
require changing. See
“Engine Oil”
in the Index.
After changing the engine oil, the system should be
reset.
This will cause the “Change Oil Soon” light once
again, to be lit for just
the bulb check period of 3
seconds.
This
is determined by electronically monitoring engine
speed, coolant temperature and vehicle speed. Since the
change interval is dependent on driving habits and
conditions, the “Change Oil Soon” light may come on as
early as
2,000 miles or less for harsh circumstances.
The “Change Oil Soon” light is lit for three seconds as a
bulb check each time the ignition key is turned to
the
RUN position. If an oil change is required, it will stay
on for 60 seconds each time the engine is started. If the
“Change Oil Soon” light is on continuously, there is a
problem with the Oil Life Monitor System and service
is
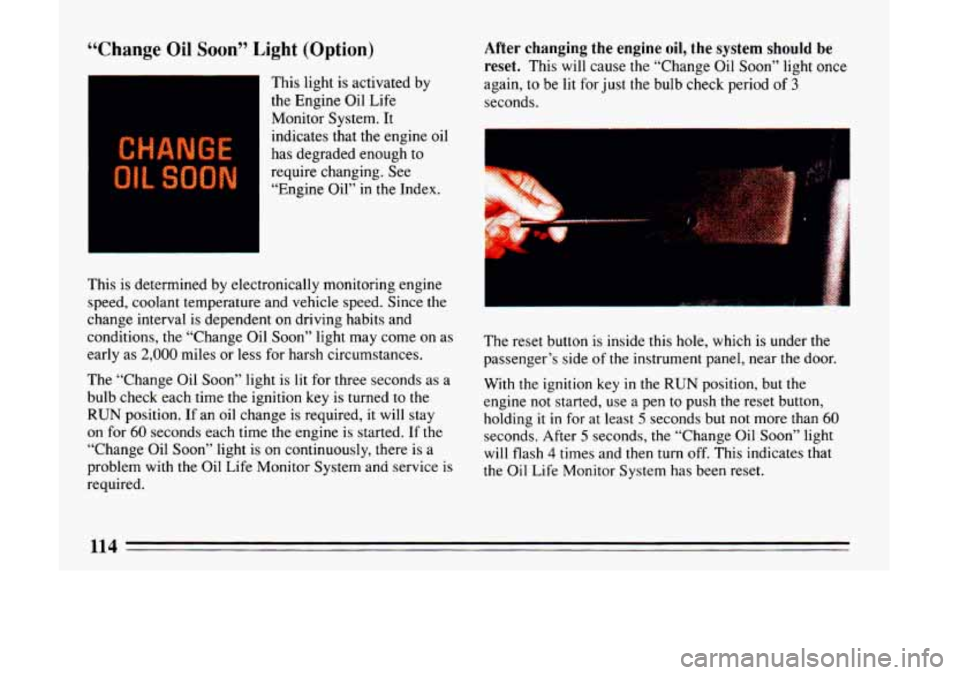
required. The reset button
is inside this hole, which is under the
passenger’s side of the instrument panel, near the door.
With the ignition key in
the RUN position, but the
engine not started, use a pen
to push the reset button,
holding
it in for at least 5 seconds but not more than 60
seconds. After 5 seconds, the “Change Oil Soon” light
will flash
4 times and then turn off. This indicates that
the Oil Life Monitor System has been reset.
1lA
I
Page 117 of 324
Volts Gage
OLTS
When you turn the key to RUN, this light will come on If you have the optional gage cluster, this gage shows
briefly,
to show that your alternator and battery charging voltage in the electrical system. The normal range is 11
systems are working. If the light stays on, you need to 15 volts. If the gage reading stays in either red range,
service, and you should take your Buick
to the dealer at have your Buick dealer check the electrical system.
once.
To save your battery until you get there, turn off
all accessories, and set your air system to OFF.
115
Page 123 of 324
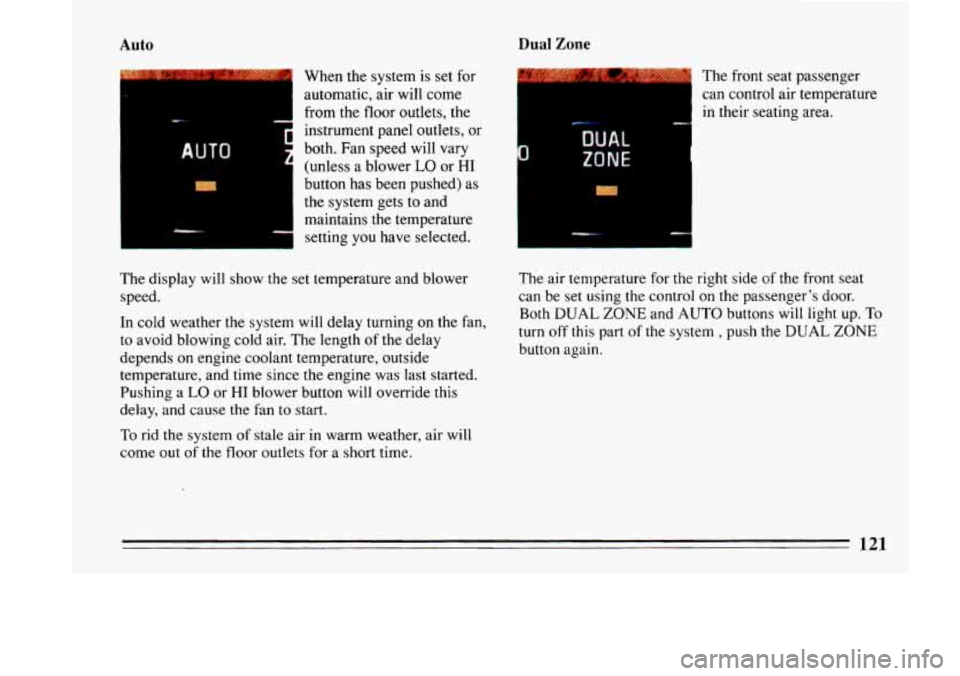
Auto
When the system is set for
automatic, air will come
from the floor outlets, the
instrument panel outlets, or
both.
Fan speed will vary
(unless a blower
LO or HI
button has been pushed) as
the system gets to and
maintains the temperature
setting
you have selected.
Dual Zone
____
The front seat passenger
can control air temperature
in their seating area.
The display will show the set temperature and blower
speed.
In cold weather the system will delay turning on the fan,
to avoid blowing cold air. The length
of the delay
depends
on engine coolant temperature, outside
temperature, and time since the engine was last started.
Pushing a
LO or HI blower button will override this
delay, and cause the fan to start.
To rid the system of stale air in warm weather, air will
come out
of the floor outlets for a short time. The air temperature for
the right side of the front seat
can be set using the control on
the passenger’s door.
Both
DUAL ZONE and AUTO buttons will light up. To
turn off this part of the system , push the DUAL ZONE
button again.
121
Page 128 of 324
Bi-Level
This setting is designed for use on sunny days when the
air is only moderately warm or
cool. On days like these,
the sun may adequately warm your upper body, but your
lower body may
not be warm enough.
The Bi-level setting directs outside air into your vehicle
in two ways. Cool air is directed toward your upper
body through the instrument panel outlets, while slightly
warmed air is directed through the heater outlet at your
feet.
The air conditioner compressor operates in all Air
Conditioning positions and the Defrost position when
the outside temperature is above
48 OF (9OC).
When you don’t need to cool the outside air, use the
VENT, HEAT, or DEFROST settings. Adjust the
temperature control for comfort. You’ll get better fuel
economy (gas mileage) if you’re
not cooling the outside
air. When
you cool the air, your engine runs a
refrigeration compressor, and it has to work harder.
Vent
For mild outside temperature, when little heating or
cooling is needed, use the
VENT setting. Air will flow
through the instrument panel outlets. Use
the air outlets to
turn on, adjust and turn
off the air flow. Adjust the
temperature lever to the desired temperature.
Heater
When outside temperatures are cold, pressing the HTR
setting and adjusting the temperature lever
will send
warm air through the floor outlets, and some through the
defroster vents.
Def
The Defrost setting directs most of the air flow toward
the windshield. Use defrost when
you want to remove
fog or ice from
the windshield. When it’s 48 OF (9 “C) or
warmer, you’ll get cooled air.
Defog
Air entering the car will be evenly split between the
floor outlets and the outlets near the windshield. You
can control the temperature of the air and the fan speed
to clear the foggy windows.
126
Page 130 of 324

AM Stereo
This means the Delco@ system can receive C-QUAM@
stereo broadcasts. Many
AM stations around the country
use C-QUAM@ to produce stereo, though some
do not.
(C-QUAM@ is
a registered trademark of Motorola, Inc.)
If your D~ICO@ system can get C-QUAM@, your
“STEREO” light will come on when you’re receiving it.
I
I
A CAUTION:
Hearing damage from loud noise is almost I
undetectable until it is too late. Your hearing can I
adapt to higher volumes of sound. Sound that
Seems normal
can be loud and harmful to your
hearing. Take pibutions by adjusting the
volume control on your radio ‘to a safe sound
level before your hearing adapts to it.
To help avoid hearing loss or damage:
m Adjust the volume control to the lowest
a Increase volume slowly until you hear
setting.
comfortably and cle; f.
Before
you add any sound equipment to you
vehicle
-- like a tape player, CB radio, mobile
telephone or two-way radio
-- be sure you car
add what you want.
If you can, it’s very important
to
do it properly. Added sound equipment may
interfere with the operation
of your vehicle’s
engine, Delco@ radio or other systems, and eve1
damage them. And, your vehicle’s systems may interfere with the operation of sound e
ui ment
that has been added improperly.
So, before adding sound equip
your dealer and be sure
to check Federal r
covering mobile radio and telephone units
12s
Page 134 of 324
Clock
To set the clock:
Press the SET button.
0 Within 5 seconds, press and hold SCAN until the
correct hour appears on the display.
Press and hold SEEK until the correct minute
appears on the display.
Treble
Slide the TREBLE lever up to increase the treble
response. If station is weak or noisy, slide the TREBLE
lever down
to reduce the noise.
Bass
Slide the BASS lever up to increase the bass response.
Adjust the BASS lever to give a pleasing sound to your
ear.
DNR~
This is the Dynamic Noise Reduction button, DNR@
helps remove background hiss from the radio or tape
player. You may want to leave
it pushed in all the time.
To Play A Cassette
Your tape player is built to work best with tapes that are
30 to 45 minutes long on each side. Tapes longer than
that are
so thin they may not work well in this player.
With the radio on, push
a tape into the slot marked
AUTO REVERSE (tape side goes in first).
Once
the tape is playing, use the upper and lower knobs
for volume, balance and fade just as you did for radio.
The arrows indicate which side
of the tape is being
played. Your tape player has an auto reverse feature
which automatically plays the other side
of the tape after
the first side has played.
FWD
To advance the tape forward, press b and the tape will
rapidly go forward until you press
the 4 button or
STOP-EJECT lightly.
REV
To reverse the tape, press 4 and the tape will rapidly go
backward until you press the p button or STOP-EJECT
lightly.
132
Page 135 of 324
The Upper Knob
The upper knob does these two things:
0 It controls the volume. The volume knob increases
and decreases volume when it
is held slightly rotated
against the spring load.
PROGRAM
To go from one side of the tape to the other, press the
upper knob. Note the lighted arrows next to the and
4
STOP-E JECT
To remove or stop the tape and switch to radio, press the
STOP-EJECT button.
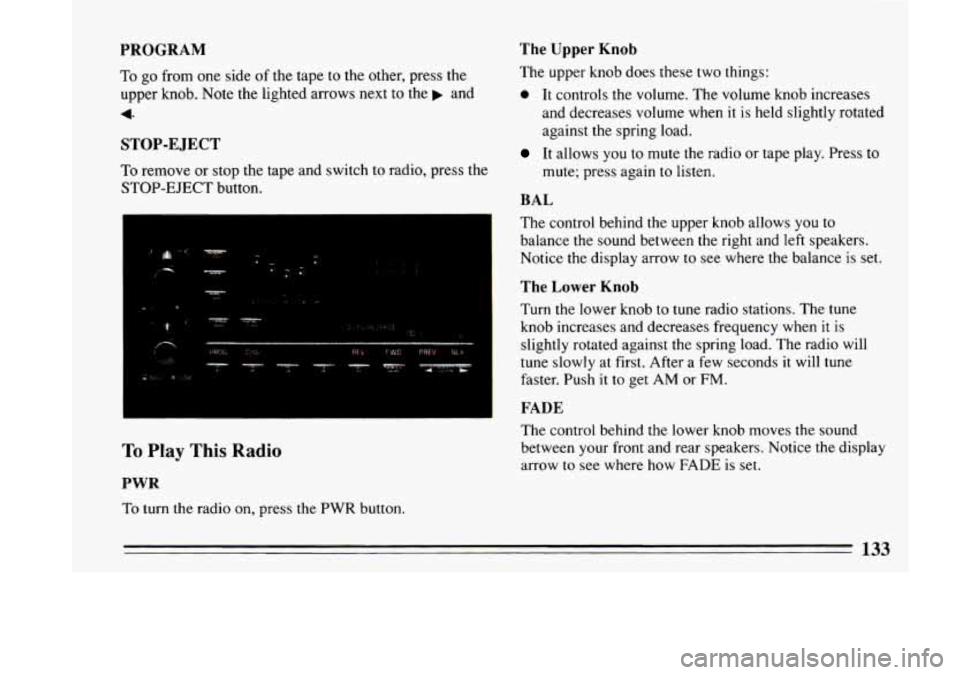
To Play This Radio
PWR
To turn the radio on, press the PWR button.
It allows you to mute the radio or tape play. Press to
mute; press again to listen.
BAL
The control behind the upper knob allows you to
balance the sound between the right and left speakers.
Notice the display arrow
to see where the balance is set.
The Lower Knob
Turn the lower knob to tune radio stations. The tune
knob increases and decreases frequency when it is
slightly rotated against the spring load. The radio will
tune slowly at first. After a
few seconds it will tune
faster. Push it
to get AM or FM.
FADE
The control behind the lower knob moves the sound
between your front and rear speakers. Notice the display
arrow to see where how FADE
is set.
133