Page 1045 of 1216

23-lBODY
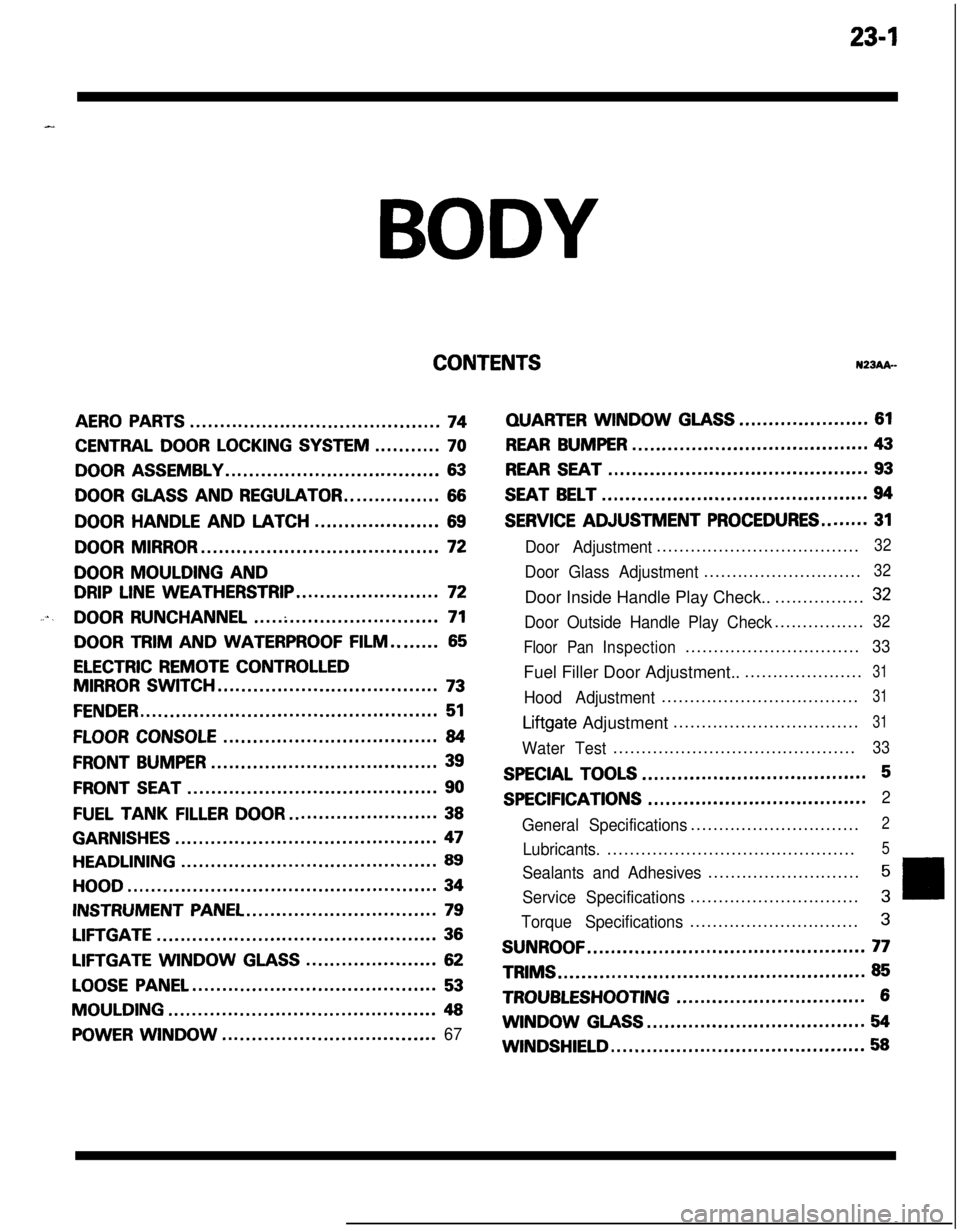
CONTENTSN23Ak-
AERO PARTS..........................................74
CENTRAL DOOR LOCKING SYSTEM...........70
DOOR ASSEMBLY....................................63
DOOR GLASS AND REGULATOR................66
DOORHANDLEANDLATCH.....................69
DOOR MIRROR........................................72
DOOR MOULDING AND
DRIP LINE WEATHERSTRIP........................72
....DOOR RUNCHANNEL...............................71
DOOR TRIM AND WATERPROOF FILM........65
ELECTRIC REMOTE CONTROLLED
MIRROR SWITCH.....................................73
FENDER..................................................51
FLOOR CONSOLE....................................84
FRONT BUMPER......................................39
FRONT SEAT..........................................90
FUEL TANKFILLERDOOR.........................38
GARNISHES............................................47
HEADLINING...........................................89
HOOD....................................................34
INSTRUMENT PANEL................................79
LIFTGATE...............................................36
LIFTGATE WINDOWGLASS......................62
LOOSE PANEL.........................................53
MOULDING.............................................48
POWER WINDOW....................................67
QUARTERWINDOWGLASS......................61
REAR BUMPER........................................43
REAR SEAT............................................93
SEAT BELT.............................................94
SERVICE ADJUSTMENT PROCEDURES........31
Door Adjustment....................................32
Door Glass Adjustment............................32Door Inside Handle Play Check..................
32
Door Outside Handle Play Check................32
Floor PanInspection...............................
33Fuel Filler Door Adjustment.......................
31
Hood Adjustment...................................31
Liftgate Adjustment.................................31
Water Test...........................................33
SPECIAL TOOLS......................................5
SPECIFICATIONS.....................................2
General Specifications..............................
2
Lubricants.............................................5
Sealants and Adhesives...........................5
Service Specifications..............................3
Torque Specifications..............................3
SUNROOF...............................................77TRIMS
....................................................85
TROUBLESHOOTING................................6WINDOW
GLASS.....................................54
WINDSHIELD...........................................58
Page 1051 of 1216
BODY - Troubleshootina23-7
SUNROOF
Symptom
Water leaksProbable causeDust accumulated in drainage of
housing assembly
Clogged drain hose
Remedy
Keep off dust from inside of drain
hose
Blow air into drain hose to remove
dust
Broken or dislocated drain hose,
failed or cracked clip
Worm roof lid weatherstrip
Excessive roof lid-to-body clearance
and improperly fitted weatherstripCheck hose installation and flange
contact
Replace
Adjust
Wind noise
Loose or deformed deflectorRetighten or replace
Page 1121 of 1216
BODY - Sunroof2397
SUNROOFN22TTBAD
-- REMOVAL AND INSTALLATION
demoval steps
1. Sunshade
2. Roof lid glass or deflector
3. Weatherstrip
+w ++ 4. Headlining
5. Base plate assembly
6. Hinge female assembly
+* 7. Splash shield
Quarter trim (Refer to P.23-85.)Center pillar trim (Refer to P.23-85.)
l
++ 8. Drain hose
NOTE(I 1 Reverse the removal procedures to reinstall.(2) ** : Refer to “Service Points of Removal”.(3) l * : Refer to “Service Points of Installation”.(4) m : Non-reusable parts.
SERVICE POINTS OF REMOVAL4. REMOVAL OF HEADLINING
Refer to P.23-89.
8. REMOVAL OF DRAIN HOSE
Tie a cord
at the end of the drain hose and pull out the drain
hose toward the vehicle interior.
Page 1122 of 1216
23-78BODY - Sunroof
25-35
mm
SERVICE POINTS OF INSTALLATION8. INSTALLATION OF DRAIN HOSE
AZ
(I) Tie the,cord (passed through at the time of removal) to. .ithe end of the drain hose.
(2) Pull the cord and pass t’he drain hose through.
(3) Install the grommet at the front side, and install so that
the amount of projection of the drain hose is as shown
in the figure.
7. INSTALLATION OF SPLASH SHIELD
Refer to
P.23-51.4. INSTALLATION OF HEADLINING
Refer to
P.23-89.
Page 1133 of 1216
BODY - Trims/Headlining23-89
HEADLINING
PEMOVAL AND INSTALLATION
Pm-removal Operationl Removal of Center Pillar Trim
(Refer to
P.23-85.)l Removal of Front Pillar Trim
(Refer to
P.23-85.)l Removal of Guide Rail
(Refer to
P.23-94.)
Post-installation Operation0 Installation of Guide Rail
(Refer to P.23-94.)l Installation of Front Pillar Trim
(Refer to
P.23-85.)l Installation of Center Pillar Trim
(Refer to
P.23-85.)
Vehicles without sunroof
Vehicles with sunroof
3O.REMOVAL OF LIFTGATE TRIM
Using the plastic trim tool, remove the clip mounting areas
on the back of the liftgate, and remove the liftgate.
Removal steps
1.2.Dome lightSunvisor3.Sunshade
4*4. Roof lid glass
5.Headlining trim
6, Sunmf headlining trim
7. CYlps
8. Headlining
9. Trim retainer
19A0314
N23UDAX
NOTE(I l Reverse the removal procedures to reinsta\\;,(2) +e : Refer to“Service Points of Removal