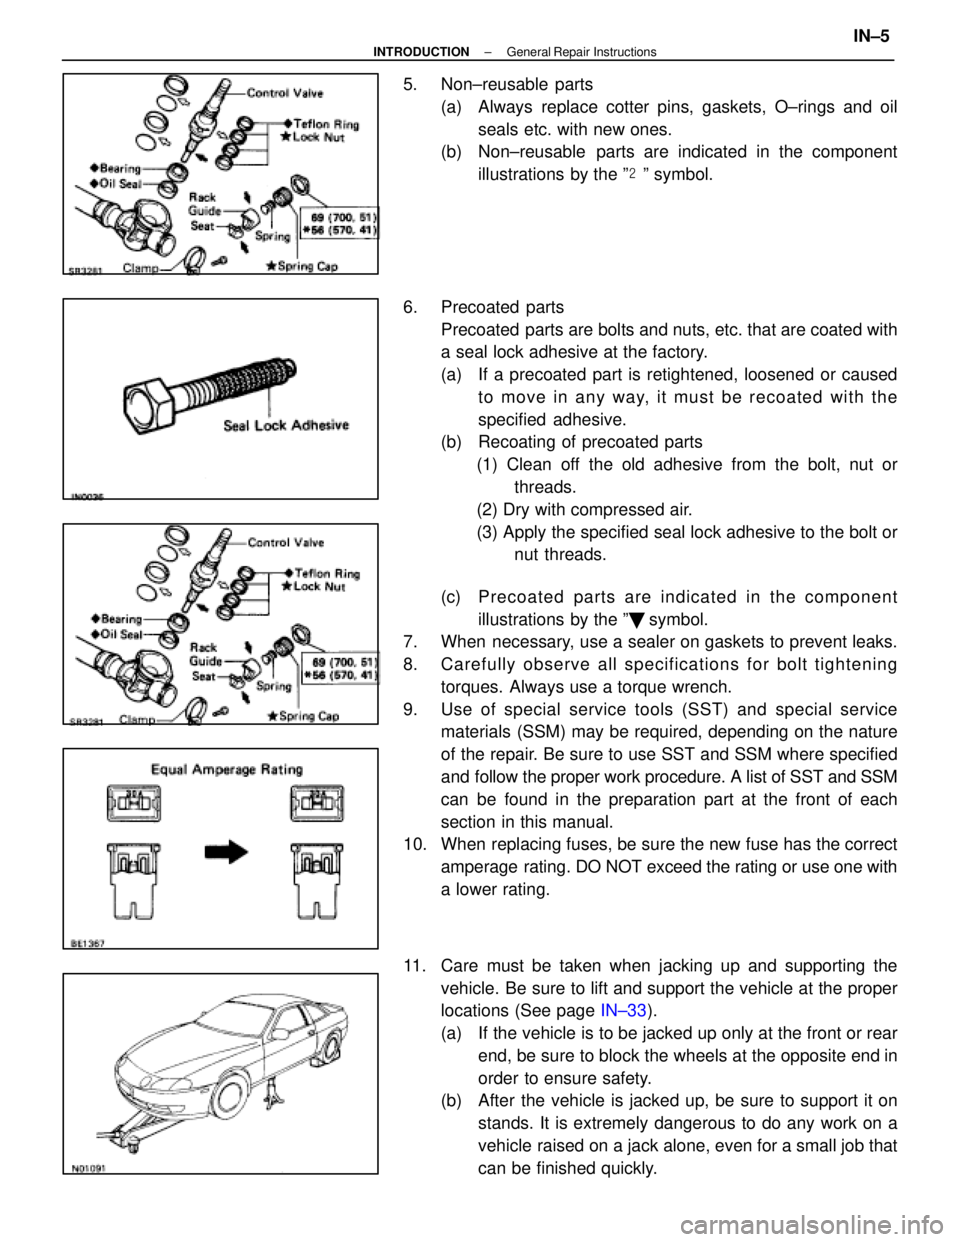
5. Non±reusable parts(a) Always replace cotter pins, gaskets, O±rings and oilseals etc. with new ones.
(b) Non±reusable parts are indicated in the component
illustrations by the º �º symbol.
6. Precoated parts Precoated parts are bolts and nuts, etc. that are coated with
a seal lock adhesive at the factory.
(a) If a precoated part is retightened, loosened or causedto move in any way, it must be recoated with the
specified adhesive.
(b) Recoating of precoated parts
(1) Clean off the old adhesive from the bolt, nut or threads.
(2) Dry with compressed air.
(3) Apply the specified seal lock adhesive to the bolt or nut threads.
(c) P re co a te d pa rts are in d ica te d in th e co m ponent
illustrations by the º �º symbol.
7. When necessary, use a sealer on gaskets to prevent leaks.
8. Carefully observe all specifications for bolt tightening
torques. Always use a torque wrench.
9. Use of special service tools (SST) and special service materials (SSM) may be required, depending on the nature
of the repair. Be sure to use SST and SSM where specified
and follow the proper work procedure. A list of SST and SSM
can be found in the preparation part at the front of each
section in this manual.
10. When replacing fuses, be sure the new fuse has the correct
amperage rating. DO NOT exceed the rating or use one with
a lower rating.
11. Care must be taken when jacking up and supporting the vehicle. Be sure to lift and support the vehicle at the proper
locations (See page IN±33).
(a) If the vehicle is to be jacked up only at the front or rear end, be sure to block the wheels at the opposite end in
order to ensure safety.
(b) After the vehicle is jacked up, be sure to support it on
stands. It is extremely dangerous to do any work on a
vehicle raised on a jack alone, even for a small job that
can be finished quickly.
±
INTRODUCTION General Repair InstructionsIN±5
WhereEverybodyKnowsYourName
PRECAUTIONS FOR VEHICLES
EQUIPPED WITH TRACTION
CONTROL (TRAC) SYSTEM
When using a rear wheel two±wheel drum tester such as a
speedometer tester or chassis dynamometer, etc., or jacking up
the rear wheels and driving the wheels, always push in the TRAC
cut (ºTRAC OFFº) switch and turn the TRAC system OFF.
CONFIRM TRAC SYSTEM IS OFF
1. Press the TRAC cut (ºTRAC OFFº) switch.
2. Check that the TRAC OFF indicator light comes on when the
TRAC system is turned off by the TRAC cut switch.
HINT: The TRAC indicator light should always operate right after
the engine is restarted.
3. Begin measurements.
4. Press the TRAC cut switch again to change the TRAC to operative and check that the TRAC OFF indicator light goes
off.
HINT: The TRAC indicator light blinks when the TRAC system is
operative.
±
INTRODUCTION Precautions for V
ehicles Equipped with Traction Cotnrol
(TRAC)SystemIN±13
WhereEverybodyKnowsYourName
 SYSTEM
When using a rear wheel two±wheel drum tester such as a
speedometer tester or chassis dynamometer, etc., or jacking up
the rear")