Page 58 of 136
Ignition Switch
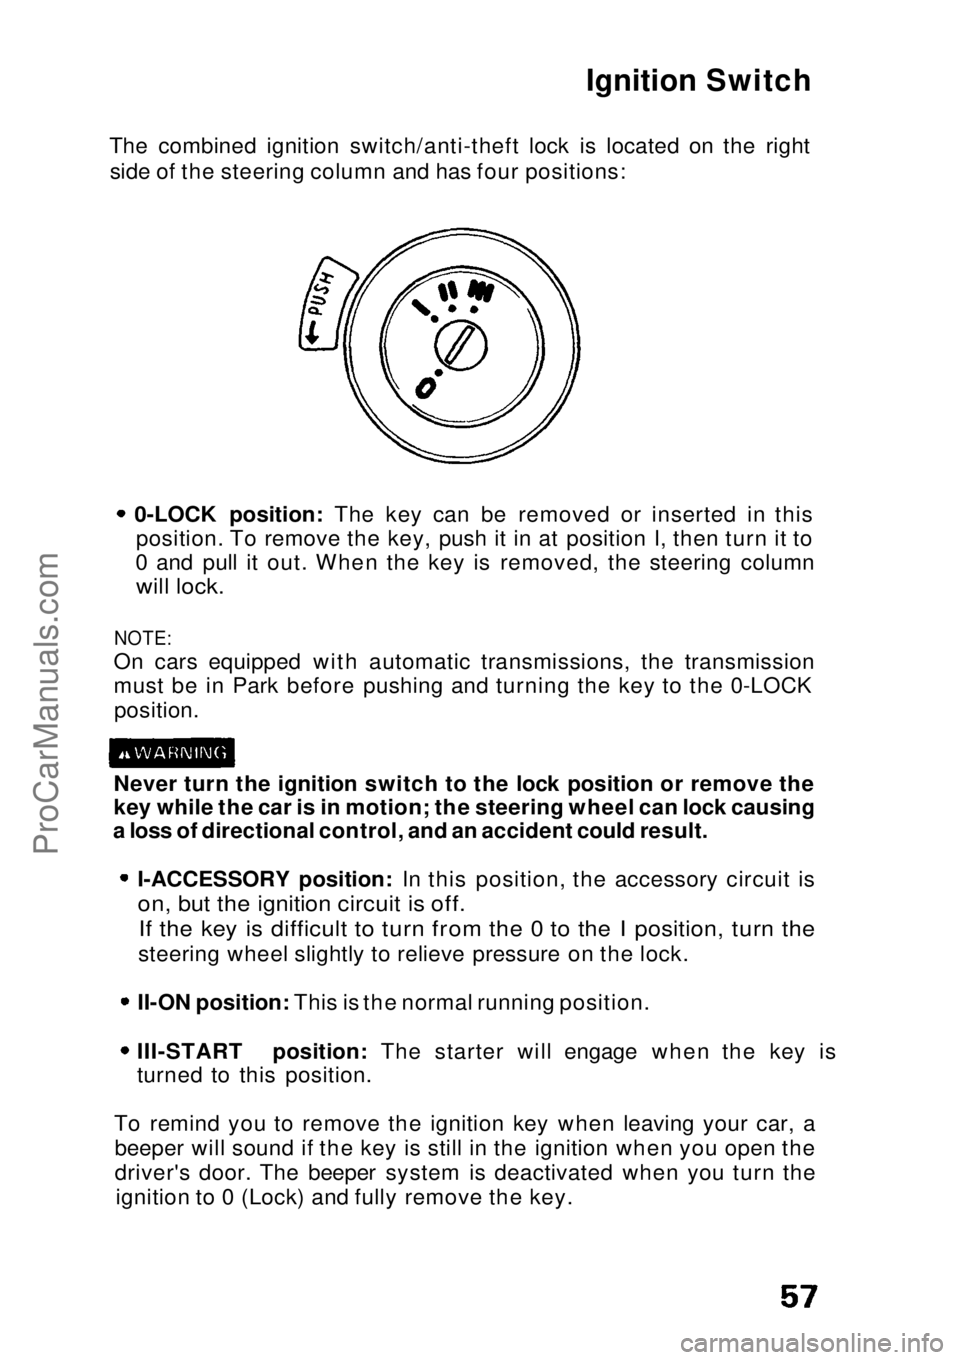
The combined ignition switch/anti-theft lock is located on the right side of the steering column and has four positions: 0-LOCK position: The key can be removed or inserted in this
position. To remove the key, push it in at position I, then turn it to
0 and pull it out. When the key is removed, the steering column
will lock.
NOTE:
On cars equipped with automatic transmissions, the transmission
must be in Park before pushing and turning the key to the 0-LOCK
position.
Never turn the ignition switch to the lock position or remove the
key while the car is in motion; the steering wheel can lock causing
a loss of directional control, and an accident could result. I-ACCESSORY position: In this position, the accessory circuit is
on, but the ignition circuit is off.
If the key is difficult to turn from the 0 to the I position, turn the
steering wheel slightly to relieve pressure on the lock. II-ON position: This is the normal running position.
III-START position: The starter will engage when the key is
turned to this position.
To remind you to remove the ignition key when leaving your car, a beeper will sound if the key is still in the ignition when you open the
driver's door. The beeper system is deactivated when you turn the ignition to 0 (Lock) and fully remove the key.ProCarManuals.comMain Menu s t
Page 61 of 136
Engine Exhaust Gas Warning
A properly maintained car is your best protection against exhaust
gas entering the passenger compartment.
The exhaust system should be thoroughly inspected by a compe-
tent mechanic whenever:
The car is raised for oil change.You notice a change in the sound of the exhaust. The exhaust system or the rear or underside of the car is
damaged.
Avoid breathing exhaust gases. They contain carbon monoxide,
which is a colorless, odorless gas that can cause loss of con-
sciousness and eventual death. If you suspect that exhaust gas is entering the passenger compartment, have the cause deter-mined and corrected as soon as possible. If you must driveunder these conditions, drive only with all windows fully open. Do not drive with the hatch/trunk lid open. An open hatch/trunk
may draw exhaust gases into the passenger compartment. If
you must drive with the hatch/trunk open, drive only with all the
windows wide open. Do not run the engine in confined areas, such as garages, any
longer than necessary to move the car in or out.
If you must sit in a parked car with the engine running for more
than a short time, adjust the heating/ventilation system as
follows:
1.Set the function lever to the position.
2.Set the temperature control dial for best comfort. 3.Set the recirculation lever to the position.
4.Turn the fan to the highest speed.
NOTE:
To insure proper operation of the car's ventilation system, keep the
front air inlet clear of snow, mud, leaves or other obstructions.ProCarManuals.comMain Menu s t
Page 62 of 136
Shifting the 4 or 5 Speed
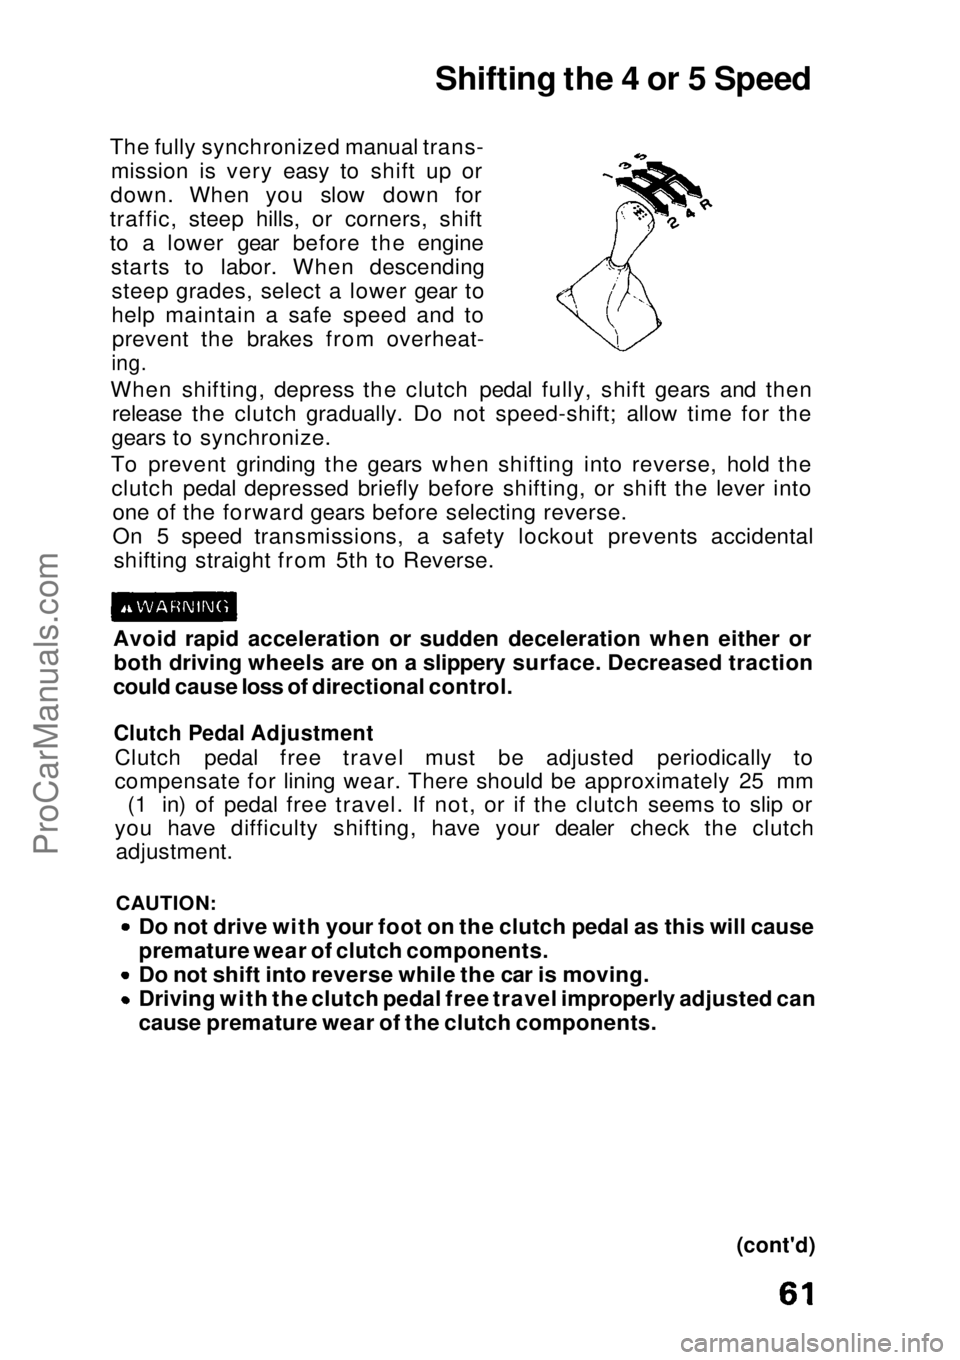
The fully synchronized manual trans- mission is very easy to shift up or
down. When you slow down for
traffic, steep hills, or corners, shift
to a lower gear before the engine starts to labor. When descendingsteep grades, select a lower gear to
help maintain a safe speed and toprevent the brakes from overheat-
ing.
When shifting, depress the clutch pedal fully, shift gears and then release the clutch gradually. Do not speed-shift; allow time for the
gears to synchronize.
To prevent grinding the gears when shifting into reverse, hold the clutch pedal depressed briefly before shifting, or shift the lever into one of the forward gears before selecting reverse.
On 5 speed transmissions, a safety lockout prevents accidentalshifting straight from 5th to Reverse.
Avoid rapid acceleration or sudden deceleration when either or both driving wheels are on a slippery surface. Decreased traction
could cause loss of directional control.
Clutch Pedal Adjustment
Clutch pedal free travel must be adjusted periodically to
compensate for lining wear. There should be approximately 25 mm (1 in) of pedal free travel. If not, or if the clutch seems to slip or
you have difficulty shifting, have your dealer check the clutch adjustment.
CAUTION:
Do not drive with your foot on the clutch pedal as this will cause
premature wear of clutch components.
Do not shift into reverse while the car is moving. Driving with the clutch pedal free travel improperly adjusted can
cause premature wear of the clutch components.
(cont'd)ProCarManuals.comMain Menu s t
Page 63 of 136
Shifting the 4 or 5 Speed (cont'd)
Recommende
d
Shift Speeds
For best fuel economy, and effective emission control, shift at the
speeds shown:
STD Hatchback
DX Hatchback and Sedan
Si Hatchback
ProCarManuals.comMain Menu s t
Page 68 of 136

Your Honda automobile must be properly maintained to ensure that
it is in peak operating condition and the emission levels are within
the standards set by the Federal Clean Air Act. The following instructions and maintenance procedures are basedon the assumption that your car will be used exclusively for thepurpose for which it was designed:
1.To carry passengers and cargo within the load limits shown on the label in the glove box.
2. To be driven on reasonable road surfaces within legal limits.
3. To generally be driven daily over a distance of several miles.
4. Use gasoline from pumps labeled unleaded, with a pump octane number of 86 or higher. The pump octane number is an average of
the Research (R) octane and Motor (M) octane numbers.
NOTE: Failures which occur due to a lack of maintenance will not be
covered under warranty.
The Required Maintenance Schedule* specifies all maintenance
required to keep your car in peak operating condition. Work should
be done by a Honda dealer but may be done by any qualified service
facility or individual who is competent in this type of work.
Maintenance, replacement, or repair of emission control devices
and systems may be done by any automotive repair establishment
or individual using parts that are "certified" to EPA standards.
After the maintenance has been done, be sure to complete theMaintenance Records on pages 71 — 73. All required maintenance is
considered normal owner operating cost and you will be charged for it by your dealer.
* For vehicles sold in California, maintenance operations indicated by *3 on page 70 are recommended by the manufacturer. Othermaintenance operations are required by California regulations and
condition the emission warranty.
Maintenance Schedule and RecordsProCarManuals.comMain Menu s t
Page 82 of 136
Cooling System (cont'd)
1. Set the heater temperature control dial to maximum heat.
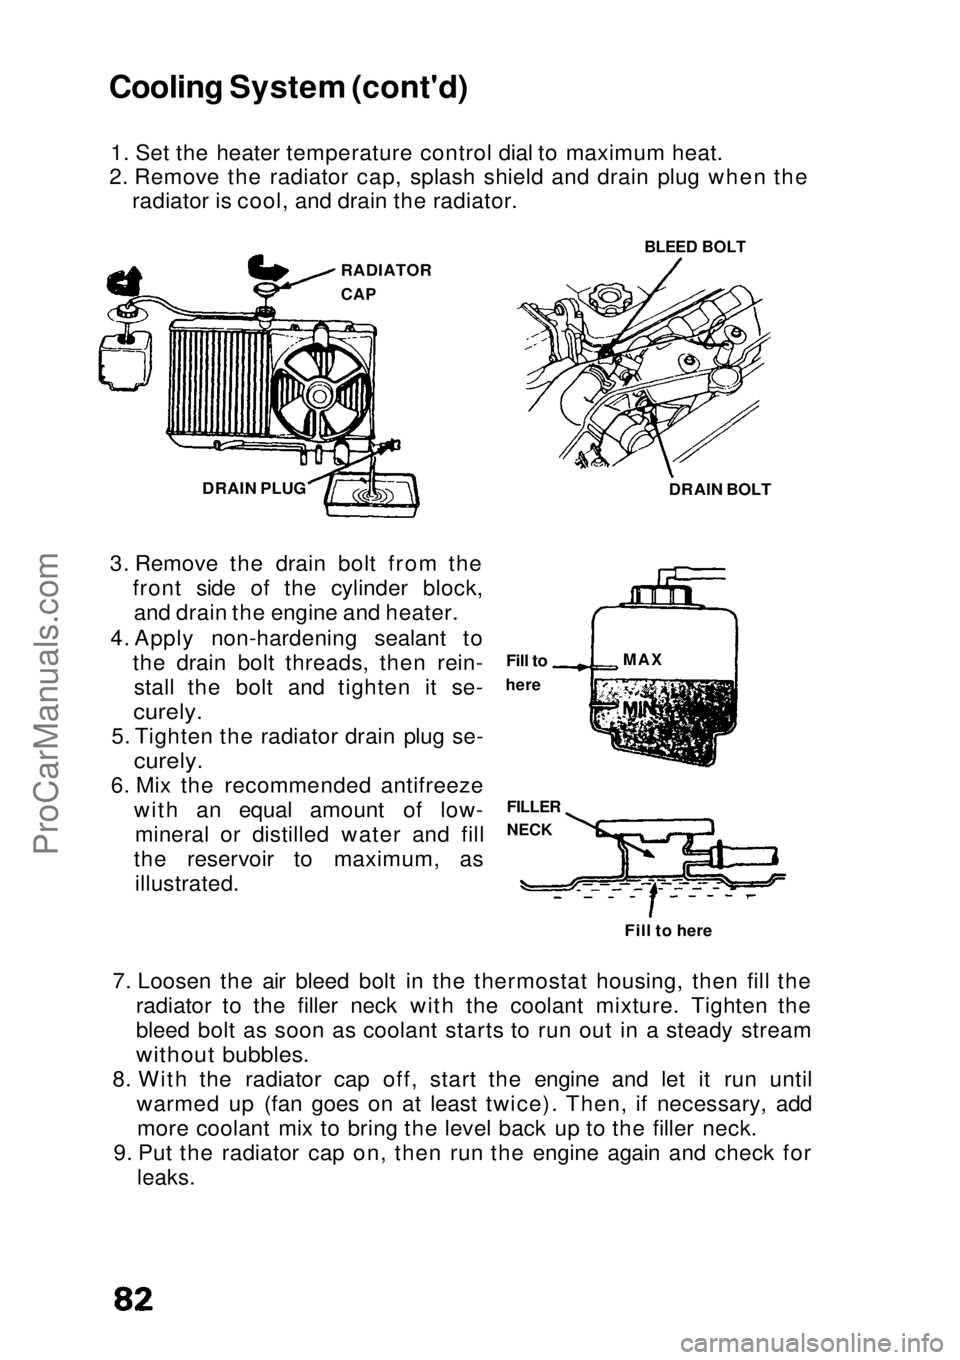
2. Remove the radiator cap, splash shield and drain plug when the radiator is cool, and drain the radiator.
3. Remove the drain bolt from the front side of the cylinder block,and drain the engine and heater.
4. Apply non-hardening sealant to the drain bolt threads, then rein-stall the bolt and tighten it se-
curely.
5. Tighten the radiator drain plug se-
curely.
6. Mix the recommended antifreeze with an equal amount of low-mineral or distilled water and fill
the reservoir to maximum, as illustrated.
7. Loosen the air bleed bolt in the thermostat housing, then fill the radiator to the filler neck with the coolant mixture. Tighten the
bleed bolt as soon as coolant starts to run out in a steady stream
without bubbles.
8. With the radiator cap off, start the engine and let it run until warmed up (fan goes on at least twice). Then, if necessary, addmore coolant mix to bring the level back up to the filler neck.
9. Put the radiator cap on, then run the engine again and check for
leaks.
RADIATOR
CAP
BLEED BOLT
DRAIN BOLT
DRAIN PLUG
Fill to
here
FILLER
NECK
Fill to here
MAXProCarManuals.comMain Menu s t
Page 90 of 136
Fuse Replacement
The fuse box is located under the dashboard on the driver's side.
The circuits protected by each fuse are listed inside the box.
Hatchback
Sedan
(Sedan)
The fuses for automatic shoulder belt buckle motor are installed on the terminal of the battery.
If any of your car's lights, accessories, or controls don't work,
check their fuses. If a fuse has blown, the wire inside it will be burned through.
BLOWN FUSE
REMOVER
Pull downProCarManuals.comMain Menu s t
Page 104 of 136
Spare Tire
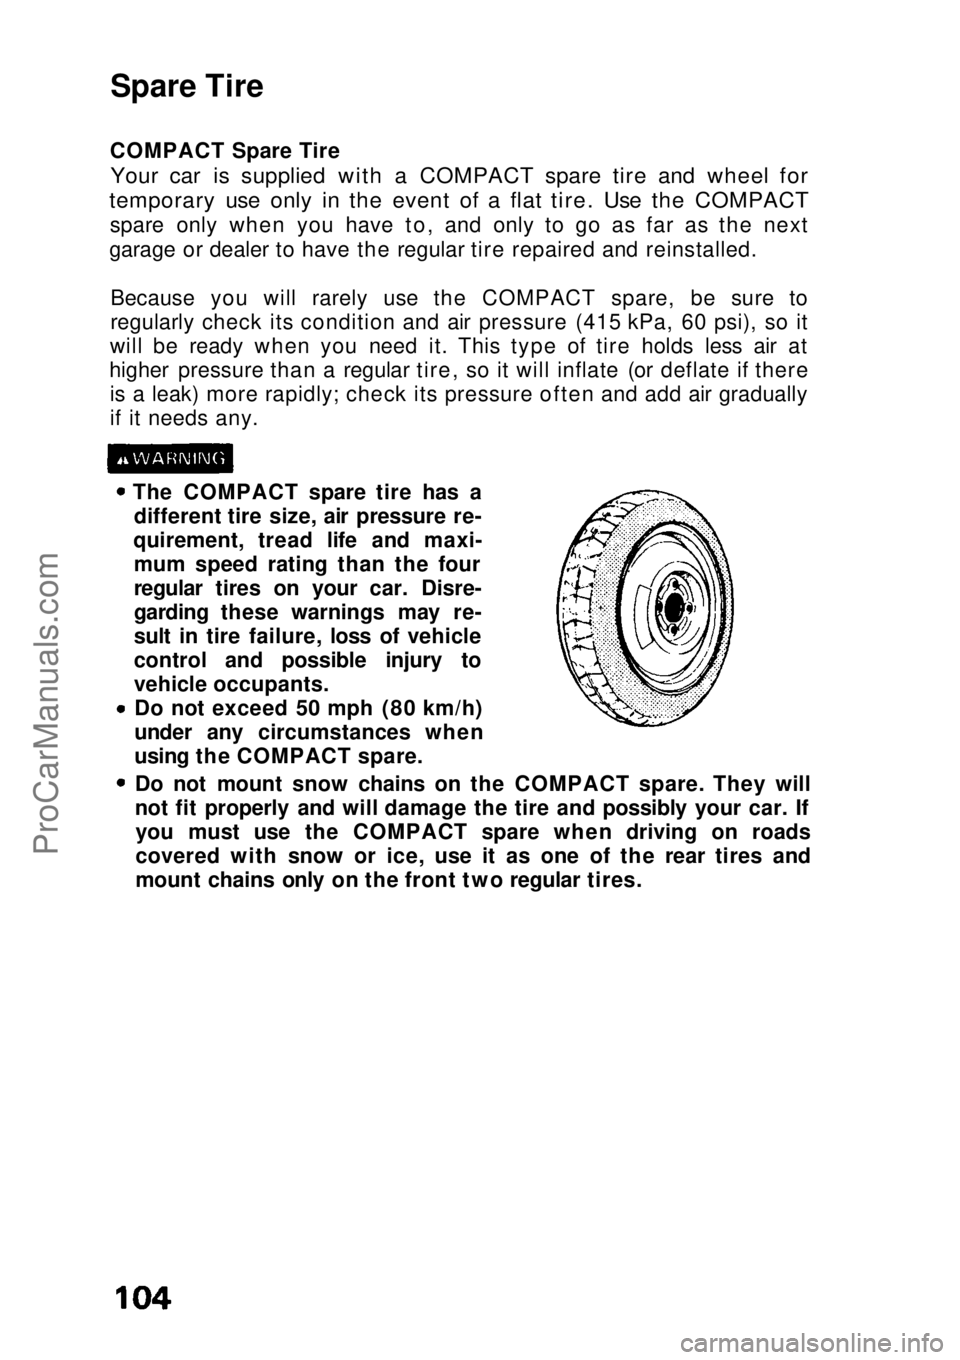
COMPACT Spare Tire
Your car is supplied with a COMPACT spare tire and wheel for
temporary use only in the event of a flat tire. Use the COMPACT
spare only when you have to, and only to go as far as the next
garage or dealer to have the regular tire repaired and reinstalled.
Because you will rarely use the COMPACT spare, be sure to
regularly check its condition and air pressure (415 kPa, 60 psi), so it
will be ready when you need it. This type of tire holds less air at
higher pressure than a regular tire, so it will inflate (or deflate if there is a leak) more rapidly; check its pressure often and add air gradually
if it needs any.
The COMPACT spare tire has adifferent tire size, air pressure re-
quirement, tread life and maxi- mum speed rating than the four
regular tires on your car. Disre-
garding these warnings may re-
sult in tire failure, loss of vehicle
control and possible injury to
vehicle occupants.Do not exceed 50 mph (80 km/h)
under any circumstances when
using the COMPACT spare.
Do not mount snow chains on the COMPACT spare. They will
not fit properly and will damage the tire and possibly your car. Ifyou must use the COMPACT spare when driving on roads
covered with snow or ice, use it as one of the rear tires and
mount chains only on the front two regular tires.ProCarManuals.comMain Menu s t