1990 VOLKSWAGEN TRANSPORTER seat adjustment
[x] Cancel search: seat adjustmentPage 14 of 165
Downloaded from www.Manualslib.com manuals search engine
CONTROLS AND EQUIPMENT
MIRRORS
Adjust
the
outside
and
inside mirrors
be
fore driving and after adjusting your seat
to
proper driving position.
It is
important
for
safe driving that
you
have good vision
to
the rear.
WARNING
The right hand outside mirror may have a curved (convex) surface. Always remember that vehicles or other objects
seen in a convex mirror will look
smaller and appear farther away than
when seen in a flat mirror. Do not use
this mirror to estimate distances of
following cars when changing lanes.
Whenever possible, use the inside mir ror to determine the actual distance
and size of vehicles or objects seen in
the convex mirror.
Outside mirrors
The outside mirrors
are
hinged
and
fold flat against
the
vehicle when pressed from either direction.
Fold mirrors flat against
the
side windows
when taking your vehicle through
an
auto matic
car
wash
to
prevent possible dam
age.
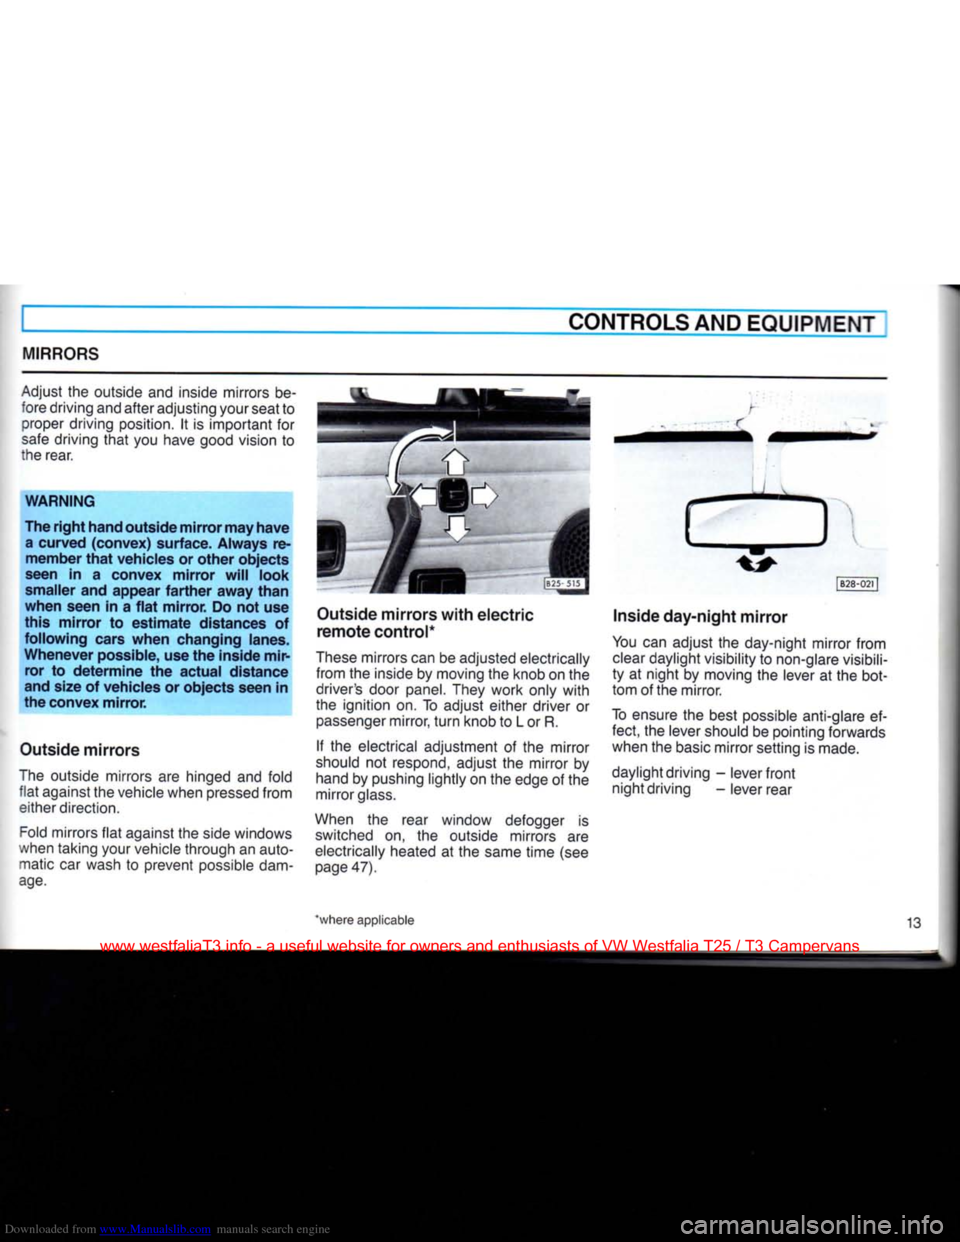
Outside mirrors with electric
remote control*
These mirrors can
be
adjusted electrically from
the
inside
by
moving
the
knob
on the
driver's door panel. They work only with
the ignition
on. To
adjust either driver
or
passenger mirror, turn knob
to L or R.
If
the
electrical adjustment
of the
mirror
should
not
respond, adjust
the
mirror
by
hand
by
pushing lightly
on the
edge
of the
mirror glass.
When
the
rear window defogger
is
switched
on, the
outside mirrors
are
electrically heated
at the
same time
(see
page 47). |B28-021
|
Inside day-night mirror
You
can
adjust
the
day-night mirror from clear daylight visibility
to
non-glare visibili
ty
at
night
by
moving
the
lever
at the
bot
tom
of
the mirror.
To ensure
the
best possible anti-glare
ef
fect,
the
lever should
be
pointing forwards
when
the
basic mirror setting
is
made.
daylight driving
-
lever front night driving
-
lever rear
*where applicable 13
www.westfaliaT3.info - a useful website for owners and enthusiasts of VW Westfalia T25 / T3 Campervans
Page 18 of 165
Downloaded from www.Manualslib.com manuals search engine
CONTROLS AND
EQUIPMENT
Belt
height
adjustment
There
are two different anchorage points for the
front
safety belts in the door pillars on each
side.
The
belt relay
fitting
is normally mounted on the upper anchorage point. For proper positioning of the shoulder section of the
safety belt it may be necessary to remount
the relay
fitting
on the lower anchorage point. Lap-shoulder
belt
The
combination lap-shoulder belt is equipped
with
a locking retractor. The
system
adjusts automatically to your
size
and
movements as long as the pull on the
belt is slow.
Hard
braking or a collision locks the belt.
The
belt will also lock when you drive up or down a steep hill or in a sharp curve.
Before
fastening the seat belt
first
adjust
seat
- see page 20.
• To fasten, grasp belt tongue and pull
belt in continuous slow motion across your
chest
and lap.
• Insert belt tongue into buckle on in
board side of seat.
Push
down until it is
securely
locked
with
an audible click.
Pull
belt to check.
•
Pull
upwards on shoulder section to
make
sure belt
fits
snugly across the
pel
vis.
The
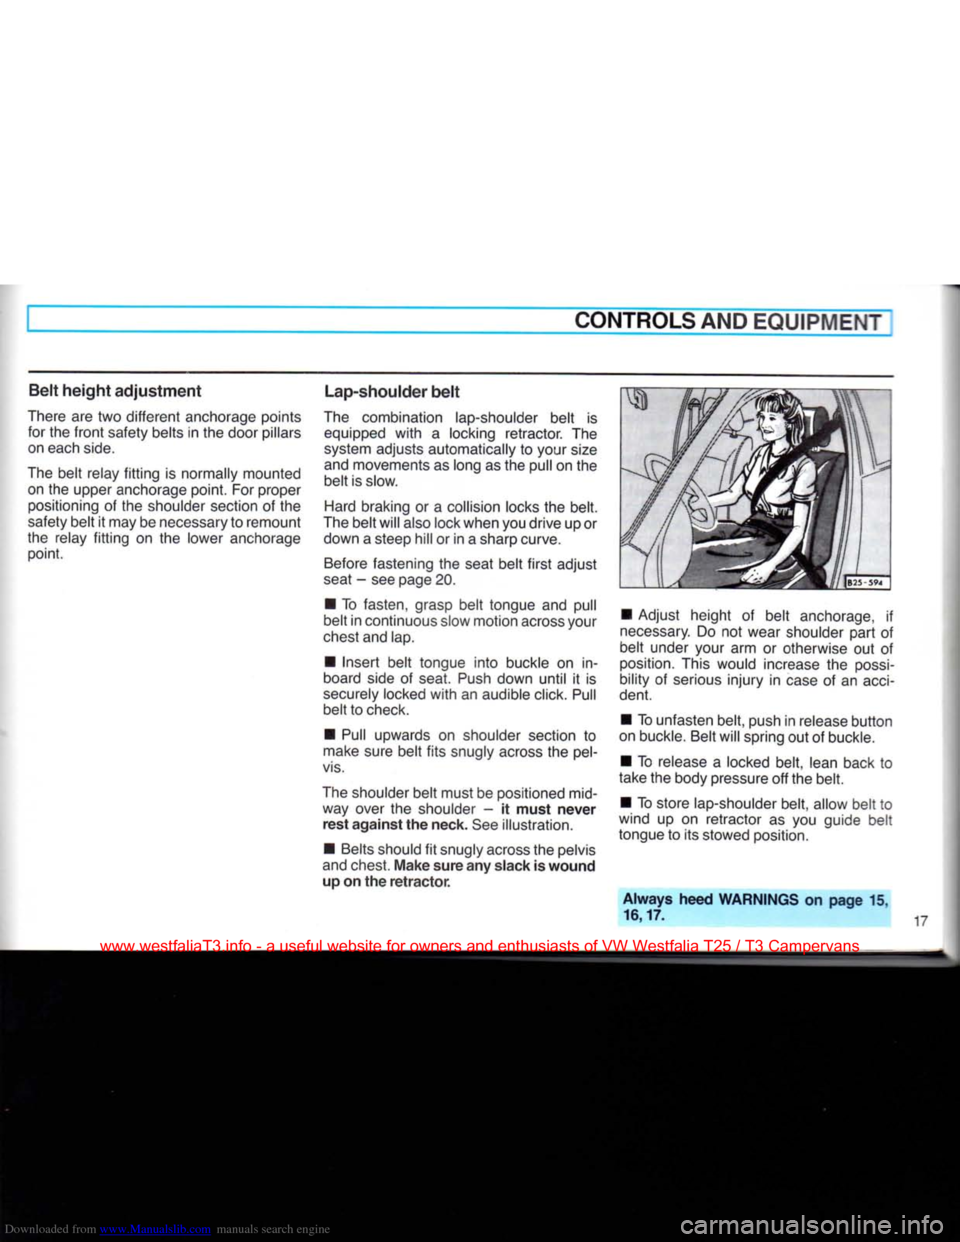
shoulder belt must be positioned mid way over the shoulder - it
must
never
rest
against
the neck. See illustration.
• Belts should fit snugly across the pelvis
and
chest.
Make
sure any slack is
wound
up on the
retractor.
• Adjust height of belt anchorage, if
necessary.
Do not wear shoulder part of
belt under your arm or otherwise out of
position.
This would increase the
possi
bility of serious injury in
case
of an
acci
dent.
• To unfasten belt, push in release button
on buckle. Belt will spring out of buckle.
• To release a locked belt, lean back to
take the body pressure off the belt.
• To store lap-shoulder belt, allow belt to
wind up on retractor as you guide belt
tongue to its stowed position.
Always
heed
WARNINGS
on
page
15.
16,17.
www.westfaliaT3.info - a useful website for owners and enthusiasts of VW Westfalia T25 / T3 Campervans
Page 20 of 165
Downloaded from www.Manualslib.com manuals search engine
CONTROLS AND
EQUIPMENT
HEAD
RESTRAINTS
|B25-28l|
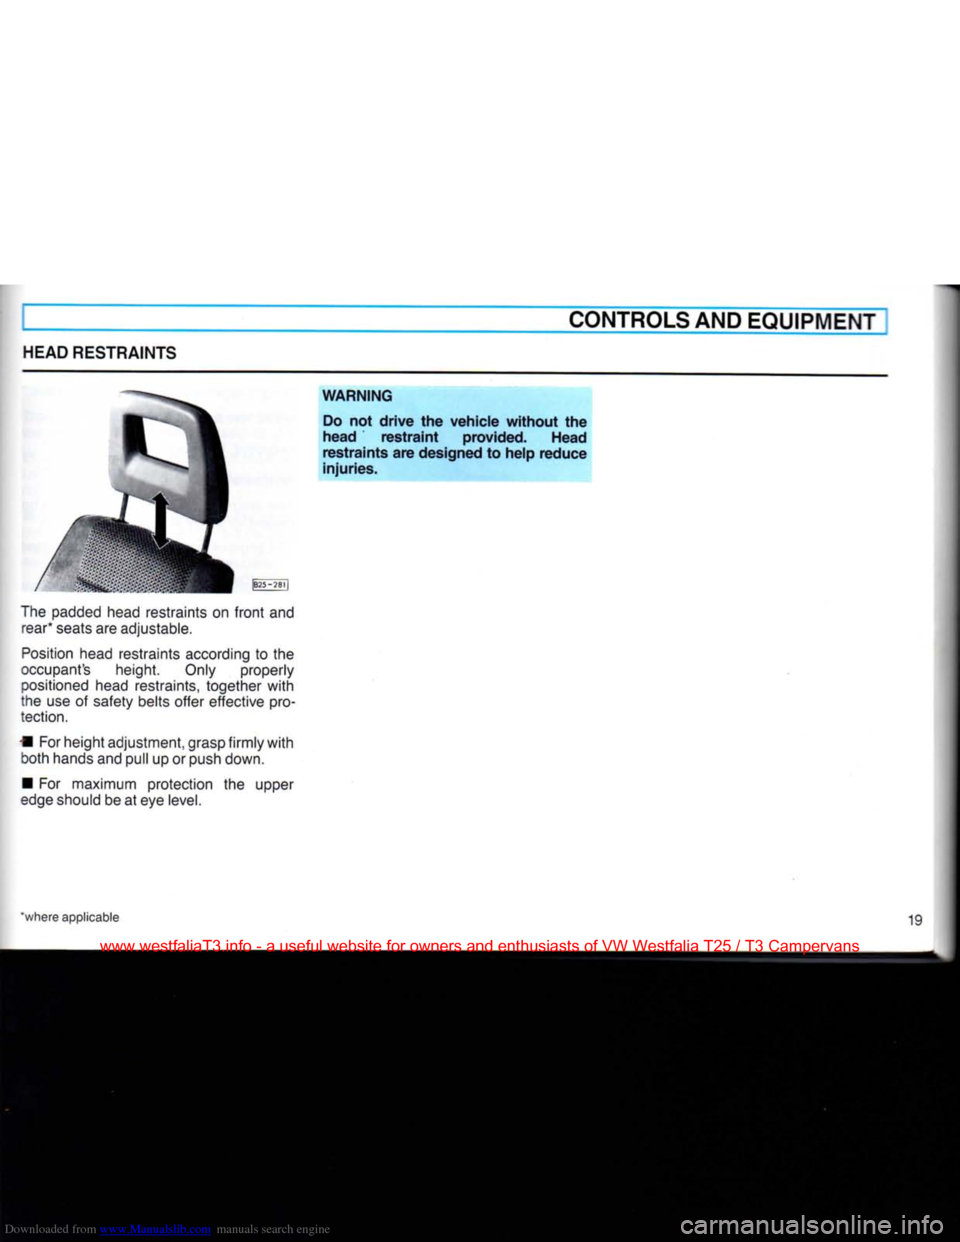
The padded head restraints on
front
and rear* seats are adjustable.
Position
head restraints according to the
occupant's height. Only properly positioned head restraints, together
with
the use of safety belts offer effective pro
tection.
• For height adjustment, grasp
firmly
with
both hands and pull up or push down.
• For maximum protection the upper
edge should be at eye
level.
WARNING
Do not
drive
the
vehicle
without
the
head
restraint
provided.
Head
restraints
are designed to
help
reduce
injuries.
"where applicable 19
www.westfaliaT3.info - a useful website for owners and enthusiasts of VW Westfalia T25 / T3 Campervans
Page 21 of 165
Downloaded from www.Manualslib.com manuals search engine
CONTROLS
AND
EQUIPMENT
SEATS
IN
DRIVER'S
CAB
WARNING
•
For
driver's
and passenger's
protec
tion
make
sure
front
seats
are
securely
latched
in place.
*
• Do not
adjust
seats
while
the
vehicle
is in
motion.
Your
seat
may
move
unex
pectedly
which
could cause sudden
loss of
vehicle
control
or
personal
in
jury.
•
The
front
seats should be adjusted be
fore fastening the safety belt.
B25-548
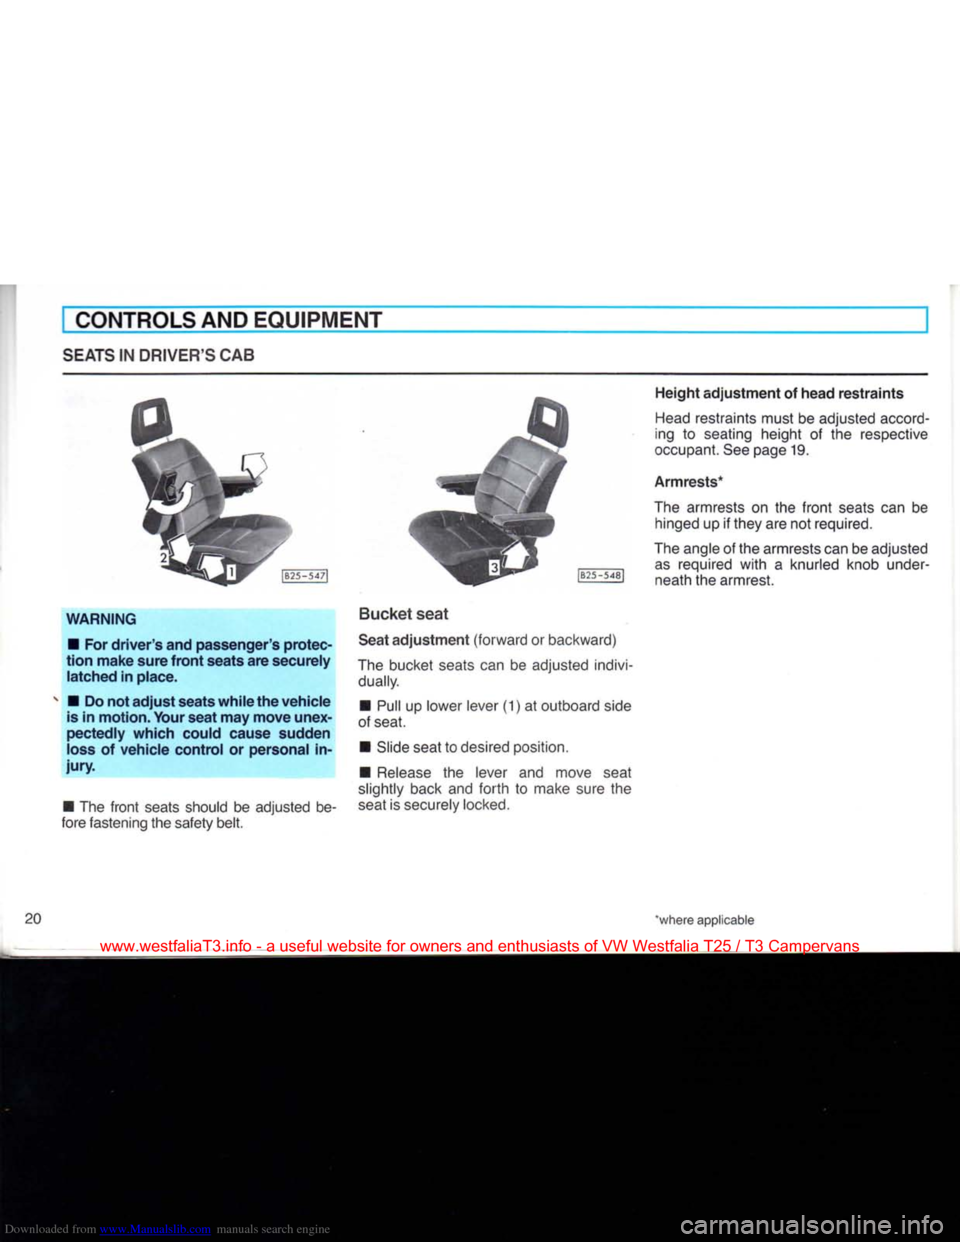
Bucket
seat
Seat
adjustment
(forward
or backward)
The
bucket seats can be adjusted indivi dually.
•
Pull up lower lever (1) at outboard side
of seat.
•
Slide seat to desired position.
•
Release
the lever and move seat
slightly back and
forth
to make sure the
seat
is securely locked.
Height
adjustment
of
head
restraints
Head
restraints must be adjusted accord
ing to seating height of the respective
occupant. See page 19.
Armrests*
The
armrests on the
front
seats can be hinged up if they are not required.
The
angle of the armrests can be adjusted
as
required
with
a knurled knob underneath the armrest.
*where applicable
www.westfaliaT3.info - a useful website for owners and enthusiasts of VW Westfalia T25 / T3 Campervans
Page 22 of 165
Downloaded from www.Manualslib.com manuals search engine
CONTROLS AND
EQUIPMENT
Seatback
adjustment
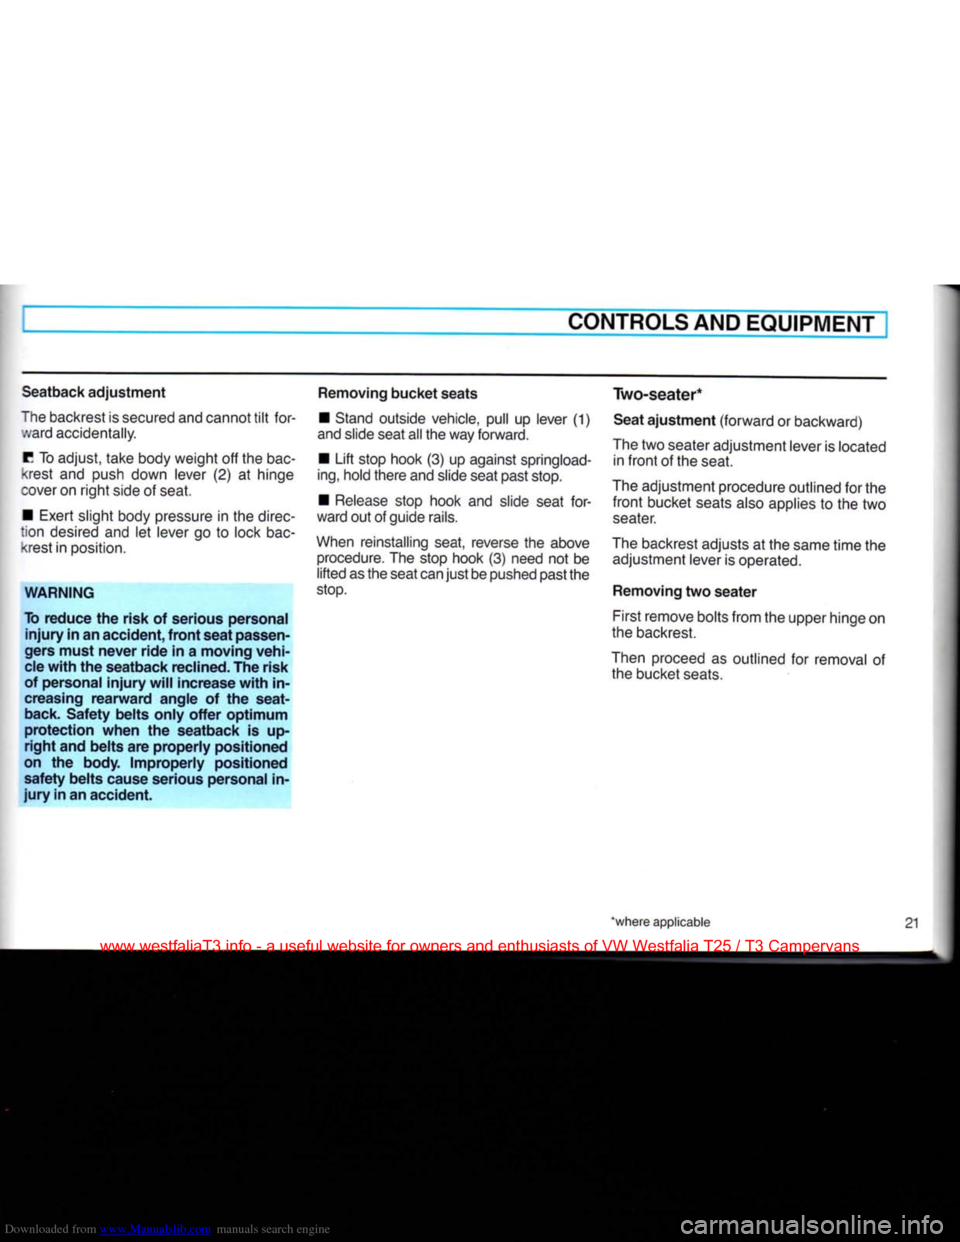
The backrest is secured and cannot
tilt
for
ward accidentally.
C
To adjust, take body weight off the
bac
krest and push down lever (2) at hinge
cover on
right
side of seat.
• Exert slight body pressure in the direc
tion
desired and let lever go to lock
bac
krest in position.
WARNING
To
reduce
the
risk
of
serious
personal
injury
in an
accident,
front
seat
passen
gers
must
never
ride
in a
moving
vehi
cle
with
the
seatback
reclined.
The
risk
of
personal
injury
will
increase
with
in
creasing
rearward
angle
of the
seat-
back.
Safety
belts
only
offer
optimum
protection
when
the
seatback
is up
right
and
belts
are
properly
positioned
on the
body.
Improperly
positioned
safety
belts
cause
serious
personal
in
jury
in an
accident.
Removing
bucket
seats
• Stand outside vehicle, pull up lever (1)
and slide seat all the way forward.
•
Lift
stop hook (3) up against springload-
ing,
hold there and slide seat past stop.
•
Release
stop hook and slide seat
for
ward out of guide rails.
When reinstalling seat, reverse the above procedure. The stop hook (3) need not be
lifted
as the seat can
just
be pushed past the
stop.
Two-seater*
Seat
ajustment
(forward
or backward)
The two seater adjustment lever is located in
front
of the seat.
The adjustment procedure outlined for the
front
bucket seats also applies to the two
seater.
The backrest adjusts at the same
time
the adjustment lever is operated.
Removing
two
seater
First remove bolts
from
the upper hinge on
the backrest.
Then proceed as outlined for removal of the bucket
seats.
*where applicable 21
www.westfaliaT3.info - a useful website for owners and enthusiasts of VW Westfalia T25 / T3 Campervans
Page 23 of 165
Downloaded from www.Manualslib.com manuals search engine
CONTROLS
AND
EQUIPMENT
Swivel seats*
The forward or backward adjustment pro cedure outlined for the
front
bucket seats
also
applies to the swivel seats.
Before turning the driver's swivel seat:
•
Position shift lever in park (automatic
transmission) or in first gear (manual
transmission).
•
Block wheels if necessary to
prevent
vehicle from moving.
•
Release parking brake. WARNING
Swivel seats must be in forward facing
position while driving. Do not operate the locking lever of the
swivel seat while the vehicle is in mo
tion.
To swivel the seat, move seat slightly for ward or open the door a crack.
Then
push
down the locking lever in
front
of the seat.
The passenger seat can be turned
180°
to the left
(half
circle).
The driver's seat can be turned
90°
to the
right
(quarter
circle).
The seats will lock automatically at
every
turn.
22
"where applicable
www.westfaliaT3.info - a useful website for owners and enthusiasts of VW Westfalia T25 / T3 Campervans
Page 58 of 165
Downloaded from www.Manualslib.com manuals search engine
AUXILIARY HEATER*
CONTROLS AND EQUIPMENT
~jrn the auxiliary heater on and off with the :amperature switch, located on the right of
fee steering column. Use the same switch
ID
regulate the heat.
depending on vehicle model, the warm air
lows from the footwell vents for the pas senger compartment and/or from a con-
tollable vent under the driving seat. The a r distribution cannot be controlled.
While driving, the heater can be operated rontinuously. When the engine is not run-
-:ng,
the heater will shut off automatically
after 10 minutes to save battery power.
"he auxiliary heater is running on fuel from our fuel tank. Fuel consumption varies
according to operating conditions and
-eat output (approx. 1 US qt or one liter
zer hour). 0
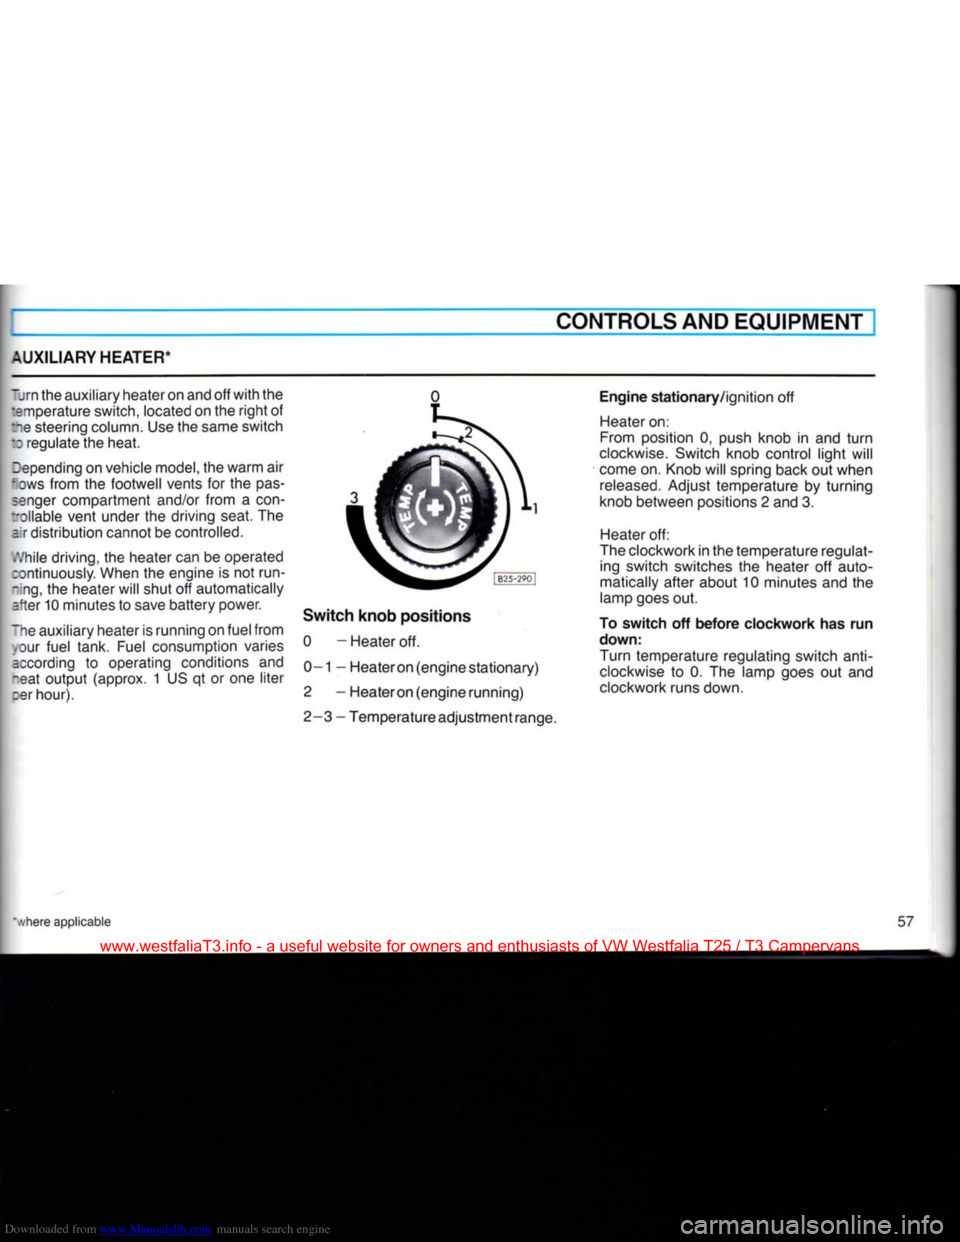
Switch knob positions 0 - Heater off.
0—1 — Heateron (engine stationary)
2 - Heateron (engine running)
2-3 - Temperature adjustment range. Engine stationary/ignition off
Heater on:
From position 0, push knob in and turn
clockwise. Switch knob control light will
come on. Knob will spring back out when
released.
Adjust temperature by turning
knob between positions 2 and 3.
Heater off:
The clockwork in the temperature regulat ing switch switches the heater off auto
matically after about 10 minutes and the
lamp goes out.
To switch off before clockwork has run
down:
Turn temperature regulating switch
anti
clockwise to 0. The lamp goes out and
clockwork runs down.
www.westfaliaT3.info - a useful website for owners and enthusiasts of VW Westfalia T25 / T3 Campervans
Page 113 of 165
Downloaded from www.Manualslib.com manuals search engine
VEHICLE CARE
BRAKE FLUID 3 ATT
108 Brake fluid reservoir
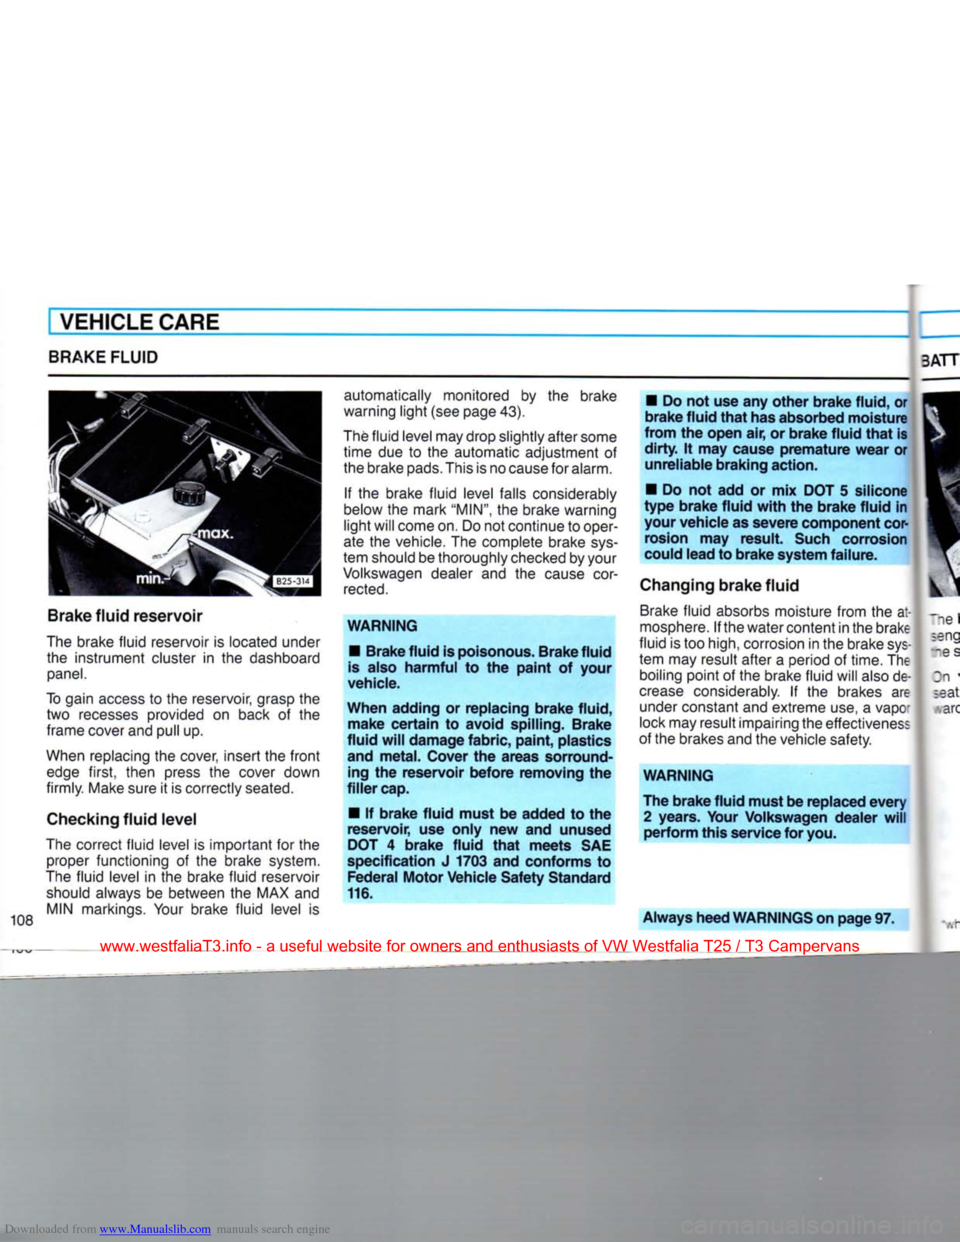
The brake fluid reservoir is located under the instrument cluster in the dashboard
panel.
To gain access to the reservoir, grasp the two recesses provided on back of the frame cover and pull up.
When replacing the cover, insert the front edge first, then press the cover down
firmly. Make sure it is correctly seated.
Checking fluid level
The correct fluid level is important for the proper functioning of the brake system.
The fluid level in the brake fluid reservoir should always be between the MAX and MIN markings. Your brake fluid level is automatically monitored by the brake
warning light (see page 43).
The fluid level may drop slightly after some time due to the automatic adjustment of
the brake pads. This is no cause for alarm.
If the brake fluid level falls considerably
below the mark
"MIN",
the brake warning
light will come on. Do not continue to oper
ate the vehicle. The complete brake sys
tem should be thoroughly checked by your
Volkswagen dealer and the cause cor
rected.
WARNING • Brake fluid is poisonous. Brake fluid
is also harmful to the paint of your
vehicle.
When adding or replacing brake fluid, make certain to avoid spilling. Brake
fluid will damage fabric, paint, plastics and metal. Cover the areas sorround-ing the reservoir before removing the
filler cap.
• If brake fluid must be added to the
reservoir, use only new and unused
DOT 4 brake fluid that meets SAE
specification J 1703 and conforms to Federal Motor Vehicle Safety Standard
116.
• Do not use any other brake fluid, or
brake fluid that has absorbed moisture
from the open air, or brake fluid that is
dirty. It may cause premature wear or unreliable braking action.
• Do not add or mix DOT 5 silicone
type brake fluid with the brake fluid in your vehicle as severe component corrosion may result. Such corrosion
could lead to brake system failure.
Changing brake fluid Brake fluid absorbs moisture from the at
mosphere. If the watercontent in the brake
fluid is too high, corrosion in the brake sys
tem may result after a period of time. The boiling point of the brake fluid will also de
crease considerably. If the brakes are under constant and extreme use, a vapc
lock may result impairing the effectiveness
of the brakes and the vehicle safety. -e s
Dn seat arc
WARNING
The brake fluid must be replaced every 2 years. Your Volkswagen dealer will perform this service for you.
Always heed WARNINGS on page 97.
www.westfaliaT3.info - a useful website for owners and enthusiasts of VW Westfalia T25 / T3 Campervans