Page 24 of 143

Warning and indicator Lights (cont'd)
Anti Lock Brake Warning Light (Si with ALB)
The ALB (Anti Lock Brake) warning light will come on, and remain
on, if there is a malfunction in the ALB system or when the ignition switch is turned on with the engine not running, if the light comes
on while driving, stop the car at a safe place and shut off the engine, if the light does not go out or lights again while driving, have the
system checked by an authorized Honda dealer as soon as possible.
NOTE:
The light does not indicate a failure of the normal brake system.
The light only indicates a malfunction in the ALB system. In such acase, the ALB system is automatically shut down but normal
braking capability continues.
After jump-starting the car, there is a possibility that the ALB
warning light may come on due to insufficient battery voltage.
After the battery is sufficiently recharged and the engine is turned
off and restarted, the ALB warning light should indicate that the
ALB system is OK, by coming on for a few seconds each time the
engine is started. If the light remains on after recharging, have it
checked by a Honda dealer.
ANTI
LOCKProCarManuals.comMain Menu s t
Page 25 of 143

Safety Indicator Lights
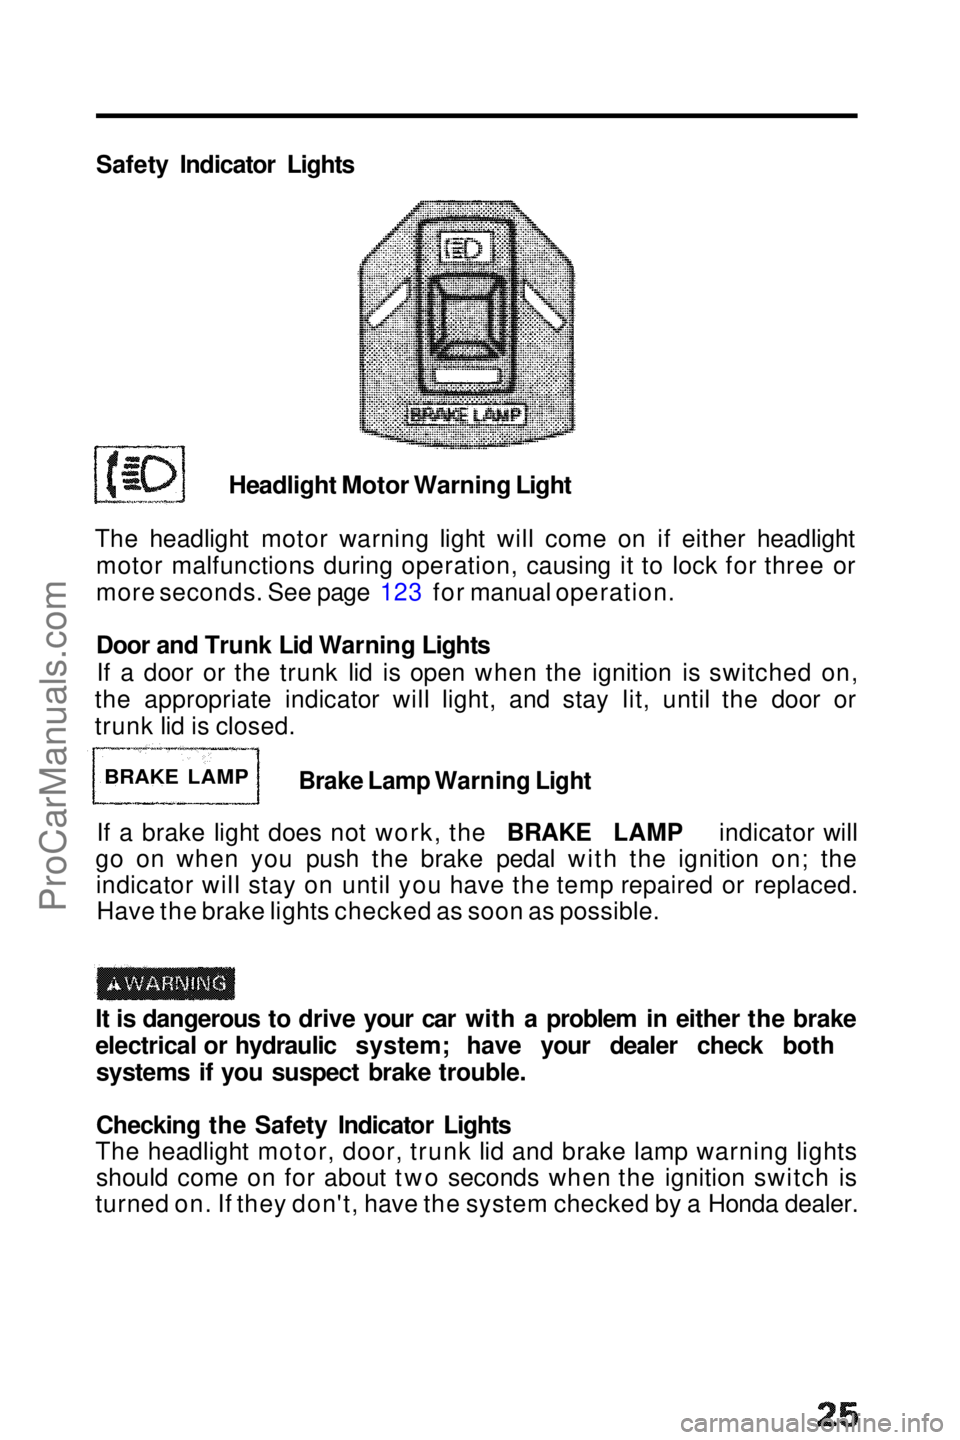
Headlight Motor Warning Light
The headlight motor warning light will come on if either headlight motor malfunctions during operation, causing it to lock for three or
more seconds. See page 123 for manual operation.
Door and Trunk Lid Warning Lights
If a door or the trunk lid is open when the ignition is switched on,
the appropriate indicator will light, and stay lit, until the door or
trunk lid is closed.
Brake Lamp Warning Light
If a brake light does not work, the BRAKE LAMP indicator will
go on when you push the brake pedal with the ignition on; the indicator will stay on until you have the temp repaired or replaced.Have the brake lights checked as soon as possible.
It is dangerous to drive your car with a problem in either the brake
electrical or hydraulic system; have your dealer check both systems if you suspect brake trouble.
Checking the Safety Indicator Lights
The headlight motor, door, trunk lid and brake lamp warning lights should come on for about two seconds when the ignition switch is
turned on. If they don't, have the system checked by a Honda dealer.
BRAKE LAMPProCarManuals.comMain Menu s t
Page 29 of 143
Mirrors
Rearview Mirrors Keep the inside and outside mirrors clean and adjusted for best
visibility. Be sure to adjust mirrors before you start.
The inside mirror has day and night positions. The night positionreduces glare from the headlights
of vehicles behind you. Flip the
small tab on the bottom of the mirror forward or backward to
select day or night position.
(2.0
S,2.0
Si)
The outside mirror can be
adjusted by moving the knob
located on each door.
Power Mirrors (Si)With the ignition switch in the "II" position, move the main switch
to L (for driver's side) or R (for passenger's side), then use the adjustment switch to adjust the mirror to the correct angle. After
the mirrors have been adjusted, return the main switch to the center (off) position.
NOTE:Be sure to adjust mirror angles before you start driving.
DAY/NIGHT
ADJUSTMENT
TAB
KNOB
MAIN SWITCH ADJUSTMENT SWITCHProCarManuals.comMain Menu s t
Page 34 of 143
Lights (cont'd)
Keyhole tight (Si)
When the driver's door handle is pulled, the keyhole light goes
on. This is convenient for
finding the keyhole location in
the dark. The light goes out
after several seconds.
Ignition Switch Light (Si)
This light will illuminate the
switch for several seconds
after the driver's door is closed.
Trunk Light
The trunk compartment light
goes on when the trunk lid is opened. TRUNK
LIGHTProCarManuals.comMain Menu t s
Page 37 of 143
Clock
Digital Clock
The time is displayed continuously when the ignition is on. At all other times, push in on the lid to display the time.
To adjust the time:
1. Lower the lid.
2. Push the minute button
(MIN) and hold it until the
numbers advance to the
desired minutes.
3. Push the hour button
(HOUR) and hold it until
the numbers advance to
the desired hour.
4.The RESET button allows you to synchronize your clock to the closest hour. If the time on the clock is before the half hour,
pressing the RESET button will return the time to the previous
hour. If the time is beyond the half hour, the RESET button will
change the time to the next hour.
NOTE:
Be careful not to push the HOUR, MIN or RESET buttons
accidentally. Pushing any of them will change the clock's time
setting.ProCarManuals.comMain Menu t s
Page 40 of 143

Power Windows (Si)
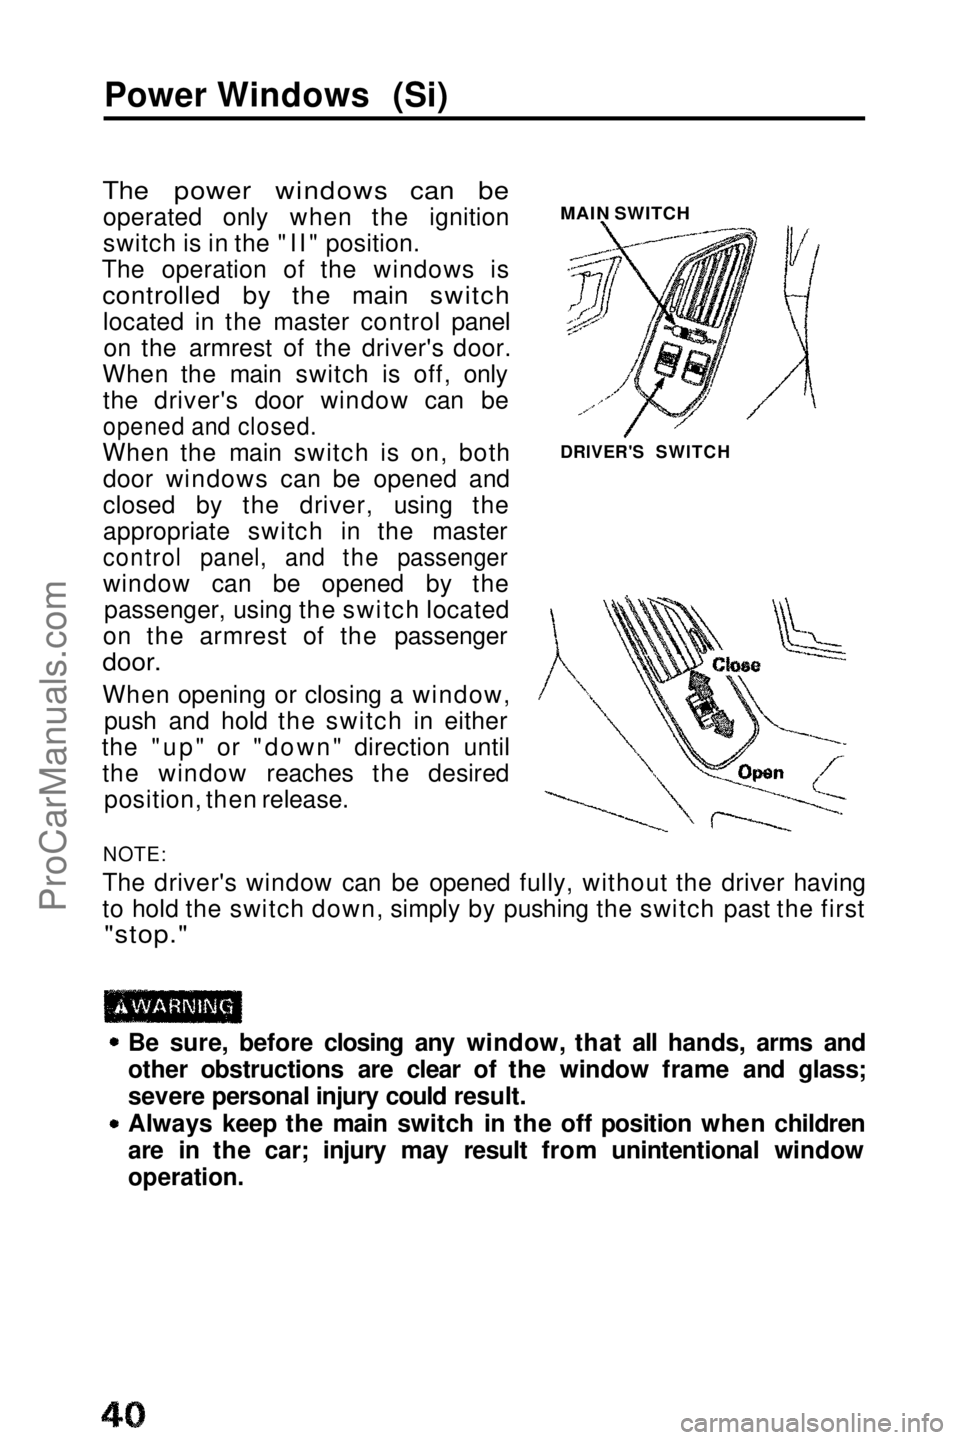
The power windows can be
operated only when the ignition
switch is in the "II" position.
The operation of the windows is
controlled by the main switch
located in the master control panelon the armrest of the driver's door.
When the main switch is off, only the driver's door window can be
opened and closed.
When the main switch is on, both door windows can be opened and
closed by the driver, using the
appropriate switch in the master
control panel, and the passenger
window can be opened by the passenger, using the switch located
on the armrest of the passenger
door.
When opening or closing a window, push and hold the switch in either
the "up" or "down" direction until the window reaches the desired position, then release.
NOTE:
The driver's window can be opened fully, without the driver having
to hold the switch down, simply by pushing the switch past the first
"stop."
Be sure, before closing any window, that all hands, arms and
other obstructions are clear of the window frame and glass;
severe personal injury could result.
Always keep the main switch in the off position when children
are in the car; injury may result from unintentional window
operation.
MAIN SWITCH
DRIVER'S SWITCHProCarManuals.comMain Menu t s
Page 47 of 143
Stereo Sound System
(2.0 SI2.0 Si)
Bass Control
(Si) Bass Contro
l
ON/OFF Switch
On the 2.0 S and 2.0 Si models:
Turn the switch clockwise to turn the unit on, to increase volume and to raise the power antenna; turn it counterclockwise to
decrease volume, to turn the unit off and to retract the antenna.
The antenna will also retract automatically if the ignition is switched off.
On the Si model:
Push the button to turn the unit on and to raise the power antenna; push it again to turn it off and to retract the antenna. The antenna
will also retract automatically if the ignition is switched off. Volume Control
On the 2.0 S and 2.0 Si models:
Turn the ON/OFF switch clockwise to increase volume and
counterclockwise to decrease volume. On the Si model:
Push the switch up to increase volume and down to decrease
volume.
(cont'd)
Treble Control
Treble ControlProCarManuals.comMain Menu t s
Page 51 of 143

Repeat Button (REPEAT)
Push the REPEAT button (indicator on) to return to the beginning of
a song or section of programming and repeat its play. Push the
button again (indicator off) to cancel the repeat function and resume
normal play. DOLBY
®
Noise Reduction ( )
Push in when playing tapes recorded in Dolby (the Dolby NR Indicator will light). Push again (out) when playing tapes not recorded
in Dolby. Use of the wrong setting will affect high frequency
response.
NOTE:
The Dolby NR circuit will not operate during radio reception.Dolby noise reduction system is manufactured under license from
Dolby Laboratories Licensing Corporation. "Dolby" and the
double-D symbol are trademarks of Dolby Laboratories Licensing Corporation. Skip Button
The circuit senses silent passages between songs or programs on a
tape. Push upward to automatically advance to the beginning of the next song, or downward return to the beginning of the song just
played.
NOTE:
Tapes that contain short silent passages between songs, a high level
of noise between songs, or silent passages within a song may not be
suitable for this function.
Metal Indicator (METAL)
Most metal or CrO2 cassettes are coded with slots on their back
edge. If such a cassette is inserted, the player will detect the slots and automatically switch to the proper equalization for full
enjoyment of metal/CrO2 tapes. The indicator light will go on when
coded cassettes are played.
Eject
Push this button to stop and eject the tape.
Ignition Key-OFF Eject: The cassette being played will be
automatically ejected when the ignition or the unit is turned off.
NOTE:
When one side of the tape ends, "Auto-Reverse" will automatically begin playing the other side, therefore, you must push the ejectbutton to stop or remove the tape.
(cont'd)ProCarManuals.comMain Menu t s