1987 PORSCHE 944 warning lights
[x] Cancel search: warning lightsPage 42 of 66

944
5. Press together the housing cover with the air intake funnel (944 Turbo) and carefully
place in position. Tighten fastening screws,
connect hose and screw down hose clamp.
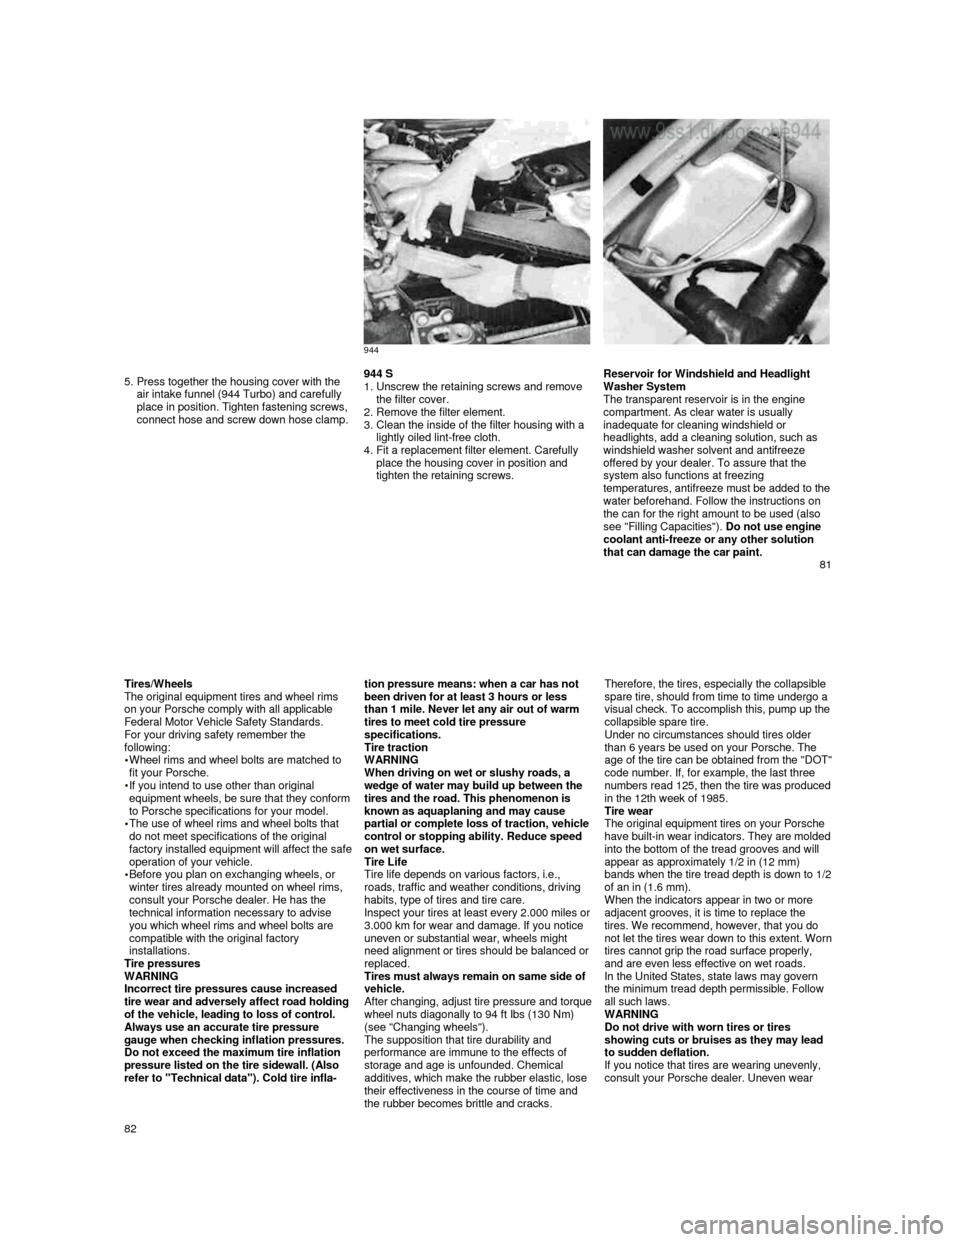
944 S
1. Unscrew the retaining screws and remove
the filter cover.
2.
Remove the filter element.
3. Clean the inside of the filter housing with a
lightly oiled lint-free cloth.
4.
Fit a replacement filter element. Carefully
place the housing cover in position and
tighten the retaining screws.
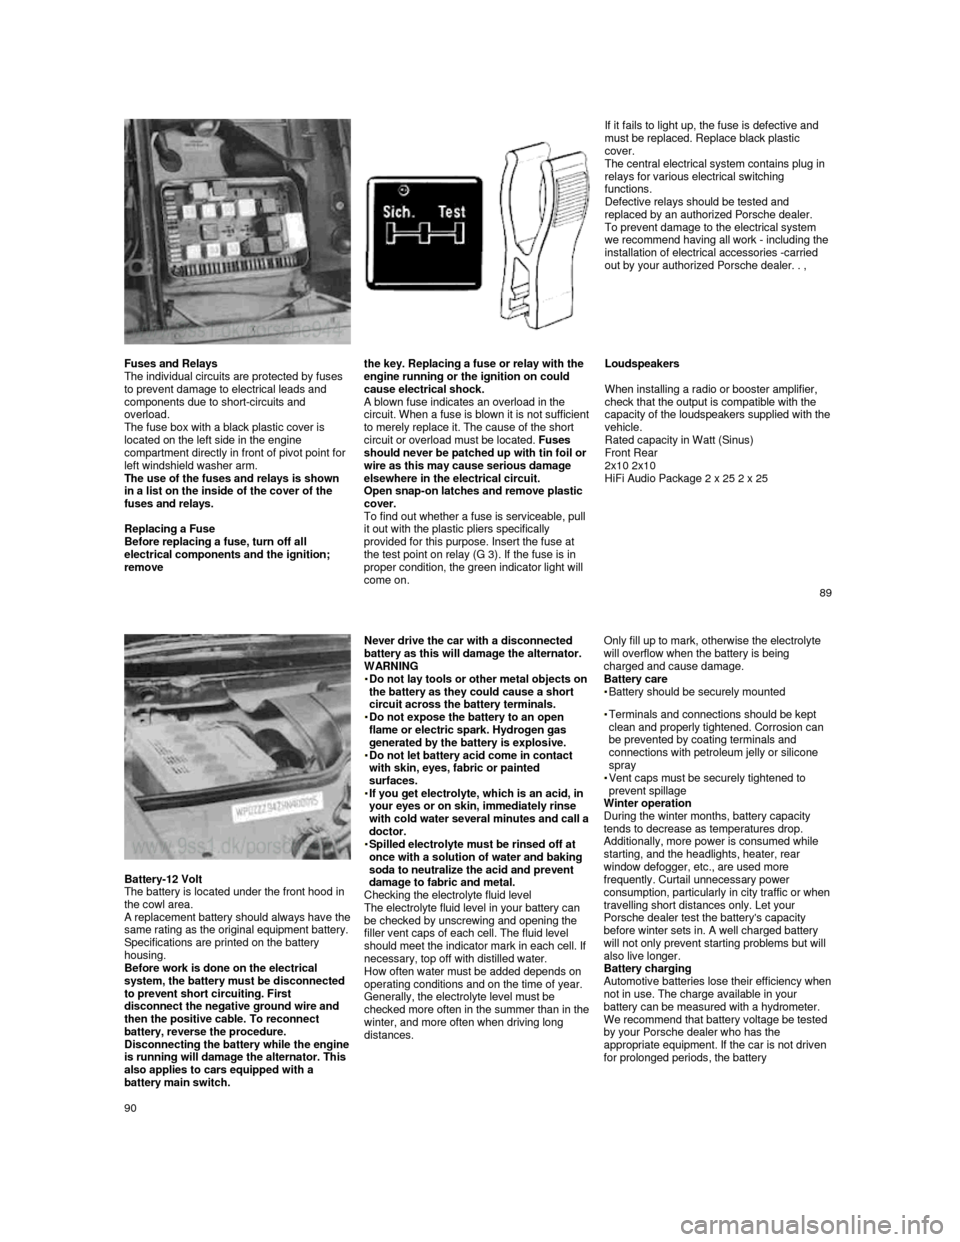
Reservoir for Windshield and Headlight
Washer System
The transparent reservoir is in the engine
compartment. As clear water is usually
inadequate for cleaning windshield or
headlights, add a cleaning solution, such as
windshield washer solvent and antifreeze offered by your dealer. To assure that the
system also functions at freezing
temperatures, antifreeze must be added to the water beforehand. Follow the instructions on the can for the right amount to be used (also
see "Filling Capacities"). Do not use engine
coolant anti-freeze or any other solution
that can damage the car paint.
81
Tires/Wheels
The original equipment tires and wheel rims
on your Porsche comply with all applicable
Federal Motor Vehicle Safety Standards.
For your driving safety remember the
following:
Wheel rims and wheel bolts are matched to
fit your Porsche.
If you intend to use other than original equipment wheels, be sure that they conform to Porsche specifications for your model. The use of wheel rims and wheel bolts that
do not meet specifications of the original
factory installed equipment will affect the safe operation of your vehicle. Before you plan on exchanging wheels, or winter tires already mounted on wheel rims, consult your Porsche dealer. He has the
technical information necessary to advise
you which wheel rims and wheel bolts are
compatible with the original factory
installations.
Tire pressures
WARNING
Incorrect tire pressures cause increased
tire wear and adversely affect road holding of the vehicle, leading to loss of control.
Always use an accurate tire pressure
gauge when checking inflation pressures.
Do not exceed the maximum tire inflation
pressure listed on the tire sidewall. (Also
refer to "Technical data"). Cold tire infla-
tion pressure means: when a car has not been driven for at least 3 hours or less
than 1 mile. Never let any air out of warm
tires to meet cold tire pressure
specifications.
Tire traction
WARNING
When driving on wet or slushy roads, a
wedge of water may build up between the
tires and the road. This phenomenon is
known as aquaplaning and may cause
partial or com
plete loss of traction, vehicle control or stopping ability. Reduce speed
on wet surface.
Tire Life
Tire life depends on various factors, i.e.,
roads, traffic and weather conditions, driving
habits, type of tires and tire care.
Inspect your tires at least
every 2.000 miles or 3.000 km for wear and damage. If you notice
uneven or substantial wear, wheels might
need alignment or tires should be balanced or
replaced.
Tires must always remain on same side of
vehicle.
After changing, adjust tire pressure and torque wheel nuts diagonally to 94 ft Ibs (130 Nm) (see "Changing wheels").
The supposition that tire durability and
performance are immune to the effects of
storage and age is unfounded. Chemical
additives, which make the rubber elastic, lose
their effectiveness in the course of time and
the rubber becomes brittle and cracks.
Therefore, the tires, especially the collapsible
spare tire, should from time to time undergo a
visual check. To accomplish this,
pump up the collapsible spare tire.
Under no circumstances should tires older
than 6 years be used on your Porsche. The
age of the tire can be obtained from the "DOT" code number. If, for example, the last three
numbers read 125, then the tire was produced in the 12th week of 1985.
Tire wear
The original equipment tires on your Porsche
have built-
in wear indicators. They are molded into the bottom of the tread grooves and will
appear as approximately 1/2 in (12 mm)
bands when the tire tread depth is down to
1/2 of an in (1.6 mm).
When the indicators appear in two or more
adjacent grooves, it is time to replace the
tires. We recommend, however, that you do
not let the tires wear down to this extent. Worn tires cannot grip the road surface properly,
and are even less effective on wet roads.
In the United States, state laws may govern
the minimum tread depth permissible. Follow
all such laws.
WARNING
Do not drive with worn tires or tires
showing cuts or bruises as they may lead
to sudden deflation.
If you notice that tires are wearing unevenly,
consult your Porsche dealer. Uneven wear
82
Page 46 of 66

If it fails to light up, the fuse is defective and
must be replaced. Replace black plastic
cover.
The central electrical system contains plug in
relays for various electrical switching
functions.
Defective relays should be tested and
replaced by an authorized Porsche dealer.
To prevent damage to the electrical system
we recommend having all work - including the
installation of electrical accessories -carried
out by your authorized Porsche dealer. . ,
Fuses and Relays
The individual circuits are protected by fuses
to prevent damage to electrical leads and
components due to short-circuits and
overload.
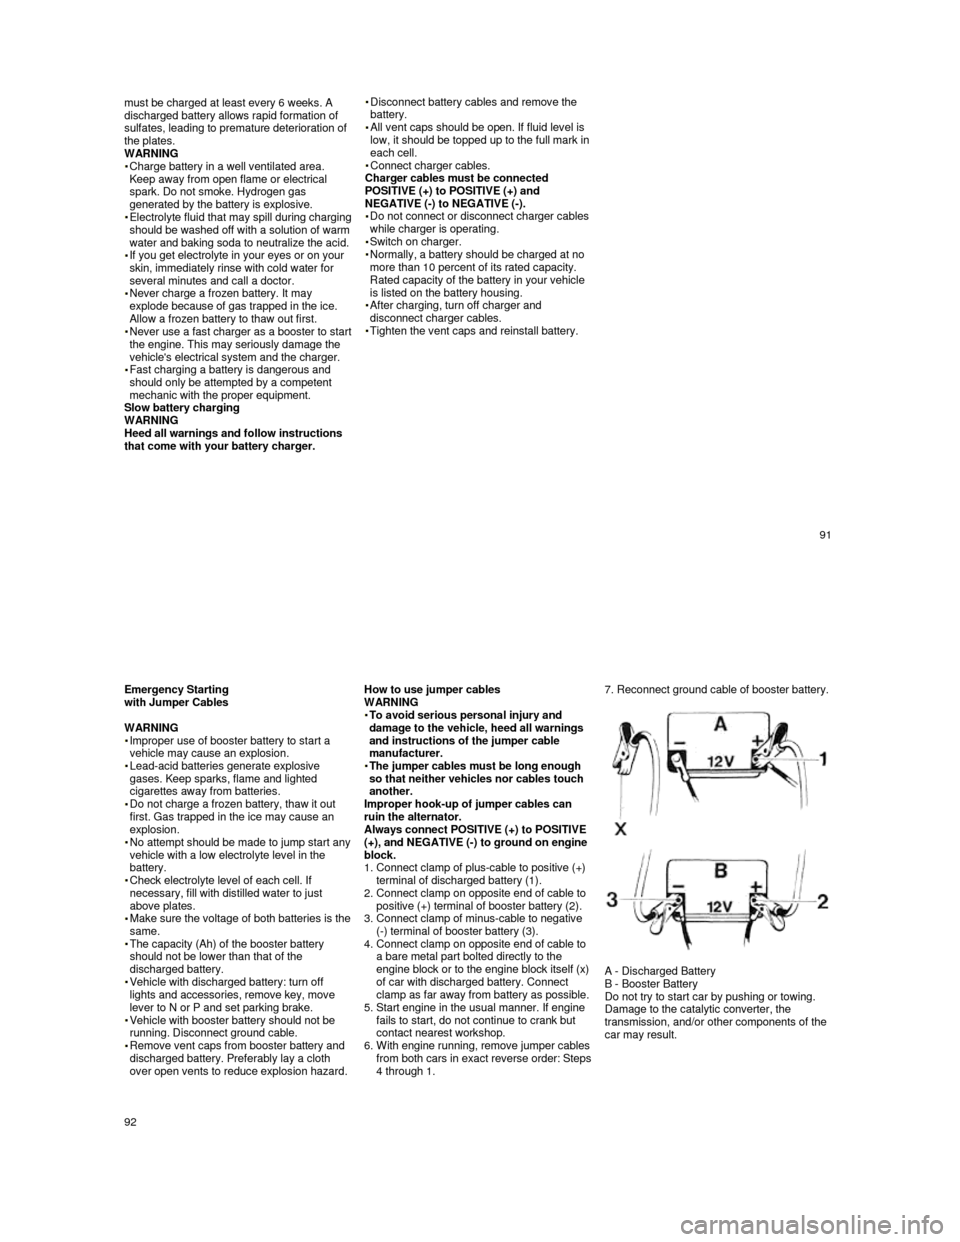
The fuse box with a black plastic cover is
located on the left side in the engine
compartment directly in front of pivot point for
left windshield washer arm.
The use of the fuses and relays is shown
in a list on the inside of the cover of the
fuses and relays.
Replacing a Fuse
Before replacing a fuse, turn off all
electrical components and the ignition;
remove the key. Replacing a fuse or relay with the
engine running or the ignition on could
cause electrical shock.
A blown fuse indicates an overload in the circuit. When a fuse is blown it is not sufficient
to merely replace it. The cause of the short
circuit or overload must be located. Fuses
should never be patched up with tin foil or
wire as this may cause serious damage
elsewhere in the electrical circuit.
Open snap-on latches and remove plastic
cover.
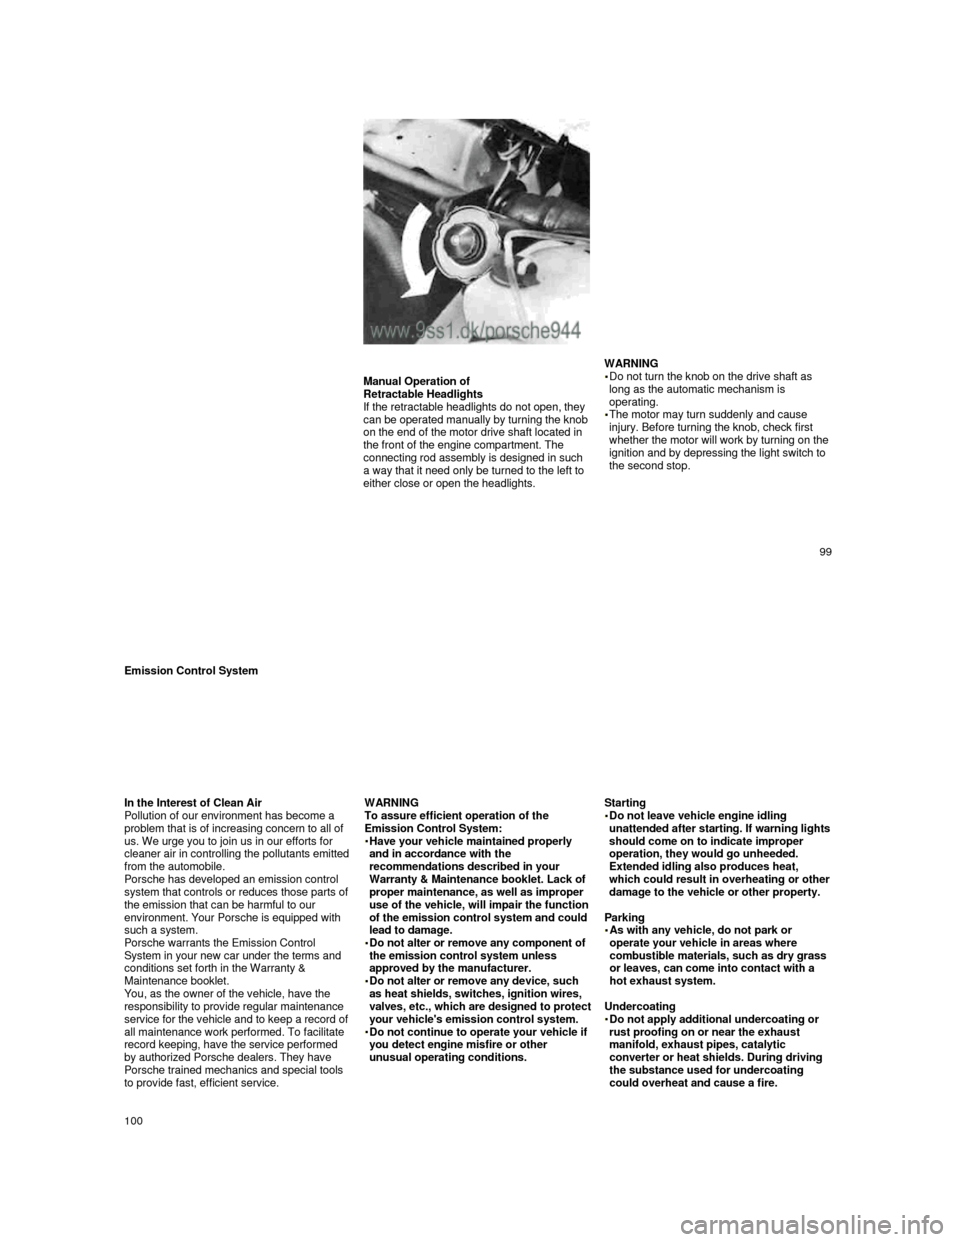
To find out whether a fuse is serviceable, pull
it out with the plastic pliers specifically
provided for this purpose. Insert the fuse at
the test point on relay (G 3). If the fuse is in
proper condition, the green indicator light will
come on.
Loudspeakers
When installing a radio or booster amplifier,
check that the output is compatible with the
capacity of the loudspeakers supplied with the vehicle.
Rated capacity in Watt (Sinus)
Front Rear
2x10 2x10
HiFi Audio Package 2 x 25 2 x 25
89
Battery-12 Volt
The battery is located under the front hood in
the cowl area.
A replacement battery should always have the same rating as the original equipment battery.
Specifications are printed on the battery
housing.
Before work is done on the electrical
system, the battery must be disconnected
to prevent short circuiting. First
disconnect the negative ground wire and
then the positive cable. To reconnect
battery, reverse the procedure.
Disconnecting the battery while the engine is running will damage the alternator. This
also applies to cars equipped with a
battery main switch.
Never drive the car with a disconnected battery as this will damage the alternator. WARNING
Do not lay tools or other metal objects on the battery as they could cause a short
circuit across the battery terminals.
Do not expose the battery to an open flame or electric spark. Hydrogen gas
generated by the battery is explosive.
Do not let battery acid come in contact with skin, eyes, fabric or painted
surfaces.
If you get electrolyte, which is an acid, in your eyes or on skin, immediately rinse
with cold water several minutes and call a doctor. Spilled electrolyte must be rinsed off at once with a solution of water and baking
soda to neutralize the acid and prevent
damage to fabric and metal.
Checking the electrolyte fluid level
The electrolyte fluid level in your battery can
be checked by unscrewing and opening the
filler vent caps of each cell. The fluid level
should meet the indicator mark in each cell. If
necessary, top off with distilled water.
How often water must be added depends on
operating conditions and on the time of year.
Generally, the electrolyte level must be
checked more often in the summer than in the winter, and more often when driving long distances.
Only fill up to mark, otherwise the electrolyte will overflow when the battery is being charged and cause damage.
Battery care
Battery should be securely mounted
Terminals and connections should be kept
clean and properly tightened. Corrosion can
be prevented by coating terminals and
connections with petroleum jelly or silicone
spray
Vent caps must be securely tightened to
prevent spillage
Winter operation
During the winter months, battery capacity
tends to decrease as temperatures drop.
Additionally, more power is consumed while starting, and the headlights, heater, rear window defogger, etc., are used more
frequently. Curtail unnecessary power
consumption, particularly in city traffic or when travelling short distances only. Let your
Porsche dealer test the battery's capacity
before winter sets in. A well charged battery
will not only prevent starting problems but will
also live longer.
Battery charging
Automotive batteries lose their efficiency when not in use. The charge available in your
battery can be measured with a hydrometer.
We recommend that battery voltage be tested
by your Porsche dealer who has the
appropriate equipment. If the car is not driven
for prolonged periods, the battery
90
Page 47 of 66

must be charged at least every 6 weeks. A
discharged battery allows rapid formation of
sulfates, leading to premature deterioration of
the plates.
WARNING
Charge battery in a well ventilated area.
Keep away from open flame or electrical
spark. Do not smoke. Hydrogen gas
generated by the battery is explosive.
Electrolyte fluid that may spill during charging should be washed off with a solution of warm water and baking soda to neutralize the acid. If you get electrolyte in your eyes or on your
skin, immediately rinse with cold water for
several minutes and call a doctor.
Never charge a frozen battery. It may
explode because of gas trapped in the ice.
Allow a frozen battery to thaw out first. Never use a fast charger as a booster to start the engine. This may seriously damage the
vehicle's electrical system and the charger.
Fast charging a battery is dangerous and
should only be attempted by a competent
mechanic with the proper equipment.
Slow battery charging
WARNING
Heed all warnings and follow instructions
that come with your battery charger.
Disconnect battery cables and remove the
battery.
All vent caps should be open. If fluid level is low, it should be topped up to the full mark in
each cell.
Connect charger cables.
Charger cables must be connected
POSITIVE (+) to POSITIVE (+) and
NEGATIVE (-) to NEGATIVE (-).
Do not connect or disconnect charger cables while charger is operating. Switch on charger. Normally, a battery should be charged at no
more than 10 percent of its rated capacity.
Rated capacity of the battery in your vehicle
is listed on the battery housing.
After charging, turn off charger and disconnect charger cables. Tighten the vent caps and reinstall battery.
91
Emergency Starting with Jumper Cables
WARNING
Improper use of booster battery to start a
vehicle may cause an explosion.
Lead-acid batteries generate explosive
gases. Keep sparks, flame and lighted
cigarettes away from batteries.
Do not charge a frozen battery, thaw it out
first. Gas trapped in the ice may cause an
explosion.
No attempt should be made to jump start any vehicle with a low electrolyte level in the
battery.
Check electrolyte level of each cell. If
necessary, fill with distilled water to just
above plates.
Make sure the voltage of both batteries is the same. The capacity (Ah) of the booster battery
should not be lower than that of the
discharged battery.
Vehicle with discharged battery: turn off
lights and accessories, remove key, move
lever to N or P and set parking brake.
Vehicle with booster battery should not be
running. Disconnect ground cable.
Remove vent caps from booster battery and
discharged battery. Preferably lay a cloth
over open vents to reduce explosion hazard.
How to use jumper cables WARNING
To avoid serious personal injury and damage to the vehicle, heed all warnings
and instructions of the jumper cable
manufacturer. The jumper cables must be long enough so that neither vehicles nor cables touch
another.
Improper hook-up of jumper cables can
ruin the alternator.
Always connect POSITIVE (+) to POSITIVE
(+), and NEGATIVE (-) to ground on engine
block.
1. Connect clamp of plus-cable to positive (+) terminal of discharged battery (1).
2.
Connect clamp on opposite end of cable to
positive (+) terminal of booster battery (2).
3.
Connect clamp of minus-cable to negative
(-) terminal of booster battery (3).
4.
Connect clamp on opposite end of cable to
a bare metal part bolted directly to the
engine block or to the engine block itself (x)
of car with discharged battery. Connect
clamp as far away from battery as possible.
5. Start engine in the usual manner. If engine
fails to start, do not continue to crank but
contact nearest workshop.
6.
With engine running, remove jumper cables from both cars in exact reverse order: Steps 4 through 1.
7. Reconnect ground cable of booster battery.
A - Discharged Battery
B - Booster Battery
Do not try to start car by pushing or towing.
Damage to the catalytic converter, the
transmission, and/or other components of the
car may result.
92
Page 51 of 66

Manual Operation of
Retractable Headlights
If the retractable headlights do not open, they
can be operated manually by turning the knob
on the end of the motor drive shaft located in
the front of the engine compartment. The
connecting rod assembly is designed in such
a way that it need only be turned to the left to
either close or open the headlights.
WARNING
Do not turn the knob on the drive shaft as
long as the automatic mechanism is
operating.
The motor may turn suddenly and cause
injury. Before turning the knob, check first
whether the motor will work by turning on the ignition and by depressing the light switch to
the second stop.
99
Emission Control System
In the Interest of Clean Air
Pollution of our environment has become a
problem that is of increasing concern to all of
us. We urge you to join us in our efforts for
cleaner air in controlling the pollutants emitted from the automobile.
Porsche has developed an emission control
system that controls or reduces those parts of
the emission that can be harmful to our
environment. Your Porsche is equipped with
such a system.
Porsche warrants the Emission Control
System in your new car under the terms and
conditions set forth in the Warranty &
Maintenance booklet.
You, as the owner of the vehicle, have the
responsibility to provide regular maintenance
service for the vehicle and to keep a record of
all maintenance work performed. To facilitate
record keeping, have the service performed
by authorized Porsche dealers. They have
Porsche trained mechanics and special tools
to provide fast, efficient service.
WARNING To assure efficient operation of the
Emission Control System:
Have your vehicle maintained properly and in accordance with the
recommendations described in your
Warranty & Maintenance booklet. Lack of
proper maintenance, as well as improper
use of the vehicle, will impair the function
of the emission control system and could
lead to damage.
Do not alter or remove any component of the emission control system unless
approved by the manufacturer.
Do not alter or remove any device, such as heat shields, switches, ignition wires, valves, etc., which are designed to protect your vehicle's emission control system. Do not continue to operate your vehicle if you detect engine misfire or other
unusual operating conditions.
Starting
Do not leave vehicle engine idling unattended after starting. If warning lights should come on to indicate improper
operation, they would go unheeded.
Extended idling also produces heat,
which could result in overheating or other damage to the vehicle or other property.
Parking
As with any vehicle, do not park or operate your vehicle in areas where
combustible materials, such as dry grass
or leaves, can come into contact with a
hot exhaust system.
Undercoating
Do not apply additional undercoating or rust proofing on or near the exhaust
manifold, exhaust pipes, catalytic
converter or heat shields. During driving
the substance used for undercoating
could overheat and cause a fire.
100