1976 CHEVROLET VEGA air condition
[x] Cancel search: air conditionPage 17 of 87
Downloaded from www.Manualslib.com manuals search engine STARTING AND OPERATING
Engine Exhaust Gas Caution (Carbon Monoxide)
AvoId Inhaling exhaust gases because
they contaIn carbon monoxide, which by
Itselt is colorless and odorless. Carbon
monoxide Is a dangerous gas that can
cause unconsciousness and is potentially
lethal.
If at any time you suspect that exhaust
fumes are entering the passenger compartment, have the cause determined and
corrected as soon as possible. If you must
drIve under these conditions, drive only
with
all windows fully open.
The best protection agaInst carbon
monoxide entry Into the car body Is a
properly maIntaIned engine exhaust system, car body and body ventilatIon system, It Is recommended that the exhaust system
and body be Inspected by a competent
mechanIc.
• Each time the vehIcle Is raised for an 011 change.
• Whenever 8 change Is noticed In the
sound Of the exhaust system.
• Whenever the exhaust system, underbody or rear of the vehicle Is damaged.
See your MaIntenance Schedule folder
for inspection procedure.
To allow proper operation of the car's
ventilation system, keep aIr Inlet grille
forward of windshield and rear ventilation
grille on station wagon quarter. panels
clear ot snow or other
obstruction at all times, and prevent cargo from blocking
the inside vent holes on the underside of the quarter panels.
SITTING IN A PARKED CAR WITH ENGINE RUNNING FOR AN EXTENDED PERIOD IS NOT RECOMMENDED.
Do not run engine In confined areas
such as garages any more than needed
to move vehIcle In
or out of area. When vehIcle Is stopped In an UNCONFINED area with the engine runnIng for any more
than a short perIod, adjust heating or cooling system to force outsIde aIr into
car as follows:
2-1
1. On cars not equipped with air conditioning, set fan to medium or high
speed and upper control lever to any
position except OFF.
2. On cars equipped with air conditIoning, set fan to medium or high speed
and upper control lever to any position
except
OFF or MAX.
The trunk lid should be closed while drIving to help prevent inadvertently drawing exhaust gases into the car. It is
unwise to drIve at high speeds for long
durations with the trunk lid open. However, it tor some reason the trunk must remain
open for a period while moving, or electrical wiring or other cable connections to
a trailer must pass through the seal be
tween trunk
lid and body, the following
precautions should be observed:
• Close all windows.
• Adjust heating or cooling system to
force outsIde air into car as described In Items 1 and 2 above but with fan set
at hIgh speed.
• On cars equIpped with outside aIr vents In or under Instrument panel, open vents
fully.
Page 19 of 87
Downloaded from www.Manualslib.com manuals search engine Starting Engine
Automatic Transmission
Models
1. Apply the parking brake.
2. Place transmission selector
in uP" or "N" ("P" preferred).
A starter safety switch prevents
starter operation while the trans
mission selector
is in any drive
position.
(If it is necessary to·
re-start the engine with the car
moving, place the selector lever
in
"N".)
3. Depress accelerator pedal and
activate starter
as outlined be
low for different conditions.
IMPORTANT: Do not keep the starter
engaged for more than 15 seconds
at a time. Wait 1 0 or 15 seconds
before trying agair.
• Cold Engine -Fully depress
accelerator pedal and slowly
release.
Wilh fOOl 00 the pedal,
crank
the engine by
turning the ignition key to the
Start position -release when
engine starts.
If engine starts, but fails to
run, repeat this procedure.
When engine is running
smoothly (approximately
30
seconds), the idle speed may
be reduced by slightly de
pressing the accelerator pedal
and then slowly releasing.
• Warm Engine -Depress ac
celerator
pedal about halfway
and hold while cranking the
engine.
• Extremely Cold Weather
(Below 00 F. -180 C.) Or
After Car Has Been Standing
Idle Several Days-
2-3
Fully depress and release ac
celerator pedal two
or three
times before cranking the
engine.
With foot 00 the ac
celerator pedal,
crank the en
gine by turning the key to the
Start position and release
when engine starts.
Manual Transmission Models
1. Apply parking brake, fully de
press
clutch pedal, and shift
transmission to neutral.
2. Hold clutch pedal to the floor
throughout
the starting proce
dure, A starter safety switch pre
vents starter operation when the
clutch
is not fully depressed.
(Select the proper gear posi
tion before releasing the clutch
pedal).
3. Operate accelerator pedal and
starter
as outlined in step 3
(under Automatic Transmission
Models).
Page 26 of 87
Downloaded from www.Manualslib.com manuals search engine Parking Your Car
Always engage the parking brake
and place the automatic transmis
sion selector lever in
"Park" posi- tion
when leaving your
car un
attended. Also with automatic
transmissions, never park for pro
longed periods with engine idling
and transmission in gear, especially
FLOOR CONTROLS
Braking System
The service brake system is de
signed for braking performance
under a wide range of driving con
ditions even when the vehicle
is
loaded to its full rated vehicle load.
NOTE: Operation of the brake
system warning light
is covered on
page 2-15 in the section on
"In
strument Panel."
Power Brakes
• On cars with power brakes, if
power assist to the brakes
is in
terrupted due to a stalled engine
or some malfunction, two or
more brake applications nor
mally can be made using reserve
power.
• If the brake pedal is held down,
2-10
if your car is equipped with air
conditioning. This practice
is detri
mental to the transmission, due
to
overheating.
the system
is designed to bring
the car to a full stop on reserve
power. However, the reserve
power
is partially depleted each
time the brake pedal
is applied
and released. Do not pump
brakes when brake power assist
has been interrupted, except
when necessary in order to main
tain steering control on slippery
surfaces.
• When reserve power is exhausted,
the vehicle can still be stopped
by applying greater force to the
pedal.
Page 29 of 87
Downloaded from www.Manualslib.com manuals search engine INSTRUMENTS AND CONTROLS
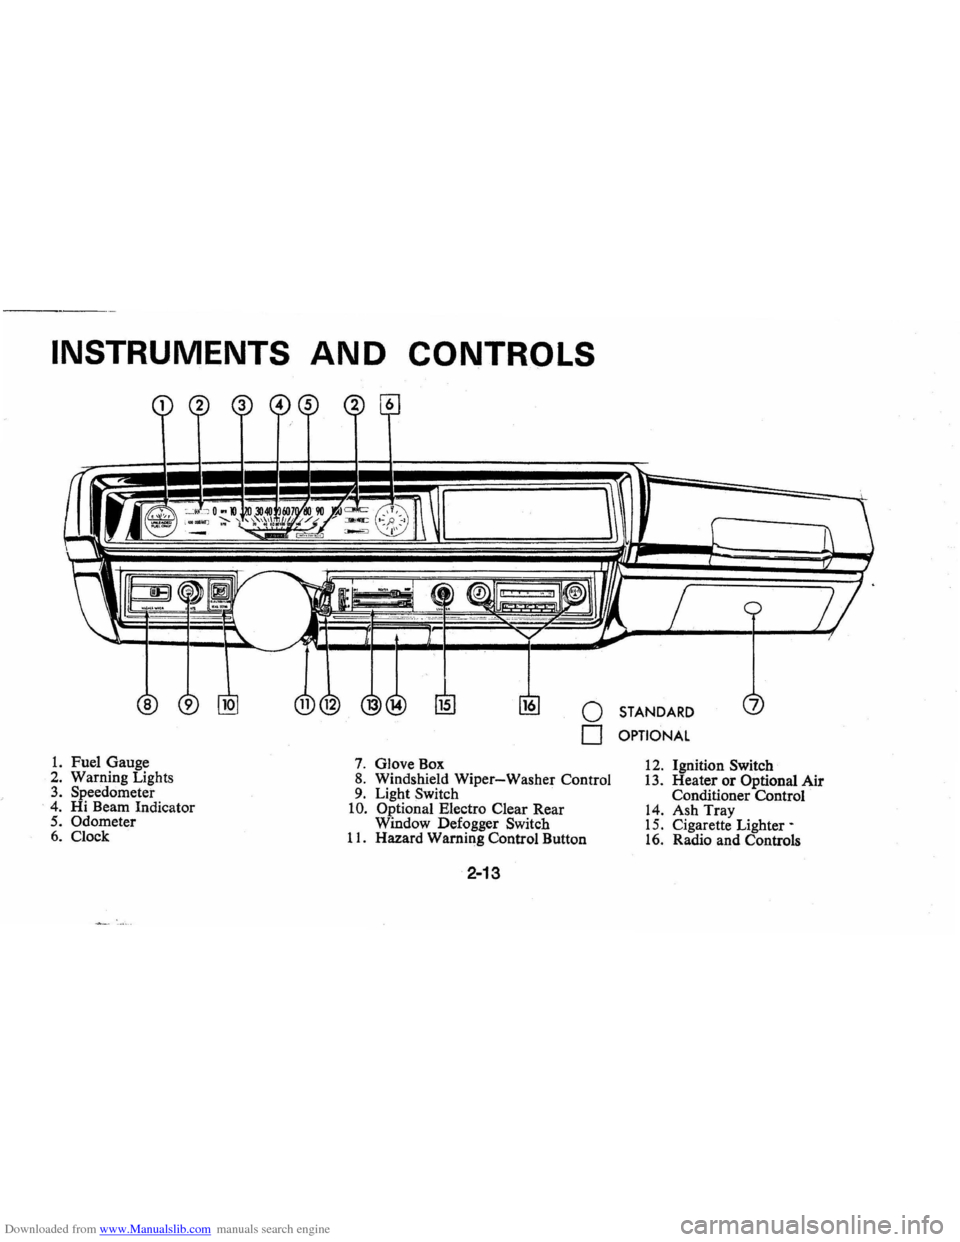
1. Fuel Gauge 2. Warning Lights 3. Speedometer . 4. Hi Beam Indicator 5. Odometer 6. Clock
o STANDARD
o OPTIONAL
7. Glove Box 8. Windshield Wiper-Washer Control 9. Light Switch . 10. Optional Electro Clear Rear
Window Defogger Switch
11. Hazard Warning Control Button
2-13
12. Ignition Switch 13. Heater or Optional Air Conditioner Control 14. Ash Tray 15. Cigarette Lighter-16. Radio and Controls
Page 31 of 87
Downloaded from www.Manualslib.com manuals search engine Generator Indicator Light
The red light will go on when
the ignition key
is in the "on" posi
tion, but before the engine
is started.
After the engine starts, the light
should go out and remain out.
If
the light remains on when engine
is running, have your Authorized
Chevrolet Dealer locate and correct
the trouble
as soon as possible.
Temp. Pressure Indicator
Light
This indicator light is provided
in the instrument cluster to quickly
warn of an overheated engine
and/or extreme low oil pressure
or oil supply. This light will be on
when the ignition switch is turned
"ON" and should go out after the
engine
is started. Occasionally the
light may be seen to flicker momen
tarily, but this will do no harm. Ex
treme low oil pressure or oil supply
will prevent the electric fuel pump from
operating and under this con
dition the engine will not run.
If the light comes on during ex
treme driving conditions, such
as an
extended idle, turn off the air con
ditioner (if used) and run the en
gine slightly faster than idle speed
with the transmission in
neutral
gear. If the light does not go off
within a short period of time (1-2
minutes), then turn the engine off
until the cause of
the overheating is
corrected. Glance at the instrument
cluster frequently
as you drive to
see if this light is on.
Add Coolant Indicator Light
This indicator light is provided to
warn of a low coolant condition in
the radiator.
If coolant level is low
the yellow
"Add Coolant" warning
light will glow. Coolant level in the
coolant recovery tank, and radiator,
should be checked at the first oppor
tunity.
If necessary add sufficient
2-15
coolant to both the radiator and
coolant recovery tank.
(See Service
and Maintenance, Section 5, for
proper procedure) .
If frequent
additions are required, see your
dealer for a complete cooling sys
tem check.
Brake System Warning
Light
The service brake system is a dual
system designed so that one part will
provide some braking action in the
event of loss of hydraulic pressure
in the other part of the system.
If the
warning light labeled
"Brake" lo
cated in the speedometer face comes
on and stays
on when the ignition is
on and after the brakes have been
firmly applied
it may indicate that
there
is a malfunction in one part of
the brake system.
• As a reminder, the light is de
signed to come
on with the park
ing brake applied and the igni
tion on.
Page 32 of 87
Downloaded from www.Manualslib.com manuals search engine • The light is also designed to come
on during engine starting to
verify that the bulb
is operating
properly.
• Have system repaired if light does
not come
on during check.
• This warning light is not a substi
tute for the visual check of brake
fluid level required
as part of
normal maintenance.
If the light comes on:
• The parking brake control is not
fully released, or,
• The service brake system is par
tially inoperative.
What to do:
1. Check that parking brake is re
leased.
If it is . . .
2.
Pull off the road and stop, care
fully-remembering that:
• Stopping distances may be
greater.
• Greater pedal effort may be re
quired.
• Pedal travel may be greater. 3.
Try out brake operation by start
ing and s,topping on road shoul
der-then:
• If you judge such operation to
be safe, proceed cautiously at
a safe speed to nearest dealer
for repair.
• Or have car towed to dealer for
repair.
Continued operation of the car in this
condition
is dangerous.
Headlight Beam Indicator
Light
The headlights of your car have
high and
low beams to provide you
with proper night-time visibility
for most driving conditions. The
"low" beams are used during most
city driving. The
"high" beams are
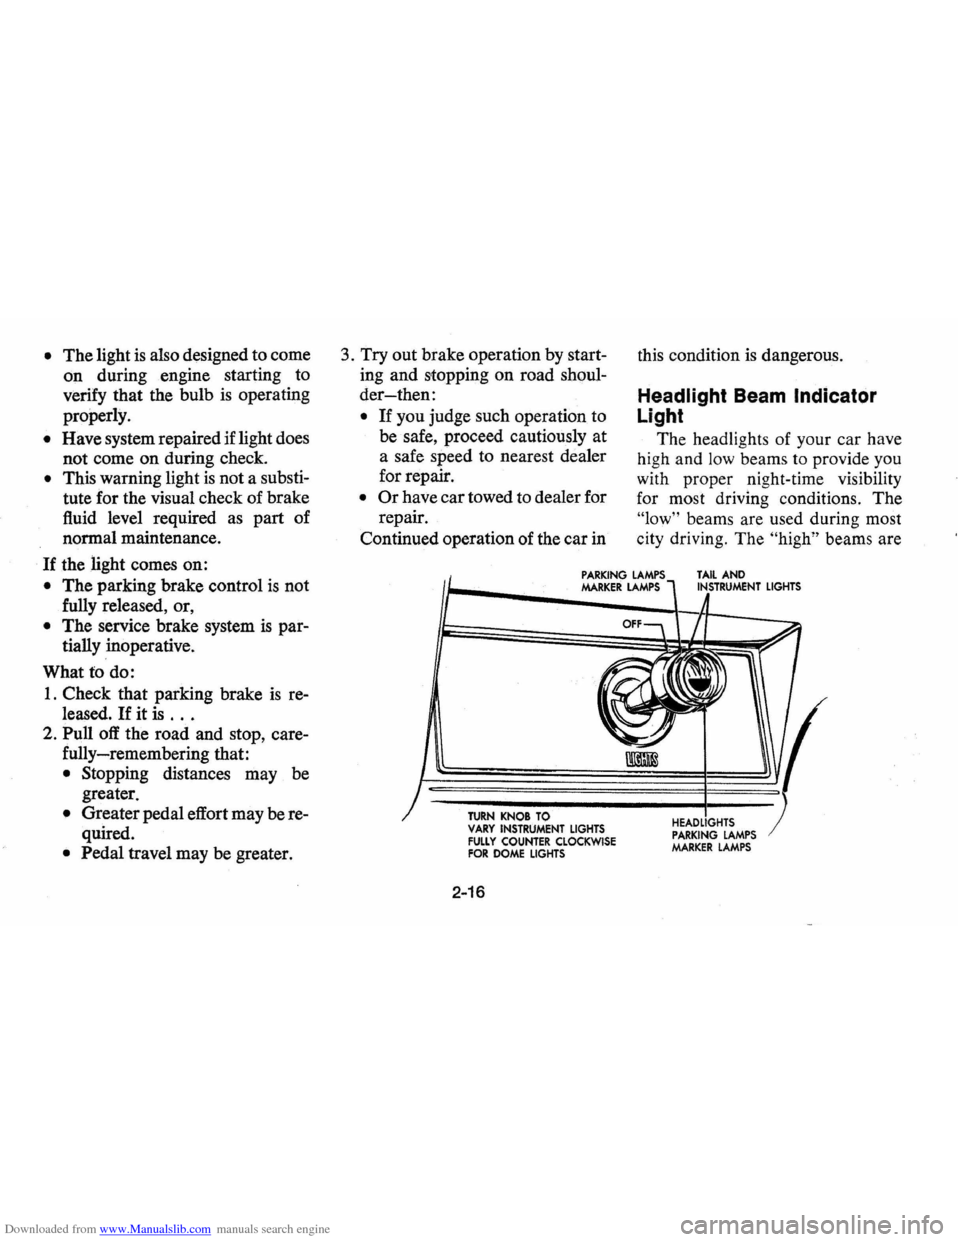
PARKING LAMPS MARKER LAMPS TAIL AND INSTRUMENT LIGHTS
TURN KNOB TO VARY INSTRUMENT LIGHTS FULLY COUNTER CLOCKWISE FOR DOME LIGHTS
2-16
HEADLIGHTS PARKING LAMPS MARKER LAMPS
Page 33 of 87
Downloaded from www.Manualslib.com manuals search engine especially useful when driving on
dark roads since they provide ex
cellent long range illumination. The
headlight beam indicator will be on
whenever the high beams or
"brights" are in use. The Headlight
Beam
Switch controls the headlight
beams (see Page
2-12).
Light Switch
The three position light switch
controls the headlights, taillights,
parking lights, side marker lights,
instrument lights and dome lights
as shown. The headlamp circuit
is protected by a circuit breaker in
the light switch.
An overload on
the breaker will cause the lamps to
"flicker" on and off. If this condi
tion develops, have your headlamp
wiring checked immediately.
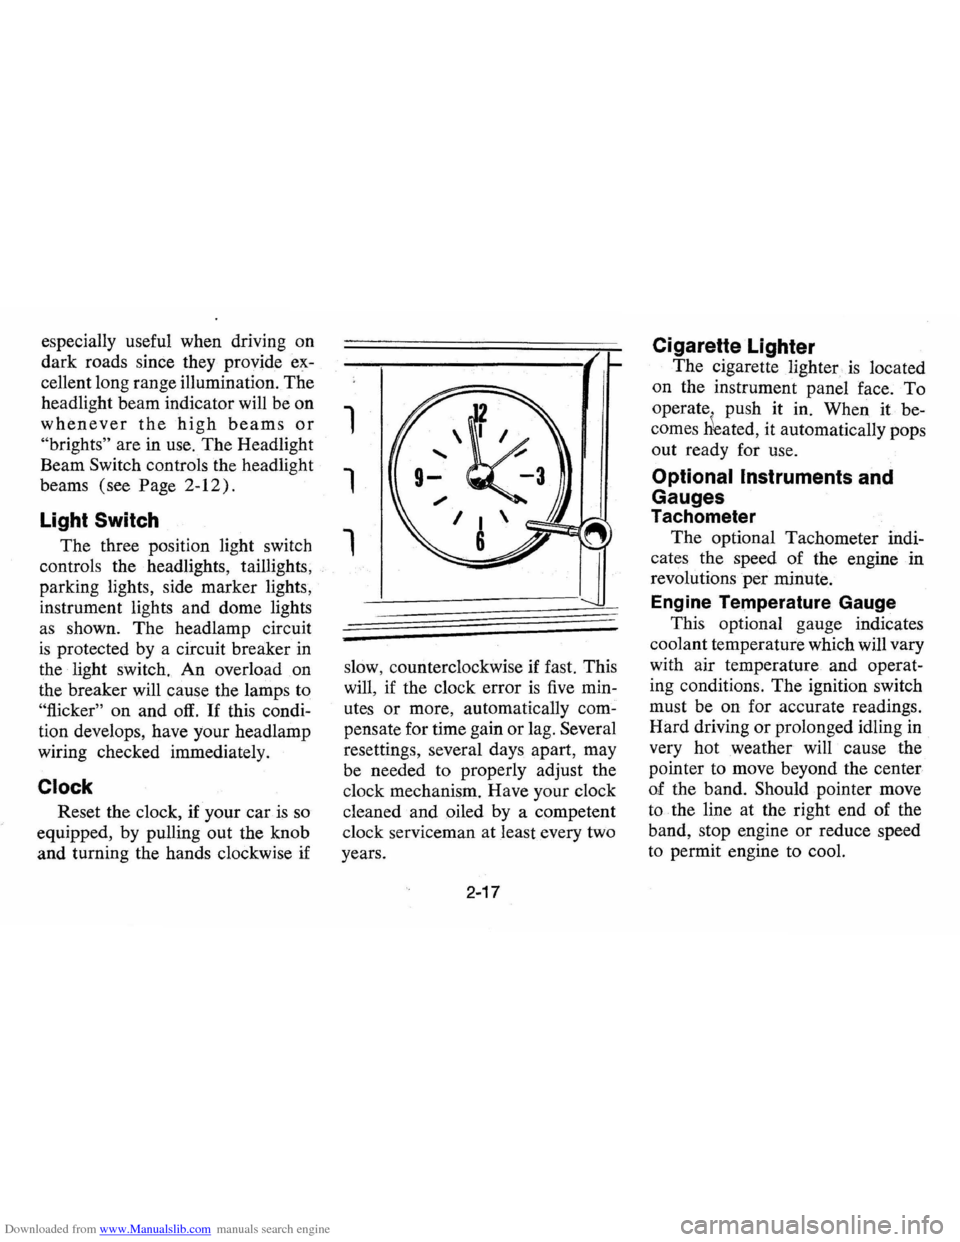
Clock
Reset the clock, if your car is so
equipped, by pulling out the knob
and turning the hands clockwise if
1
1
1
slow, counterclockwise if fast. This
will,
if the clock error is five min
utes
or more, automatically com
pensate for time gain or lag. Several
resettings, several days apart, may
be needed to properly adjust the
clock mechanism. Have your clock
cleaned and oiled by a competent
clock serviceman at least every two
years.
2-17
Cigarette Lighter
The cigarette lighter is located
on the instrument panel
face. To
operate . push it in. When it be
comes
Heated, it automatically pops
out ready for use.
Optional Instruments and
Gauges
Tachometer
The optional Tachometer indi
cates the speed of the engine in
revolutions
per minute.
Engine Temperature Gauge
This optional gauge indicates
coolant temperature which will vary
with air temperature and operat
ing conditions.
The ignition switch
must be on for accurate readings.
Hard driving
or prolonged idling in
very hot weather will cause the
pointer to move beyond the center
of the band. Should pointer move
to the line at the right end of the
band, stop engine or reduce speed
to permit engine to cool.
Page 35 of 87
Downloaded from www.Manualslib.com manuals search engine Fill the washer jar only % full
during the winter to allow for ex
pansion if the temperature should
fall low enough to freeze the
solution.
• Check washer fluid level regu
larly-do it frequently when the
weather
is bad.
• Use fluid such as GM OPTI
KLEEN to prevent freezing
damage, and to provide better
cleaning.
II
WASHER WIPER
• Do not use radiator anti-freeze
in windshield washer; it could
cause paint damage.
• In cold weather, warm the wind
shield with defrosters before us
ing
washer-to help prevent icing
that may seriously obscure vision.
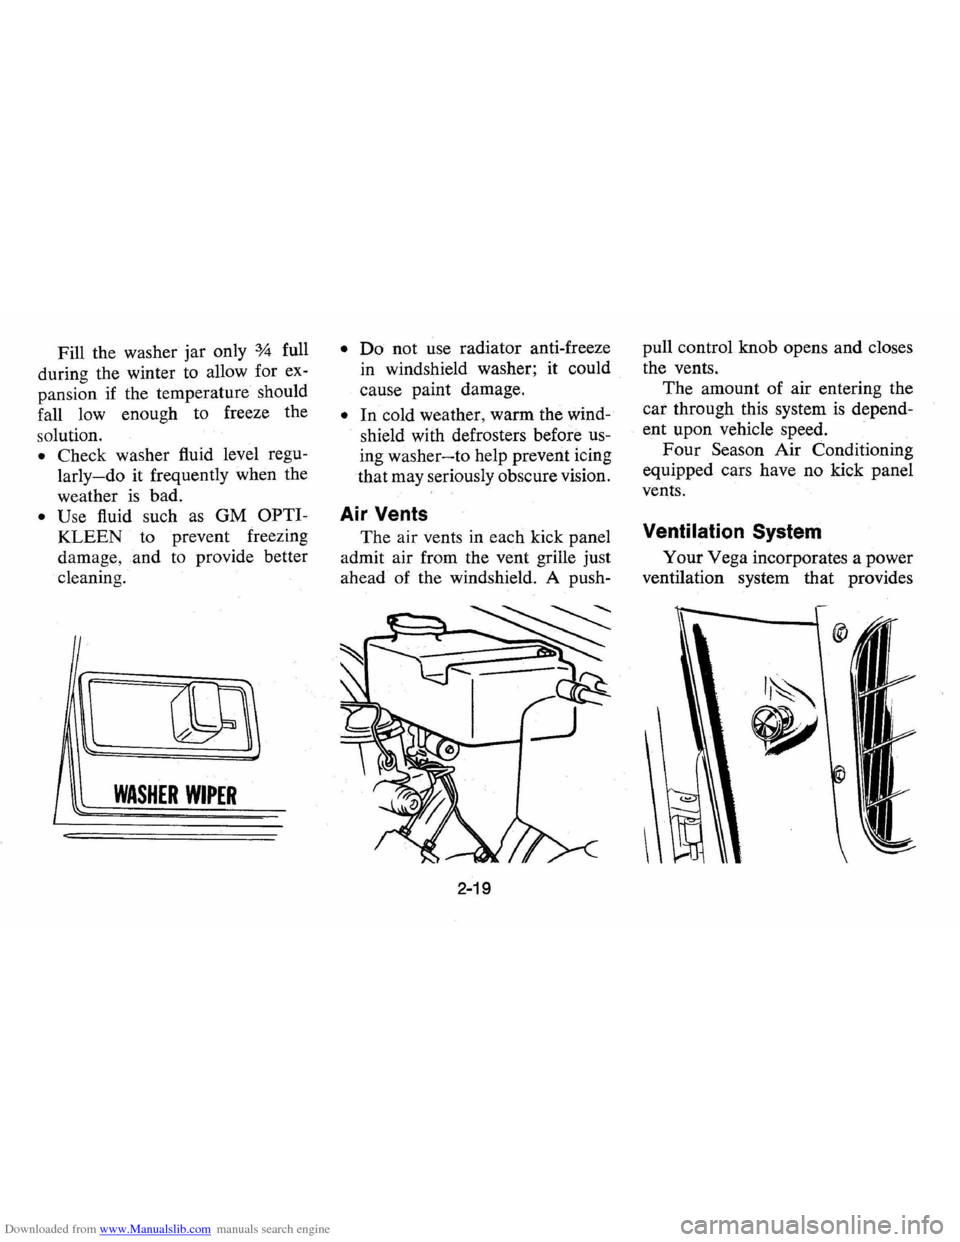
Air Vents
The air vents in each kick panel
admit air from the vent grille just
ahead of the windshield. A push-
2-19
pull control knob opens and closes
the vents.
The amount of air entering the
cat through this system is depend
ent upon vehicle speed.
Four Season Air Conditioning
equipped cars have no kick panel
vents.
Ventilation System
Your Vega incorporates a power
ventilation system that provides