Page 5 of 102

Downloaded from www.Manualslib.com manuals search engine Front Seat Back ... ~'""\ ..
Front seat backs on two-door
styles are equipped with a self-lock
ing mechanism to
.• keep the seat
back locked in
phlge while in the
up position. The lock release lever
is located on the upper outboard
portion of the
s~at back.
To tilt the
sell,t back forward,
rotate the levertearward and tilt
the seat back
f?rward. When the
seat back
is r¢turned to the up
position,
• the se~t back will auto
matically 'lock.
Keep
belt re~traints.and buckles
clear of mechanism when tilting
folding seats
forward or backwards,
to help prevent damage
to these
belt systems.
Power Operated Front Seats
The six-way power seat control switch
is located
on the driver's seat
left side panel.
The seat can be operated
as
follows:
I. The front control provides up
and down movement of the
frontof the seat.
2. The center control provides
forward and backward move
ment and up and down move
ment of the entire front seat.
3. The provides up
and of the
Power Windows ,
Power windows have an ignition
interlock
so the windows cannot be
operated unless the ignition switch
is in the "on" position.
1-3
REMINDER: Remove the ignition
key when the vehicle
is not at
tended by a responsible person. A
master control for all windows
is
provided at the driver's position,
Individual switches are provided
under each window for passenger
use.
Inside Rearview Mirrors
Switch mirror to night position
to reduce glare from following
headlights. To raise or lower
mir
ror to achieve desired field of.view,
grasp mirror and exert sufficient
pressure by pushing or pulling up,
down or sideways.
Page 44 of 102

Downloaded from www.Manualslib.com manuals search engine the right hand side of the rear
seat back.
2.
Pull seat back forward and
down.
3. To raise the seat, lean on the
front edge of the
seat back
pimet to remove ctehsion from
the filler panel,
liit up the filler
pan¢l, then lift .seat back up
and rearward until it locks into
place.
Three-Seat Sfitle Seats
Second Seat Operation '" ' ;
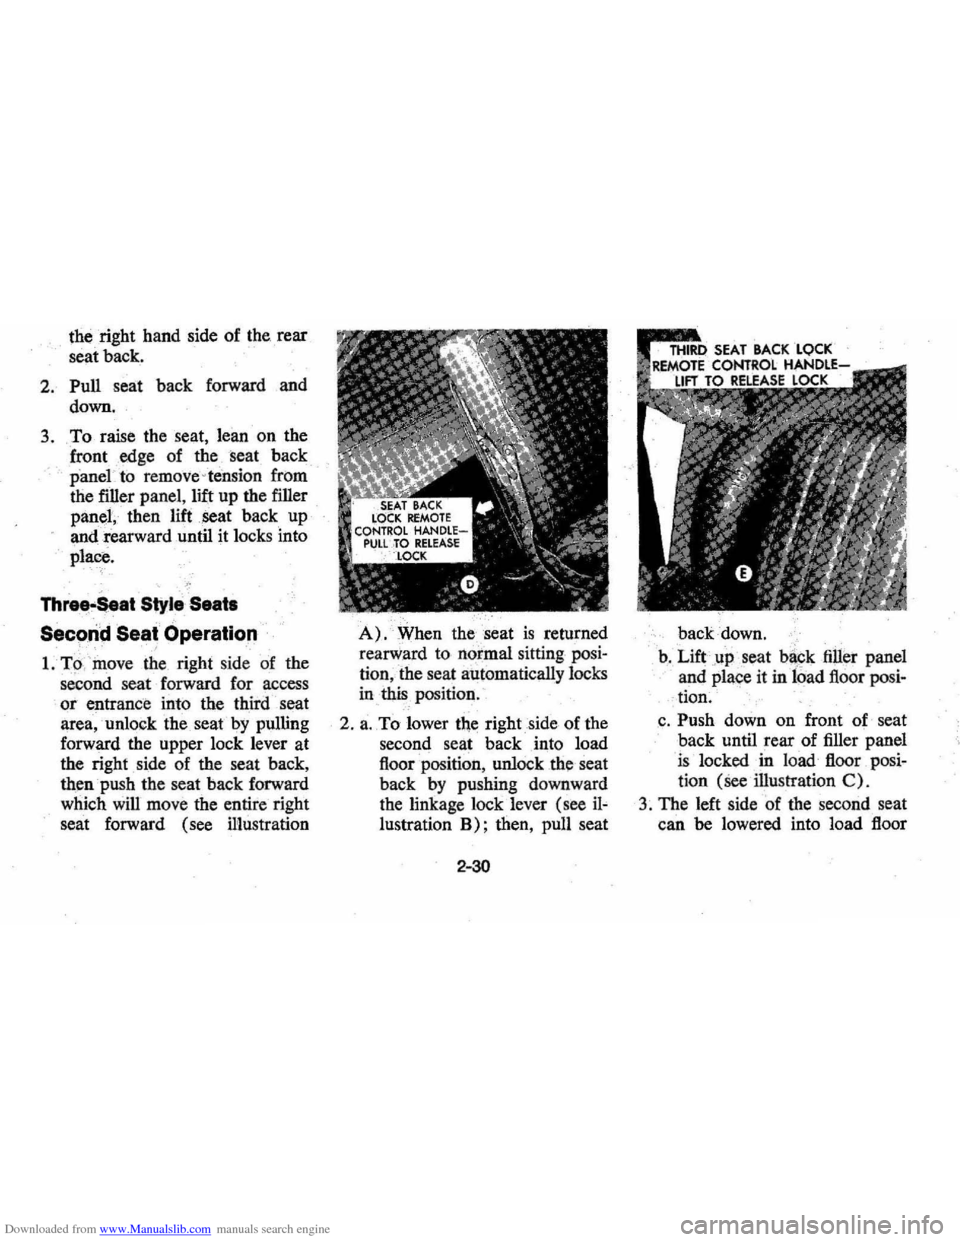
1. TO,move the right side of the
second seat forward for access
or entrance into the third seat
area, unlock the seat
by pulling
forward the upper lock lever at
the right side of the seat back,
then push the seat back forward
which will move the entire right
seat forward (see illustration
A). When the. seat is returned
rearward to normal sitting posi
tion,the seat automatically locks
in
this position.
2 .
a. To lower the right side of the
second seat back into load
floor position , unlock
the seat
back
by pushing downward
the linkage lock lever (see
iJ~
lustration B); then, pull seat
2-30
back down.
b .
Lift.up seat backfiUel' panel
and place it
in load floor posi
- tion.
,c . Push down on front of seat
back until rear of filler panel
is locked in load floor posi
tion
(See illustration C)_
3. The left side of the second seat
can be lowered into load floor
Page 66 of 102

Downloaded from www.Manualslib.com manuals search engine TRANSMISSION ITEMS
Automatic Transmission
Fluid Level
Recommendations
Use automatic transmission
fluids identified with the mark
DEXRON®-II available from your
Chevrolet dealer
or local service
station.
Check the fluid level
at each en
gine oil change period.
Automatic transmissions are
fre
quently overfill¢
level
is checked when the fluid is
cold and the dipsick indicates fluid
should be added. However, the low
reading may
be normal since the
fluid level will rise as the fluid tem
perature increases. A level change
of over
% inch will occur as fluid
temperature rises from
60° F. to
180° F. (16° C. to 82° C.)
Overfilling can cause foaming
and loss of fluid through the vent.
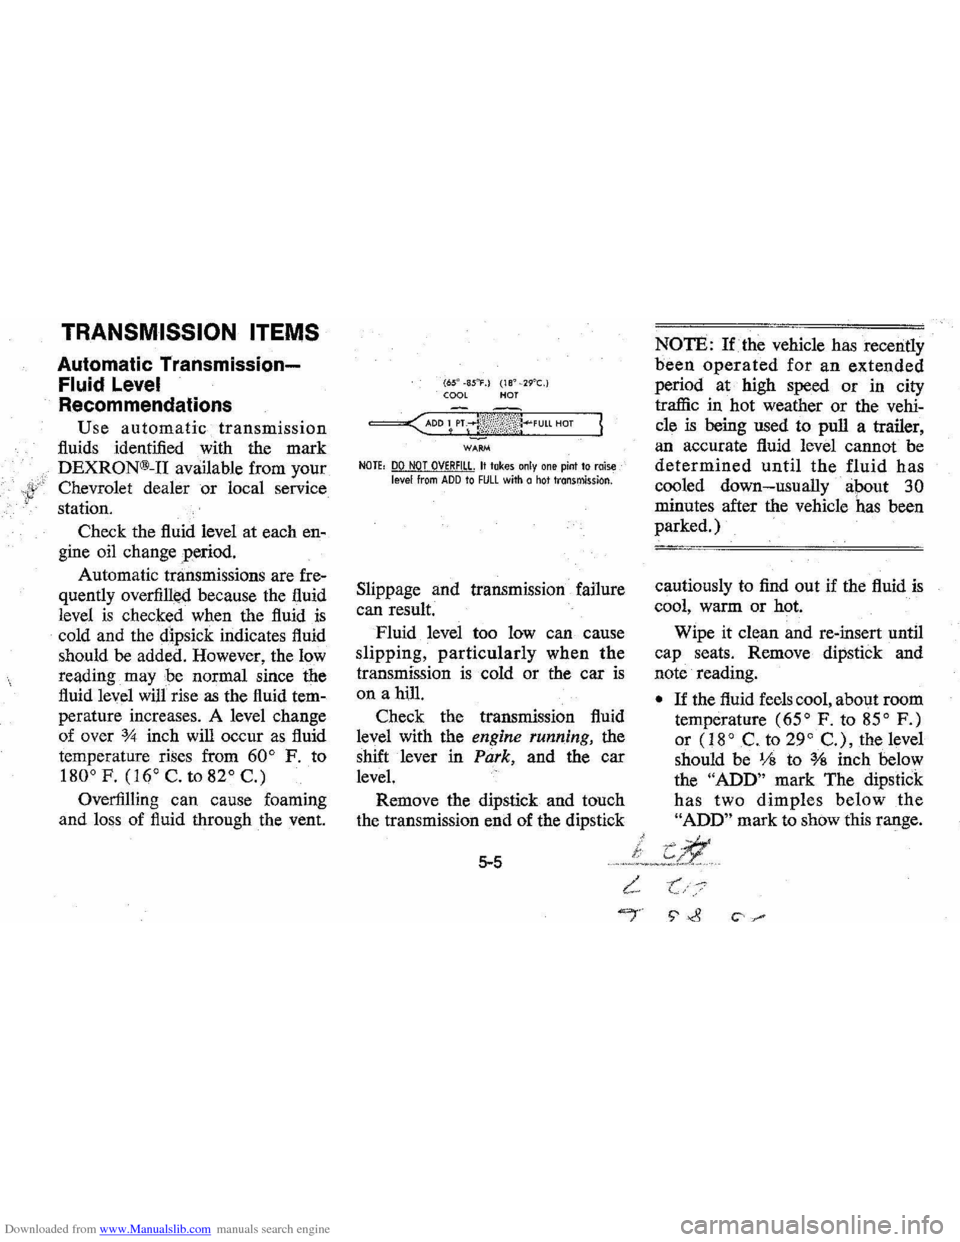
(650 -8S"F.) (18" _29°C.) COOL HOT
WARM
NOTE, DO NOT OVERFill. It takes only one pint to raise level from ADD to FULL with a hot transmission.
Slippage and transmission failure
can result.
Fluid level too low can cause
slipping, particularly when the
transmission is cold or the car is
on a hill.
Check the transmission fluid
level with the
engine running, the
shift lever
in Park, and the car
level.
Remove the dipstick and touch
the transmission
end of the dipstick
5-5
L.
NOTE: lithe vehicle has recently
been operated for an extended
period at high speed or in city
traffic
in hot weather or the vehi
cle is being used to pull a trailer,
an accurate fluid level cannot be
determined until the fluid has
cooled down-usually apout 30
minutes after the vehicle has been
parked.)
cautiously to find out if the fluid is
cool, warm or hot.
Wipe it clean and re-insert until
cap seats. Remove dipstick and
note reading.
• If the fluid feels cool, about room
temperature
(65° F. to 85° F.)
or (18° C. to 29° C.), the level
should
be 1;8 to % inch below
the
"ADD" mark The dipstick
has two dimples below the
"ADD" mark to show this range.
"'j' S' ~ c· "