1976 CHEVROLET MONTE CARLO engine oil
[x] Cancel search: engine oilPage 13 of 102

Downloaded from www.Manualslib.com manuals search engine . . "
Maintenance
More frequent vehicle mainte
nance
is required when using your
car
to pull a trailer. Change. the:
• Automatic transmission fluid
and filter each 15,000 miles,
(see Trai/ering brochure foraddi
tional information).
.• Rear axle fluid each 15,000
miles,
• Engine oil each 90 days or 3,000
miles , whichever occurs first,
• Positive crankcase ventilation
valve each
12 months or 15,000
miles, whichever occurs first.
• See index for important informa
tion on belts, cooling system care
and automatic brake
adjuslrilent.
Break·in Schec;!ule
In addition to the new car break-in
instructions in this manual, it
is
recommended that your new car
be operated for 500 miles before
trailer towing.
If it is necessary to
tow during this period, avoid speeds
over
50 MPH and full throttle
starts. The same precautions should
be observed whenever a new
en
gine , transmission or axle is in
stalled in your car.
1·11
Page 21 of 102
Downloaded from www.Manualslib.com manuals search engine release the controlputton at the
e,ndof the turn signallever.
'. ~
• Remove your fool from the ac
celerator pedal and desired speed
will automatically
be maintained . /.
• To change autoIllfltic speed set
ting , press
con.tllol button until
it bottom s and
hold until desired
speed is attain!id.
•
Before releasi~g control button,
hesitate at
th!'!igartially depresse\l
position, th~I},:,remove your foot
from the
ac~,~lerator. If control
button
is IIW t fully depressed,
whenchangi#g speed setting, the
car
will resume your previously
selected
spe~d.
To disengage system, lightly de
press brake
p~al.
, ,.,
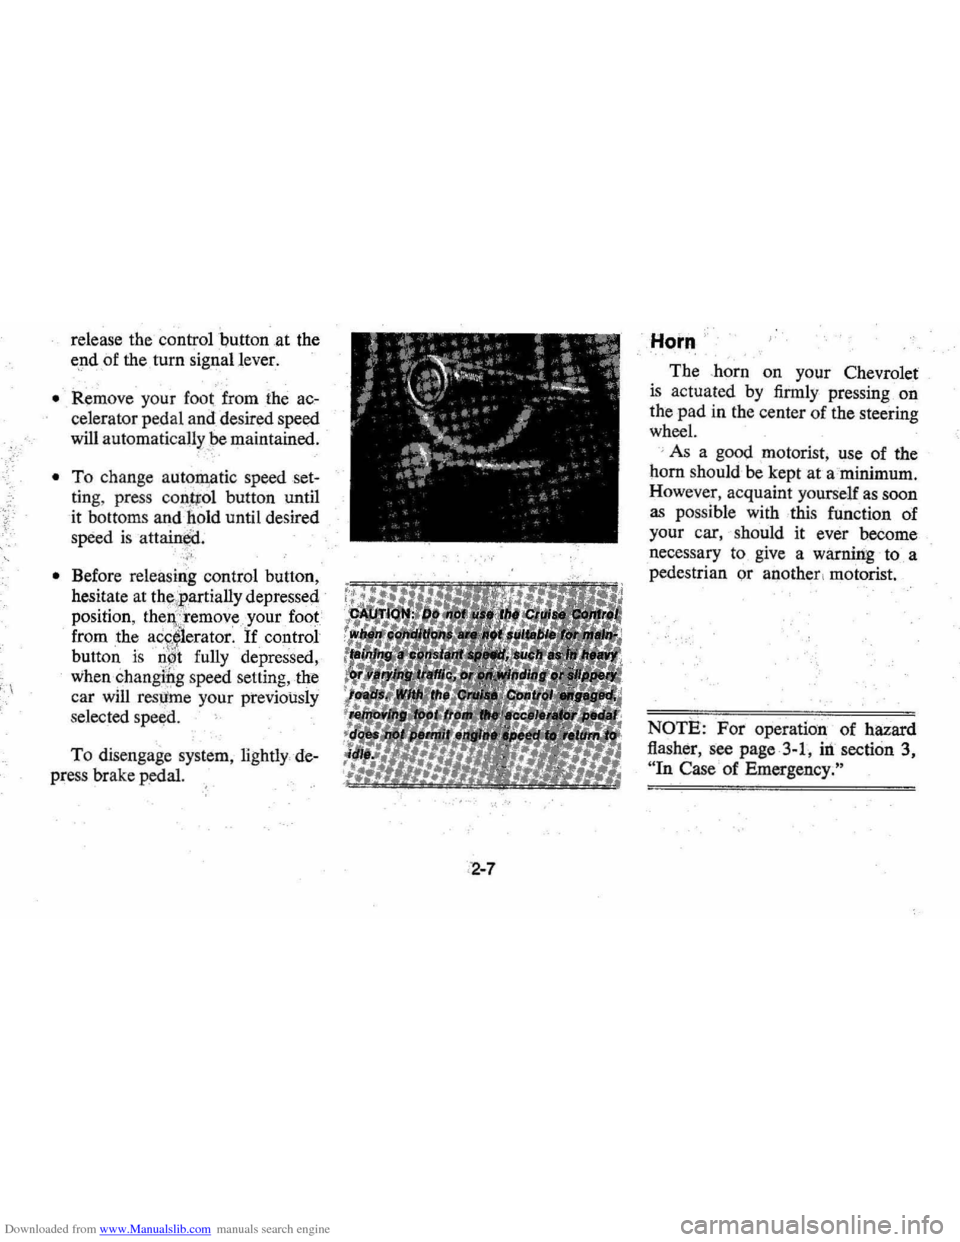
Horn
The .horn on your Chevrolet
is actuated by firmly pressing on
the pad in the center of the steering
wheel.
' As a good motorist, use of the
horn should
be kept at a minimum .
However , acquaint yourself
as soon
as possible with this function of
your car, should it ever become
necessary to give a warning to a
pedestrian or another , motorist.
NOTE: For operation of hazard
flasher, see page .3-1, iii section 3,
"In Case of Emergency."
Page 25 of 102
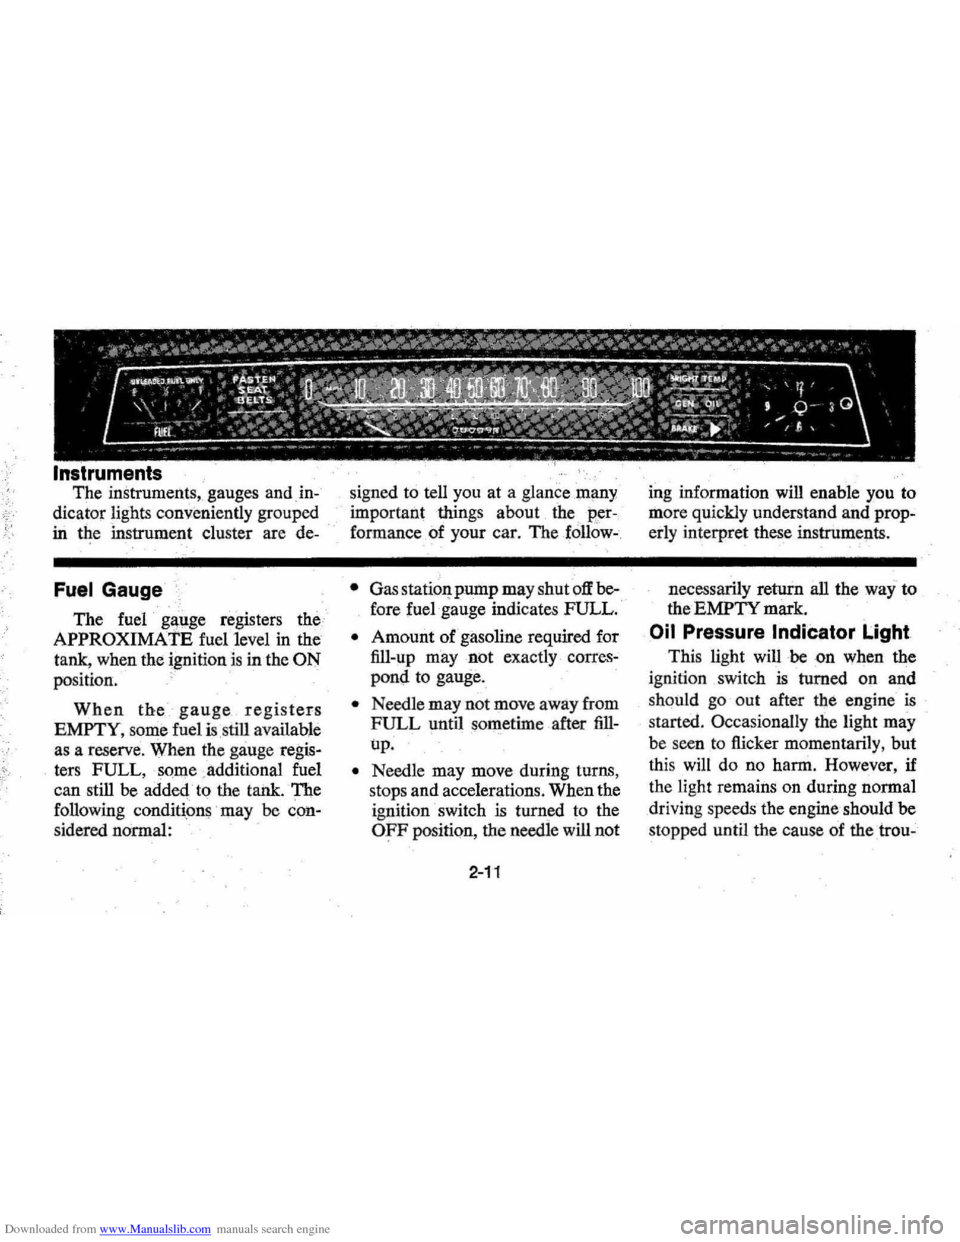
Downloaded from www.Manualslib.com manuals search engine The instruments, gauges and. in
dicator lights conveniently grouped
in the instrument cluster are de-
Fuel Gauge
The fuel g!fllge registers the
APPROXIMATE fuellevel in the
tank , when the ignition
is in the ON
po sition .
When the gauge registers
EMPTY, some fuel is.s till available
as a reserve. When the gauge
regis
ters FULL, sOme .. additional fuel
can still be added to the tank. The
following conditions may
be con
sidered normal: signed
to tell you at a glan ce many
important things about ihe
per
formanceof your car. The follow- .
•
G as station pump may shut off be
fore fuel gauge indicates FULL.
o Amount of gasoline required for
fill-up may not exactly
corres
pond to gauge.
o Needle may not move away from
FULL until sometime after fill
up.
o Needle may move during turns,
stops and accelerations. When the
ignition switch is turned to the
OFF position , the needle will not
2-11
ing information will enable you to
mor e quickly understand and
prop
erly interpret these instrume!lts.
necessarily return all the way
to
the EMPTY mark.
Oil Pressure Indicator Light
This light will be on when the
ignition switch
is turned on and
s hould go out after the engine
is
started . Occasionally the light may
be seen to flicker momentarily , but
this will do no harm. However,
if
the light remains on during normal
drivin g speeds the engine should
be
stopped until the cause of the trou-
Page 26 of 102
Downloaded from www.Manualslib.com manuals search engine ble'can be located and corrected .
. Driying the car with low oil pillS'
sure can:cause · serious ' engine
damage.
Genera~orlndicator Light
The red light will go on when
the
ignition key is in the "on " posi,
tion, b~f before the engine is
started.'J\fter the engine starts, the
light .
sho'uld go out and remain out.
If the Hght remains on when engine
is runlling, have your Authorized
Chevrolet Dealer locate and cor,
reCI the trouble as soon as possible,
Engine Temperature
Indicator Light
, This indicator light is provided
in the instrument cluster to quickly
warn
of an overheated engine. With
the ignition switch in the
5T AR T
position, the red TEMP indicator
will light to let you know that it is
operating properly. When
the engine
is started , the
red light will go out immediately,
It will light up at no other time
unless for some reason the engine
.
reaches a dangerously high oper,
atingtemperature. If the light
comes on during
extreme driving
conditions, such
as an extended
idle, turn
off the air conditioner (if
used }.and run the engine slightly
faster than
idle. speed with the
transmission in neutral gear .
If the
light does not go
off within a short
period of time
(F2 minutes), then
tum the engine off until the cause
of the.
overheating is corrected;
Glance at the
Ins.trument cluster
frequently as you drive to see if
this light
is on. '
Brake System Warning
Light
.
The service .. brake system is a
dual system designed
so that. one
part will provide some braking
2-12
action in the event of loss of hy'
draulic pressure in the other part of
the system.
If the ,warning light
labeled
"BRAKE," located in the
speedometer face, comes on .and
stays on when the ignition
is on and
'after · the brakes have been firmly
applied, it may indicate that
there
is a malfunction in one part of the
brake system.
'
•
As ~ reminde;, the light is de,
signed:to
come on with the park,
ing brake applied and the ignition
on.
• The light is also designed to
come on, during ;engine starting
to verify that the bulb is operating
. properly.
• Have system repaired '. if light
does not come
on' during check.
• This warning light, is not a sub
stitute for the visual check of
brake fluid level required
as part
of normal maintenance.
Page 32 of 102
Downloaded from www.Manualslib.com manuals search engine vides ventilation . coillfort , made
possible
by the additionaf air veilt
provisions ' in the rear 1:>ody lock
pillar. Another feature of the
sys
tem is continuous low:speed opera
tion of the heater and air condi
tioner blower , resulting in an un
interrupted
supply of outside air
flOw into the car whenever the
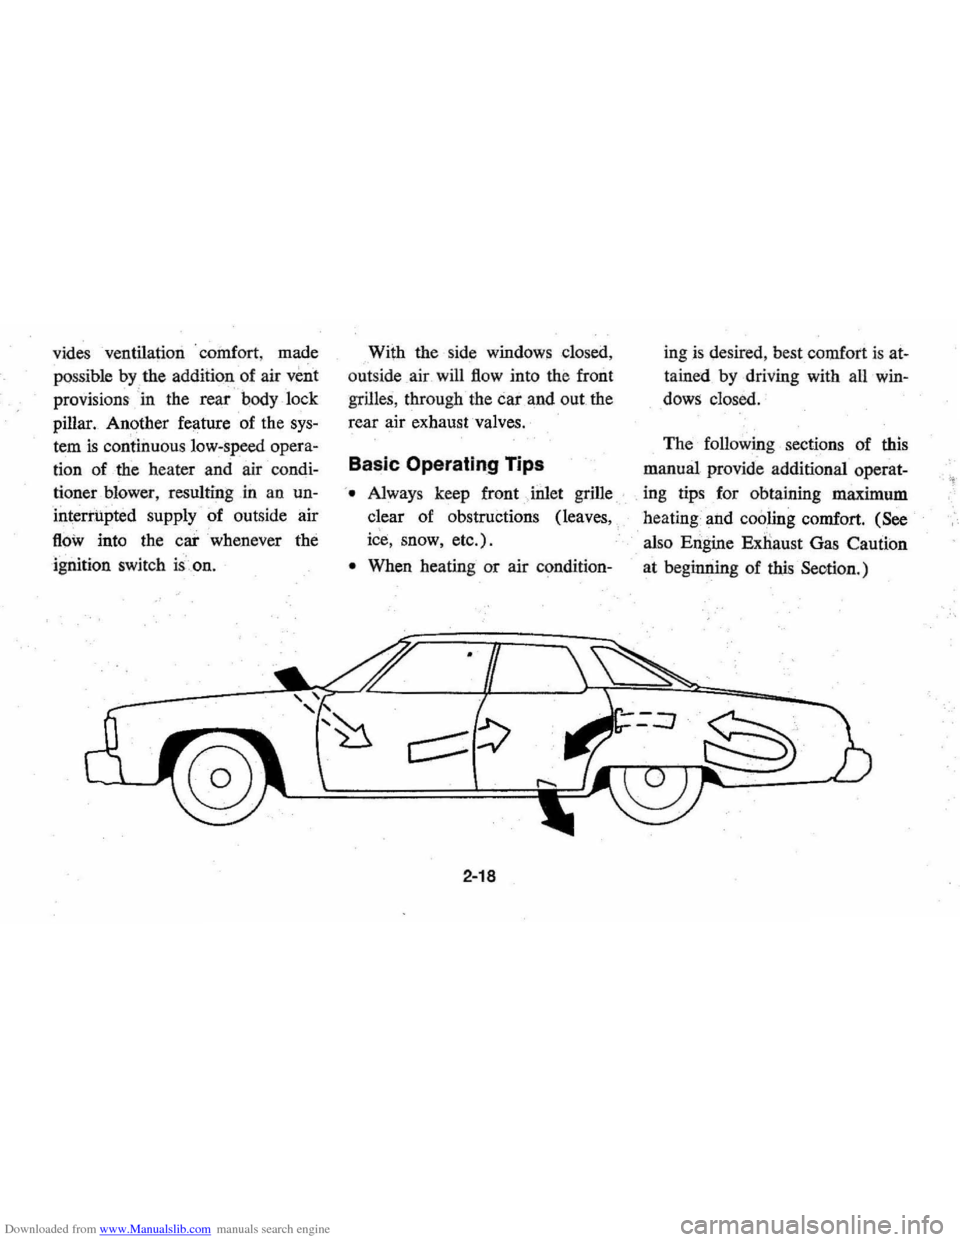
ignition switch is.on. With
the side windows closed,
out side air will
flow into the front
grilles, through the car and out the
rear air exhaust valves.
Basic Operating Tips
'. Always keep front Jnlet grille
clear of obstructions (leaves,
ice, snow, etc.).
• When heating or air condition-
2-18
ingis desired , best comfort is at
tained by driving with all win
dows closed.
The following sections of this
manual provide additional operat-
. ing tips for obtaining maximum
heating and
cooling comfort. (See
also Engine Exnaust Gas Caution
at beginning of
this Seotion.)
Page 54 of 102
Downloaded from www.Manualslib.com manuals search engine APPEARANCE CARE
CARE AND CLEANING OF
INTERIOR TRIM
IMPORTANT: Be sure vehicle is
well ventilated while using any
cleaning agents. Follow manufac
turer's recommendations in using
such products ..
'
With the advent of modern trim
materials composed of synthetic
plastics and! or man made fibers,
it
is EXTREMELY IMPORTANT
that proper cleaning techniques
and
cleaners ·be used when clean
ing interior trim. Failure
to do this
on the first cleaning may
result in
water spots, spot rings, setting of
stains or soilage, all of which make
it more difficult or impossible to
remove in a second cleaning.
Certain portions of the following
cleaning instructions are in bold type;
they are particularlyimpor
tant and
must be performed.
Dust and loose dirt
that accu
mulates on interior fabric trim
should
be removed frequently with
a vacuum cleaner, whisk broom or
DESCRIPTION"
G.M. Spot Lifter (8 oz. Solvent Type)
soft brush. Vinyl or leather trim
should be wiped regularly with a
clean damp cloth.. Normal trim
soilage, spots or stains can be
cleaned with the following G.
M.
cleaners.
G.M. Multi-Purpose Powdered Cleaner (16 oz. Foam Type)
G.M. PART NO.
1051398
1050803
·T~e a.bovecleaner~ arB EXCELLENT CLEANERS when used properly 'aoc.ordlng to
directions on containers. They are available through your Chevrolet Dealer.
4-1
Page 55 of 102
Downloaded from www.Manualslib.com manuals search engine NEVER use gasoline, nail polish
remover or acetone , lacquer thin
ners, bleaches, etc, Some basic
steps should .be remember .
ed before
the cleaning
is attempted:
1. Removt! stains as quickly as pos
sible
before they become "set'" -':"..
2. Use a clean cloth or sponge and
r,hange to a clean area fre
quently.
(A soli brush may be
used it stains persist.)
3.
Use s<:llvent· type cleaners in a
well ventilated area, also, do not
saturate the stained area.
4.
If a ring should form after spot
cleaning, the entire area of the
trim assembly should be cleaned
immediately.
5. Follow instructions on the label
of the cleaner.
Cleaning General Soilage
or Water Spots from Fabric
Type Trim with Foam Type
Cleaner
G.M. Multi-Purpose Powdered
Cleaner
is excellent for this type
cleaning and for cleaning a panel
section where a minor cleaning ring
may be left from spot cleaning.
Vacuum
aria thoroughly to re
move excess loose dirt.
AL WAYS
clean a full trim assembly or com
plete trim section-mask adjacent
4-2
trim along stitch or welt lines. Mix
Multi-Purpose
Powdered Cleaner
in strict accordance with directions
on label of coritainer-mix propor
tionally for smaller quantities.
USE
SUDS ONLY ON
A CLEAN
SPONGE or SOFT BRISTLE
BRUSH-'-DO NOT WET FAB
RIC EXCESSrYEL
Y OR RUB
HARSHLY
WI1JI BRUSH. IM
MEDIATELY
AFTER CLEAN
ING WIPE
OFF ANY CLEANER
RESIDUE
WITH SLIGHTLY
DAMP ABSORBENT TOWEL
OR CLOTIi.
IMPORTANT
IMMEDIATELY AFTER wip
ING, FORCE-DR,Y FABRIC
WITH AIR
IiOSE, HEAT DRY
ER OR HEAT LAMP. (Use cau
tion with heat dryer or heat lamp
to, prevent damage to fabric,)
When trim materials with a sheen
or luster finish are dry, wipe fabric
lightly with a soft, dry clean cloth
to restore sheen
or luster.
, ,~
Page 56 of 102
Downloaded from www.Manualslib.com manuals search engine Spot Cleaning Fabric Type
Trim
Materials with Solvent
Type Cleaner
Before attempting to remove
spots or stain s from fabric, deter
mine as accurately
as possible the
nature and age of the spo t
or stain.
Some spo ts or st.ains can be re
moved sa
tisfactorily with water or
mild soap
solution (refer to ac
companying
'' It'emoval of Specific
Stains"). For best results, spots or
stains should
be removed as soon
as possible . S9rne types of stains
or soilage such
as lipstick, some
inks , certain typ
es of grease etc.,
are extrem ely difficult and, in some
cases , impossible to completely re
move. When cleaning this type .of
stain or soilage, care must be taken
not to enlarge the soiled area.
It is
sometimes more desirable to have
a small stain than an enlarged stain
a s a result of careless cleaning.
~
G.M. Spot Lifter (Solvent Type)
is excellent .for spot cleaning stains
containing grease, oil or fats from
fabric type trim. Exces s stain
should be gently scraped off trim
material with a clean
DULL knife
or
scraper. USE VERY LITTLE
CLEANER, light pressure , and
clean cloths (preferably cheese
cloth). Cleaning action should
be
from outside of stain FEATHER
ING toward s center of stain and
constantly changing to a clean sec
tion of cloth. When stain
is cleaned
from fabric, immediately dry area
with an
air hose, heat dryer or heat
lamp to
helppreverit a cleaning
ring (use caution with heat dryer
or heat lamp
to prevent damage to
fabric materi
al). If a ring forms,
immediately repeat the cleaning
operation over
a slightly larger
area with special emphasis on
FEA THERlNG towards center of
area.
If ring still persists, mark
off adjacent trim sections and clean
4-3
entire affected trim panel sectIOn
with G.M. Multi-Purpose Powdered
Cleaner
as previously described
under "Cleaning General Soilage
or Water
Spots with Foam Type
Cleaner."
Removal of Specific Stains
Grease or 011 Stains-Includes
grease, oil, butter , margarine shoe
polish , coffee with cream,
ch~wing
gum, cosmetic creams, vegetable
oils, wax crayon; tar and asphalts.
Carefully scrape
off excess stain;
then us.e Spot. Lifter (Solvent
Type) as previously described.
Shoe polish, wax crayons, tar and
asphalts will stain
if allowed to
remain on trim; they should
be
removed as soon as· possible-use
caution
as cleaner will dissolve
them and may cause them to bleed.
Non-Greasy StaIns-Includes cat
sup, coffee (black), egg, fruit, fruit