1974 CHEVROLET CAMARO instrument cluster
[x] Cancel search: instrument clusterPage 20 of 85

Downloaded from www.Manualslib.com manuals search engine place the transmission in an inter
mediate or low range. Park position. Exercise care when
depressing button to prevent
un
intentional shifts to Park, L2 or
Reverse. Floor Shift Lever
The floor shift lever may be
moved freely from Drive or Reverse
to Neutral. Upshifts
from Ll to L2 and L2 to
Drive can be facilitated by pushing
shift lever to right while shifting.
Depress shift lever button (lo
cated on top of shift lever)
as you
shift into other ranges. Depress the
button on top of the handle fully
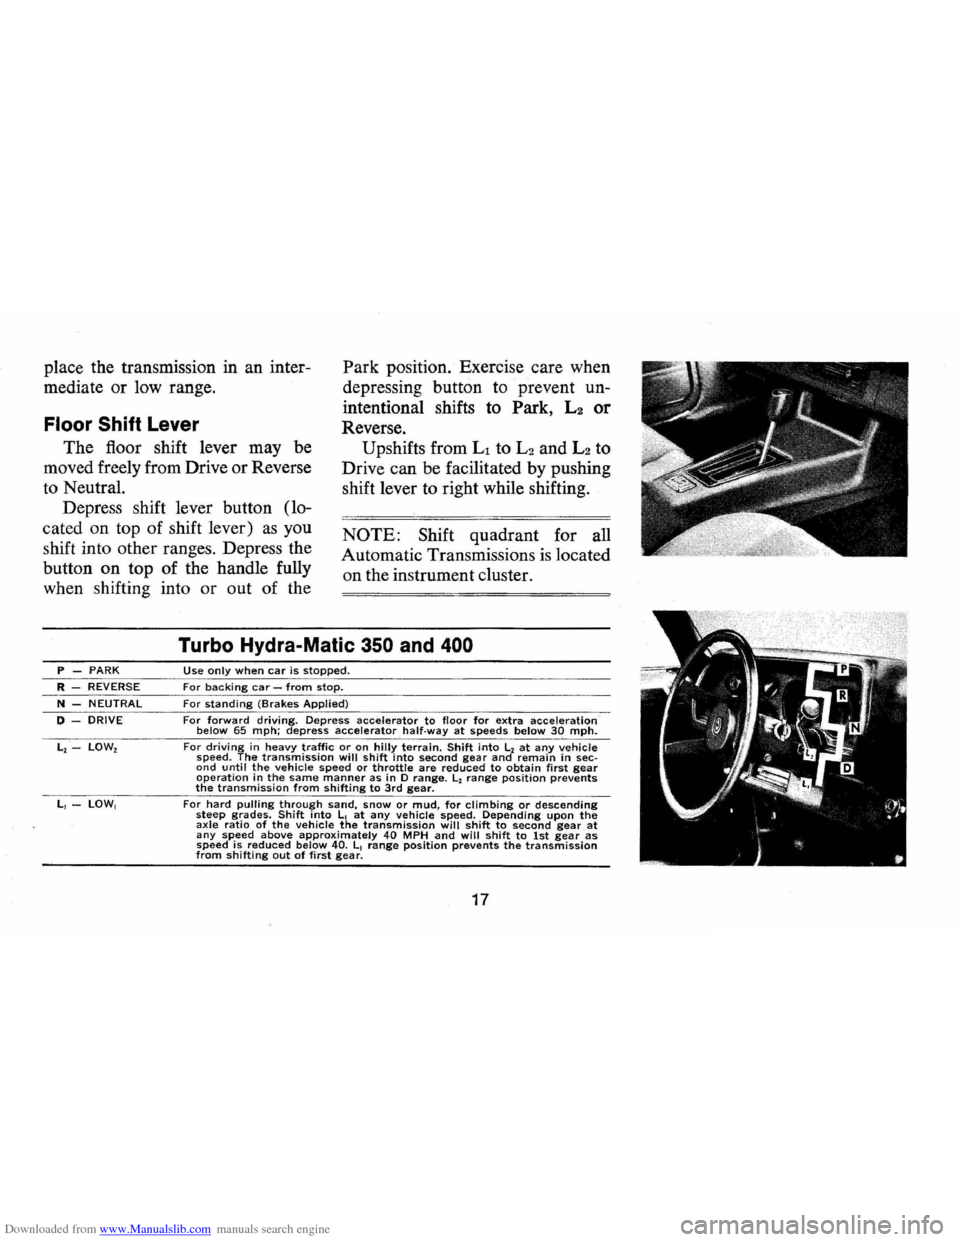
when shifting into or out of the NOTE: Shift quadrant for all
Automatic Transmissions
is located
on the instrument cluster.
P -PARK R -REVERSE
N -NEUTRAL
D -DRIVE
L, -LOW,
Turbo Hydra-Malic 350 and 400
Use only when car is stopped.
For backing car -from stop. For standing (Brakes Applied)
For forward driving. Depress accelerator to floor for extra acceleration below 65 mph; depress accelerator half·way at speeds below 30 mph. For driving in heavy traffic or on hilly terrain. Shift into L, at any vehicle speed. The transmission will shift into second gear and remain in sec· ond until the vehicle speed or throttle are reduced to obtain first gear operation in the same manner as in D range. L, range position prevents the transmission from shifting to 3rd gear.
For hard pulling through sand, snow or mud, for climbing or descending steep grades. Shift into L, at any vehicle speed. Depending upon the axle ratio of the vehicle the transmission will shift to second gear at any speed above approximately 40 MPH and will shift to 1st gear as speed is reduced below 40. L, range position prevents the transmission from shifting out of first gear.
17
Page 22 of 85

Downloaded from www.Manualslib.com manuals search engine In a normal turning situation
such
as turning a corner, the turn
signal
is cancelled automatically
after the turn
is completed. How
ever, in some driving maneuvers
such
as changing lanes on an ex
pressway, the steering wheel
is not
turned back sufficiently after com
pleting the turn to automatically
cancel the turn signal. For con
venience in such maneuvers, the
driver can flash the turn signals by
moving the turn signal lever part
way (to the first stop) and holding
it there. The lever returns to the
neutral or cancelled position when
the driver releases his hold on the
lever.
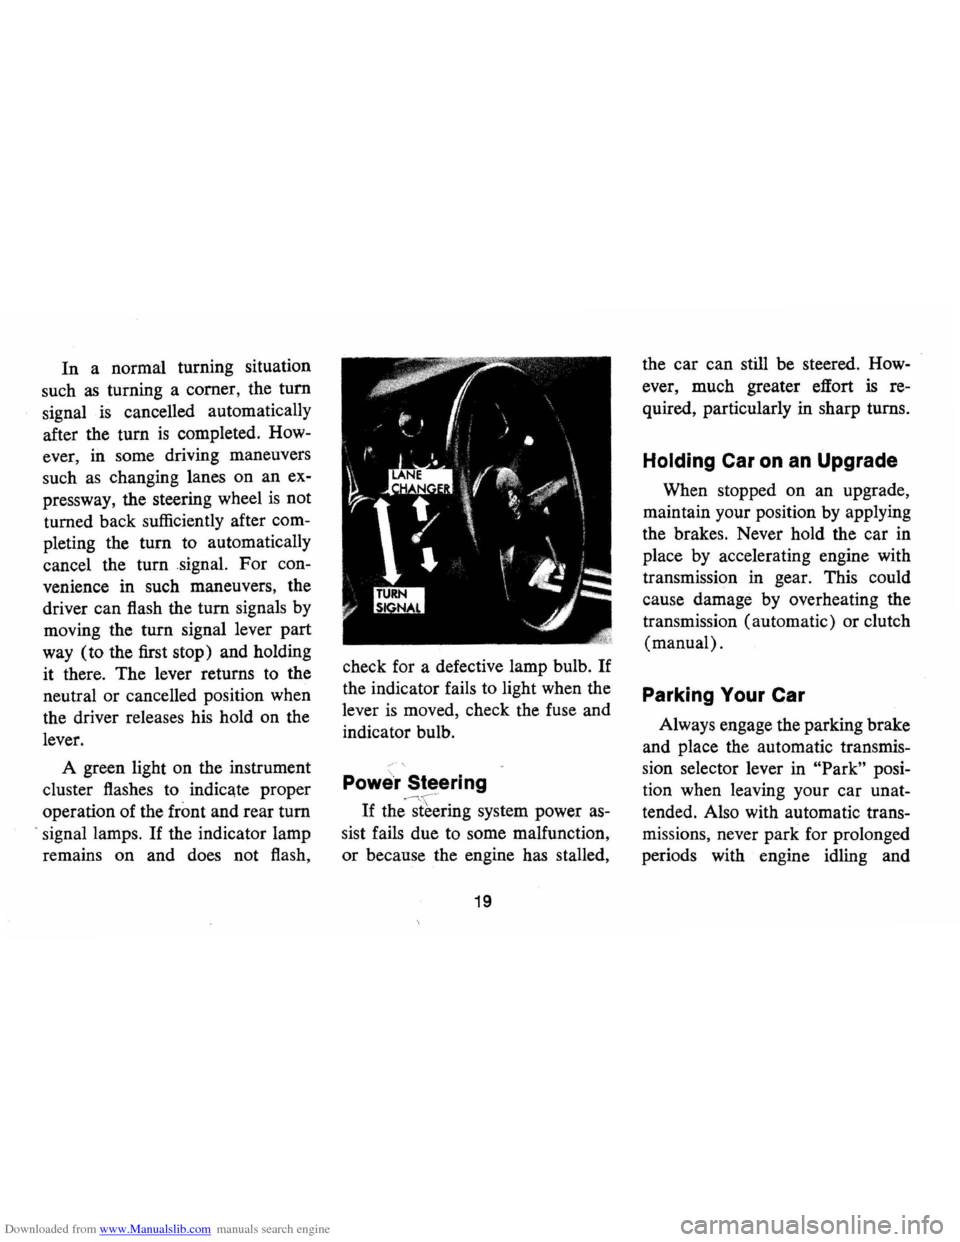
A green light on the instrument
cluster flashes to indicate proper
operation of the
front and rear tum
> signal lamps. If the indicator lamp
remains on and does not flash, check
for a defective lamp bulb.
If
the indicator fails to light when the
lever
is moved, check the fuse and
indicator bulb.
Powe'r Steering
If
the'-~[~~ring system power as
sist fails due to some malfunction,
or because the engine has stalled,
19
the car can still be steered. How
ever, much greater effort
is re
quired, particularly in sharp turns.
Holding Car on an Upgrade
When stopped on an upgrade,
maintain your position by applying
the brakes. Never hold the car in
place by accelerating engine with
transmission in gear. This could
cause damage by overheating the
transmission (automatic) or clutch
(manual).
Parking Your Car
Always engage the parking brake
and place the automatic transmis
sion selector lever in
"Park" posi
tion when leaving your car unat
tended. Also with automatic trans
missions, never park for prolonged
periods with engine idling and
Page 27 of 85

Downloaded from www.Manualslib.com manuals search engine Instruments
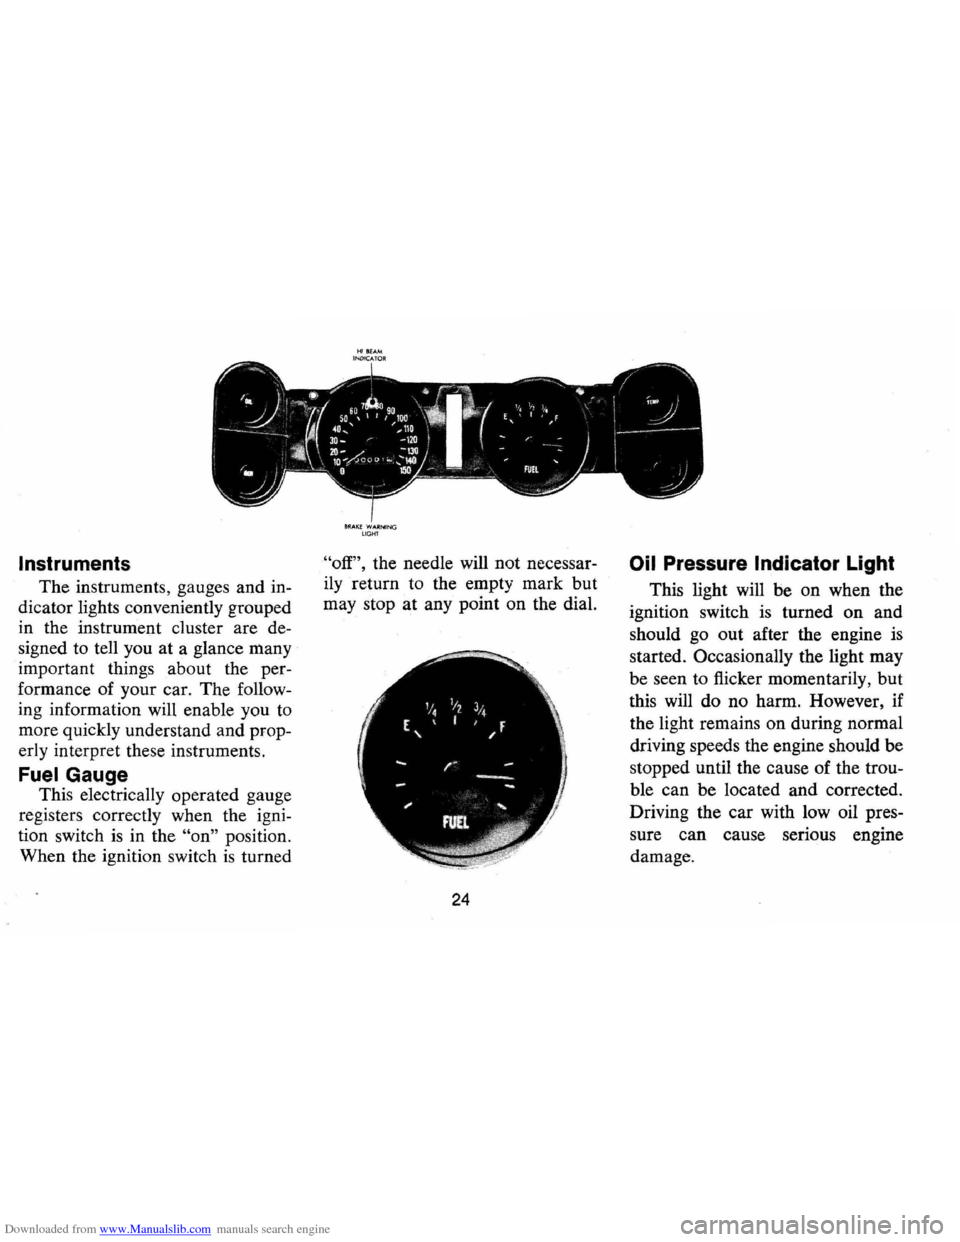
The instruments, gauges and in
dicator lights conveniently grouped
in the instrument cluster are de
signed to tell you
at a glance many
important things about the per
formance of your car. The follow
ing information will enable you to
more quickly understand and prop
erly interpret these instruments.
FuelGauge
This electrically operated gauge
registers correctly when the igni
tion switch
is in the "on" position.
When the ignition switch
is turned
8RAI(E WARNIN G LIGHT
"off", the needle will not necessar
ily return to the empty mark but
may stop at any point on the dial.
24
Oil Pressure Indicator Light
This light will be on when the
ignition switch
is turned on and
should go out after the engine
is
started. Occasionally the light may
be seen to flicker momentarily, but
this will do no harm. However , if
the light remains on during normal
driving speeds the engine should be
stopped until the cause of the trou
ble can be located and corrected .
Driving the car with low oil pres
sure can cause serious engine
damage.
Page 28 of 85

Downloaded from www.Manualslib.com manuals search engine Generator Indicator Light
The red light will go on when
the ignition key
is in the "on" posi
tion, but before the engine
is
started. After the engine starts, the
light should
go out and remain out.
If the light remains on when engine
is running, have your Authorized
Chevrolet Dealer locate and correct
the trouble
as soon as possible.
Engine Temperature
Indicator Light
This indicator light is provided
in the instrument cluster to quickly
warn of an overheated engine. With
the ignition switch in the START
position, the red
TEMP indicator
will light to let you know that it
is
operating properly.
When the engine
is started, the
red light will go out immediately.
It will light up at no other time
unless for some reason the engine
reaches a dangerously high oper
ating temperature.
If the light comes on
during extreme driving condi
tions, such as an extended idle, turn
off the air conditioner (if used) and
run the engine slightly faster than
idle speed with the transmission in
neutral gear.
If the light does not
go off within a short period of time
(1-2 minutes), then turn the engine
off until the cause of the overheat
ing
is corrected. Glance at the in
strument cluster frequently
as you
drive to see
if this light is on.
Brake System Warning
Light
The service brake system is de
signed so that half of the brake
system will provide some braking
action in the event of a hydraulic
leak in the other half of the sys
tem .
If the warning light labeled
"BRAKE, " located at lower left of
instrument cluster (speedometer
face), glows continuously when the
ignition
is on and after the brakes
have been firmly applied it may in-
25
dicate that there is a malfunction
in one half of the brake hydraulic
system .
On cars equipped with
front drum brakes, the light will
go out when foot is removed from
brake pedal.
• As a check on bulb condition
the light should glow with the
parking brake applied and the
ignition on. (Light
is also a
reminder to release parking
brake).
• The light should glow during
engine starting to verify that the
bulb
is operating properly.
• Have system repaired if light
does not come on during check.
• This warning light is not a sub
stitute for the visual check of
brake fluid level required as part
of normal maintenance.
If the light glows red:
• The parking brake control is not
fully released or,
• The service brake system is par
tially inoperative.