1965 CHEVROLET CORVAIR heater
[x] Cancel search: heaterPage 9 of 56
Downloaded from www.Manualslib.com manuals search engine more economical cruising gear in the shortest possible
time. Hard acceleration for fast starts will cause the trans
mission to remain in low gear for a considerably longer
period.
When driving at speeds below 45 mph, the transmis
sion may be shifted back into low range for extra acceler
ation for passing by depressing the accelerator pedal
fully. The transmission will automatically shift back into cruising
gear when the accelerator pedal is momentarily
released.
PUSHING TO START
• Turn off all
electrical loads such as radio, heater and,
if possible, lights until the engine starts.
• Turn on key and move selector lever to neutral. At
20 to 25 mph move lever to l.
• When engine starts, move selector lever to D.
NOTE: Never tow to start.
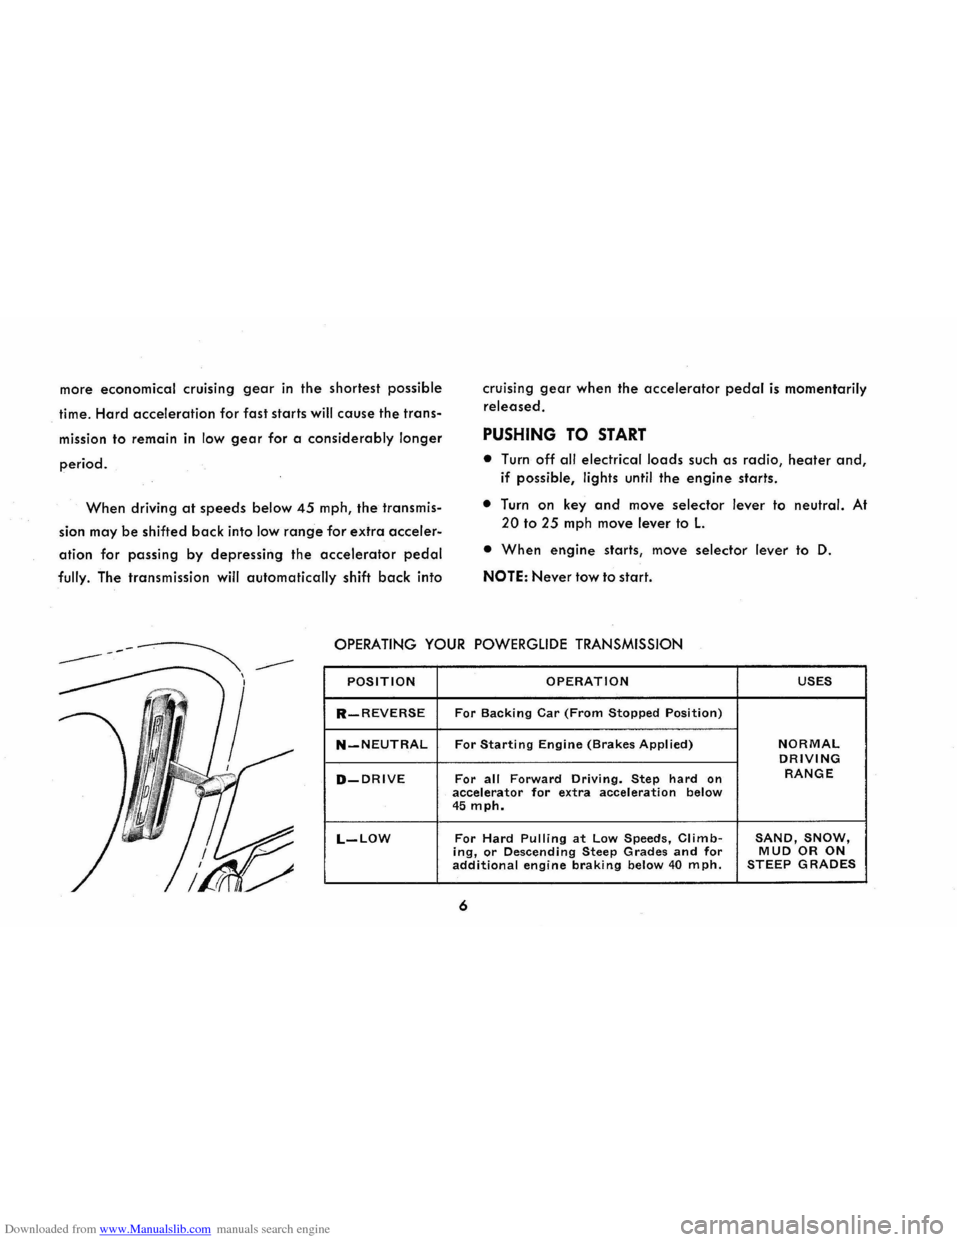
OPERATING YOUR POWERGLIDE TRANSMISSION
POSITION OPERATION USES
R-REVERSE For Backing Car (From Stopped Position)
N-NEUTRAL For Starting Engine (Brakes Applied) NORMAL DRIVING
D-DRIVE For all Forward Driving. Step hard on RANGE
accelerator for extra acceleration below 45 mph.
L-LOW For Hard Pulling at Low Speeds, Climb-SAND, SNOW, ing, or Descending Steep Grades and for MUD OR ON additional engine braking below 40 mph. STEEP GRADES
6
Page 12 of 56
Downloaded from www.Manualslib.com manuals search engine TEMP-PRESS AND GEN-FAN INDICATORS
These indicators provide a check on the operating
condition of the engine and the generator. Both indi
cators should light with the ignition switch ON before
starting the engine and should go out after the engine
is started. The lights should remain out while engine is
operating, except the GEN-FAN indicator may flicker
when
engine is idling.
CAUTION: If either of these indicators light
while car is
being driven, immediately follow the
procedure outlined under "EMERGENCY OPER
ATING INSTRUCTIONS," so car may be driven
to
the nearest service facility.
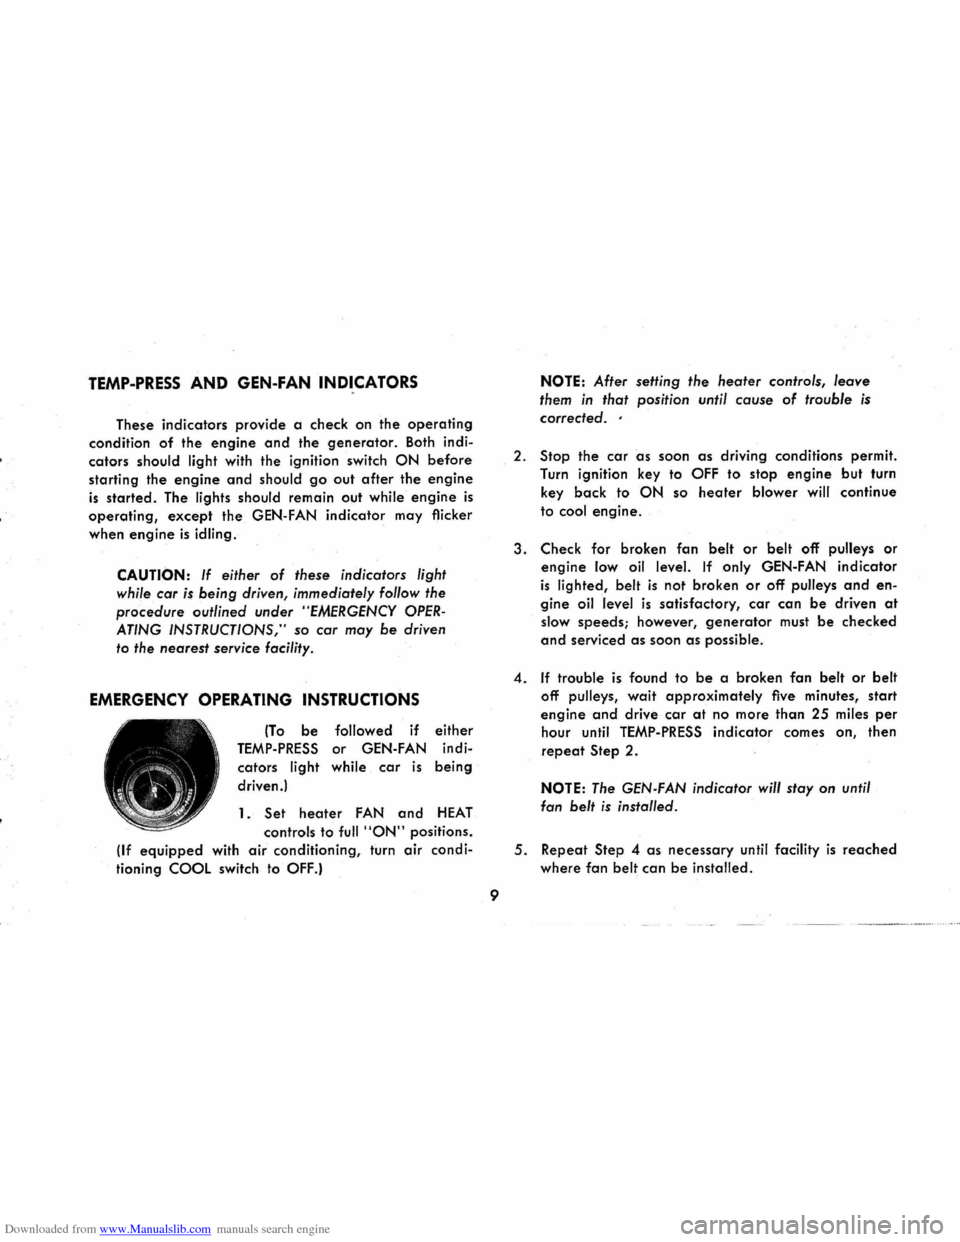
EMERGENCY OPERATING INSTRUCTIONS
(To be followed if either
TEMP-PRESS or GEN-FAN indi
cators light while car is being
driven.)
1.
Set heater FAN and HEAT
controls to full "ON" positions.
(If
equipped with air conditioning, turn air condi
tioning COOL switch to OFF.)
9
NOTE: After setting the heater controls, leave
them in that position until cause of trouble is
corrected ..
2. Stop the car as soon as driving conditions permit.
Turn ignition key to
OFF to stop engine but turn
key
back to ON so heater blower will continue
to cool engine.
3. Check for broken fan belt or belt off pulleys or
engine low oil level. If only GEN-FAN indicator
is lighted, belt is not broken or off pulleys and en
gine oil level is satisfactory, car can be driven at
slow speeds; however, generator must be checked
and serviced as soon as possible.
4. If trouble is found to be a broken fan belt or belt
off pulleys, wait approximately five minutes, start
engine and drive car at no more than 25 miles per
hour until TEMP-PRESS indicator comes on, then
repeat Step 2.
NOTE: The GEN-FAN indicator will stay on until
fan
belt is installed .
5. Repeat Step 4 as necessary until facility is reached
where fan belt can be installed.
Page 16 of 56
Downloaded from www.Manualslib.com manuals search engine WINDSHIELD WIPERS AND WASHERS
OFF~ON
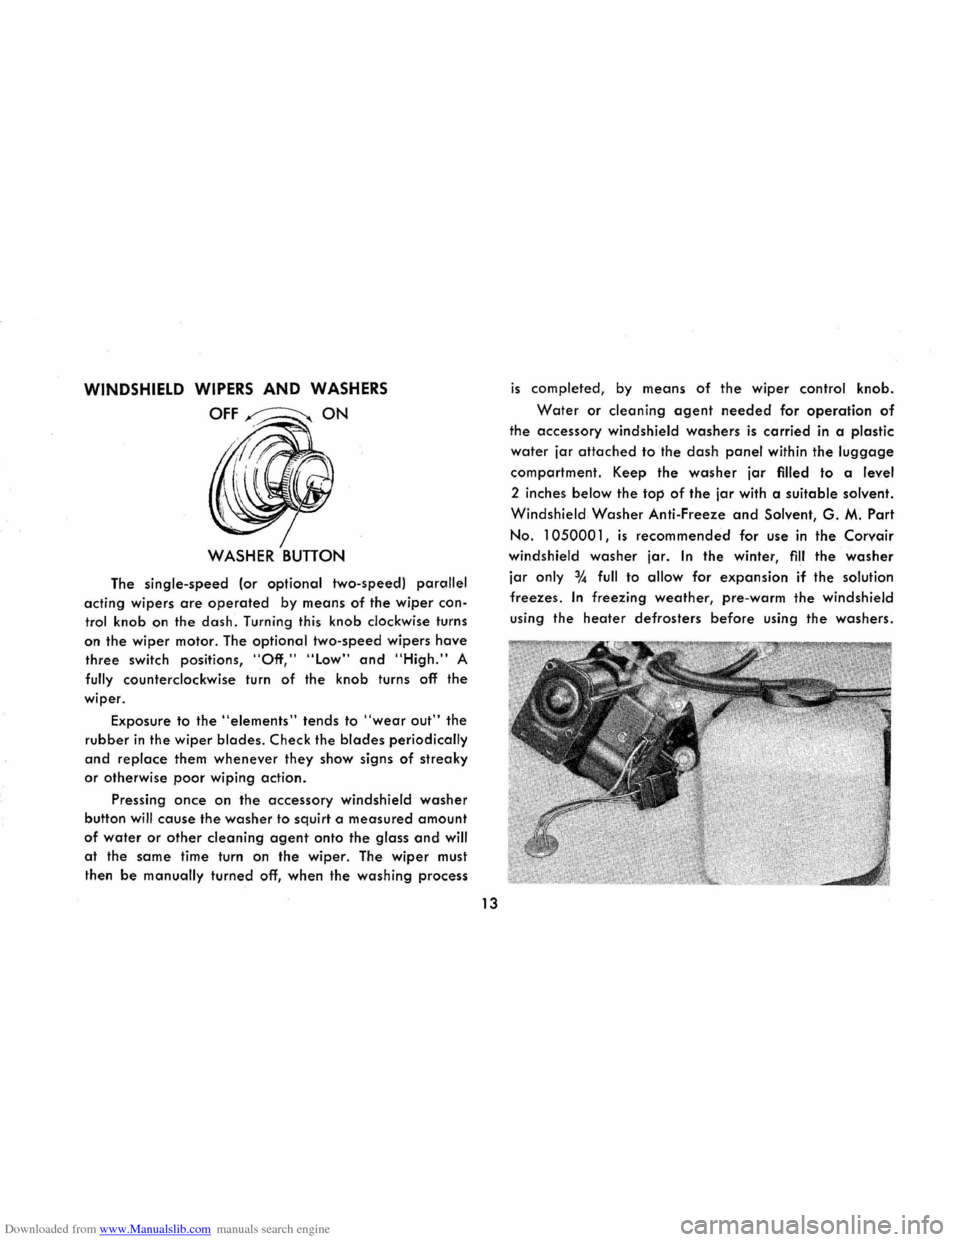
The single-speed (or optional two-speed) parallel
acting wipers are operated by means of the wiper con
trol knob on the dash. Turning this knob clockwise turns
on the
wiper motor. The optional two-speed wipers have
three switch positions, "Off," "Low" and "High." A
fully counterclockwise turn of the knob turns off the
wiper.
Exposure
to the "elements" tends to "wear out" the
rubber in the wiper blades. Check the blades periodically
and replace them whenever they show signs of streaky
or otherwise poor wiping action.
Pressing once on the accessory windshield washer
button will cause the washer to squirt a measured amount
of water or other cleaning agent onto the glass and will
at the same time turn on the wiper. The wiper must
then
be manually turned off, when the washing process
13
is completed, by means of the wiper control knob.
Water or cleaning agent needed for operation of
the accessory windshield washers is carried in a plastic
water jar attached to the dash panel within the luggage
compartment. Keep the washer jar filled to a level
2 inches below the top of the jar with a suitable solvent.
Windshield Washer Anti-Freeze and Solvent, G. M. Part
No. 1050001, is recommended for use in the Corvair
windshield washer jar. In the winter, fill the washer
jar only 3,4 full to allow for expansion if the solution
freezes. In freezing weather, pre-warm the windshield
using the heater defrosters before using the washers.
Page 17 of 56
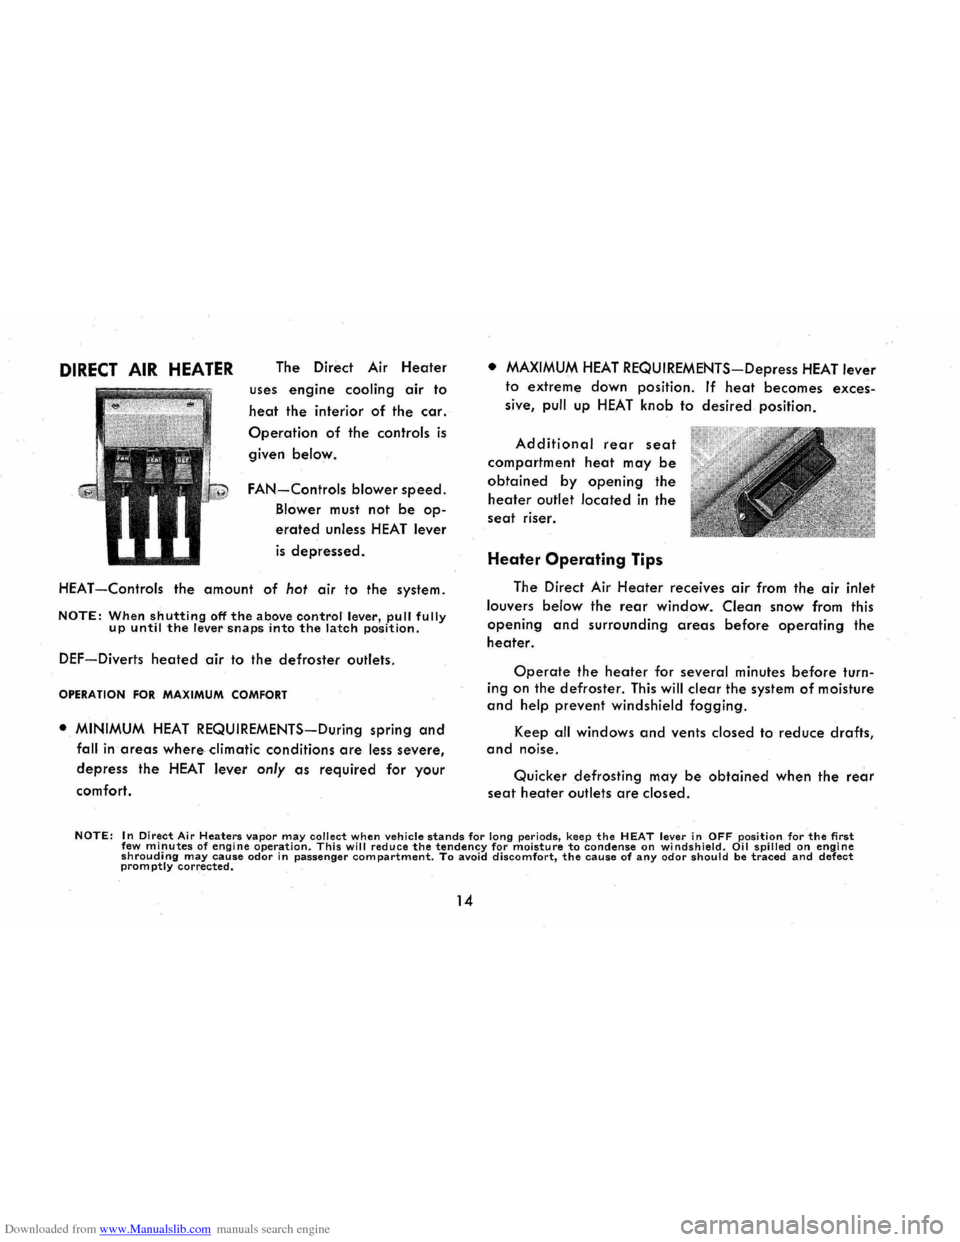
Downloaded from www.Manualslib.com manuals search engine DIRECT AIR HEATER The Direct Air Heater
uses engine cooling air to
heat the interior of the car.
Operation of the controls is
given below.
FAN-Controls blower speed.
Blower must not be op
erated unless HEAT lever
is depressed.
HEAT
-Controls the amount of hot air to the system.
NOTE: When shutting off the above control lever, pull fully up until the lever snaps into the latch position.
DEF-Diverts heated air to the defroster outlets.
OPERATION FOR MAXIMUM COMFORT
• MINIMUM HEAT REQUIREMENTS-During spring and
fall in areas where climatic conditions are less severe,
depress the HEAT
lever only as required for your
comfort.
• MAXIMUM HEAT REQUIREMENTS-Depress HEAT lever
to extreme down position. If heat becomes exces
sive, pull up HEAT
knob to desired position.
Additional rear seat
compartment heat may be
obtained by opening the
heater outlet located in the
seat riser.
Heater Operating Tips
The Direct Air Heater receives air from the air inlet
louvers below the rear window. Clean snow from this
opening and surrounding areas before operating the
heater.
Operate the heater for several minutes before turn
ing on the defroster. This will clear the system of moisture
and help prevent windshield fogging.
Keep all windows and vents closed to reduce drafts, and noise.
Quicker defrosting may be obtained when the rear
seat heater outlets are closed.
NOTE: In Direct Air Heaters vapor may collect when vehicle stands for long periods, keep the HEAT lever in OFF position for the first few minutes of engine operation. This will reduce the tendency for moisture to condense on windshield. Oil spilled on engine shrouding may cause odor in passenger compartment. To avoid discomfort, the cause of any odor should be traced and defect prom ptly corrected.
14
Page 18 of 56
Downloaded from www.Manualslib.com manuals search engine AIR CONDITIONING
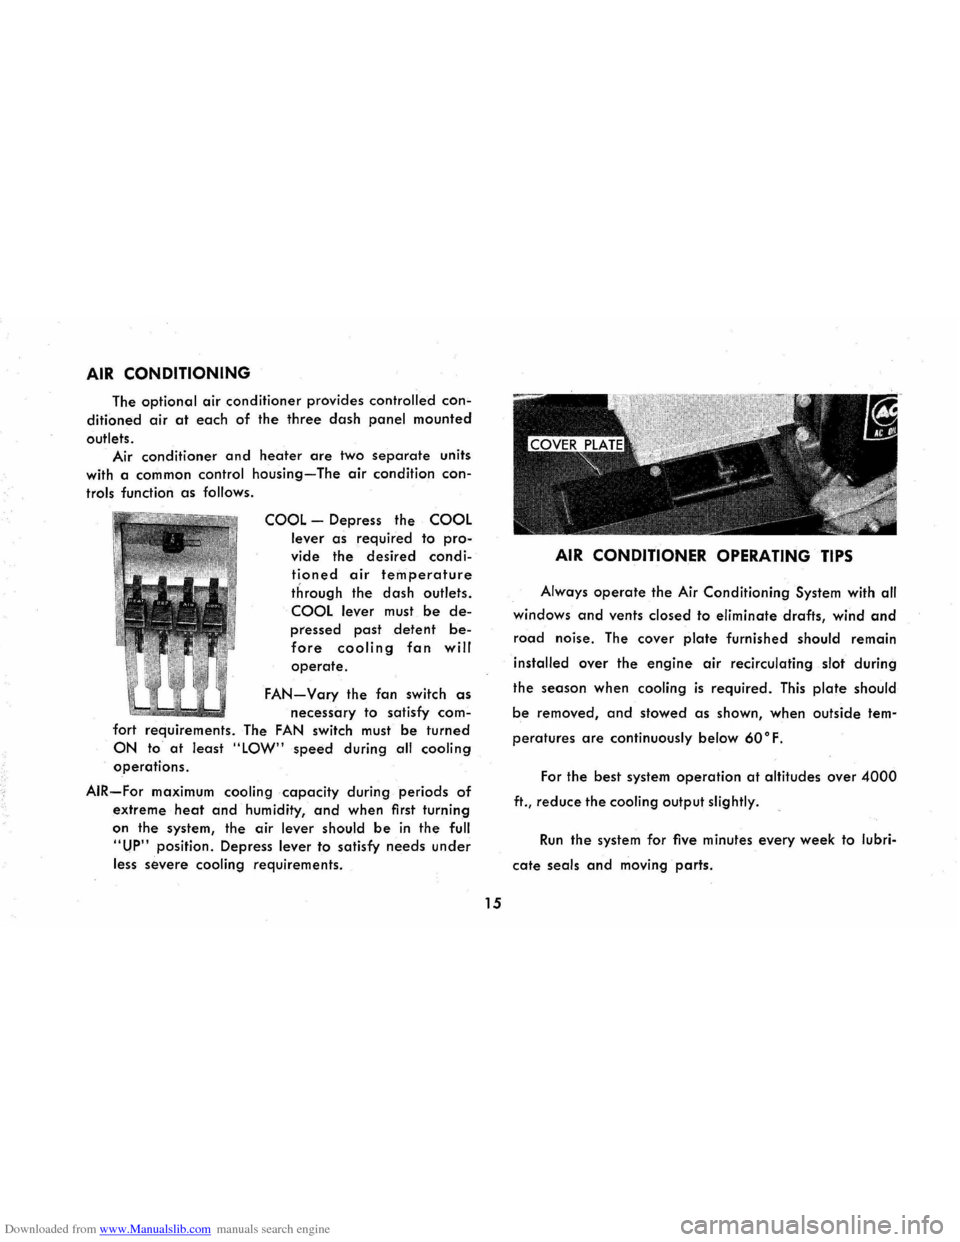
The optional air conditioner provides controlled con
ditioned air at each of the three dash panel mounted
outlets.
Air conditioner and heater are two separate units
with a common control housing-The air condition con
trols function as follows.
COOL -Depress the COOL
lever as required to pro
vide the desired condi
tioned air temperature
through the dash outlets.
COOL lever must be de
pressed past detent be
fore cooling fan will
operate.
FAN-Vary the fan switch as
necessary
to satisfy com
fort requirements. The FAN switch must be turned
ON to at least "LOW" speed during all cooling
operations.
AIR-For maximum cooling capacity during periods of
extreme heat and humidity, and when first turning
on the system, the air lever should be in the full
"UP" position. Depress lever to satisfy needs under
less severe cooling requirements.
15
AIR CONDITIONER OPERATING TIPS
Always operate the Air Conditioning System with all
windows and vents closed to eliminate drafts, wind and
road noise. The cover plate furnished should remain
installed over the engine air recirculating slot during
the season when cooling is required. This plate should
be removed, and stowed as shown, when outside tem
peratures are continuously below 600 F.
For the best system operation at altitudes over 4000
ft., reduce the cooling output slightly.
Run the system for five minutes every week to lubri
cate seals and moving parts.
Page 27 of 56
Downloaded from www.Manualslib.com manuals search engine CORVAIR GREENBRIER
INSTRUMENTS AND CONTROLS
The Corvair Greenbrier instr~ments and controls are
essentially the same as those of the Covair which are de
scribed in preceding pages of this book. However, due to
body construction, various items differ somewhat in
operation and location. The next few pages cover those
items
peculiar to the Corvair Greenbrier only.
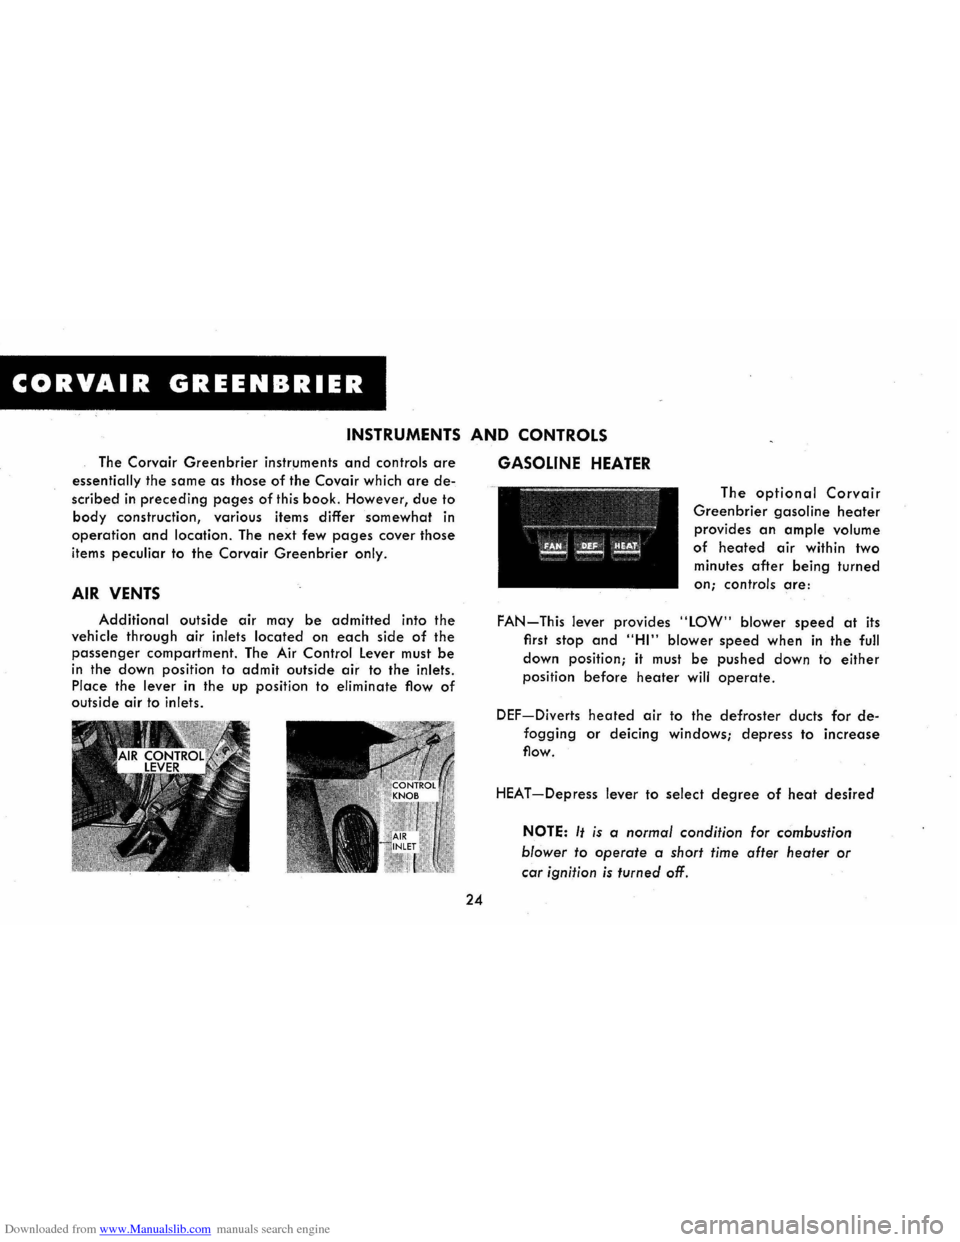
AIR VENTS
Additional outside air may be admitted into the
vehicle through air inlets located on each side of the
passenger compartment. The Air Control Lever must be
in the down position to admit outside air to the inlets.
Place
the lever in the up position to eliminate flow of outside air to inlets.
24
GASOLINE HEATER
The optional Corvair
Greenbrier gasoline heater
provides an ample volume
of heated air within two
minutes
after being turned
on; controls are:
FAN-This lever provides "LOW" blower speed at its
first
stop and "HI" blower speed when in the full
down position; it must be pushed down to either
position before heater will operate.
DEF-Diverts heated air to the defroster ducts for de
fogging or deicing windows; depress to increase
flow.
HEAT -Depress lever to select degree of heat desired
NOTE: It is a normal condition for combustion
blower to operate
a short time after heater or
car ignition
is turned off.
Page 28 of 56
Downloaded from www.Manualslib.com manuals search engine SWITCH CONTROLS -AIR HEATER C
ONTROL S SH OWN
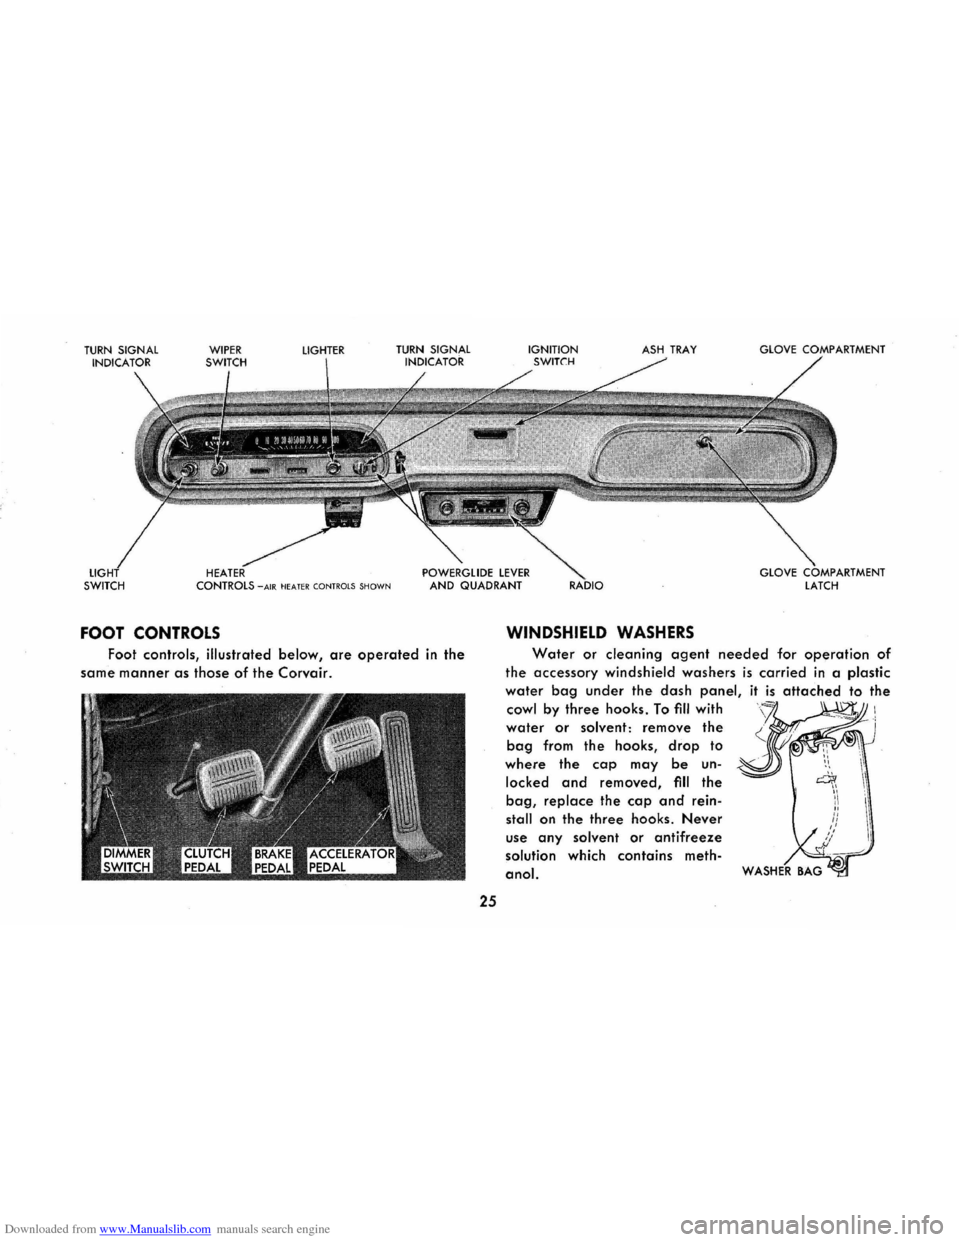
FOOT CONTROLS
Foot controls, illustrated below, are operated in the
same
manner as those of the Corvair.
25
ASH TRAY
WINDSHIELD WASHERS
GLOVE ARTMENT
GLOVE COMPARTMENT
LATCH
Water or cleaning agent needed for operation of
the accessory windshield washers is carried in a plastic
water bag under the dash panel, it is attached to the
cowl by three hooks. To flll with
water or solvent: remove the
bag from the hooks, drop to
where the cap may be un
locked and removed, flll the
bag, replace the cap and rein
stall on the three hooks. Never
use any solvent or antifreeze
solution which contains meth
anol.
Page 36 of 56
Downloaded from www.Manualslib.com manuals search engine you use an oil which, according to the label on the can
is (1) intended for service MS and (2) passes car makers'
tests or meets General Motors Standard GM 4745-M .
Oils conforming to these types contain detergent addi
tives. Your serviceman will be pleased to assist you in
selecting the proper oil for your car.
Check the oil level (with the engine hot) on the dip
stick frequently. Keep oil level between the FULL and
ADD marks, by adding oil when level is at or below
ADD mark. Do not overfill. Poor performance and pos
sible engine damage may result if the crankcase is
overfilled. Drain and refill the crankcase very 60 days
or 6000 miles, whichever occurs first.
For vehicles
in heavy duty operation involving con
tinuous stop-
start or prolonged idling, engine oil should
be changed after 2500-3000 miles of operation.
NOTE: When checking or adding oil, be care
ful to avoid spilling or dropping oil onto the
engine shrouding.
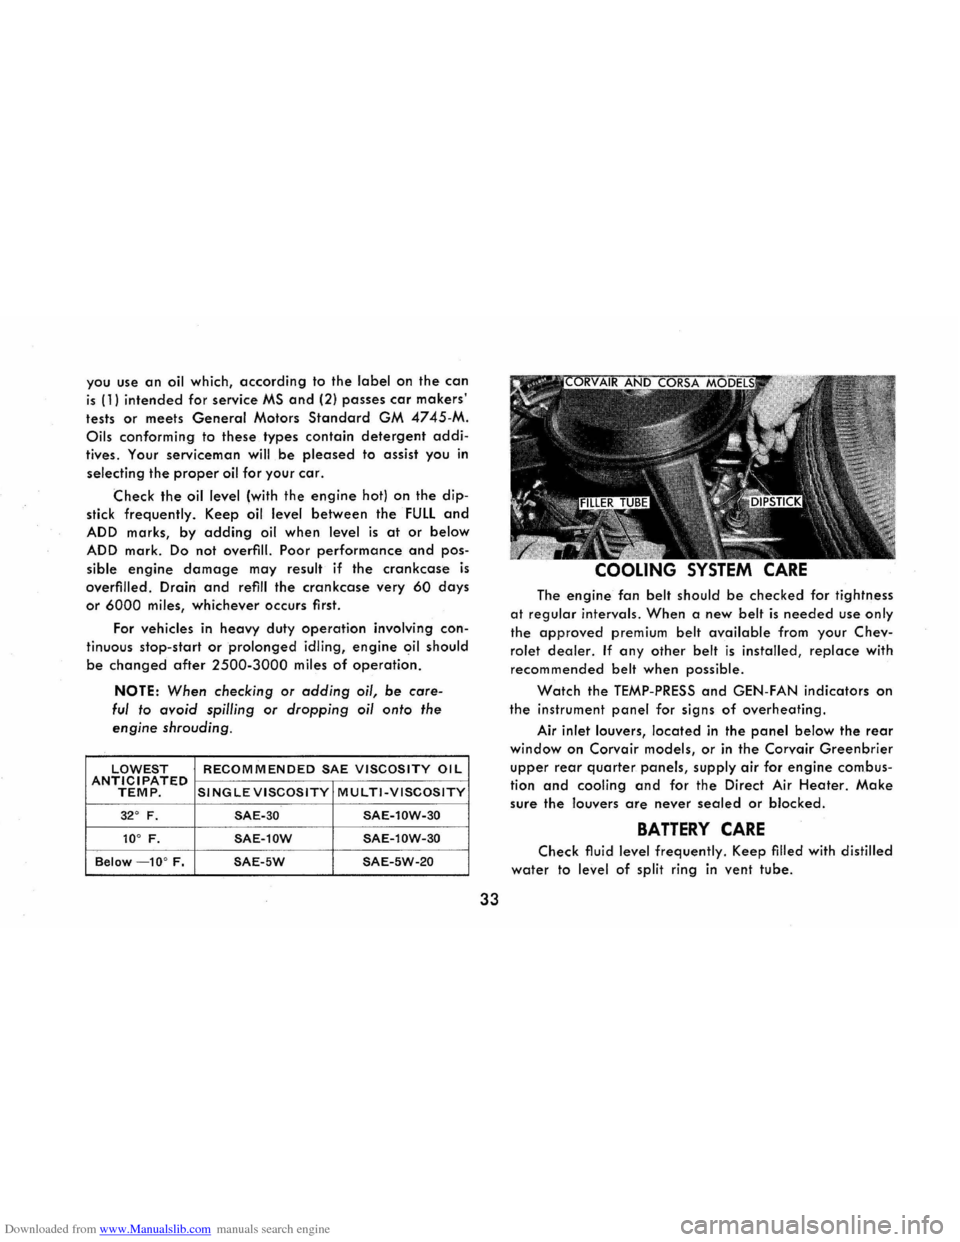
LOWEST RECOMMENDED SAE VISCOSITY OIL ANTICIPATED TEMP. SINGLE VISCOSITY MULTI-VISCOSITY
32° F. SAE-30 SAE-l0W-30
10° F. SAE-l0W SAE-l0W-30
Below -10° F. SAE-5W SAE-5W-20
33
COOLING SYSTEM CARE
The engine fan belt should be checked for tightness
at regular intervals. When a new belt is needed use only
the approved premium belt available from your Chev
rolet dealer. If any other belt is installed, replace with
recommended belt when possible .
Watch the TEMP-PRESS and GEN-FAN indicators on
the instrument panel for signs of overheating.
Air inlet louvers, located in the panel below the rear
window on Corvair models, or in the Corvair Greenbrier
upper rear quarter panels, supply air for engine combus
tion
and cooling and for the Direct Air Heater. Make
sure the louvers are never sealed or blocked.
BATTERY CARE
Check fluid level frequently. Keep filled with distilled
water to level of split ring in vent tube.