2024 CHEVROLET SILVERADO start stop button
[x] Cancel search: start stop buttonPage 226 of 433

Chevrolet Silverado 2500 HD/3500 HD Owner Manual (GMNA-Localizing-U.
S./Canada/Mexico-16908339) - 2024 - CRC - 12/12/22
224 Driving and Operating
If the transmission is not in N (Neutral)
when shift request occurs, a DIC message
displays. The vehicle will allow 20 seconds
for the shift to occur. After this time, an
indicator in the instrument cluster will
indicate that the transfer case is in 4
n.
Caution
Shifting the transmission into gear before
the requested mode indicator light has
stopped flashing could damage the
transfer case.
If the transmission is not shifted into
N (Neutral) or the vehicle has not slowed to
5 km/h (3 mph) within 20 seconds, the
transfer case will remain in its original state.
This will be indicated in the instrument
cluster.
With the vehicle moving less than
5 km/h (3 mph) and the transmission in
N (Neutral), attempt the shift again.
Shifting Out of 4
n
1. The vehicle must be stopped or moving less than 5 km/h (3 mph) with the
transmission in N (Neutral) and the
ignition on. It is best for the vehicle to
be moving 1.6 to 3.2 km/h (1 to 2 mph). 2. Press 4
m, AUTO, or 2m. The actual 4x4
shift request is only made after the
button is released. The 4x4 indicator will
remain flashing until the shift request
has completed. A DIC message displays
to indicate the state of the request.
Once the 4x4 shift has completed, the
DIC message disappears, the
4x4 indicator stops flashing, and the
current setting is indicated.
If vehicle speed is higher when shift
request occurs, a DIC message displays.
Reduce vehicle speed.
If the transmission is not in N (Neutral)
when shift request occurs, DIC messages will
display. The vehicle will allow 20 seconds for
this shift to occur. After this time, a
indicator in the instrument cluster will
indicate that the transfer case is in 4
n.
Caution
Shifting the transmission into gear before
the requested mode indicator light has
stopped flashing could damage the
transfer case.
If the transmission is not shifted into
N (Neutral) or the vehicle has not slowed to
5 km/h (3 mph) within 20 seconds, the transfer case will remain in its original state.
This will be indicated in the instrument
cluster.
With the vehicle moving less than 5 km/h
(3 mph), and the transmission in N (Neutral),
attempt the shift again.
Shifting Into N (Neutral)
To shift into N (Neutral):
1. Start the vehicle.
2. Shift the transmission to N (Neutral).
3. Shift the transfer case to 2
m.
4. Apply the parking brake and/or brake pedal.
5. Press 2
mfive times in 10 seconds until
the N (Neutral) indicator starts flashing in
the instrument cluster. When the shift is
complete, the indicator stops flashing.
If the parking brake and/or brake pedal
is not applied within 20 seconds, the
transfer case will remain in the original
state.
6. If the transmission is not shifted into N (Neutral) or the vehicle has not slowed
to 5 km/h (3 mph) within 20 seconds,
the transfer case will remain in its
original state. This will be indicated in
the instrument cluster.
Page 233 of 433

Chevrolet Silverado 2500 HD/3500 HD Owner Manual (GMNA-Localizing-U.
S./Canada/Mexico-16908339) - 2024 - CRC - 12/12/22
Driving and Operating 231
Drive the vehicle. Ifdcomes on and stays
on, the vehicle may need more time to
diagnose the problem. If the condition
persists, see your dealer.
Turning the Systems Off and On
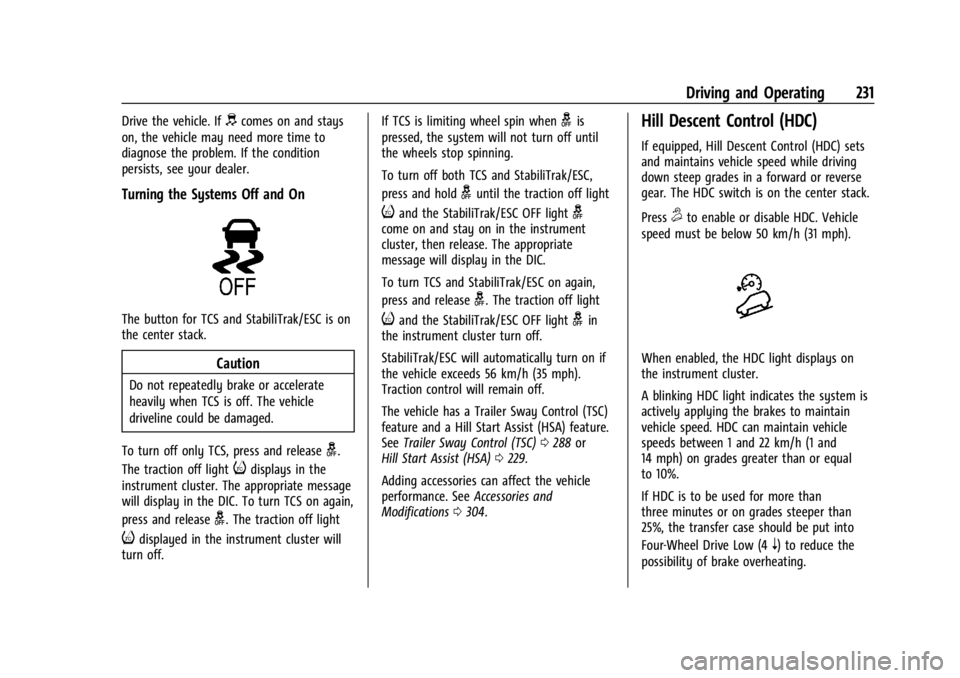
The button for TCS and StabiliTrak/ESC is on
the center stack.
Caution
Do not repeatedly brake or accelerate
heavily when TCS is off. The vehicle
driveline could be damaged.
To turn off only TCS, press and release
g.
The traction off light
idisplays in the
instrument cluster. The appropriate message
will display in the DIC. To turn TCS on again,
press and release
g. The traction off light
idisplayed in the instrument cluster will
turn off. If TCS is limiting wheel spin when
gis
pressed, the system will not turn off until
the wheels stop spinning.
To turn off both TCS and StabiliTrak/ESC,
press and hold
guntil the traction off light
iand the StabiliTrak/ESC OFF lightgcome on and stay on in the instrument
cluster, then release. The appropriate
message will display in the DIC.
To turn TCS and StabiliTrak/ESC on again,
press and release
g. The traction off light
iand the StabiliTrak/ESC OFF lightgin
the instrument cluster turn off.
StabiliTrak/ESC will automatically turn on if
the vehicle exceeds 56 km/h (35 mph).
Traction control will remain off.
The vehicle has a Trailer Sway Control (TSC)
feature and a Hill Start Assist (HSA) feature.
See Trailer Sway Control (TSC) 0288 or
Hill Start Assist (HSA) 0229.
Adding accessories can affect the vehicle
performance. See Accessories and
Modifications 0304.
Hill Descent Control (HDC)
If equipped, Hill Descent Control (HDC) sets
and maintains vehicle speed while driving
down steep grades in a forward or reverse
gear. The HDC switch is on the center stack.
Press
5to enable or disable HDC. Vehicle
speed must be below 50 km/h (31 mph).
When enabled, the HDC light displays on
the instrument cluster.
A blinking HDC light indicates the system is
actively applying the brakes to maintain
vehicle speed. HDC can maintain vehicle
speeds between 1 and 22 km/h (1 and
14 mph) on grades greater than or equal
to 10%.
If HDC is to be used for more than
three minutes or on grades steeper than
25%, the transfer case should be put into
Four-Wheel Drive Low (4
n) to reduce the
possibility of brake overheating.
Page 348 of 433

Chevrolet Silverado 2500 HD/3500 HD Owner Manual (GMNA-Localizing-U.
S./Canada/Mexico-16908339) - 2024 - CRC - 12/5/22
346 Vehicle Care
As an added safety feature, your vehicle has
been equipped with a tire pressure
monitoring system (TPMS) that illuminates a
low tire pressure telltale when one or more
of your tires is significantly under-inflated.
Accordingly, when the low tire pressure
telltale illuminates, you should stop and
check your tires as soon as possible, and
inflate them to the proper pressure. Driving
on a significantly under-inflated tire causes
the tire to overheat and can lead to tire
failure. Under-inflation also reduces energy
efficiency and tire tread life, and may affect
the vehicle's handling and stopping ability.
Please note that the TPMS is not a
substitute for proper tire maintenance, and
it is the driver's responsibility to maintain
correct tire pressure, even if under-inflation
has not reached the level to trigger
illumination of the TPMS low tire pressure
telltale.
Your vehicle has also been equipped with a
TPMS malfunction indicator to indicate when
the system is not operating properly. The
TPMS malfunction indicator is combined
with the low tire pressure telltale. When the
system detects a malfunction, the telltale
will flash for approximately one minute and
then remain continuously illuminated. Thissequence will continue upon subsequent
vehicle start-ups as long as the malfunction
exists.
When the malfunction indicator is
illuminated, the system may not be able to
detect or signal low tire pressure as
intended. TPMS malfunctions may occur for
a variety of reasons, including the
installation of replacement or alternate tires
or wheels on the vehicle that prevent the
TPMS from functioning properly. Always
check the TPMS malfunction telltale after
replacing one or more tires or wheels on
your vehicle to ensure that the replacement
or alternate tires and wheels allow the
TPMS to continue to function properly.
See
Tire Pressure Monitor Operation 0346.
See Radio Frequency Statement 0407.
Tire Pressure Monitor Operation
This vehicle may have a Tire Pressure
Monitor System (TPMS). The TPMS is
designed to warn the driver when a low tire
pressure condition exists. TPMS sensors are
mounted onto each tire and wheel
assembly, excluding the spare tire and
wheel assembly. The TPMS sensors monitor the air pressure in the tires and transmit the
tire pressure readings to a receiver located
in the vehicle.
When a low tire pressure condition is
detected, the TPMS illuminates the low tire
pressure warning light located on the
instrument cluster. If the warning light
comes on, stop as soon as possible and
inflate the tires to the recommended
pressure shown on the Tire and Loading
Information label. See
Vehicle Load Limits
0 204.
A message to check the pressure in a
specific tire displays in the Driver
Information Center (DIC). The low tire
pressure warning light and the DIC
warning message come on at each ignition
cycle until the tires are inflated to the
correct inflation pressure. If the vehicle has
DIC buttons, tire pressure levels can be
viewed. For additional information and
details about the DIC operation and
Page 351 of 433

Chevrolet Silverado 2500 HD/3500 HD Owner Manual (GMNA-Localizing-U.
S./Canada/Mexico-16908339) - 2024 - CRC - 12/5/22
Vehicle Care 349
passenger side front tire, passenger side
outer rear tire, passenger side inner rear
tire, driver side outer rear tire, and driver
side inner rear tire. See your dealer for
service or to purchase a relearn tool.
A TPMS relearn tool can also be purchased.
See Tire Pressure Monitor Sensor Activation
Tool at www.gmtoolsandequipment.com or
call 1-800-GM TOOLS (1-800-468-6657).
There are two minutes to match the first
tire/wheel position, and five minutes overall
to match all six tire/wheel positions. If it
takes longer, the matching process stops
and must be restarted.
The TPMS sensor matching process is:1. Set the parking brake.
2. Turn the ignition on without starting the vehicle.
3. Uplevel DIC Only: Make sure the Tire Pressure info page option is turned on.
The info pages on the DIC can be turned
on and off through the Options menu.
See Driver Information Center (DIC) (Base
Level) 0126 orDriver Information Center
(DIC) (Uplevel) 0128. 4. If the vehicle has an uplevel DIC, use the
DIC controls on the right side of the
steering wheel to scroll to the Tire
Pressure screen under the DIC info page.
If the vehicle has a base level DIC, use
the trip odometer reset stem to scroll to
the Tire Pressure screen.
5. If the vehicle has an uplevel DIC, press and hold the thumbwheel located in the
center of the DIC controls on the right
side of the steering wheel.
If the vehicle has a base level DIC, press
and hold the trip odometer reset stem
for about five seconds. A message asking
if the process should begin should
appear. Select yes and press the trip
odometer reset stem to confirm the
selection.
The horn sounds twice to signal the
receiver is in relearn mode and the TIRE
LEARNING ACTIVE message displays on
the DIC screen.
6. Start with the driver side front tire.
7. Place the relearn tool against the tire sidewall, near the valve stem. Then press
the button to activate the TPMS sensor.
A horn chirp confirms that the sensor
identification code has been matched to
this tire and wheel position. 8. Proceed to the passenger side front tire,
and repeat the procedure in Step 7.
9. Proceed to the passenger side outer rear tire, and repeat the procedure in Step 7.
10. Proceed to the passenger side inner rear tire, and repeat the procedure in Step 7.
11. Proceed to the driver side outer rear tire, and repeat the procedure in Step 7.
12. Proceed to the driver side inner rear tire, and repeat the procedure in Step 7. The
horn sounds two times to indicate the
sensor identification code has been
matched to the driver side inner rear
tire, and the TPMS sensor matching
process is no longer active. The TIRE
LEARNING ACTIVE message on the DIC
display screen goes off.
13. Turn the vehicle off.
14. Set all six tires to the recommended air pressure level as indicated on the Tire
and Loading Information label.
TPMS Sensor Matching Process –Auto
Learn Function
Use this TPMS Sensor Matching Process if
your vehicle is equipped with single rear
wheels:
Page 378 of 433

Chevrolet Silverado 2500 HD/3500 HD Owner Manual (GMNA-Localizing-U.
S./Canada/Mexico-16908339) - 2024 - CRC - 12/5/22
376 Vehicle Care
{Warning
Shifting a four-wheel-drive vehicle's
transfer case into N (Neutral) can allow
the vehicle to move even if the
transmission is in P (Park). You or others
could be injured. Set the parking brake
and use wheel blocks before shifting the
transfer case to N (Neutral).
To dinghy tow: 1. Position the vehicle being towed behind the tow vehicle, facing forward and on a
level surface.
2. Securely attach the vehicle being towed to the tow vehicle.
3. Apply the parking brake and start the engine.
4. Shift the transfer case to N (Neutral). See “Shifting into N (Neutral)” under
Four-Wheel Drive 0221.
5. With the engine running, release the parking brake and verify that the
transfer case is in N (Neutral) by shifting
the transmission to D (Drive) and then to
R (Reverse). There should be no
movement while shifting the
transmission. 6. Shift the transmission to D (Drive).
7. Turn the vehicle off. Disregard the Shift
to P (Park) DIC message. See Ignition
Positions 0211.
{Warning
To avoid death, serious injury,
or property damage, before dinghy
towing the vehicle, always disconnect and
secure the negative battery cable and
cover the negative battery post and cable
with a non-conductive material. If the
battery is left connected or the battery
cable contacts the post, the Electric
Parking Brake may activate during
towing, which could cause a crash.
8. Disconnect the negative (–) battery cable. See “Negative Battery Cable
Disconnection” inBattery - North
America 0321.
9. Shift the transmission to P (Park).
Caution
If the steering column is locked, vehicle
damage may occur. 10. Move the steering wheel to make sure
the steering column is unlocked.
11. Keep the remote key outside of the vehicle and manually lock the doors.
Access the vehicle by using the key in
the door lock. See Door Locks019.
Disconnecting the Towed Vehicle
Before disconnecting from the tow vehicle: 1. Park on a level surface. Secure the vehicle with wheel blocks.
2. Reconnect the negative (–) battery. See Battery - North America 0321.
3. Turn on the vehicle. With your foot off the brake pedal, press and hold ENGINE
START/STOP for five seconds until the
green light comes on in the button. See
Ignition Positions 0211.
4. Set the parking brake. See Electric
Parking Brake 0228.
5. Disconnect from the tow vehicle.
6. Shift the transmission to N (Neutral).
7. Shift the transfer case to 2
m(Two-Wheel
Drive High). When the shift to 2
m
(Two-Wheel Drive High) is complete, the
light in the instrument cluster will stop
flashing and stay lit. See
Four-Wheel-Drive Light 0120.