2024 CHEVROLET CORVETTE air condition
[x] Cancel search: air conditionPage 98 of 362
Chevrolet Corvette Owner Manual (GMNA-Localizing-U.S./Canada/Mexico-
17272984) - 2024 - CRC - 2/20/23
Instruments and Controls 97
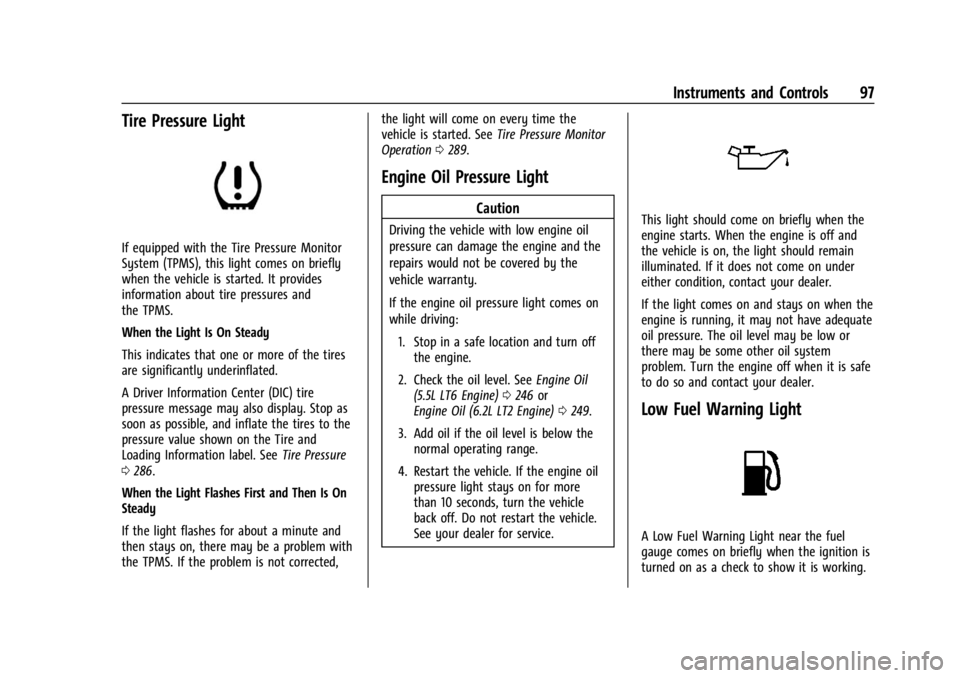
Tire Pressure Light
If equipped with the Tire Pressure Monitor
System (TPMS), this light comes on briefly
when the vehicle is started. It provides
information about tire pressures and
the TPMS.
When the Light Is On Steady
This indicates that one or more of the tires
are significantly underinflated.
A Driver Information Center (DIC) tire
pressure message may also display. Stop as
soon as possible, and inflate the tires to the
pressure value shown on the Tire and
Loading Information label. SeeTire Pressure
0 286.
When the Light Flashes First and Then Is On
Steady
If the light flashes for about a minute and
then stays on, there may be a problem with
the TPMS. If the problem is not corrected, the light will come on every time the
vehicle is started. See
Tire Pressure Monitor
Operation 0289.
Engine Oil Pressure Light
Caution
Driving the vehicle with low engine oil
pressure can damage the engine and the
repairs would not be covered by the
vehicle warranty.
If the engine oil pressure light comes on
while driving:
1. Stop in a safe location and turn off the engine.
2. Check the oil level. See Engine Oil
(5.5L LT6 Engine) 0246 or
Engine Oil (6.2L LT2 Engine) 0249.
3. Add oil if the oil level is below the normal operating range.
4. Restart the vehicle. If the engine oil pressure light stays on for more
than 10 seconds, turn the vehicle
back off. Do not restart the vehicle.
See your dealer for service.This light should come on briefly when the
engine starts. When the engine is off and
the vehicle is on, the light should remain
illuminated. If it does not come on under
either condition, contact your dealer.
If the light comes on and stays on when the
engine is running, it may not have adequate
oil pressure. The oil level may be low or
there may be some other oil system
problem. Turn the engine off when it is safe
to do so and contact your dealer.
Low Fuel Warning Light
A Low Fuel Warning Light near the fuel
gauge comes on briefly when the ignition is
turned on as a check to show it is working.
Page 107 of 362
Chevrolet Corvette Owner Manual (GMNA-Localizing-U.S./Canada/Mexico-
17272984) - 2024 - CRC - 2/20/23
106 Instruments and Controls
.Cruise Control
.Front Lift System
.Lighting and Bulb Replacement
.Wiper/Washer Systems
.Doors and Windows
.Seat Belts
.Airbag Systems
.Propulsion
.Tire Pressure
.Battery
Engine Power Messages
REDUCED ACCELERATION DRIVE
WITH CARE
This message displays when the vehicle's
propulsion power is reduced. A reduction in
propulsion power can affect the vehicle's
ability to accelerate. If this message is on,
but there is no observed reduction in
performance, proceed to your destination.
Under certain conditions the performance
may be reduced the next time the vehicle is
driven. The vehicle may be driven while this
message is on, but maximum acceleration
and speed may be reduced. Anytime this
message stays on, or displays repeatedly,
the vehicle should be taken to your dealer
for service as soon as possible.Under certain operating conditions,
propulsion will be disabled. Try restarting
after the ignition has been off for
two minutes.
Vehicle Speed Messages
SPEED LIMITED TO XXX KM/H (MPH)
This message shows that the vehicle speed
has been limited to the speed displayed. The
limited speed is a protection for various
propulsion and vehicle systems, such as
lubrication, thermal, brakes, suspension,
Teen Driver if equipped, or tires.
Universal Remote System
See
Radio Frequency Statement 0337.
Universal Remote System
Programming
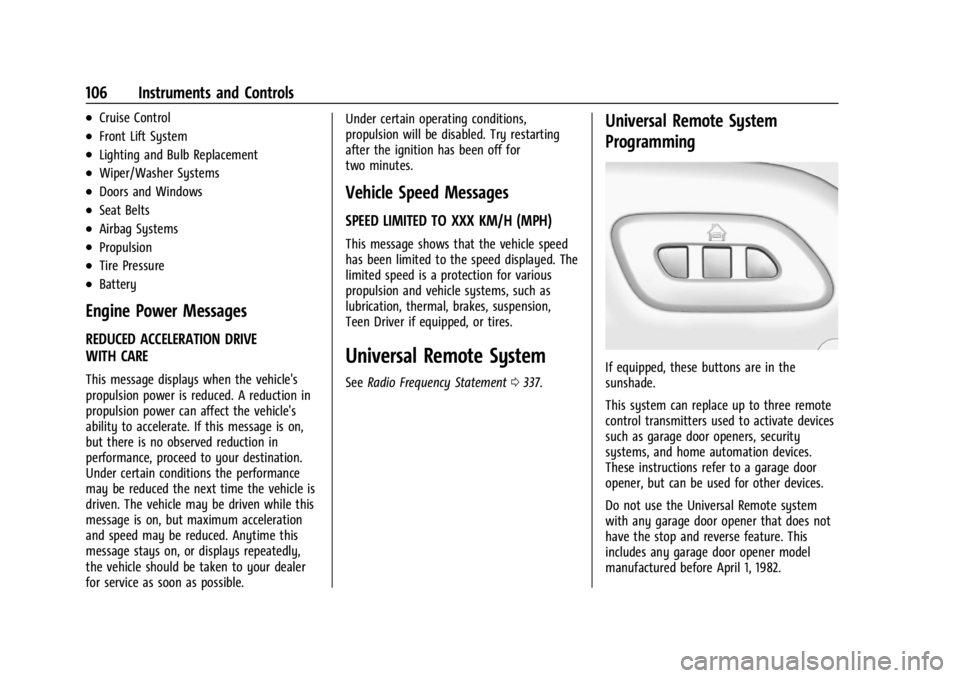
If equipped, these buttons are in the
sunshade.
This system can replace up to three remote
control transmitters used to activate devices
such as garage door openers, security
systems, and home automation devices.
These instructions refer to a garage door
opener, but can be used for other devices.
Do not use the Universal Remote system
with any garage door opener that does not
have the stop and reverse feature. This
includes any garage door opener model
manufactured before April 1, 1982.
Page 111 of 362

Chevrolet Corvette Owner Manual (GMNA-Localizing-U.S./Canada/Mexico-
17272984) - 2024 - CRC - 2/20/23
110 Lighting
Do not use the IntelliBeam in dense exhaust,
smoke, fog, snow, road spray, mist, or other
airborne obstructions
Turning the IntelliBeam On and Off
To enable the IntelliBeam system, push the
turn signal lever away from you and release
while the exterior lamp control is in AUTO
or
2.
Driving with IntelliBeam
The system only activates the high beams
when driving over 40 km/h (25 mph).
The blue high-beam on light appears on the
instrument cluster when the high beams
are on.
There is a sensor near the top center of the
windshield that automatically controls the
system. Keep this area of the windshield
clear of debris to allow for best system
performance.
The high-beam headlamps remain on, under
the automatic control, until one of the
following situations occurs:
.The fog lamps are turned On, if equipped.
.The system detects an approaching
vehicle's headlamps.
.The system detects a preceding vehicle's
taillamps.
.The outside light is bright enough that
high-beam headlamps are not required.
.The vehicle speed drops below 20 km/h
(12 mph).
The IntelliBeam system can be disabled by
manually selecting the high-beams or flash
to pass. If this happens, re-enable the
IntelliBeam system as described above. The
instrument cluster light will come on to
indicate the IntelliBeam system is
reactivated.
The high beams may not turn off
automatically if the system cannot detect
another vehicle's lamps because of any of
the following:
.The other vehicle's lamps are missing,
damaged, obstructed from view,
or otherwise undetected.
.The other vehicle's lamps are covered
with dirt, snow, and/or road spray.
.The other vehicle's lamps cannot be
detected due to dense exhaust, smoke,
fog, snow, road spray, mist, or other
airborne obstructions.
.The vehicle windshield is dirty, cracked,
or obstructed by something that blocks
the view of the light sensor.
.The vehicle is loaded such that the front
end points upward, causing the light
sensor to aim high and not detect
headlamps and taillamps.
.The vehicle is being driven on winding or
hilly roads.
The automatic high-beam headlamps may
need to be disabled if any of the above
conditions exist.
Exterior Lamps Off Reminder
A warning chime will sound if the exterior
lamp control is left on in either the
headlamp or parking lamp position and the
driver door is opened with the ignition off.
Headlamp High/Low-Beam
Changer
Push the turn signal lever away from you
and release to turn the high beams on. To
return to low beams, push the lever again
or pull it toward you and release.
Page 126 of 362
Chevrolet Corvette Owner Manual (GMNA-Localizing-U.S./Canada/Mexico-
17272984) - 2024 - CRC - 2/20/23
Infotainment System 125
USB Audio
To play music via USB:1. On the audio now playing page, touch source and select USB.
2. If there is no device connected, follow the screen prompts to connect the
device.
3. Supported media content will appear on the display.
Auxiliary Jack
If equipped, this vehicle has an auxiliary
input jack in the center console. Possible
auxiliary audio sources include:
.Laptop computer
.Audio music player
This jack is not an audio output. Do not
plug headphones into the auxiliary input
jack. Set up an auxiliary device while the
vehicle is in P (Park).
Connect a 3.5 mm (1/8 in) cable from the
auxiliary device to the auxiliary input jack.
When a device is connected, the system can
play audio from the device over the vehicle
speakers. If an auxiliary device has already been
connected, but a different source is currently
active, touch More and then touch AUX to
make the source active.
Shuffle and Browse are not available in the
AUX source menu.
Bluetooth Audio
Music may be played from a connected
Bluetooth device.
Volume and song selection may be
controlled by using the infotainment
controls. If Bluetooth is selected and no
volume is present, check the volume setting
on the infotainment system or the
connected phone.
To play music via Bluetooth:
1. On the audio now playing page, touch source and select the desired Bluetooth
device.
2. If there is no device connected, follow the screen prompts to pair the device.
3. Supported media content will appear on the display. Manage Bluetooth Devices
Managing Bluetooth devices allows you to
add, delete, or select another paired device.
Only one Bluetooth device can be active at
a time.
Some smartphones support sending
Bluetooth music information to display on
the radio. When the radio receives this
information, it will check to see if any is
available and display it. For more
information about supported Bluetooth
features, visit your brand website. See
Online Account
0332 for details.
See Radio Frequency Statement 0337.
Navigation
Using the Navigation System
The Navigation software is provided by
Google Maps. The information provided in
this section is a general overview and is
subject to change. For the latest functional
information, see g.co/mapsincar.
Accept the Terms and Conditions to use.
Page 129 of 362
Chevrolet Corvette Owner Manual (GMNA-Localizing-U.S./Canada/Mexico-
17272984) - 2024 - CRC - 2/20/23
128 Infotainment System
Traffic Layers1. Open Google Maps.
2. Touch the settings icon.
3. Toggle between Traffic on or off.
Global Positioning System (GPS)
The current position of the vehicle is
determined by using satellite signals and
various vehicle signals.
At times, other interference such as the
satellite condition, road configuration,
condition of the vehicle, and/or other
circumstances can affect the navigation
system's ability to determine the accurate
position of the vehicle.
This system might not be available or
interference can occur if any of the
following are true:
.Signals are obstructed by tall buildings,
trees, large trucks, or a tunnel.
.Satellites are being repaired or improved.
For more information if the GPS is not
functioning properly, see Problems with
Route Guidance 0128.
Vehicle Positioning
At times, the position of the vehicle on the
map could be inaccurate due to one or more
of the following reasons:
.The road system has changed.
.The vehicle is driving on slippery road
surfaces such as sand, gravel, or snow.
.The vehicle is traveling on winding roads
or long, straight roads.
.The vehicle is approaching a tall building
or a large vehicle.
.The surface streets run parallel to a
freeway.
.The vehicle has been transferred by a
vehicle carrier or a ferry.
.The current position calibration is set
incorrectly.
.The vehicle is traveling at high speed.
.The vehicle changes directions more than
once, or the vehicle is turning on a turn
table in a parking lot.
.The vehicle is entering and/or exiting a
parking lot, garage, or a lot with a roof.
.The GPS signal is not received.
.A roof carrier is installed on the vehicle.
.Tire chains are installed on the vehicle.
.The tires are replaced or worn.
.The tire pressure for the tires is incorrect.
.This is the first navigation use after the
map data is updated.
.The 12-volt battery has been disconnected
for several days.
.The vehicle is driving in heavy traffic
where driving is at low speeds, and the
vehicle is stopped and started repeatedly.
Problems with Route Guidance
Inappropriate route guidance can occur
under one or more of the following
conditions:
.The turn was not made on the road
indicated.
.Route guidance might not be available
when using automatic rerouting for the
next right or left turn.
.The route might not be changed when
using automatic rerouting.
.There is no route guidance when turning
at an intersection.
.Automatic rerouting might display a route
returning to the set waypoint if heading
for a destination without passing through
a set waypoint.
Page 131 of 362
Chevrolet Corvette Owner Manual (GMNA-Localizing-U.S./Canada/Mexico-
17272984) - 2024 - CRC - 2/20/23
130 Infotainment System
“Play channel
SiriusXM”:Tune to the SiriusXM radio
station channel number identified in the
command. This command may require an
online connection.
“Play
Tune to the SiriusXM radio station channel
name identified in the command. This
command may require an online connection.
“Play
Page 142 of 362
Chevrolet Corvette Owner Manual (GMNA-Localizing-U.S./Canada/Mexico-
17272984) - 2024 - CRC - 2/20/23
Infotainment System 141
1. Download the Android Auto app to yoursmartphone from the Google Play store
for phones running Android 9 and below.
There is no app required for Apple
CarPlay.
2. For first time connection, there are two ways to set up wireless projection:
.Connect your Android phone or Apple
iPhone by using the factory-provided
phone USB cable and plugging into a
USB data port. For best performance,
it is highly recommended to use the
device’s factory-provided USB cable,
which should be replaced after
significant wear to maintain
connection quality. Aftermarket or
third-party cables may not work.
.Connecting the phone over Bluetooth.
See Bluetooth (Overview) 0136 or
Bluetooth (Pairing and Using a Phone)
0 136.
3. Make sure Wi-Fi and Bluetooth is turned on the phone for wireless projection
to work.
4. When the phone is first connected to activate Apple CarPlay or Android Auto,
agree to the terms and conditions on
both the infotainment system and the
phone. 5. Follow the instructions on the phone.
The Android Auto and Apple CarPlay icons
on the Home Page will illuminate depending
on the smartphone. Android Auto and/or
Apple CarPlay may automatically launch
upon wireless connection. If not, touch the
Android Auto or Apple CarPlay icon on the
Home Page to launch.
Wireless CarPlay and/or Wireless Android
Auto may experience occasional service
disruption due to outside Wi-Fi interference.
To disconnect the phones wireless
projection: 1. Select the Settings icon from the Home Page or the Settings icon on the shortcut
tray near the left of the display.
2. Select Connections.
3. Touch Phones.
4. Touch Option on the phone card to show the cell phone’s or mobile device’s
settings.
5. Touch disconnect.
Press
{on the center stack to return to the
Home Page. Features are subject to change. For further
information on how to set up Android Auto
and Apple CarPlay in the vehicle, visit your
brand website. See
Online Account0332 for
details.
Android Auto is provided by Google and is
subject to Google’s terms and privacy policy.
Apple CarPlay is provided by Apple and is
subject to Apple’s terms and privacy policy.
Data plan rates apply. For Android Auto
support and to see if your phone is
compatible, see https:/www.android.com/
auto/compatability. For Apple CarPlay
support and to see if your phone is
compatible, see www.apple.com/ios/
carplay/. Apple or Google may change or
suspend availability at any time. Google,
Android, Android Auto, Google Maps, and
other marks are trademarks of Google LLC.
Apple CarPlay is a trademark of Apple Inc.
Press
{on the center stack to exit Android
Auto or Apple CarPlay. To enter back into
Android Auto or Apple CarPlay, press and
hold
{on the center stack.
Page 152 of 362
Chevrolet Corvette Owner Manual (GMNA-Localizing-U.S./Canada/Mexico-
17272984) - 2024 - CRC - 2/20/23
Climate Controls 151
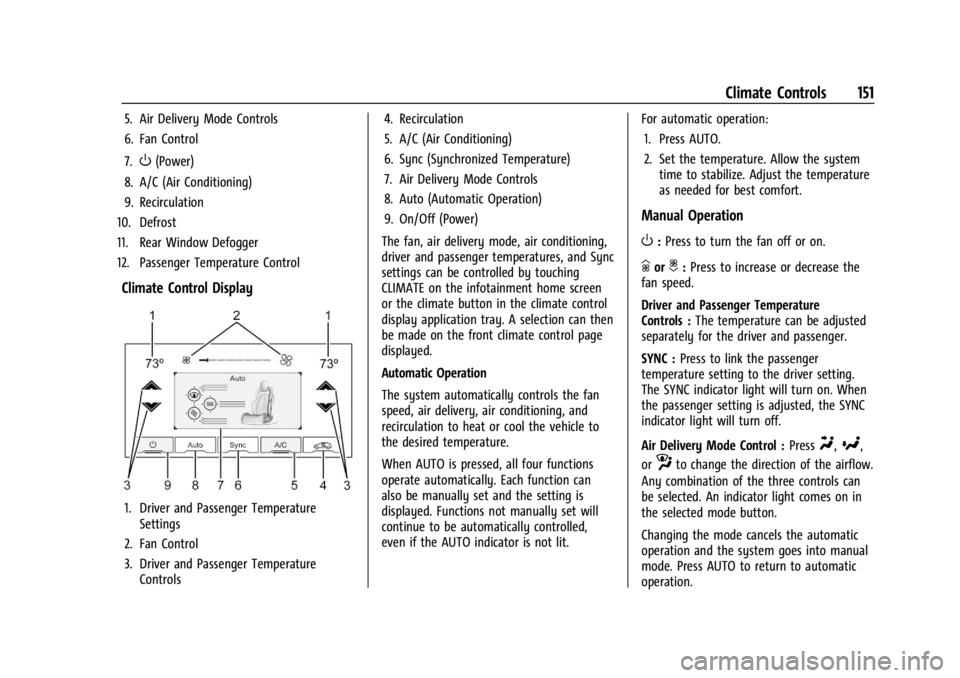
5. Air Delivery Mode Controls
6. Fan Control
7.
O(Power)
8. A/C (Air Conditioning)
9. Recirculation
10. Defrost
11. Rear Window Defogger
12. Passenger Temperature Control
Climate Control Display
1. Driver and Passenger Temperature Settings
2. Fan Control
3. Driver and Passenger Temperature Controls 4. Recirculation
5. A/C (Air Conditioning)
6. Sync (Synchronized Temperature)
7. Air Delivery Mode Controls
8. Auto (Automatic Operation)
9. On/Off (Power)
The fan, air delivery mode, air conditioning,
driver and passenger temperatures, and Sync
settings can be controlled by touching
CLIMATE on the infotainment home screen
or the climate button in the climate control
display application tray. A selection can then
be made on the front climate control page
displayed.
Automatic Operation
The system automatically controls the fan
speed, air delivery, air conditioning, and
recirculation to heat or cool the vehicle to
the desired temperature.
When AUTO is pressed, all four functions
operate automatically. Each function can
also be manually set and the setting is
displayed. Functions not manually set will
continue to be automatically controlled,
even if the AUTO indicator is not lit. For automatic operation:
1. Press AUTO.
2. Set the temperature. Allow the system time to stabilize. Adjust the temperature
as needed for best comfort.
Manual Operation
O:Press to turn the fan off or on.
hori:Press to increase or decrease the
fan speed.
Driver and Passenger Temperature
Controls : The temperature can be adjusted
separately for the driver and passenger.
SYNC : Press to link the passenger
temperature setting to the driver setting.
The SYNC indicator light will turn on. When
the passenger setting is adjusted, the SYNC
indicator light will turn off.
Air Delivery Mode Control : Press
Y,[,
or
zto change the direction of the airflow.
Any combination of the three controls can
be selected. An indicator light comes on in
the selected mode button.
Changing the mode cancels the automatic
operation and the system goes into manual
mode. Press AUTO to return to automatic
operation.