Page 59 of 372

593-1. CONTROLS
3
CONTROLS
Touch buttons with finger. Do
not wear gloves or use objects.
The button assignment is dis-
played at the top edge of
screen.
1Press and hold buttons 1 and
8 simultaneously for approx.
5 seconds.
2 "OK"
Most functions displayed on the
Control Display can be operated
by voice commands via the
voice activation system. The
system supports you with
announcements during input.
• Functions that can only be used when the vehicle is sta-
tionary can only be operated
via the voice activation sys-
tem to a limited extent.
• The system uses a special microphone on the driver's
side.
• ›...‹ in the Owner's Manual denotes verbal instructions to use with the voice activation
system.
• A language must be set via Toyota Supra Command that
is supported by the voice acti-
vation system. To set the lan-
guage, refer to page 63
• Always say commands in the language of the voice activa-
tion system.
1 Press the button on the
steering wheel.
2 Wait for the signal.
3 Say the command.
No other commands may be
available. In this case, operate
the function via Toyota Supra
Command.
Displaying the key assign-
ment
Deleting the button
assignments
Operation via voice
Concept
General information
Functional requirements
Using the voice activation
system
Activating the voice activa-
tion system
This symbol indicates that
the voice activation sys-
tem is active.
Terminating the voice activa-
tion system
Press the button on the
steering wheel or ›Can-
cel‹.
Page 66 of 372

663-1. CONTROLS
This chapter describes all stan-
dard, country-specific and
optional features offered with
the series. It also describes fea-
tures that are not necessarily
available in your vehicle, for
instance, due to the selected
options or country versions. This
also applies to safety-related
functions and systems. When
using these functions and sys-
tems, the applicable laws and
regulations must be observed.
The vehicle offers different func-
tions, whose use requires a data
transfer to Toyota or a service
provider. The data transfer can
be deactivated for some func-
tions.
With data transfer deactivated,
the respective function cannot
be used.
Only make these settings while
stationary.Follow the instructions on the
Control Display.
Via Toyota Supra Command:
1
"My Vehicle"
2 "System settings"
3 "Data privacy"
4 Select the desired setting.
Depending on the usage, the
vehicle stores personal data,
such as stored radio stations.
This personal data can be per-
manently deleted using Toyota
Supra Command.
Depending on the equipment
package, the following data can
be deleted:
• Driver profile settings.
• Stored radio stations.
• Stored programmable mem- ory buttons.
• Travel and Onboard Com- puter information.
• Music hard disc.
• Navigation, for instance stored destinations.
• Phone book.
• Online data, for instance Favorites, cookies.
Personal settings
Vehicle features and
options
Data protection
Data transfer
Concept
General information
Activating/deactivating
Deleting personal data in
the vehicle
Concept
General information
Page 87 of 372
873-1. CONTROLS
3
CONTROLS
under the cover and push the
cover out.
Use the thumb for counter support
to prevent the cover from falling out
of the door handle.
3 Remove the cover.
4 Unlock or lock the door lock
using the integrated key.
The other doors must be
unlocked or locked from the
inside.
The activated alarm system is
triggered when the door is
opened, if the vehicle has been
unlocked via the door lock.
The alarm system is not
switched on if the vehicle is
locked with the integrated key. In the event of a severe acci-
dent, the vehicle is automatically
unlocked. The hazard warning
system and interior lights come
on.
Buttons for the central locking
system.
• The fuel filler flap remains
unlocked.
• The vehicle is not secured against theft when locking.
Alarm system
Buttons for the central
locking system
General information
Overview
Locking
Press the button with the
front doors closed.
Unlocking
Press the button.
Page 111 of 372

1113-1. CONTROLS
3
CONTROLS
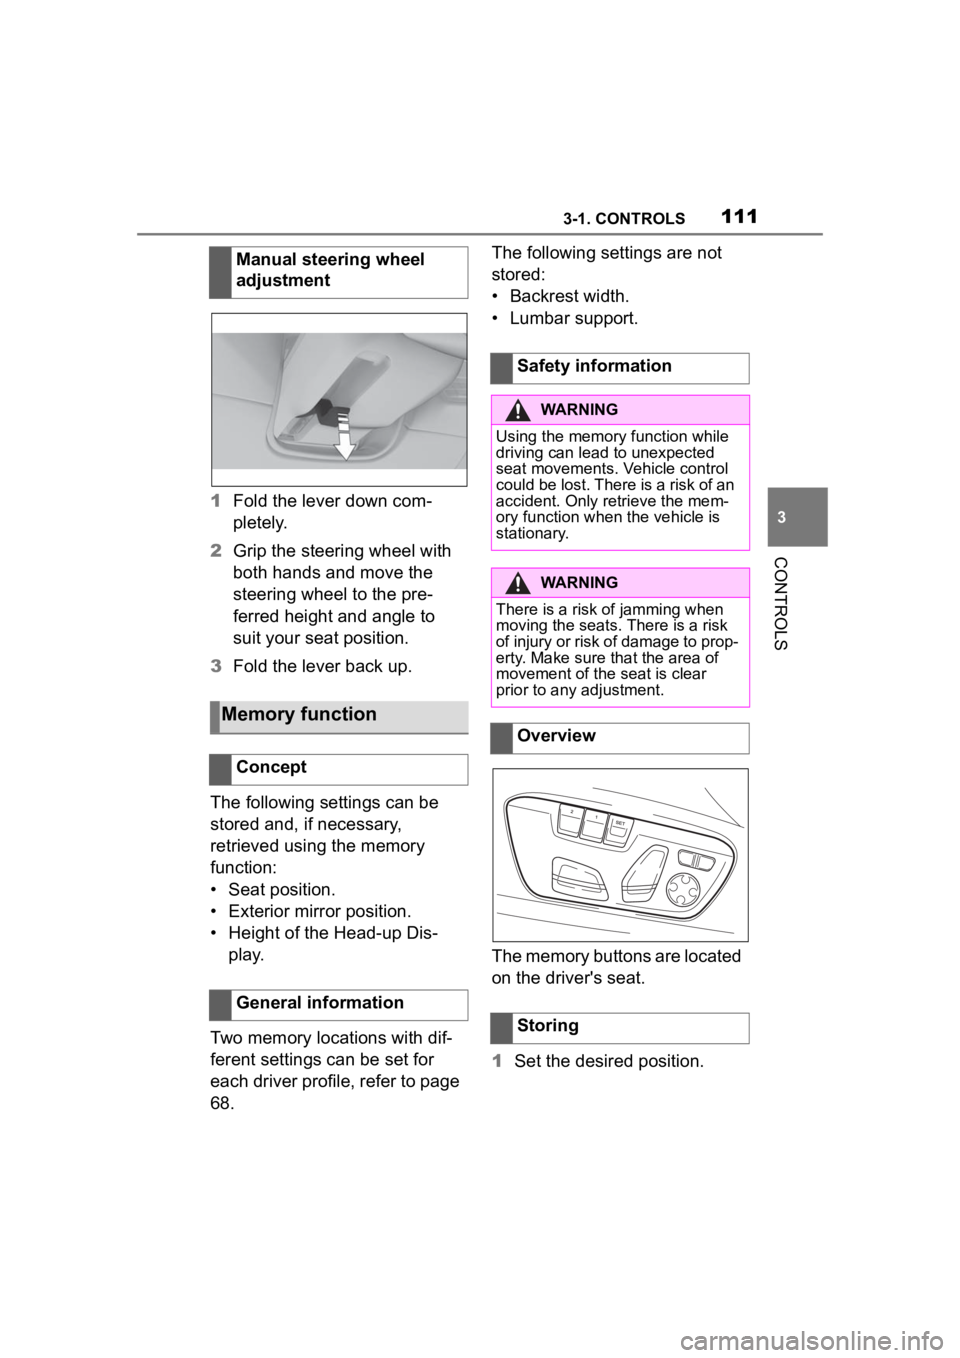
1Fold the lever down com-
pletely.
2 Grip the steering wheel with
both hands and move the
steering wheel to the pre-
ferred height and angle to
suit your seat position.
3 Fold the lever back up.
The following settings can be
stored and, if necessary,
retrieved using the memory
function:
• Seat position.
• Exterior mirror position.
• Height of the Head-up Dis- play.
Two memory locations with dif-
ferent settings can be set for
each driver profile, refer to page
68. The following settings are not
stored:
• Backrest width.
• Lumbar support.
The memory buttons are located
on the driver's seat.
1
Set the desired position.
Manual steering wheel
adjustment
Memory function
Concept
General information
Safety information
WARNING
Using the memory function while
driving can lead to unexpected
seat movements. Vehicle control
could be lost. There is a risk of an
accident. Only retrieve the mem-
ory function when
the vehicle is
stationary.
WARNING
There is a risk of jamming when
moving the seats. There is a risk
of injury or risk of damage to prop-
erty. Make sure that the area of
movement of the seat is clear
prior to any adjustment.
Overview
Storing
Page 112 of 372
1123-1. CONTROLS
2 Press the button. The
writing on the button lights
up.
3 Press desired button 1 or 2
while the LED is lit. A signal
sounds.
The stored position is called up
automatically.
Press the desired button 1 or 2.
The stored position is called up.
The procedure stops when a
switch for setting the seat is
pressed or one of the memory
buttons is pressed again.
While driving, the seat position
adjustment on the driver's side
is interrupted after a short time.
*: if equipped
Press the button
once for each temperature level.
The maximum temperature is
reached when three LEDs are
lit.
Press and hold
the button until the LEDs go out.
Calling up settings
Seat heating*
Overview
Seat heating
Switching on
Switching off
Page 149 of 372

1493-1. CONTROLS
3
CONTROLS
Items displayed may differ
depending on the specifications
of the vehicle.
The lists can be displayed and
operated using the buttons on
the steering wheel.
The Onboard Computer dis-
plays different vehicle data in
the instrument cluster, such as average values.
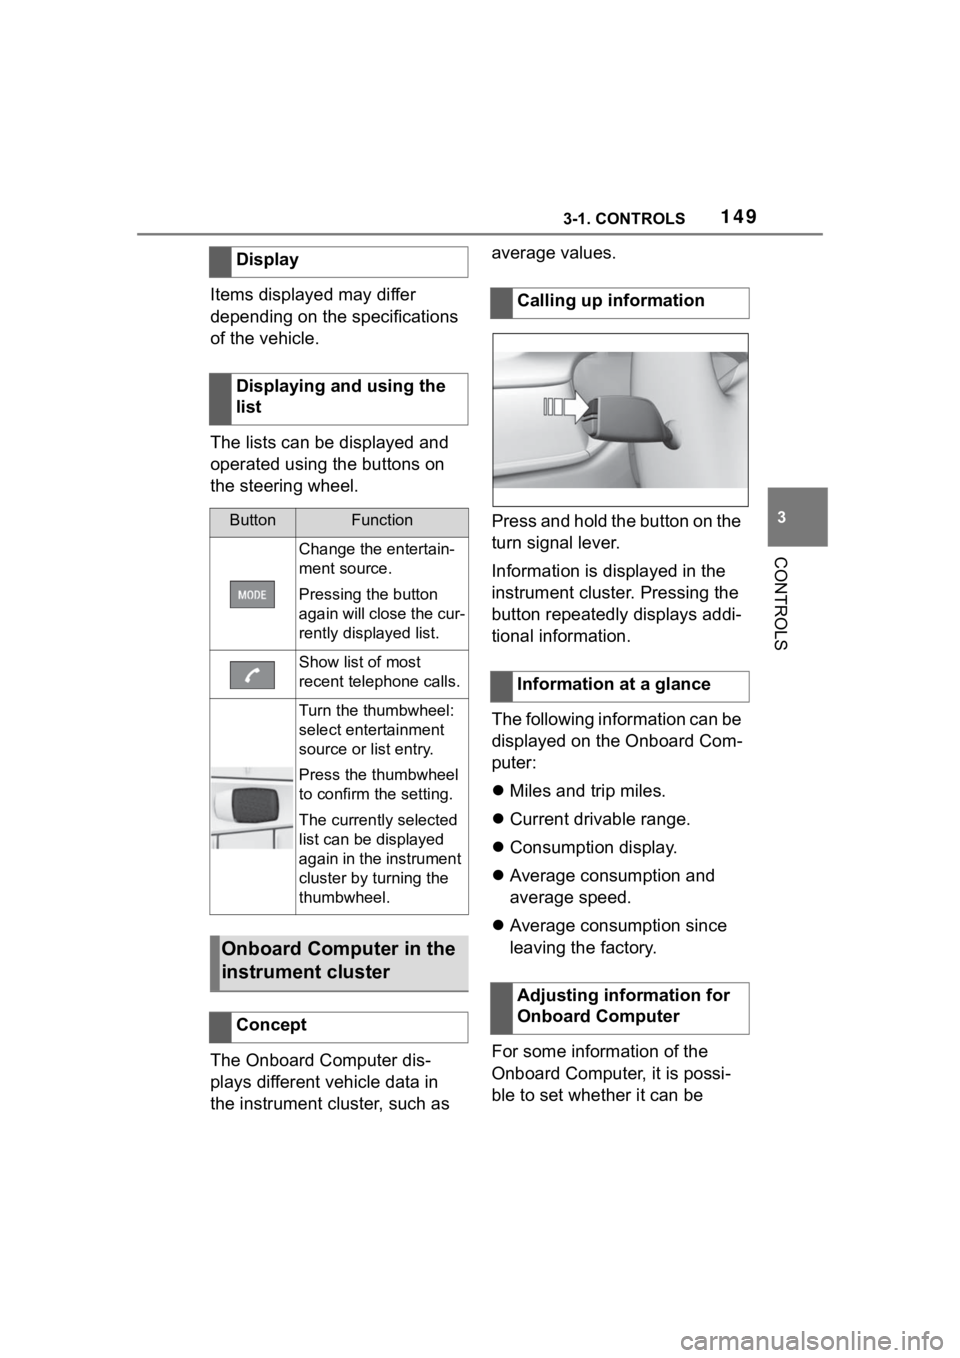
Press and hold the button on the
turn signal lever.
Information is displayed in the
instrument cluster. Pressing the
button repeatedly displays addi-
tional information.
The following information can be
displayed on the Onboard Com-
puter:
Miles and trip miles.
Current drivable range.
Consumption display.
Average consumption and
average speed.
Average consumption since
leaving the factory.
For some information of the
Onboard Computer, it is possi-
ble to set whether it can be
Display
Displaying and using the
list
ButtonFunction
Change the entertain-
ment source.
Pressing the button
again will close the cur-
rently displayed list.
Show list of most
recent telephone calls.
Turn the thumbwheel:
select entertainment
source or list entry.
Press the thumbwheel
to confirm the setting.
The currently selected
list can be displayed
again in the instrument
cluster by turning the
thumbwheel.
Onboard Computer in the
instrument cluster
Concept
Calling up information
Information at a glance
Adjusting information for
Onboard Computer
Page 162 of 372
1623-1. CONTROLS
mal crossings.
In tight curves, on hilltops or
in depressions, in crossing
traffic or half-obscured
oncoming traffic on highways.
In poorly-lit towns and cities
or in the presence of highly
reflective signs.
When the windshield in front
of the interior mirror is fogged
over, dirty or covered with
stickers, etc.
The parking lights or low beams
must be switched on to adjust
the brightness.
Depending on the equipment
version, interior lights, footwell
lights and door entry lighting are
automatically controlled. To switch off permanently: press
the button and hold for approx. 3
seconds.
Instrument lighting
Functional requirement
Settings
Adjust the brightness
with the thumbwheel.
Interior lights
General information
Overview
Buttons in the vehicle
Interior lights
Reading lights
Switching the interior
lights on/off
Press the button.
Switching the reading
lights on/off
Press the button.
Page 180 of 372

1803-1. CONTROLS
The following settings are
switched between:
"ALL ON": all Toyota Supra
Safety systems are switched on.
Basic settings are activated for
the subfunctions.
"Customize": the Toyota Supra
Safety systems are switched on
according to the individual set-
tings.
Some Toyota Supra Safety sys-
tems cannot be individually
switched off.
All Toyota Supra Safety systems
are switched off.
Via Toyota Supra Command:
1"My Vehicle"
2 "Vehicle settings" 3
"Toyota Supra Safety"
4 "Front collision warning"
5 Select desired setting:
"early"
"medium"
"late": only acute warnings
are displayed.
A warning symbol appears in
the instrument cluster and in the
Head-up Display, where avail-
able, if a collision with a
detected vehicle is imminent.
This warning is provided, for
instance when there is impend-
ing danger of a collision or the
distance to the vehicle ahead is
too small.
Press and hold this button.
ButtonStatus
Indicator lights up
green: all Toyota Supra
Safety systems are
switched on.
Indicator lights up
orange: some Toyota
Supra Safety systems
are switched off or cur-
rently unavailable.
Indicator does not light
up: all Toyota Supra
Safety systems are
switched off.
Setting the warning time
Warning with braking
function
Display
SymbolMeasure
Symbol lights up red:
prewarning.
Brake and increase dis-
tance.
Symbol flashes red and
an acoustic signal
sounds: acute warning.
Brake and make an
evasive maneuver, if
necessary.
Prewarning