Page 323 of 552

3235-1. Using the air conditioning system and defogger
5
Interior features
■Adjusting the temperature
setting
Turn driver’s side temperature
control switch clockwise to
increases the temperature and
turn the switch counterclockwise
to decreases the temperature.
If “A/C” switch is not pressed, the
system will blow a mbient tempera-
ture air or heated air.
The temperature for the driver,
front passenger and rear seats
can be adjusted separately
when:
“SYNC” control knob is
moved upward or downward.
(The “PASS” and “REAR” dis-
plays disappear)
The passenger’s side tem-
perature control switch is
turned. (The “PASS” display
disappears)
The rear seat temperature
control knob is moved upward
or downward. (The “REAR”
display disappears)
To switch the air c onditioning sys-
tem between individual and simul-
taneous modes, move “SYNC”
control knob upward or downward.
■Setting the fan speed
To set the fan speed, move the
fan speed control knob upward
or downward.
Upward: Increases the fan speed
Downward: Decreases the fan
speed
Pressing the “OFF” switch turns off the fan.
■Change the airflow mode
To change the airflow mode,
move the airflow mode control
knob upward or downward.
1 Upper body
2 Upper body and feet
3 Feet
4 Feet and the windshield
defogger operates
■Switching between outside
air and recirculated air
modes
Press the outside/recirculated
air mode switch.
The mode switches between out-
side air mode and recirculated air
mode each time the switch is oper-
ated.
When recirculated air mode is
selected, the indicator illuminates
on the outside/recirculated air
mode switch.
Page 326 of 552

3265-1. Using the air conditioning system and defogger
■When an odor comes from the
air conditioning system while
the engine is stopped due to the
Stop & Start system (vehicles
with Stop & Start system)
Press the Stop & Start cancel switch
to restart the engine.
■Air conditioning filter
P. 4 0 8
■Air conditioning system refrig-
erant
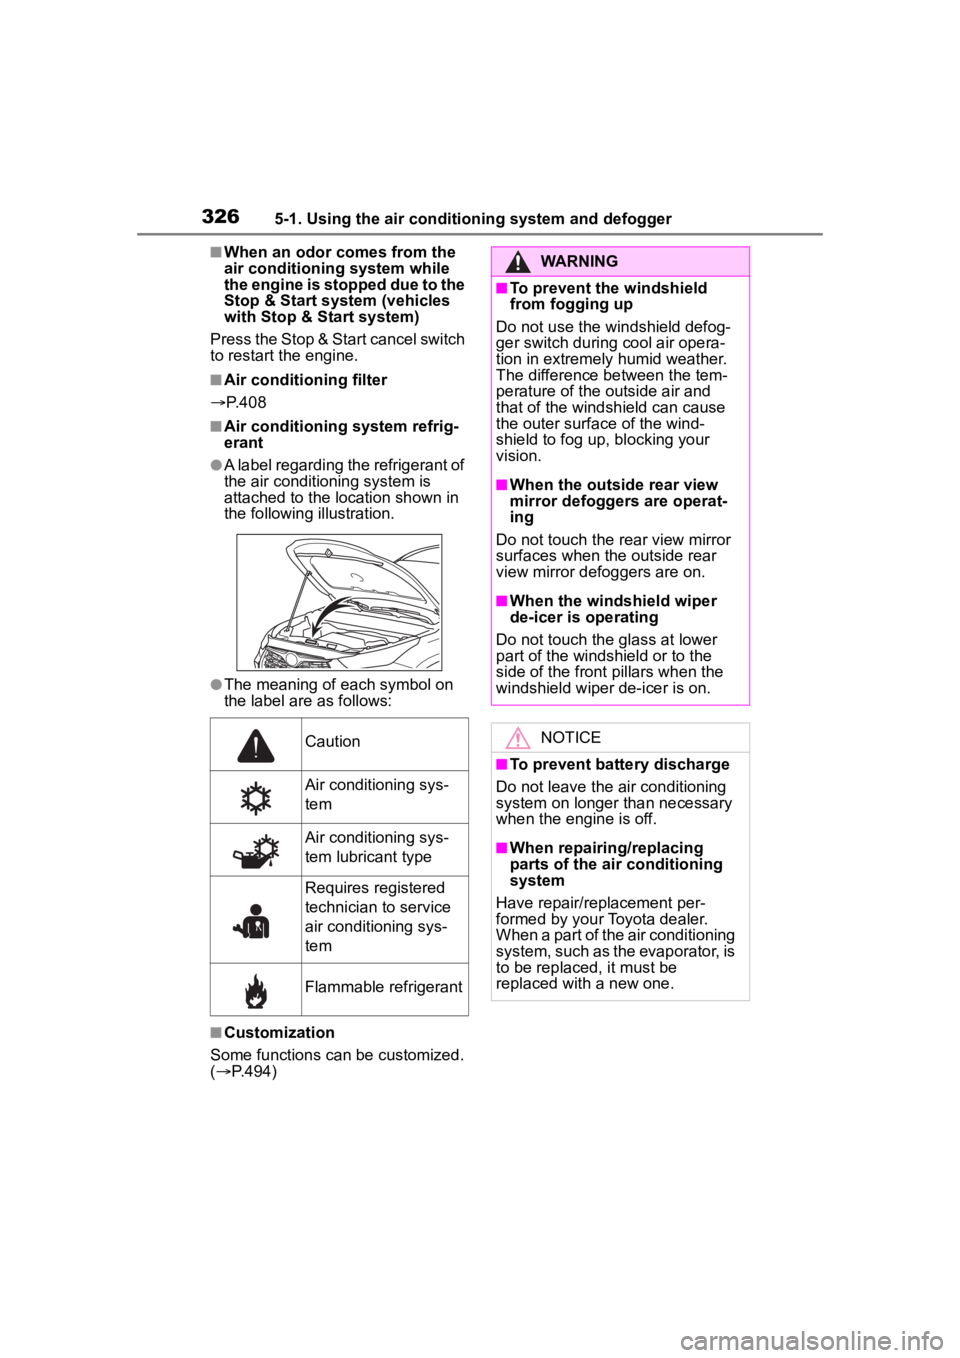
●A label regarding the refrigerant of
the air conditioning system is
attached to the location shown in
the following illustration.
●The meaning of each symbol on
the label are as follows:
■Customization
Some functions can be customized.
( P.494)
Caution
Air conditioning sys-
tem
Air conditioning sys-
tem lubricant type
Requires registered
technician to service
air conditioning sys-
tem
Flammable refrigerant
WARNING
■To prevent the windshield
from fogging up
Do not use the windshield defog-
ger switch during cool air opera-
tion in extremely humid weather.
The difference between the tem-
perature of the outside air and
that of the windshield can cause
the outer surface of the wind-
shield to fog up, blocking your
vision.
■When the outside rear view
mirror defoggers are operat-
ing
Do not touch the rear view mirror
surfaces when the outside rear
view mirror def oggers are on.
■When the windshield wiper
de-icer is operating
Do not touch the glass at lower
part of the windshield or to the
side of the front p illars when the
windshield wiper de-icer is on.
NOTICE
■To prevent battery discharge
Do not leave the air conditioning
system on longer than necessary
when the engine is off.
■When repairing/replacing
parts of the air conditioning
system
Have repair/replacement per-
formed by your Toyota dealer.
When a part of the air conditioning
system, such as the evaporator, is
to be replaced, it must be
replaced with a new one.
Page 338 of 552
3385-2. Using the interior lights
■Front interior lights
1 Turns the lights on/off linked
to door positions
2 Turns the lights on
3 Turns the lights off
■Rear interior lights
1 Turns the door position on
The rear interior light turns on/off
together the front interior lights.
When a door is opened while the
front and rear interior light door
position is on, the lights turn on.
2Turns the light on
■Front personal lights
Turns the lights on/off
■Rear personal lights
Turns the lights on/off
Vehicles without panoramic
moon roof
Vehicles with panoramic
moon roof
■Illuminated entry system
The lights automatically turn on/off
according to the engine switch
mode, the presence of the elec-
tronic key, whether the doors are
locked/unlocked, and whether the
doors are opened/closed.
Operating the interior
lights
Operating the personal
lights
Page 341 of 552
3415-3. Using the storage features
5
Interior features
1Unlock with the mechanical
key
2 Lock with the mechanical key
3 Open (pull lever)
■Glove box light
The glove box light turns on when
the tail lights are on.
Push the tab and slide the con-
sole box lid.
■Tray inside console box
The tray can be slid forward/back-
ward.
Front seats
Second seats (8-seat models)
Pull the armrest down.
WARNING
■When storage compartments
are not in use
When driving or when the storage
compartments are not in use,
keep the lids closed.
In the event of sudden braking or
sudden swerving, an accident
may occur due to an occupant
being struck by an open lid or the
items stored inside.
Glove box
Console box
Cup holders
Page 346 of 552
3465-3. Using the storage features
2Press the lock release but-
tons to extend the ends of the
luggage cover unit.
3 To install the luggage cover
unit, with the lock release
buttons facing upward, insert
one end into the recess, then
compress the other end and
insert it into the other recess.
4 Pull out the luggage cover
and hook it onto the anchors.■Removing the luggage
cover
1 Release the cover from the
left and right anchors and
allow it to retract.
2 Compress the end of the lug-
gage cover and lift the lug-
gage cover up.
■Stowing the luggage cover
(vehicles without side deck
board)
1 Remove the center deck
board. ( P.449)
2 To store the luggage cover
unit, compress both ends
until they lock.
Store the unit with the lock release
buttons facing up and the cover
portion facing the rear of the vehi-
Page 347 of 552

3475-3. Using the storage features
5
Interior features
cle.
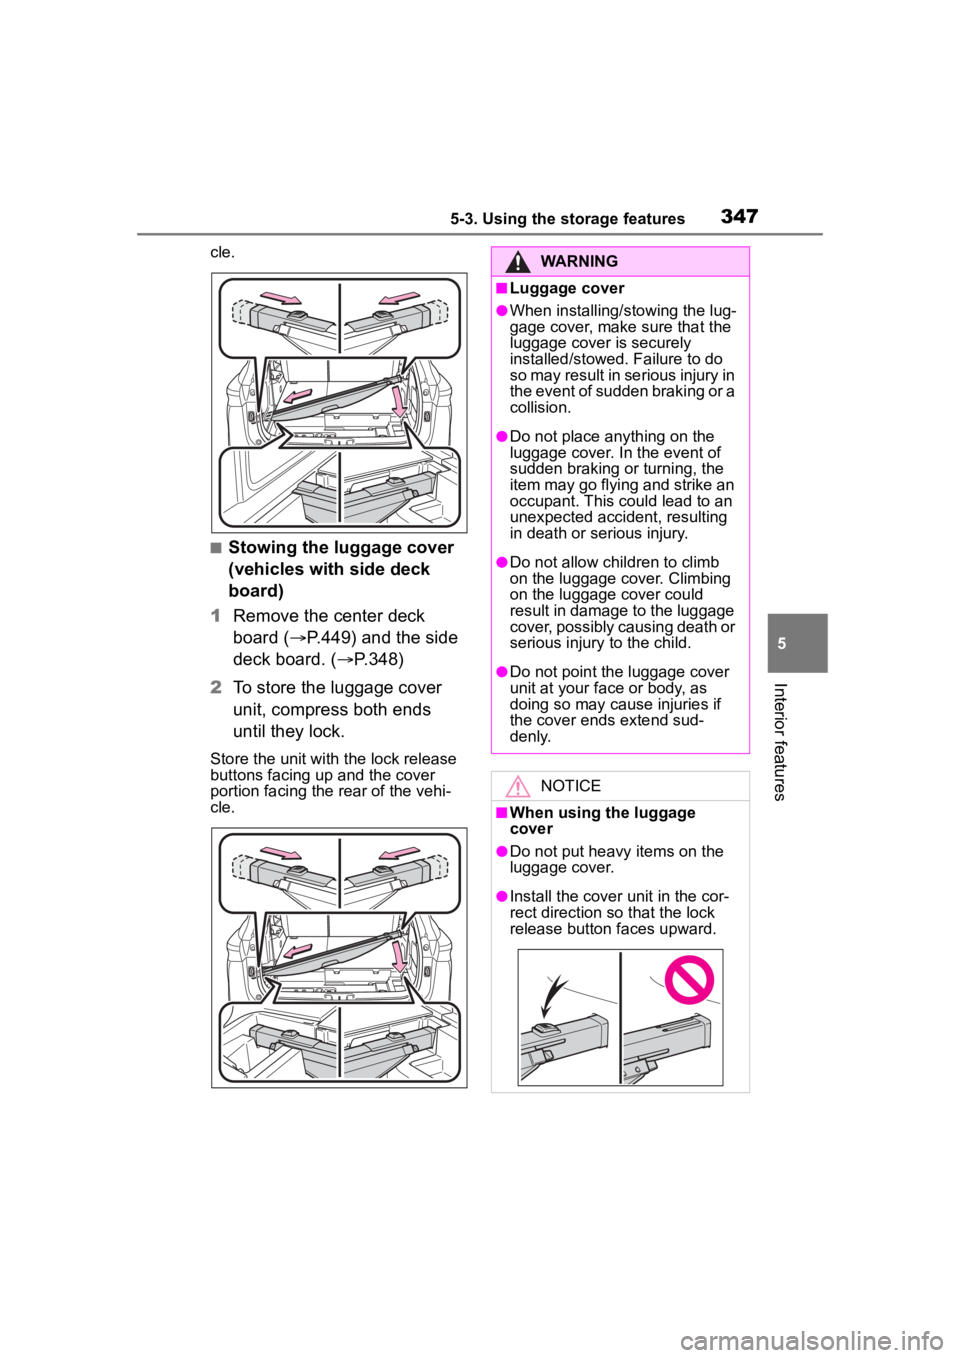
■Stowing the luggage cover
(vehicles with side deck
board)
1 Remove the center deck
board ( P.449) and the side
deck board. ( P.348)
2 To store the luggage cover
unit, compress both ends
until they lock.
Store the unit wit h the lock release
buttons facing up and the cover
portion facing the rear of the vehi-
cle.
WARNING
■Luggage cover
●When installing/stowing the lug-
gage cover, make sure that the
luggage cover is securely
installed/stowed. Failure to do
so may result in serious injury in
the event of sudden braking or a
collision.
●Do not place anything on the
luggage cover. In the event of
sudden braking or turning, the
item may go flying and strike an
occupant. This could lead to an
unexpected accident, resulting
in death or serious injury.
●Do not allow children to climb
on the luggage cover. Climbing
on the luggage cover could
result in damage to the luggage
cover, possibly causing death or
serious injury to the child.
●Do not point the luggage cover
unit at your face or body, as
doing so may cause injuries if
the cover ends extend sud-
denly.
NOTICE
■When using the luggage
cover
●Do not put heavy items on the
luggage cover.
●Install the cover unit in the cor-
rect direction so that the lock
release button faces upward.
Page 360 of 552

3605-4. Using the other interior features
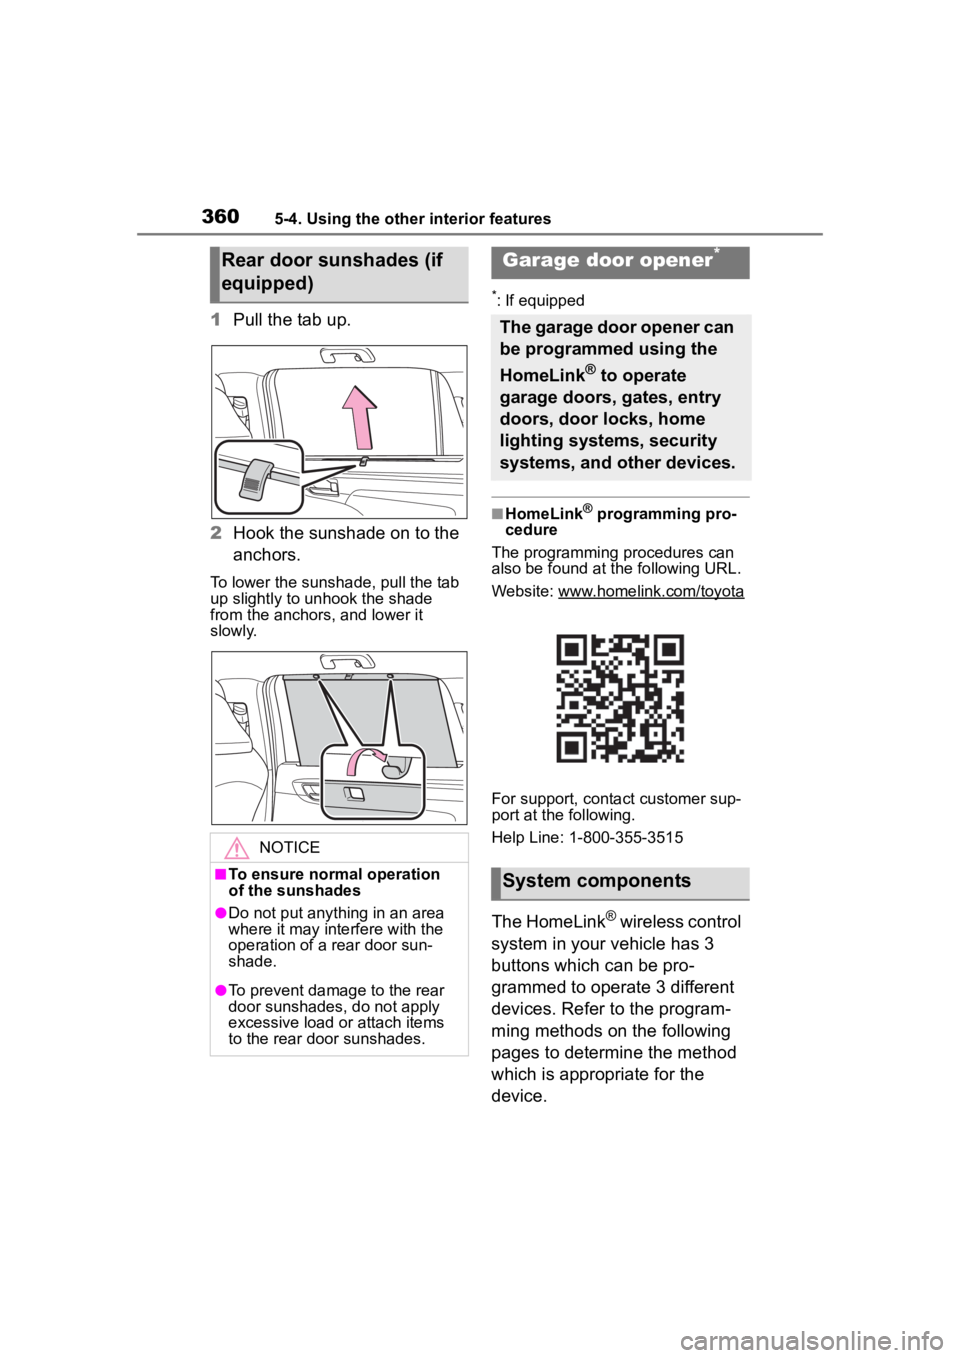
1Pull the tab up.
2 Hook the sunshade on to the
anchors.
To lower the sunshade, pull the tab
up slightly to unhook the shade
from the anchors, and lower it
slowly.
*: If equipped
■HomeLink® programming pro-
cedure
The programming procedures can
also be found at the following URL.
Website: www.homelink.com/toyota
For support, contact customer sup-
port at the following.
Help Line: 1-800-355-3515
The HomeLink® wireless control
system in your vehicle has 3
buttons which can be pro-
grammed to operate 3 different
devices. Refer to the program-
ming methods on the following
pages to determine the method
which is appropriate for the
device.
Rear door sunshades (if
equipped)
NOTICE
■To ensure normal operation
of the sunshades
●Do not put anything in an area
where it may interfere with the
operation of a rear door sun-
shade.
●To prevent damage to the rear
door sunshades, do not apply
excessive load or attach items
to the rear door sunshades.
Garage door opener*
The garage door opener can
be programmed using the
HomeLink
® to operate
garage doors, gates, entry
doors, door locks, home
lighting systems, security
systems, and other devices.
System components
Page 370 of 552

3706-1. Maintenance and care
6-1.Maintenance and care
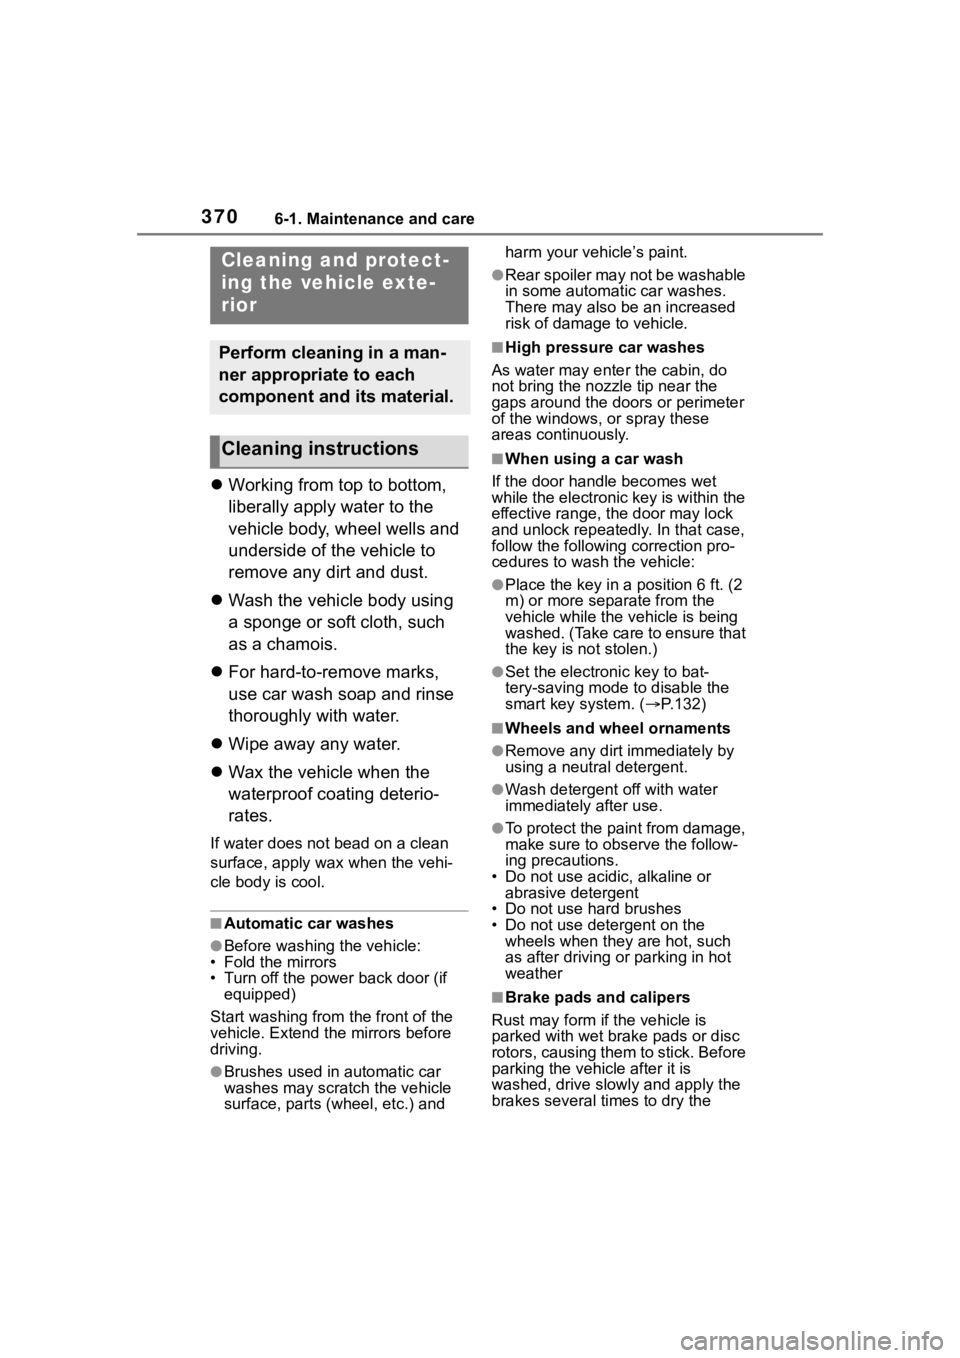
Working from top to bottom,
liberally apply water to the
vehicle body, wheel wells and
underside of the vehicle to
remove any dirt and dust.
Wash the vehicle body using
a sponge or soft cloth, such
as a chamois.
For hard-to-remove marks,
use car wash soap and rinse
thoroughly with water.
Wipe away any water.
Wax the vehicle when the
waterproof coating deterio-
rates.
If water does not bead on a clean
surface, apply wax when the vehi-
cle body is cool.
■Automatic car washes
●Before washing the vehicle:
• Fold the mirrors
• Turn off the power back door (if equipped)
Start washing from the front of the
vehicle. Extend the mirrors before
driving.
●Brushes used in automatic car
washes may scratch the vehicle
surface, parts (wheel, etc.) and harm your vehicle’s paint.
●Rear spoiler may not be washable
in some automatic car washes.
There may also be an increased
risk of damage to vehicle.
■High pressure car washes
As water may enter the cabin, do
not bring the nozzle tip near the
gaps around the doors or perimeter
of the windows, or spray these
areas continuously.
■When using a car wash
If the door handle becomes wet
while the electronic key is within the
effective range, the door may lock
and unlock repeatedly. In that case,
follow the following correction pro-
cedures to wash the vehicle:
●Place the key in a position 6 ft. (2
m) or more separate from the
vehicle while the vehicle is being
washed. (Take care to ensure that
the key is not stolen.)
●Set the electronic key to bat-
tery-saving mode to disable the
smart key system. ( P.132)
■Wheels and wheel ornaments
●Remove any dirt immediately by
using a neutral detergent.
●Wash detergent off with water
immediately after use.
●To protect the paint from damage,
make sure to obs erve the follow-
ing precautions.
• Do not use acidic, alkaline or abrasive detergent
• Do not use hard brushes
• Do not use detergent on the
wheels when they are hot, such
as after driving or parking in hot
weather
■Brake pads and calipers
Rust may form if the vehicle is
parked with wet brake pads or disc
rotors, causing them to stick. Before
parking the vehicle after it is
washed, drive slo wly and apply the
brakes several times to dry the
Cleaning and protect-
ing the vehicle exte-
rior
Perform cleaning in a man-
ner appropriate to each
component and its material.
Cleaning instructions