2023 TOYOTA COROLLA HYBRID wheel
[x] Cancel search: wheelPage 306 of 496

3066-1. Maintenance and care
Remove dirt using a
water-dampened soft cloth or
synthetic chamois.
Wipe the surface with a dry,
soft cloth to remove any
remaining moisture.
■Cleaning the areas with
satin-finish metal accents
The metal areas use a layer of real
metal for the surface. It is necessary
to clean them regularly. If dirty areas
are left uncleaned for long periods
of time, they may be difficult to
clean.
Remove dirt and dust using a
vacuum cleaner.
Wipe off any excess dirt and
dust with a soft cloth damp-
ened with diluted detergent.
Use a diluted water solution of
approximately 5% neutral wool
NOTICE
• Seats: Alkaline or acidic solu-
tions, such as thinner, benzene,
and alcohol
• Steering wheel: Organic sub- stances, such as thinner, and
cleaner that contains alcohol
●Do not use polish wax or polish
cleaner. The instrument panel’s
or other interior part’s painted
surface may be damaged.
■Preventing damage to leather
surfaces
Observe the following precautions
to avoid damage to and deteriora-
tion of leather surfaces:
●Remove any dust or dirt from
leather surfaces immediately.
●Do not expose the vehicle to
direct sunlight for extended peri-
ods of time. Park the vehicle in
the shade, especially during
summer.
●Do not place items made of
vinyl, plastic, or containing wax
on the upholstery, as they may
stick to the leather surface if the
vehicle interior heats up signifi-
cantly.
■Water on the floor
Do not wash the vehicle floor with
water.
Vehicle systems such as the
audio system may be damaged if
water comes into contact with
electrical components such as the
audio system above or under the
floor of the vehicle. Water may
also cause the body to rust.
■When cleaning the inside of
the windshield
Do not allow glass cleaner to con-
tact the lens. Also, do not touch
the lens. (
P.202)
■Cleaning the inside of the rear
window
●Do not use glass cleaner to
clean the rear window, as this
may cause damage to the rear
window defogger heater wires
or antenna. Use a cloth damp-
ened with lukewarm water to
gently wipe the window clean.
Wipe the window in strokes run-
ning parallel to the heater wires
or antenna.
●Be careful not to scratch or
damage the heater wires or
antenna.
Cleaning the areas with
satin-finish metal accents
Cleaning the leather areas
Page 311 of 496

3116-2. Maintenance
6
Maintenance and care
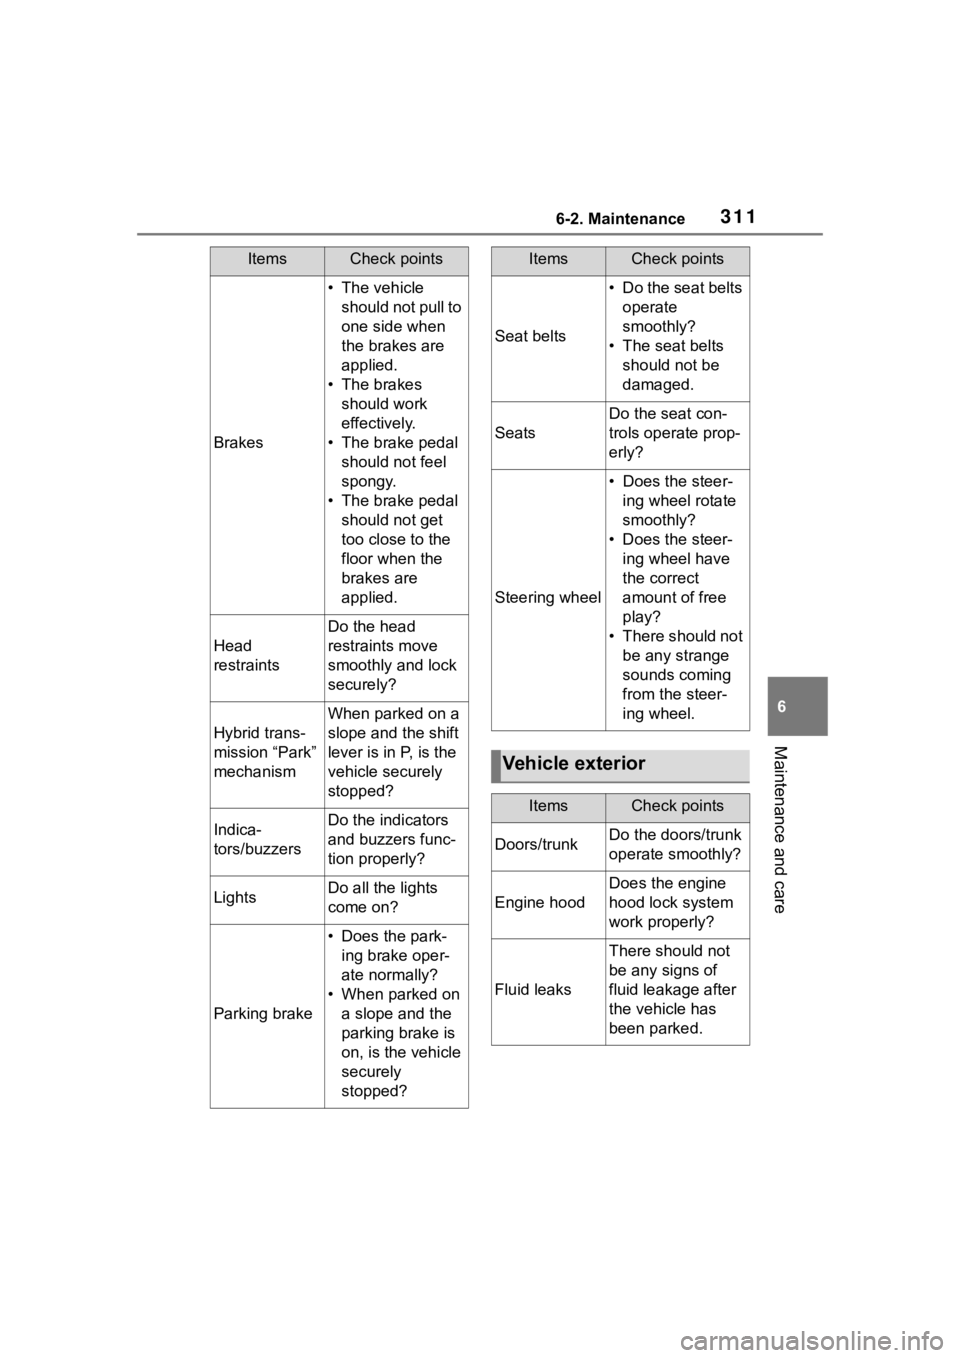
Brakes
• The vehicle should not pull to
one side when
the brakes are
applied.
• The brakes should work
effectively.
• The brake pedal should not feel
spongy.
• The brake pedal should not get
too close to the
floor when the
brakes are
applied.
Head
restraints
Do the head
restraints move
smoothly and lock
securely?
Hybrid trans-
mission “Park”
mechanism
When parked on a
slope and the shift
lever is in P, is the
vehicle securely
stopped?
Indica-
tors/buzzersDo the indicators
and buzzers func-
tion properly?
LightsDo all the lights
come on?
Parking brake
• Does the park-ing brake oper-
ate normally?
• When parked on a slope and the
parking brake is
on, is the vehicle
securely
stopped?
ItemsCheck points
Seat belts
• Do the seat belts operate
smoothly?
• The seat belts should not be
damaged.
Seats
Do the seat con-
trols operate prop-
erly?
Steering wheel
• Does the steer-ing wheel rotate
smoothly?
• Does the steer- ing wheel have
the correct
amount of free
play?
• There should not be any strange
sounds coming
from the steer-
ing wheel.
Vehicle exterior
ItemsCheck points
Doors/trunkDo the doors/trunk
operate smoothly?
Engine hood
Does the engine
hood lock system
work properly?
Fluid leaks
There should not
be any signs of
fluid leakage after
the vehicle has
been parked.
ItemsCheck points
Page 312 of 496

3126-2. Maintenance
The OBD system determines
that a problem exists some-
where in the emission control
system. Your vehicle may not
pass the I/M test and may need
to be repaired. Contact your
Toyota dealer to service the
vehicle.
When the 12-volt battery is
disconnected or discharged
Readiness codes that are set
during ordinary driving are erased.
Also, depending on your driving
habits, the readiness codes may
not be completely set.
When the fuel tank cap is
loose
Tires
• Is the tire infla-
tion pressure
correct?
• The tires should not be damaged
or excessively
worn.
• Have the tires been rotated
according to the
maintenance
schedule?
• The wheel nuts should not be
loose.
Windshield
wipers
• The wiper blades should not show
any signs of
cracking, split-
ting, wear, con-
tamination or
deformation.
• The wiper blades should clear the
windshield with-
out streaking or
skipping.
ItemsCheck pointsEmission inspection
and maintenance (I/M)
programs
Some states have vehicle
emission inspection pro-
grams which include OBD
(On Board Diagnostics)
checks. The OBD system
monitors the operation of
the emission control sys-
tem.
If the malfunction indica-
tor lamp comes on
Your vehicle may not pass
the I/M test in the follow-
ing situations:
Page 327 of 496

3276-3. Do-it-yourself maintenance
6
Maintenance and care
tires also have radial construction.
Do not install studded tires without
first checking local regulations for
possible restrictions. Snow tires
should be installed on all wheels.
( P.273)
■If the tread on snow tires wears
down below 0.16 in. (4 mm)
The effectiveness of the tires as
snow tires is lost.
■Checking the tire valves
When replacing the tires, check the
tire valves for deformation, cracks,
and other damage.
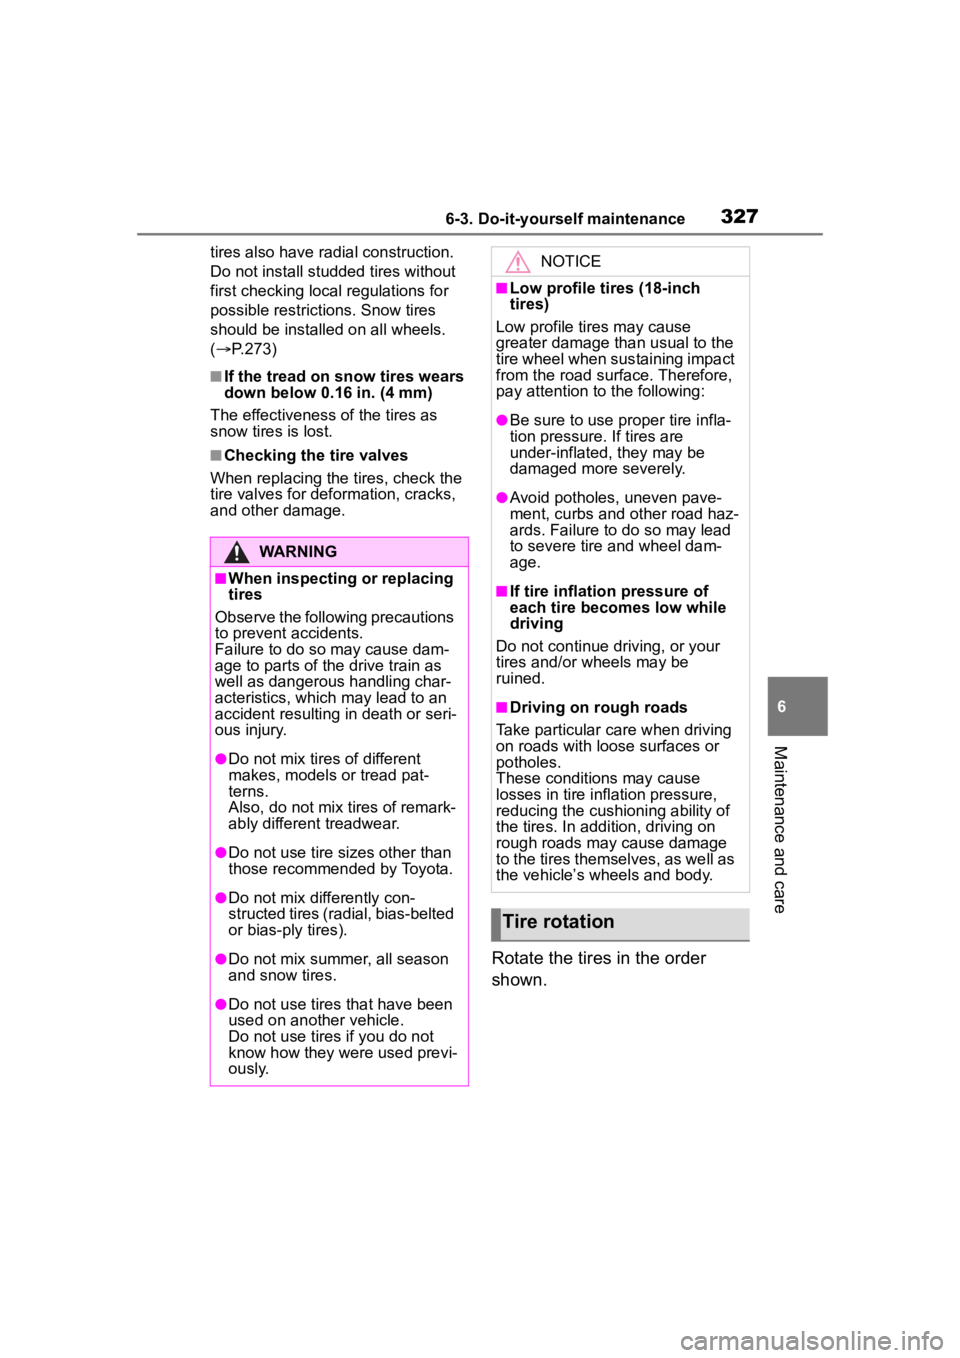
Rotate the tires in the order
shown.
WARNING
■When inspecting or replacing
tires
Observe the following precautions
to prevent accidents.
Failure to do so may cause dam-
age to parts of t he drive train as
well as dangerous handling char-
acteristics, which may lead to an
accident resulting in death or seri-
ous injury.
●Do not mix tires of different
makes, models or tread pat-
terns.
Also, do not mix tires of remark-
ably different treadwear.
●Do not use tire sizes other than
those recommended by Toyota.
●Do not mix differently con-
structed tires (radial, bias-belted
or bias-ply tires).
●Do not mix summer, all season
and snow tires.
●Do not use tires that have been
used on another vehicle.
Do not use tires if you do not
know how they were used previ-
ously.
NOTICE
■Low profile tires (18-inch
tires)
Low profile tires may cause
greater damage than usual to the
tire wheel when sustaining impact
from the road surface. Therefore,
pay attention to the following:
●Be sure to use proper tire infla-
tion pressure. If tires are
under-inflated, they may be
damaged more severely.
●Avoid potholes, uneven pave-
ment, curbs and other road haz-
ards. Failure to do so may lead
to severe tire a nd wheel dam-
age.
■If tire inflation pressure of
each tire becomes low while
driving
Do not continue driving, or your
tires and/or wheels may be
ruined.
■Driving on rough roads
Take particular care when driving
on roads with loose surfaces or
potholes.
These conditions may cause
losses in tire inflation pressure,
reducing the cushioning ability of
the tires. In addition, driving on
rough roads may cause damage
to the tires themselves, as well as
the vehicle’s wheels and body.
Tire rotation
Page 329 of 496

3296-3. Do-it-yourself maintenance
6
Maintenance and care
4Press or to select
“Vehicle Settings” and then
press and hold .
5 Press or to select
“TPWS setting” and then
press .
6 Press or to select
“Pressure unit setting”.
7 Press or to select the
desired unit and then press
.
7-inch display
1 Park the vehicle in a safe
place and turn the power
switch off.
Changing the unit cannot be per-
formed while the vehicle is moving.
2Turn the power switch to ON.
3 Select of the multi-infor-
mation display and then
press .
4 Press or to select
“Vehicle Settings” and then
press and hold .
5 Press or to select
“TPWS setting” and then
press .
6 Press or to select
“Pressure unit setting”. 7
Press or to select the
desired unit and then press
.
■Routine tire inflation pressure
checks
The tire pressure warning system
does not replace routine tire inflation
pressure checks . Make sure to
check tire inflation pressure as part
of your routine o f daily vehicle
checks.
■Tire inflation pressure
●It may take a few minutes to dis-
play the tire inflation pressure
after the power switch is turned to
ON. It may also take a few min-
utes to display the tire inflation
pressure after infl ation pressure
has been adjusted.
●Tire inflation pressure changes
with temperature.
The displayed values may also be
different from the values mea-
sured using a tire pressure gauge.
■Situations in which the tire
pressure warning system may
not operate properly
●In the following cases, the tire
pressure warning system may not
operate properly.
• If non-genuine Toyota wheels are used.
• A tire has been replaced with a
tire that is not an OE (Original
Equipment) tire.
• A tire has been replaced with a
tire that is not of the specified size.
• Tire chains, etc. are equipped.
• An auxiliary-support ed run-flat tire
is equipped.
• If a window tint that affects the radio wave signals is installed.
• If there is a lot of snow or ice on the vehicle, particularly around the
wheels or wheel housings.
• If the tire inflation pressure is extremely higher than the speci-
fied level.
Page 330 of 496

3306-3. Do-it-yourself maintenance
• If tires not equipped with tire pres-
sure warning valves and transmit-
ters are used.
• If the ID code on the tire pressure warning valves and transmitters is
not registered in the tire pressure
warning computer.
●Performance may be affected in
the following situations.
• Near a TV tower, electric power plant, gas station, radio station,
large display, airpo rt or other facil-
ity that generates strong radio
waves or electrical noise.
• When carrying a portable radio, cellular phone, cordless phone or
other wireless communication
device.
●When the vehicle is parked, the
time taken for the warning to start
or go off could be extended.
●When tire inflation pressure
declines rapidly for example when
a tire has burst, the warning may
not function.
■Warning performance of the tire
pressure warning system
The warning of the tire pressure
warning system will change in
accordance with driving conditions.
For this reason, the system may
give a warning even if the tire pres-
sure does not reach a low enough
level, or if the p ressure is higher
than the pressure that was adjusted
to when the system was initialized.
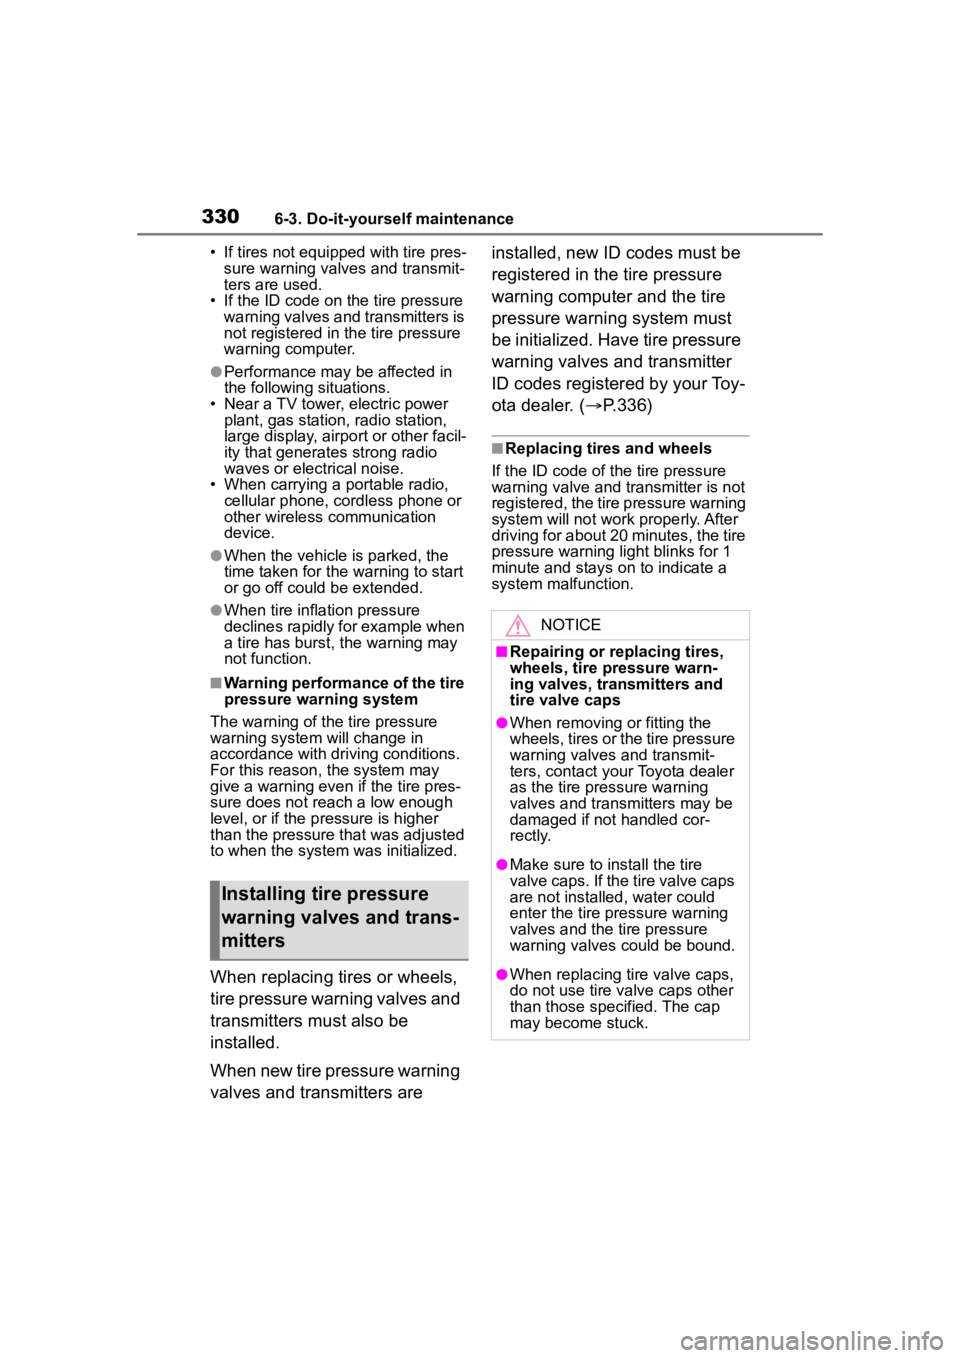
When replacing tires or wheels,
tire pressure warning valves and
transmitters must also be
installed.
When new tire pressure warning
valves and transmitters are installed, new ID codes must be
registered in the tire pressure
warning computer and the tire
pressure warning system must
be initialized. Have tire pressure
warning valves and transmitter
ID codes registered by your Toy-
ota dealer. (
P.336)
■Replacing tires and wheels
If the ID code of the tire pressure
warning valve and tr ansmitter is not
registered, the tire pressure warning
system will not work properly. After
driving for about 20 minutes, the tire
pressure warning light blinks for 1
minute and stays on to indicate a
system malfunction.
Installing tire pressure
warning valves and trans-
mitters
NOTICE
■Repairing or replacing tires,
wheels, tire pressure warn-
ing valves, transmitters and
tire valve caps
●When removing or fitting the
wheels, tires or the tire pressure
warning valves and transmit-
ters, contact your Toyota dealer
as the tire pressure warning
valves and transmitters may be
damaged if not handled cor-
rectly.
●Make sure to install the tire
valve caps. If the tire valve caps
are not installed, water could
enter the tire pressure warning
valves and the tire pressure
warning valves could be bound.
●When replacing tire valve caps,
do not use tire valve caps other
than those specified. The cap
may become stuck.
Page 331 of 496

3316-3. Do-it-yourself maintenance
6
Maintenance and care
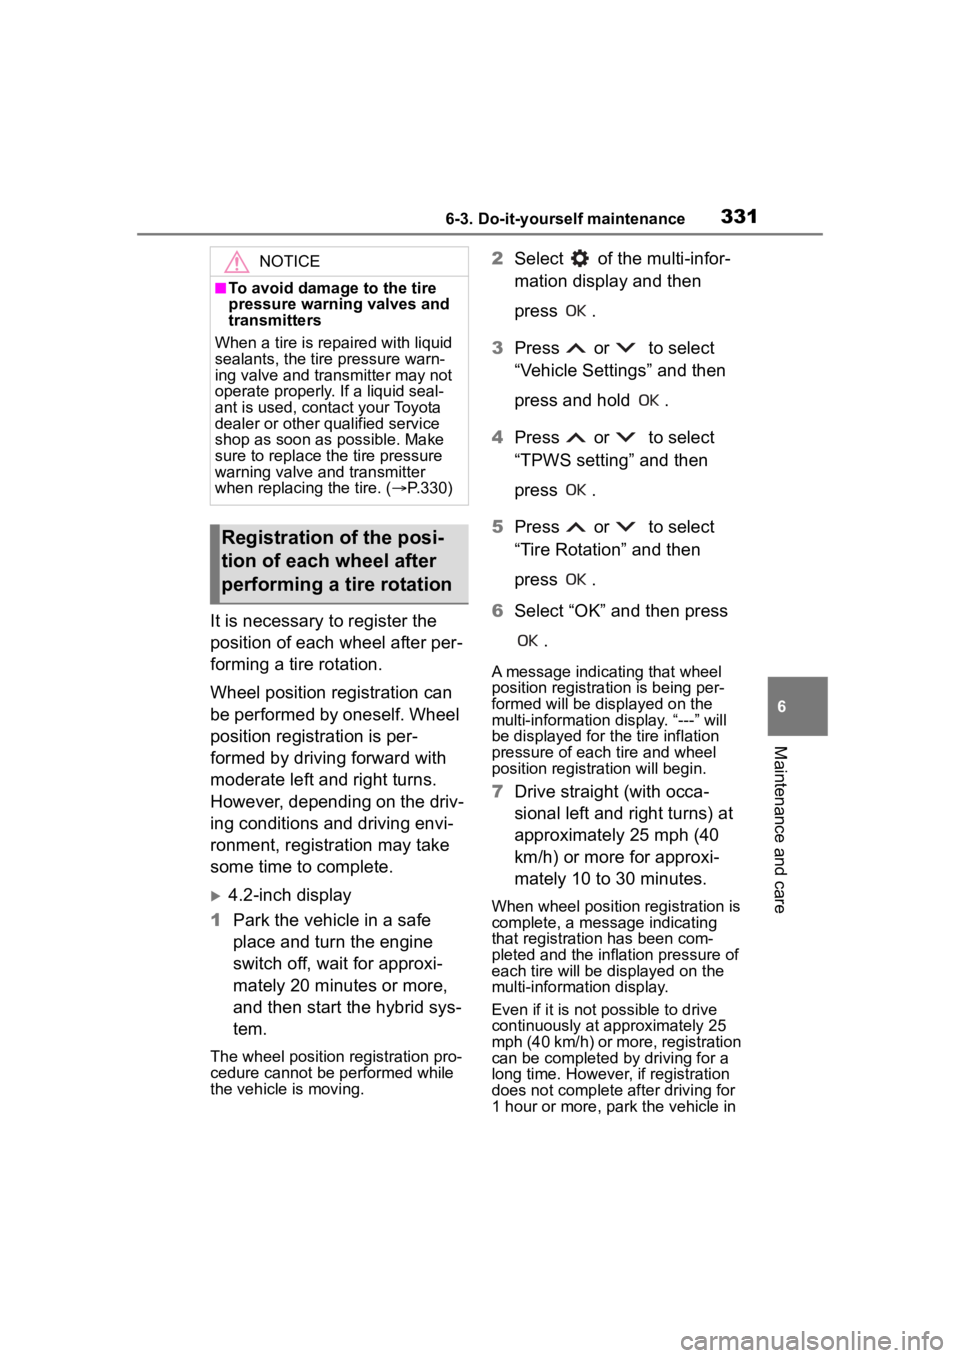
It is necessary to register the
position of each wheel after per-
forming a tire rotation.
Wheel position registration can
be performed by oneself. Wheel
position registration is per-
formed by driving forward with
moderate left and right turns.
However, depending on the driv-
ing conditions and driving envi-
ronment, registration may take
some time to complete.
4.2-inch display
1 Park the vehicle in a safe
place and turn the engine
switch off, wait for approxi-
mately 20 minutes or more,
and then start the hybrid sys-
tem.
The wheel position registration pro-
cedure cannot be performed while
the vehicle is moving.
2Select of the multi-infor-
mation display and then
press .
3 Press or to select
“Vehicle Settings” and then
press and hold .
4 Press or to select
“TPWS setting” and then
press .
5 Press or to select
“Tire Rotation” and then
press .
6 Select “OK” and then press
.
A message indicating that wheel
position registration is being per-
formed will be disp layed on the
multi-information display. “---” will
be displayed for the tire inflation
pressure of each tire and wheel
position registr ation will begin.
7Drive straight (with occa-
sional left and right turns) at
approximately 25 mph (40
km/h) or more for approxi-
mately 10 to 30 minutes.
When wheel position registration is
complete, a mess age indicating
that registration has been com-
pleted and the inflation pressure of
each tire will be displayed on the
multi-information display.
Even if it is not possible to drive
continuously at approximately 25
mph (40 km/h) or more, registration
can be completed by driving for a
long time. However, if registration
does not complete after driving for
1 hour or more, par k the vehicle in
NOTICE
■To avoid damage to the tire
pressure warning valves and
transmitters
When a tire is repaired with liquid
sealants, the tire pressure warn-
ing valve and transmitter may not
operate properly. If a liquid seal-
ant is used, contact your Toyota
dealer or other qualified service
shop as soon as possible. Make
sure to replace the tire pressure
warning valve and transmitter
when replaci ng the tire. (P.330)
Registration of the posi-
tion of each wheel after
performing a tire rotation
Page 332 of 496

3326-3. Do-it-yourself maintenance
a safe place and leave it with the
engine switch in ON for approxi-
mately 15 minute s or more, and
then perform the dr iving procedure
again.
7-inch display
1 Park the vehicle in a safe
place and turn the engine
switch off, wait for approxi-
mately 20 minutes or more,
and then start the hybrid sys-
tem.
The wheel position registration pro-
cedure cannot be performed while
the vehicle is moving.
2 Select of the multi-infor-
mation display and then
press .
3 Press or to select
“Vehicle Settings” and then
press and hold .
4 Press or to select
“TPWS setting” and then
press .
5 Press or to select
“Tire Rotation” and then
press .
6 Select “OK” and then press
.
A message indicating that wheel
position registrati on is being per-
formed will be displayed on the
multi-information display. “---” will
be displayed for th e tire inflation
pressure of each tire and wheel
position registration will begin.
7 Drive straight (with occa-
sional left and right turns) at
approximately 25 mph (40
km/h) or more for approxi-
mately 10 to 30 minutes.
When wheel position registration is
complete, a mess age indicating
that registration has been com-
pleted and the inflation pressure of
each tire will be displayed on the
multi-information display.
Even if it is not possible to drive
continuously at approximately 25
mph (40 km/h) or more, registration
can be completed by driving for a
long time. However, if registration
does not complete after driving for
1 hour or more, par k the vehicle in
a safe place and leave it with the
engine switch in ON for approxi-
mately 15 minutes or more, and
then perform the driving procedure
again.
■When performing wheel posi-
tion registration
●Normally, wheel position registra-
tion can be completed within
approximately 30 minutes.
●Wheel position registration is per-
formed while driving at a vehicle
speed of approxi mately 25 mph
(40 km/h) or more.
■Wheel position re gistration pro-
cedure
●If the power switch is turned off
while registering the wheel posi-
tion, the next time the power
switch is turned to ON, the wheel
position registrat ion will resume
and it will not be necessary to
restart the procedure.
●While the position of each wheel is
being determined and the inflation
pressures are not being dis-
played, if the inflation pressure of
a tire drops, th e tire pressure
warning light will come on.