2023 TOYOTA COROLLA HYBRID tire pressure warning
[x] Cancel search: tire pressure warningPage 396 of 496
3967-2. Steps to take in an emergency
3Disconnect the hose from the
valve, remove the air release cap
from the hose and then recon-
nect the hose.
4 Turn the compressor switch on
and wait for several seconds,
and then turn it off. Check that
the air pressure indicator shows
the specified air pressure.
( P.426)
If the air pressure is under the des-
ignated pressure, turn the compres-
sor switch on again and repeat the
inflation procedure until the speci-
fied air pressure is reached.
■After a tire is repaired with the
emergency tire puncture repair
kit
●The tire pressure warning valve
and transmitter should be
replaced.
●Even if the tire inflation pressure is
at the recommended level, the tire
pressure warning light may come
on/flash.
WARNING
■Do not drive the vehicle with
a flat tire
Do not continue driving with a flat
tire.
Driving even a short distance with
a flat tire can damage the tire and
the wheel beyond repair.
Driving with a flat tire may cause a
circumferential groove on the side
wall. In such a case, the tire may
explode when using a repair kit.
■When fixing the flat tire
●Stop your vehicle in a safe and
flat area.
●Do not touch the wheels or the
area around the brakes immedi-
ately after the vehicle has been
driven.
After the vehicle has been
driven, the whee ls and the area
around the brakes may be
extremely hot. Touching these
areas with hands, feet or other
body parts may result in burns.
●Connect the valve and hose
securely with the tire installed
on the vehicle. If the hose is not
properly connected to the valve,
air leakage may occur as seal-
ant may be sprayed out.
●If the hose comes off the valve
while inflating the tire, there is a
risk that the hose will move
abruptly due to air pressure.
●After inflation of the tire has
completed, the sealant may
splatter when the hose is dis-
connected or some air is let out
of the tire.
●Follow the operation procedure
to repair the tire. If the proce-
dures not followed, the sealant
may spray out.
●Keep back from the tire while it
is being repaired, as there is a
chance of it bursting while the
repair operation is being per-
formed. If you notice any cracks
or deformation of the tire, turn
off the compressor switch and
stop the repair operation imme-
diately.
●The repair kit may overheat if
operated for a long period of
time. Do not operate the repair
kit continuously for more than
40 minutes.
Page 397 of 496

3977-2. Steps to take in an emergency
7
When trouble arises
WARNING
●Parts of the repair kit become
hot during operation. Be careful
when handling the repair kit
during and after operation. Do
not touch the metal part around
the connecting area between
the bottle and compressor. It will
be extremely hot.
●Do not attach the vehicle speed
warning sticker to an area other
than the one indicated. If the
sticker is attached to an area
where an SRS airbag is located,
such as the pad of the steering
wheel, it may prevent the SRS
airbag from operating properly.
■Driving to spread the liquid
sealant evenly
Observe the following precautions
to reduce the risk of accidents.
Failing to do so may result in a
loss of vehicle control and cause
death or serious injury.
●Drive the vehicle carefully at a
low speed. Be especially careful
when turning and cornering.
●If the vehicle d oes not drive
straight or you feel a pull
through the steering wheel, stop
the vehicle and check the fol-
lowing.
• Tire condition. The tire may have separated from the wheel.
• Tire inflation pressure. If the tire inflation pressure is 19 psi (130
kPa, 1.3 kgf/cm
2 or bar) or less,
the tire may be severely dam-
aged.
NOTICE
■When performing an emer-
gency repair
●A tire should only be repaired
with the emergency tire punc-
ture repair kit if the damage is
caused by a sharp object such
as nail or screw passing through
the tire tread.
Do not remove th e sharp object
from the tire. Removing the
object may widen the opening
and disenable emergency repair
with the repair kit.
●The repair kit is not waterproof.
Make sure that the repair kit is
not exposed to water, such as
when it is being used in the rain.
●Do not put the repair kit directly
onto dusty ground such as sand
at the side of the road. If the
repair kit vacuums up dust etc.,
a malfunction may occur.
●Make sure to stand the kit with
the bottle vertical. The kit can-
not work properly if it is laid on
its side.
■Precautions for the emer-
gency tire puncture repair kit
●The repair kit power source
should be 12 V DC suitable for
vehicle use. Do not connect the
repair kit to any other source.
●If fuel splatters on the repair kit,
the repair kit may deteriorate.
Take care not to allow fuel to
contact it.
●Place the repair kit in a storage
to prevent it from being exposed
to dirt or water.
●Store the repair kit in the tool
tray under the d eck mat out of
reach of children.
Page 398 of 496

3987-2. Steps to take in an emergency
Stop the vehicle in a safe
place on a hard, flat surface.
Set the parking brake.
Shift the shift lever to P.
Stop the hybrid system.
Turn on the emergency flash-
ers.
NOTICE
●Do not disassemble or modify
the repair kit. Do not subject
parts such as the air pressure
indicator to impacts. This may
cause a malfunction.
■To avoid damage to the tire
pressure warning valves and
transmitters
When a tire is repaired with liquid
sealants, the tire pressure warn-
ing valve and transmitter may not
operate properly. If a liquid seal-
ant is used, contact your Toyota
dealer or other qualified service
shop as soon as possible. After
use of liquid sealant, make sure to
replace the tire pressure warning
valve and transmitter when repair-
ing or replacing the tire. (
P.330)
If you have a flat tire
(vehicles with a spare
tire)
Your vehicle is equipped
with a spare tire. The flat tire
can be replaced with the
spare tire.
For details about tires:
P.325
WARNING
■If you have a flat tire
Do not continue driving with a flat
tire. Driving even a short distance
with a flat tire can damage the tire
and the wheel beyond repair,
which could resul t in an accident.
Before jacking up the
vehicle
Page 404 of 496
4047-2. Steps to take in an emergency
USE ONLY” on the tire sidewall.
Use the compact spare tire tempo-
rarily, and only in an emergency.
●Make sure to check the tire infla-
tion pressure of the compact
spare tire. (P.426)
■When the compact spare tire is
equipped
The vehicle becomes lower when
driving with the compact spare tire
compared to when driving with stan-
dard tires.
■After completing the tire
change
The tire pressure warning system
must be reset. ( P.333)
■When using the compact spare
tire
As the compact sp are tire is not
equipped with a tire pressure warn-
ing valve and transmitter, low infla-
tion pressure of the spar e tire will
not be indicated by the tire pressure
warning system. Also, if you replace
the compact spare tire after the tire
pressure warning light comes on,
the light remains on.
■If you have a flat front tire on a
road covered with snow or ice
Install the compact spare tire on one
of the rear wheels of the vehicle.
Perform the following steps and fit
tire chains to the front tires:
1 Replace a rear tire with the com-
pact spare tire.
2 Replace the flat front tire with the
tire removed from the rear of the
vehicle.
3 Fit tire chains to the front tires.
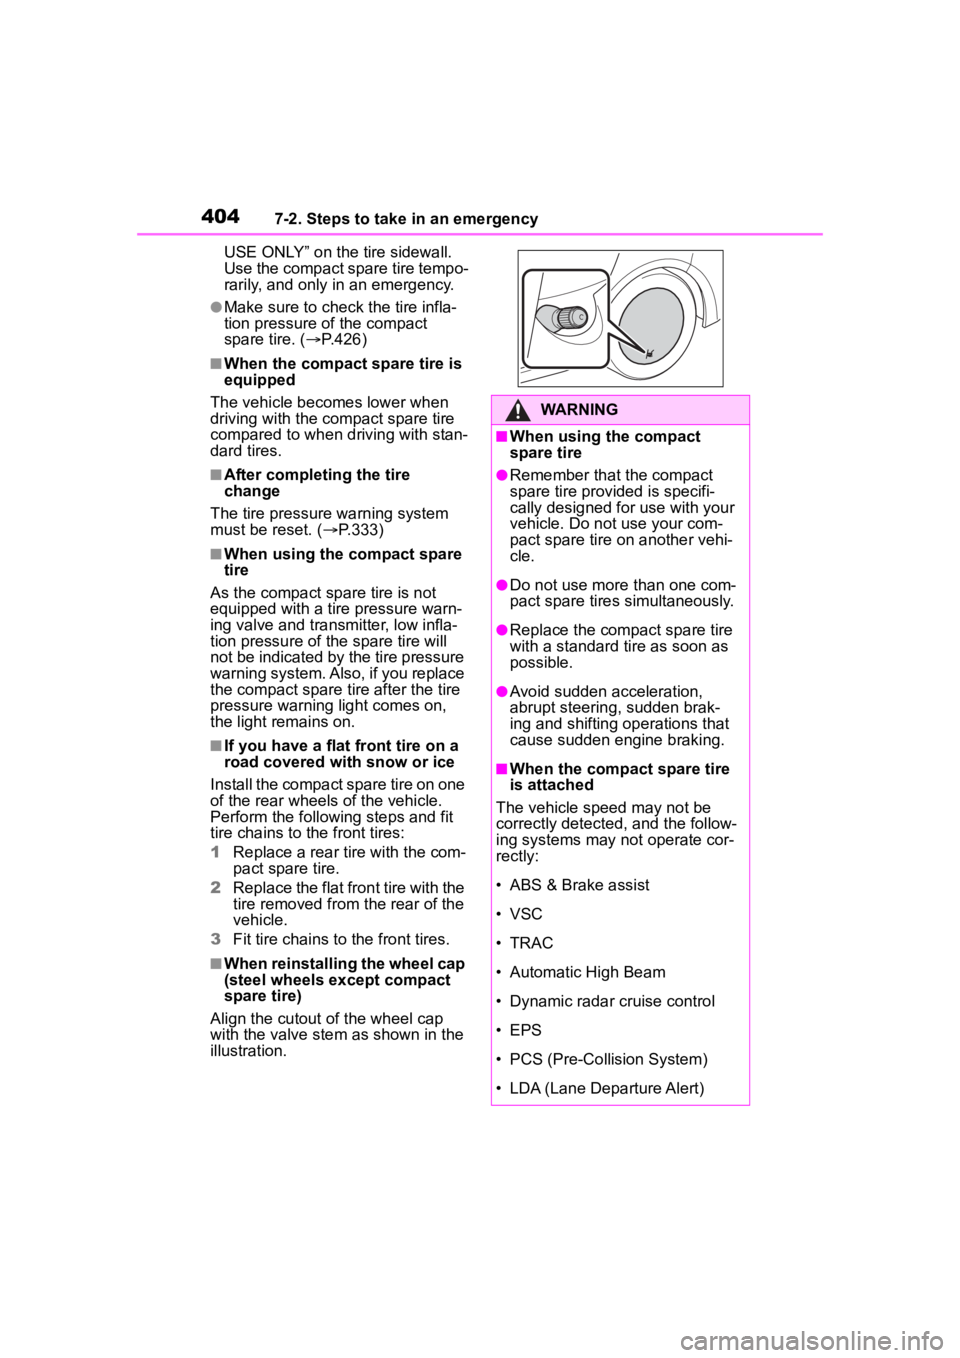
■When reinstallin g the wheel cap
(steel wheels except compact
spare tire)
Align the cutout of the wheel cap
with the valve stem as shown in the
illustration.
WARNING
■When using the compact
spare tire
●Remember that the compact
spare tire provided is specifi-
cally designed for use with your
vehicle. Do not use your com-
pact spare tire on another vehi-
cle.
●Do not use more than one com-
pact spare tires simultaneously.
●Replace the comp act spare tire
with a standard tire as soon as
possible.
●Avoid sudden acceleration,
abrupt steering, sudden brak-
ing and shifting operations that
cause sudden engine braking.
■When the compact spare tire
is attached
The vehicle speed may not be
correctly detected, and the follow-
ing systems may not operate cor-
rectly:
• ABS & Brake assist
• VSC
• TRAC
• Automatic High Beam
• Dynamic radar cruise control
• EPS
• PCS (Pre-Collision System)
• LDA (Lane Departure Alert)
Page 435 of 496
4358-1. Specifications
8
Vehicle specifications
would wear one and a half (1 - 1/2)
times as well on the government
course as a tire graded 100.
The relative performance of tires
depends upon the actual conditions
of their use. Performance may differ
significantly from the norm due to
variations in driving habits, service
practices and differences in road
characteristics and climate.
■Traction AA, A, B, C
The traction grades, from high-
est to lowest, are AA, A, B and
C, and they represent the tire’s
ability to stop on wet pavement
as measured under controlled
conditions on specified govern-
ment test surfaces of asphalt
and concrete.
A tire marked C may have poor
traction performance.
Warning: The traction grade
assigned to this tire is based on
braking (straight ahead) traction
tests and does not include corner-
ing (turning) traction.
■Temperature A, B, C
The temperature grades are A (the highest), B, and C, repre-
senting the tire’s resistance to
the generation of heat and its
ability to dissipate heat when
tested under controlled condi-
tions on a specified indoor labo-
ratory test wheel.
Sustained high temperature can
cause the material
of the tire to
degenerate and reduce tire life, and
excessive temperature can lead to
sudden tire failure.
Grade C corresponds to a level of
performance which all passenger
car tires must meet under the Fed-
eral Motor Vehicle Safety Standard
No. 109.
Grades B and A represent higher
levels of performance on the labo-
ratory test wheel than the minimum
required by law.
Warning: The temperature grades
of a tire assume tha t it is properly
inflated and not overloaded.
Excessive speed, underinflation, or
excessive loading, either sepa-
rately or in combination, can cause
heat buildup and possible tire fail-
ure.
Glossary of tire terminology
Tire related termMeaning
Cold tire infl ation pressure
Tire pressure when the vehicle has been
parked for three hours or more, or has not
been driven more than 1 mile or 1.5 km
under that condition
Maximum inflation pressure
The maximum cold inf lated pressure to
which a tire may be inflated, shown on the
sidewall of the tire
Page 470 of 496

470Alphabetical Index
How to start the hybrid system................................... 170, 172
Identification number ............ 421
If the hybrid sy stem will not start
........................................... 406
If your vehicle has to be stopped in an emergency................. 363
Ignition switch (power switch) ................................... 170, 172
Overheating.......................... 414
Power switch ................ 170, 172
Tachometer ............................ 96
Engine coolant Capacity ............................... 423
Checking .............................. 320
Preparing and c hecking before
winter.................................. 273
Engine coolant temperature gauge................................. 96, 99
Engine oil Capacity ............................... 422
Checking .............................. 318
Preparing and c hecking before
winter.................................. 273
Warning light ........................ 373
Engine switch (power switch) ....................................... 170, 172If your vehicle has to be stopped in an emergency................. 363
Enhanced VSC ........................ 266
EPS (Electric Power Steering) ............................................... 266Warning light ........................ 375
EV drive mode ........................ 178
EV Driving Ratio ............. 106, 112
EV indicator .............................. 78
EV Ratio .......................... 106, 112
Event data recorder (EDR)......... 8F
Flat tire Tire pressure w arning system
...........................................328
Vehicles with a spare tire......398
Vehicles with an emergency tire puncture repair ki t...............387
Floor mats .................................24
Fluid Brake ....................................425
Hybrid transmission ..............424
Washer .................................324
Front passenger occupant clas- sification system ....................41
Front seats Adjustment ...........................141
Cleaning ...............................305
Correct driving posture ...........25
Head restraints .....................144
Seat heaters ....... ..................284
Front side marker lights Light switch...........................189
Wattage ................................428
Front turn signal lights Replacing light bulbs ............357
Turn signal lever ...................182
Fuel Capacity ...............................421
Fuel gauge .......................96, 99
Information ......... ..................429
Refueling ..............................196
Type......................................421
Warning light.........................375
Fuel consumption Average fuel economy .. 104, 110
Current fuel consumption ...104, 11 0
Fuel economy ................. 104, 110
Fuel filler door Refueling ..............................196
Fuel gauge...........................96, 99
Page 473 of 496

473Alphabetical Index
Maintenance requirements... 308
Malfunction indicator lamp.... 373
Menu icons ..................... 102, 109
Meter Clock ................................ 96, 99
Indicators................................ 94
Instrument panel light control98, 101
Meter control switches . 103, 110
Meter light control ................. 101
Meters .............................. 96, 99
Multi-information display .... 102, 109
Settings ........................ 108, 114
Warning lights....................... 372
Warning message ................ 382
Mirrors Inside rear view mirror.......... 147
Outside rear view mirror defog-gers .................................... 280
Outside rear view mirrors ..... 148
Vanity mirrors ....................... 298
Moon roof Door lock linked moon roof oper-ation ................................... 153
Jam protection function ........ 153
Operation ............................. 153
Multi-information display Audio system-linked display107, 11 3
Clock .............................. 98, 102
Cruise control ....................... 245
Driving informatio n display . 103,
11 0
Driving support system informa- tion display ................. 107, 113
Dynamic radar cruise control 239
ECO Accelerator Guidance 104, 111
Eco score ..................... 104, 111
Energy monitor ..................... 116
EV Driving Ratio ........... 106, 112 EV Ratio ....................... 106, 112
Fuel economy ............... 104, 110
Hybrid System Indicator .......104
Menu icons ...................102, 109
Meter control switches.. 103, 110
Navigation system-linked display
................................... 107, 113
Settings ........................ 108, 114
Tire pressure ...... ..................328
Vehicle information display .107, 11 3
Warning message.................382
N
Navigation system-linked display ....................................... 107, 113
Noise from under ve hicle...........5
O
Odometer...........................97, 101
Odometer and trip meter display
Display change button ....97, 101
Display items ..................98, 101
Oil Engine oil..............................422
Rear differential oil................424
Open tray .................................290
Opener Fuel filler door.......................196
Hood .....................................316
Trunk ....................................134
Outside rear view mirrors Adjustment ...........................148
BSM (Blind Spot M onitor) .....249
Folding..................................149
Outside rear view mirror defog- gers ....................................280
RCTA function.......................254
Safe Exit Assist.....................260
Outside temperatur e ..........96, 99
Overheating.............................414
Page 475 of 496

475Alphabetical Index
Reporting safety defects for U.S. owners................................... 454
Resetting the message indicat- ing maintenance is required 309
Road Sign Assist (RSA) ......... 234
RSA (Road Sign Assist) ......... 234
S
Safe Exit Assist ...................... 260
Safety Connect ......................... 72
Seat belt reminder light . 375, 376
Seat belts .................................. 27 Adjusting the seat belt ............ 29
Automatic Locking Retractor .. 29
Child restraint system installation ............................................. 50
Cleaning and maintaining the seat belt.............................. 305
Emergency Locking Retractor 29
How to wear your seat belt..... 28
How your child should wear the seat belt................................ 28
Pregnant women, proper seat belt use................................. 27
Reminder light and buzzer . 375, 376
Seat belt extender .................. 28
Seat belt pretensioners .......... 30
SRS warning light................. 374
Seat heaters ............................ 284
Seating capacity ............. 168, 420
Seats Adjustment ........................... 141
Adjustment precautions........ 141
Child seats/child restraint system installation ............................ 48
Cleaning ............................... 305
Head restraints ..................... 144
Properly sitting in the seat ...... 25
Seat heaters ......................... 284
Secondary Collision Brake .... 267 Sensor
AHB (Automatic High Beam) 191
Automatic headlight system .190
BSM (Blind Spot M onitor) .....249
Radar sensor ................250, 261
RCTA ....................................255
Service plug ..............................82
Service reminder message ....309
Shift lever Hybrid transmission ..............180
If th e s hif t le ver ca n no t b e s hif te d from P .................................181
Shift lock system ....................181
Side airbags ..............................31
Side marker lights Light switch...........................189
Replacing light bulbs ............357
Wattage ................................428
Side mirrors Adjustment ...........................148
BSM (Blind Spot M onitor) .....249
Folding..................................149
RCTA function.......................254
Side turn signal lights Replacing light bulbs ............357
Turn signal lever ...................182
Side windows ..........................150
Smart key system Antenna location...................136
Entry functions......................127
Starting the hybrid system ....172
Snow tires ...............................273
Spare tire .................................398 Inflation pressure ..................426
Storage location ...................399
Spark plug ...............................424
Specifications .........................420
Speedometer .......................96, 99
Steering lock Column lock releas e .............170