2023 TOYOTA COROLLA HYBRID change time
[x] Cancel search: change timePage 270 of 496
2704-5. Using the driving support systems
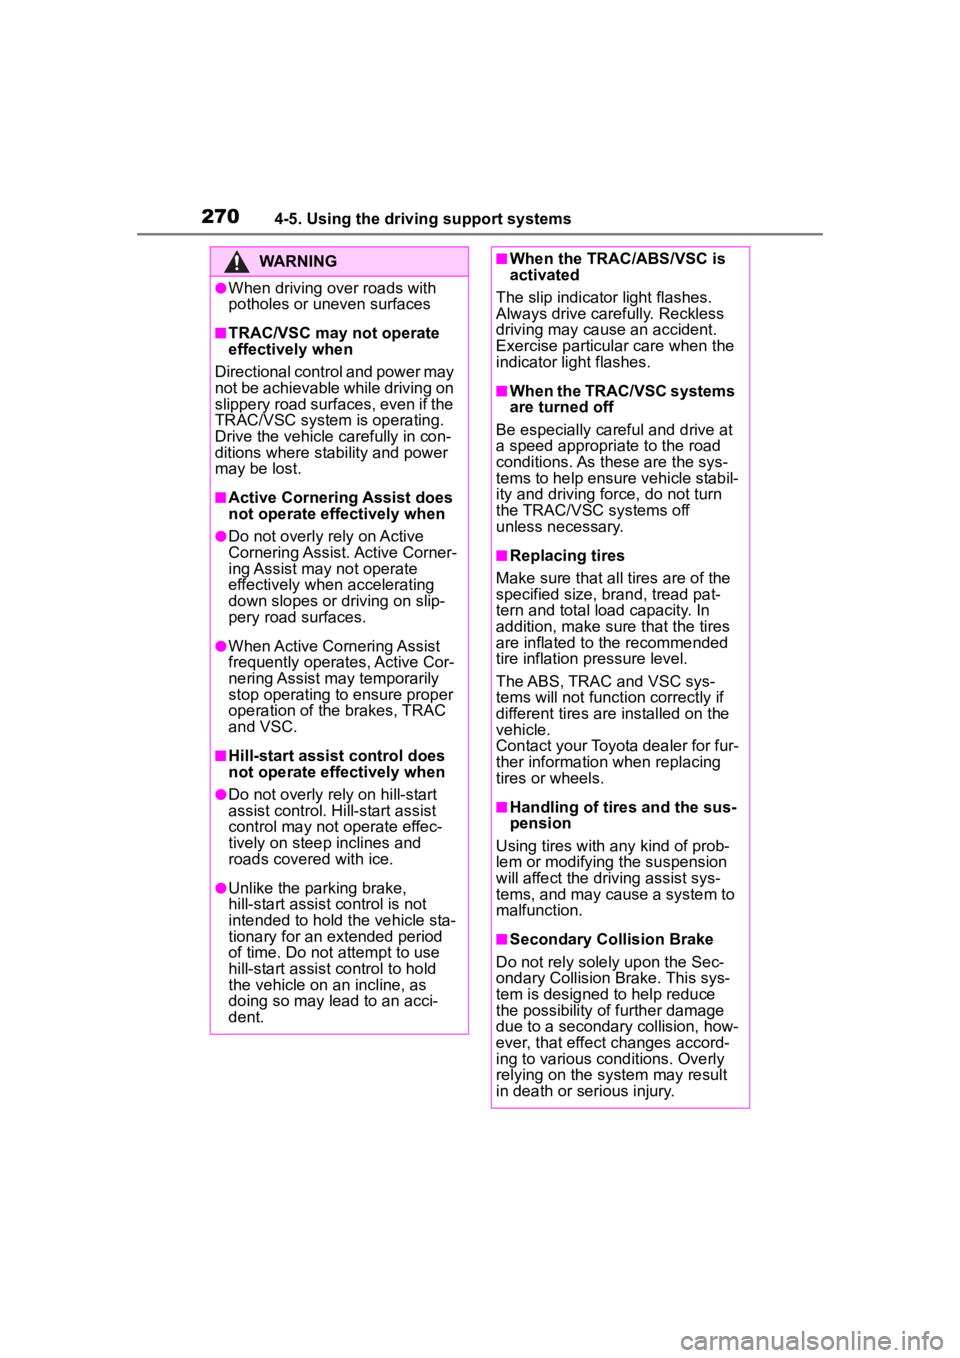
WARNING
●When driving over roads with
potholes or uneven surfaces
■TRAC/VSC may not operate
effectively when
Directional control and power may
not be achievable while driving on
slippery road surfaces, even if the
TRAC/VSC system is operating.
Drive the vehicle carefully in con-
ditions where stability and power
may be lost.
■Active Cornering Assist does
not operate effectively when
●Do not overly rely on Active
Cornering Assist. Active Corner-
ing Assist may not operate
effectively when accelerating
down slopes or driving on slip-
pery road surfaces.
●When Active Cornering Assist
frequently operates, Active Cor-
nering Assist may temporarily
stop operating to ensure proper
operation of the brakes, TRAC
and VSC.
■Hill-start assist control does
not operate effectively when
●Do not overly rely on hill-start
assist control. Hill-start assist
control may not operate effec-
tively on steep inclines and
roads covered with ice.
●Unlike the parking brake,
hill-start assist control is not
intended to hold the vehicle sta-
tionary for an extended period
of time. Do not attempt to use
hill-start assist control to hold
the vehicle on an incline, as
doing so may lead to an acci-
dent.
■When the TRAC/ABS/VSC is
activated
The slip indicator light flashes.
Always drive carefully. Reckless
driving may cause an accident.
Exercise particula r care when the
indicator light flashes.
■When the TRAC/VSC systems
are turned off
Be especially careful and drive at
a speed appropriate to the road
conditions. As these are the sys-
tems to help ensure vehicle stabil-
ity and driving force, do not turn
the TRAC/VSC systems off
unless necessary.
■Replacing tires
Make sure that all tires are of the
specified size, brand, tread pat-
tern and total load capacity. In
addition, make sure that the tires
are inflated to the recommended
tire inflation p ressure level.
The ABS, TRAC and VSC sys-
tems will not functi on correctly if
different tires are installed on the
vehicle.
Contact your Toyota dealer for fur-
ther information when replacing
tires or wheels.
■Handling of tires and the sus-
pension
Using tires with any kind of prob-
lem or modifying the suspension
will affect the driving assist sys-
tems, and may cause a system to
malfunction.
■Secondary Collision Brake
Do not rely solely upon the Sec-
ondary Collision Brake. This sys-
tem is designed to help reduce
the possibility of further damage
due to a secondary collision, how-
ever, that effect changes accord-
ing to various conditions. Overly
relying on the system may result
in death or serious injury.
Page 279 of 496

2795-1. Using the air conditioning system and defogger
5
Interior features
system will blow ambient tempera-
ture air or heated air.
■Setting the fan speed
To adjust the fan speed, turn the
fan speed control switch clock-
wise (increase) or counterclock-
wise (decrease).
Pressing the off switch to turns off
the fan.
■Change the airflow mode
Press the airflow mode control
switch.
The airflow mode changes as fol-
lows each time the switch is
pressed.
1 Upper body
2 Upper body and feet
3 Feet
4 Feet and the windshield
defogger operates
■Switching between outside
air and recirculated air
modes
To change to recirculated air
mode, press the recirculated air mode switch.
The indicator illuminates on the
recirculated air mode switch.
To change to outside air
mode, press the outside air
mode switch.
The indicator illuminates on the out-
side air mode switch.
■Set cooling and dehumidifi-
cation function
Press the “A/C” switch.
When the function is on, the indica-
tor illuminates on the “A/C” switch.
■Defogging the windshield
Defoggers are used to defog the
windshield and front side win-
dows.
Press the windshield defogger
switch.
Set the outside/recirculated air
mode switch to outside air mode if
the recirculated air mode is used. (It
may switch automatically.)
To defog the windshield and the
side windows quickly, turn the air
flow and temperature up.
To return to the previous mode,
press the windshield defogger
switch again when the windshield is
defogged.
When the windshield defogger
switch is on, the indicator illumi-
nates on the windshield defogger
switch.
Page 295 of 496
2955-4. Other interior features
5
Interior features
■The wireless charger can be
operated when
The power switch i s in ACC or ON.
■Portable devices that can be
charged
●Portable devices compatible with
the Qi wireless charging standard
can be charged by the wireless
charger. However, compatibility
with all devices which meet the Qi
wireless charging standard is not
guaranteed.
●The wireless charger is designed
to supply low power electricity (5
W or less) to a cellular phone,
smartphone, or other portable
device.
■If a cover or accessory is
attached to the portable device
Do not charge a portable device if a cover or accessory w
hich is not Qi
compatible is atta ched. Depending
on the type of cover (including for
certain genuine manufacture parts)
and/or accessory a ttached, it may
not be possible to charge the porta-
ble device. If the portable device is
placed on the charging area and
does not charge, remove the cover
and/or accessories.
■If interference is heard in AM
radio broadcasts while
charging
Turn off the wireless charger and
check if the noise is reduced. If
noise is reduced, press and hold the
power supply switch of the wireless
charger for 2 se conds. The fre-
quency of the wireless charger is
changed and noise may be
reduced. When the frequency is
changed, the operation indicator
light will blink (orange) 2 times.
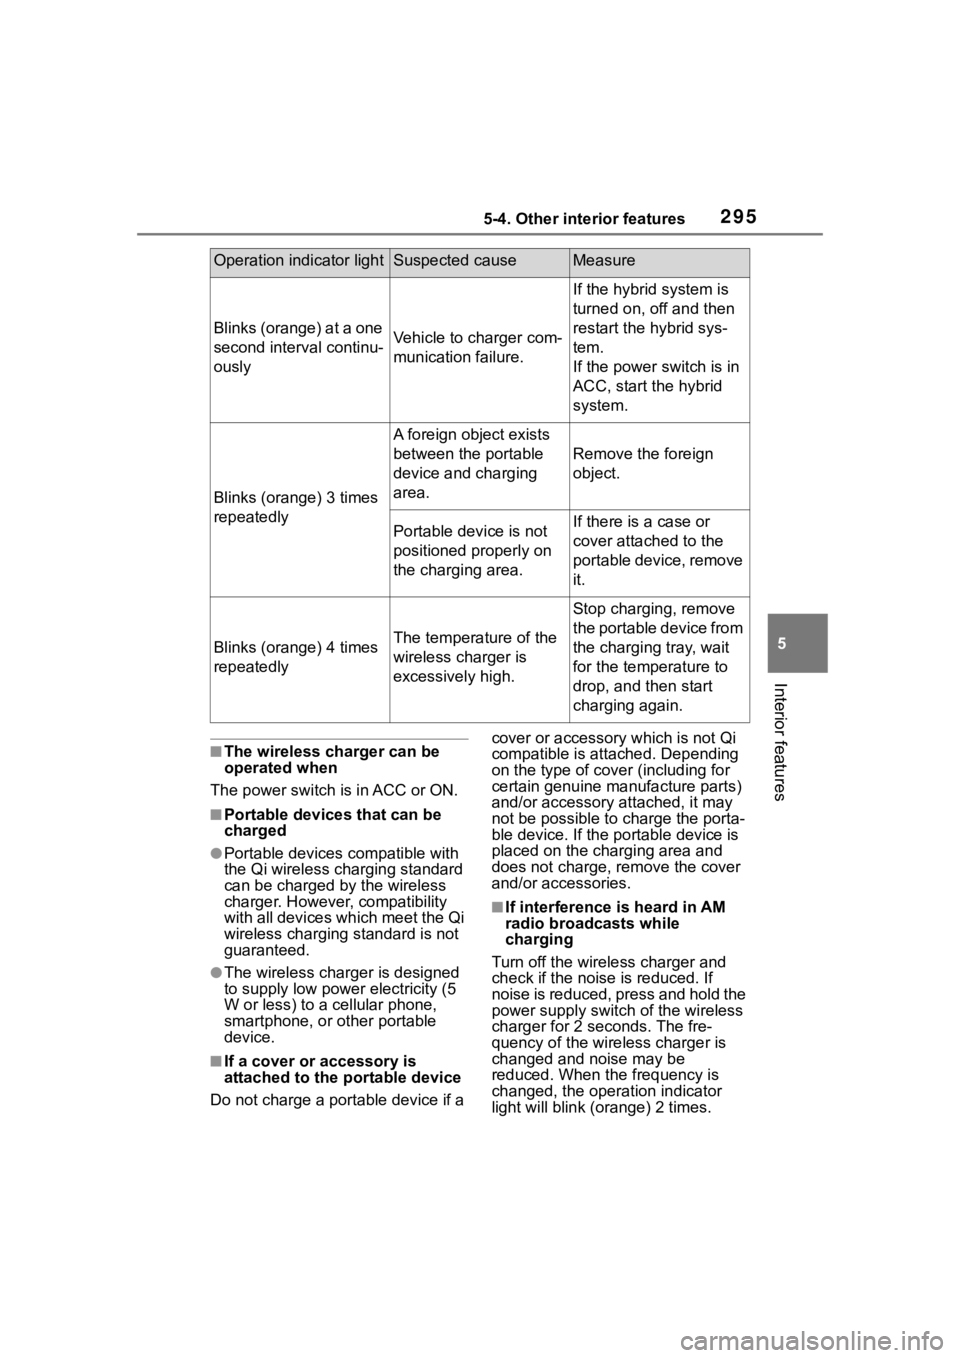
Operation indicator lightSuspected causeMeasure
Blinks (orange) at a one
second interval continu-
ouslyVehicle to charger com-
munication failure.
If the hybrid system is
turned on, off and then
restart the hybrid sys-
tem.
If the power switch is in
ACC, start the hybrid
system.
Blinks (orange) 3 times
repeatedly
A foreign object exists
between the portable
device and charging
area.
Remove the foreign
object.
Portable device is not
positioned properly on
the charging area.If there is a case or
cover attached to the
portable device, remove
it.
Blinks (orange) 4 times
repeatedlyThe temperature of the
wireless charger is
excessively high.
Stop charging, remove
the portable device from
the charging tray, wait
for the temperature to
drop, and then start
charging again.
Page 298 of 496
2985-4. Other interior features
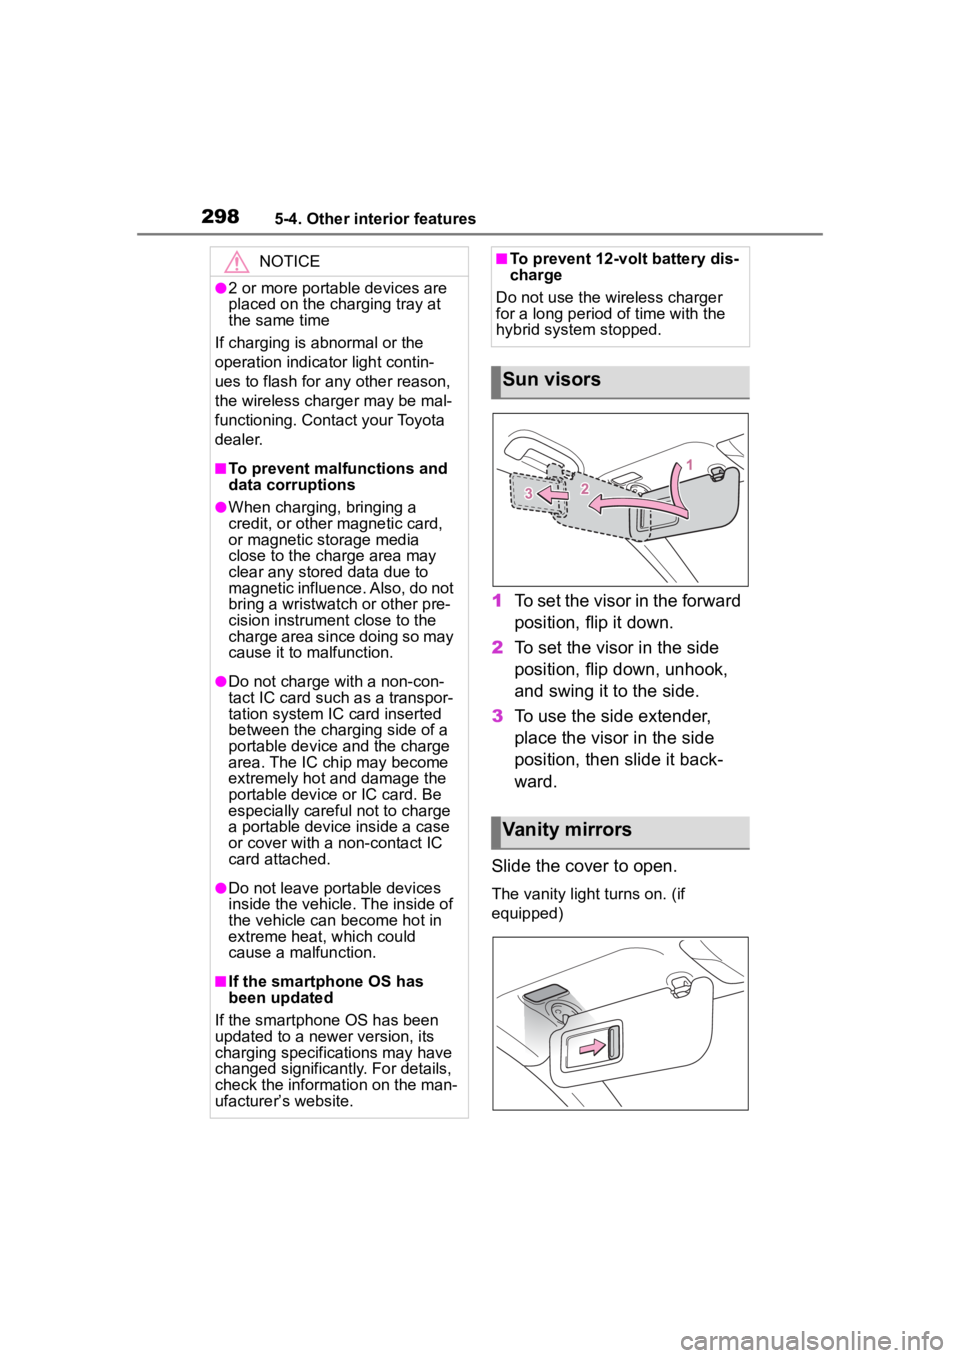
1To set the visor in the forward
position, flip it down.
2 To set the visor in the side
position, flip down, unhook,
and swing it to the side.
3 To use the side extender,
place the visor in the side
position, then slide it back-
ward.
Slide the cover to open.
The vanity light turns on. (if
equipped)
NOTICE
●2 or more portable devices are
placed on the charging tray at
the same time
If charging is abnormal or the
operation indicator light contin-
ues to flash for any other reason,
the wireless charger may be mal-
functioning. Contact your Toyota
dealer.
■To prevent malfunctions and
data corruptions
●When charging, bringing a
credit, or other magnetic card,
or magnetic storage media
close to the charge area may
clear any stored data due to
magnetic influence. Also, do not
bring a wristwatch or other pre-
cision instrument close to the
charge area since doing so may
cause it to malfunction.
●Do not charge with a non-con-
tact IC card such as a transpor-
tation system IC card inserted
between the charging side of a
portable device and the charge
area. The IC chip may become
extremely hot and damage the
portable device or IC card. Be
especially careful not to charge
a portable device inside a case
or cover with a non-contact IC
card attached.
●Do not leave portable devices
inside the vehicle. The inside of
the vehicle can become hot in
extreme heat, which could
cause a malfunction.
■If the smartphone OS has
been updated
If the smartphone OS has been
updated to a new er version, its
charging specifications may have
changed significantly. For details,
check the information on the man-
ufacturer’s website.
■To prevent 12-volt battery dis-
charge
Do not use the wireless charger
for a long period of time with the
hybrid system stopped.
Sun visors
Vanity mirrors
Page 330 of 496
3306-3. Do-it-yourself maintenance
• If tires not equipped with tire pres-
sure warning valves and transmit-
ters are used.
• If the ID code on the tire pressure warning valves and transmitters is
not registered in the tire pressure
warning computer.
●Performance may be affected in
the following situations.
• Near a TV tower, electric power plant, gas station, radio station,
large display, airpo rt or other facil-
ity that generates strong radio
waves or electrical noise.
• When carrying a portable radio, cellular phone, cordless phone or
other wireless communication
device.
●When the vehicle is parked, the
time taken for the warning to start
or go off could be extended.
●When tire inflation pressure
declines rapidly for example when
a tire has burst, the warning may
not function.
■Warning performance of the tire
pressure warning system
The warning of the tire pressure
warning system will change in
accordance with driving conditions.
For this reason, the system may
give a warning even if the tire pres-
sure does not reach a low enough
level, or if the p ressure is higher
than the pressure that was adjusted
to when the system was initialized.
When replacing tires or wheels,
tire pressure warning valves and
transmitters must also be
installed.
When new tire pressure warning
valves and transmitters are installed, new ID codes must be
registered in the tire pressure
warning computer and the tire
pressure warning system must
be initialized. Have tire pressure
warning valves and transmitter
ID codes registered by your Toy-
ota dealer. (
P.336)
■Replacing tires and wheels
If the ID code of the tire pressure
warning valve and tr ansmitter is not
registered, the tire pressure warning
system will not work properly. After
driving for about 20 minutes, the tire
pressure warning light blinks for 1
minute and stays on to indicate a
system malfunction.
Installing tire pressure
warning valves and trans-
mitters
NOTICE
■Repairing or replacing tires,
wheels, tire pressure warn-
ing valves, transmitters and
tire valve caps
●When removing or fitting the
wheels, tires or the tire pressure
warning valves and transmit-
ters, contact your Toyota dealer
as the tire pressure warning
valves and transmitters may be
damaged if not handled cor-
rectly.
●Make sure to install the tire
valve caps. If the tire valve caps
are not installed, water could
enter the tire pressure warning
valves and the tire pressure
warning valves could be bound.
●When replacing tire valve caps,
do not use tire valve caps other
than those specified. The cap
may become stuck.
Page 337 of 496
3376-3. Do-it-yourself maintenance
6
Maintenance and care
yourself, but depending on
the driving conditions and
driving environment, registra-
tion may take some time to
complete.
When using a wheel set
which all of the ID codes have
already been registered, the
wheel set can be changed in
a short amount of time.
Before performing ID code reg-
istration, make sure that no
wheels with tire pressure warn-
ing valve and transmitters
installed are near the vehicle.
4.2-inch display
1 Park the vehicle in a safe
place and turn the engine
switch off, wait for approxi-
mately 20 minutes or more,
and then start the hybrid sys-
tem.
The ID code registration procedure
cannot be performed while the
vehicle is moving.
2Select of the multi-infor-
mation display and then
press .
3 Press or to select
“Vehicle Settings” and then
press and hold .
4 Press or to select
“TPWS setting” and then
press . 5
Press or to select
“Tire Set Switching” and then
press .
6 Press or to select
“Register New Valve / ID” and
then press .
7 Press or to select
“Tire Set 1” or “Tire Set 2”.
Then press .
ID codes will be regi stered to the
displayed wheel set.
If ID codes have already been reg-
istered for that wheel set, the tire
pressure warning light will slowly
blink 3 times, and a message indi-
cating that change is occurring will
be displayed on the multi-informa-
tion display.
8 Select “OK” and then press
.
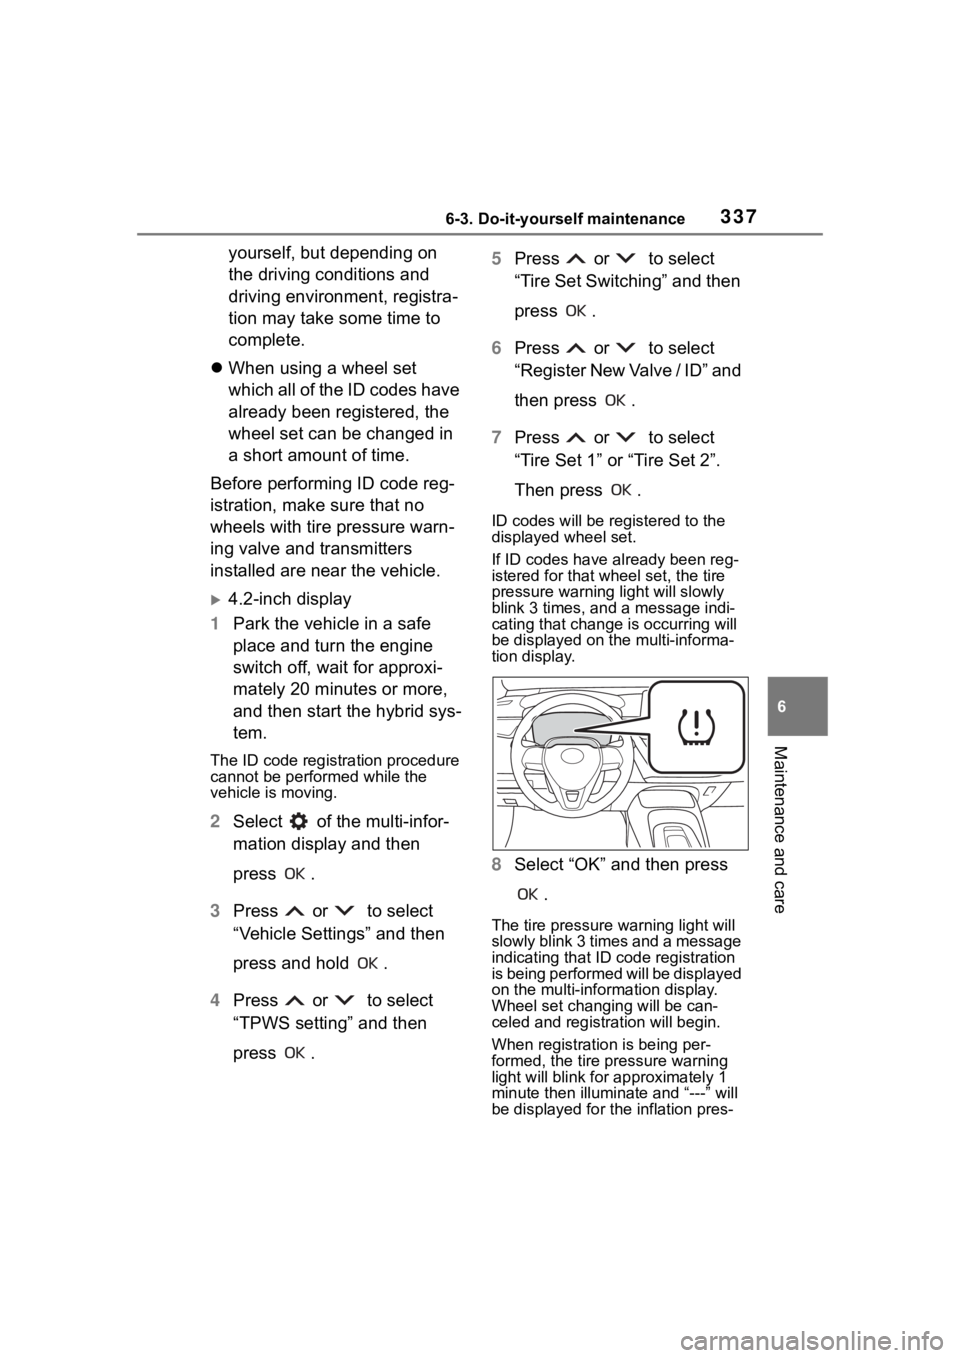
The tire pressure warning light will
slowly blink 3 times and a message
indicating that ID code registration
is being performed will be displayed
on the multi-information display.
Wheel set changing will be can-
celed and registration will begin.
When registration is being per-
formed, the tire pressure warning
light will blink for approximately 1
minute then illumina te and “---” will
be displayed for the inflation pres-
Page 338 of 496
3386-3. Do-it-yourself maintenance
sure of each tire on the multi-infor-
mation display.
9Drive straight (with occa-
sional left and right turns) at
approximately 25 mph (40
km/h) or more for approxi-
mately 10 to 30 minutes.
When registration is complete, the
tire pressure warni ng light will turn
off and a message indicating that
registration has been completed
will be displayed on the multi-infor-
mation display.
Registration may take longer than
normal to complete if the vehicle
speed cannot be maintained at
approximately 25 mph (40 km/h) or
more. If registration cannot be com-
pleted after driving for 1 hour or
more, perform the registration pro-
cedure again from the beginning.
10 If the tire inflation pressure of
the wheel set installed differs
from that of the previous set,
it will be necessary to per-
form the tire inflation pres-
sure setting procedure of the
tire pressure warning system.
If the specified tire inflation pres-
sure is the same, i t will not be nec-
essary to perform the tire inflation
pressure setting procedure.
7-inch display
1 Park the vehicle in a safe
place and turn the engine
switch off, wait for approxi-
mately 20 minutes or more,
and then start the hybrid sys-
tem.
The ID code registration procedure
cannot be performed while the
vehicle is moving.
2Select of the multi-infor-
mation display and then
press .
3 Press or to select
“Vehicle Settings” and then
press and hold .
4 Press or to select
“TPWS setting” and then
press .
5 Press or to select
“Tire Set Switching” and then
press .
6 Press or to select
“Register New Valve / ID” and
then press .
7 Press or to select
“Tire Set 1” or “Tire Set 2”.
Then press .
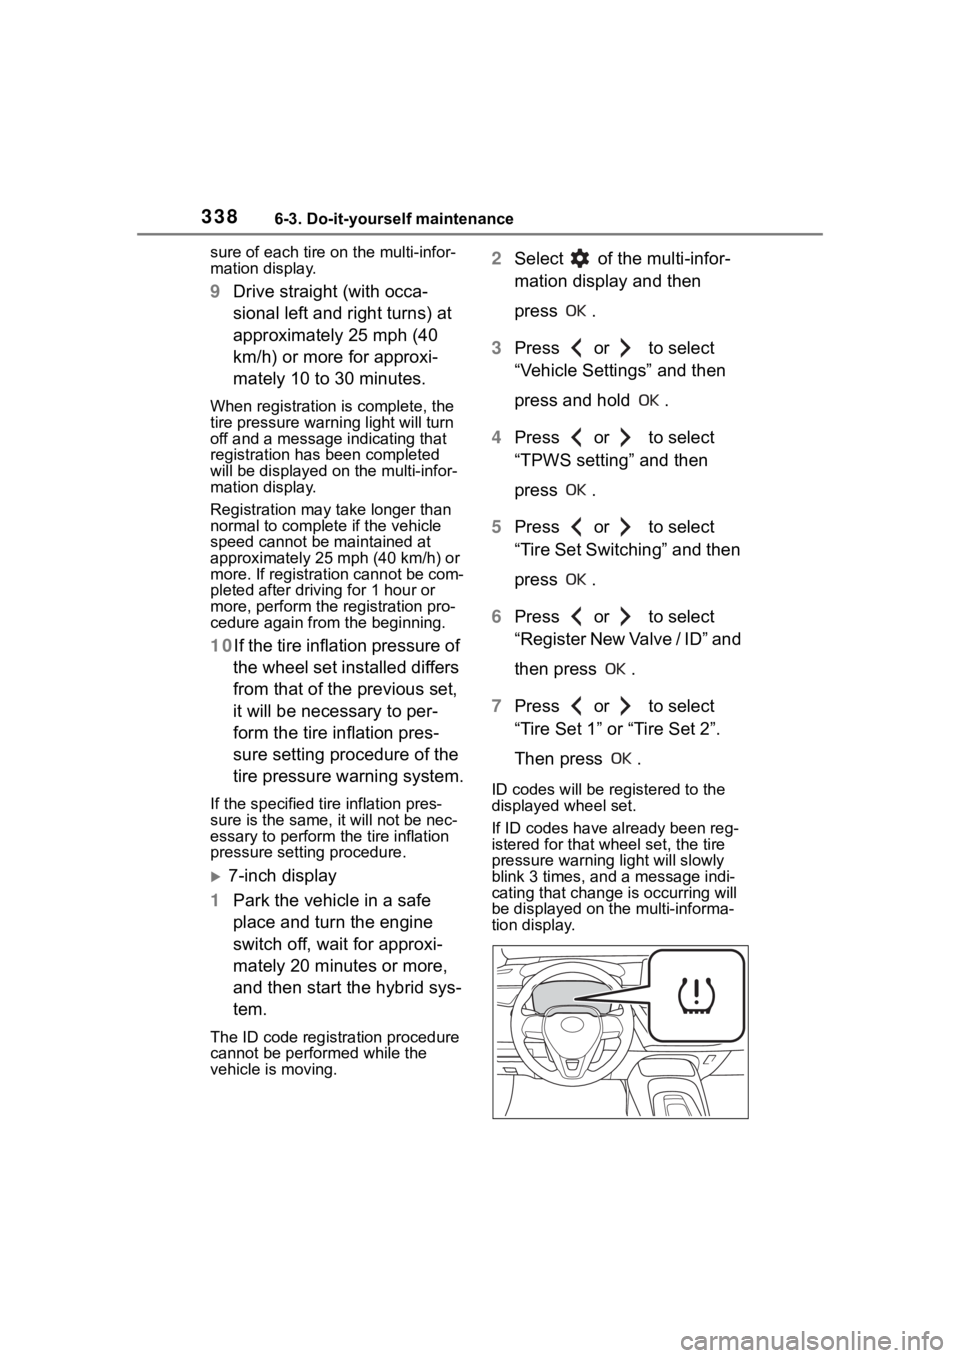
ID codes will be regi stered to the
displayed wheel set.
If ID codes have already been reg-
istered for that wheel set, the tire
pressure warning light will slowly
blink 3 times, and a message indi-
cating that change is occurring will
be displayed on the multi-informa-
tion display.
Page 409 of 496
4097-2. Steps to take in an emergency
7
When trouble arises
1Ensure that the shift lever is
in P and depress the brake
pedal.
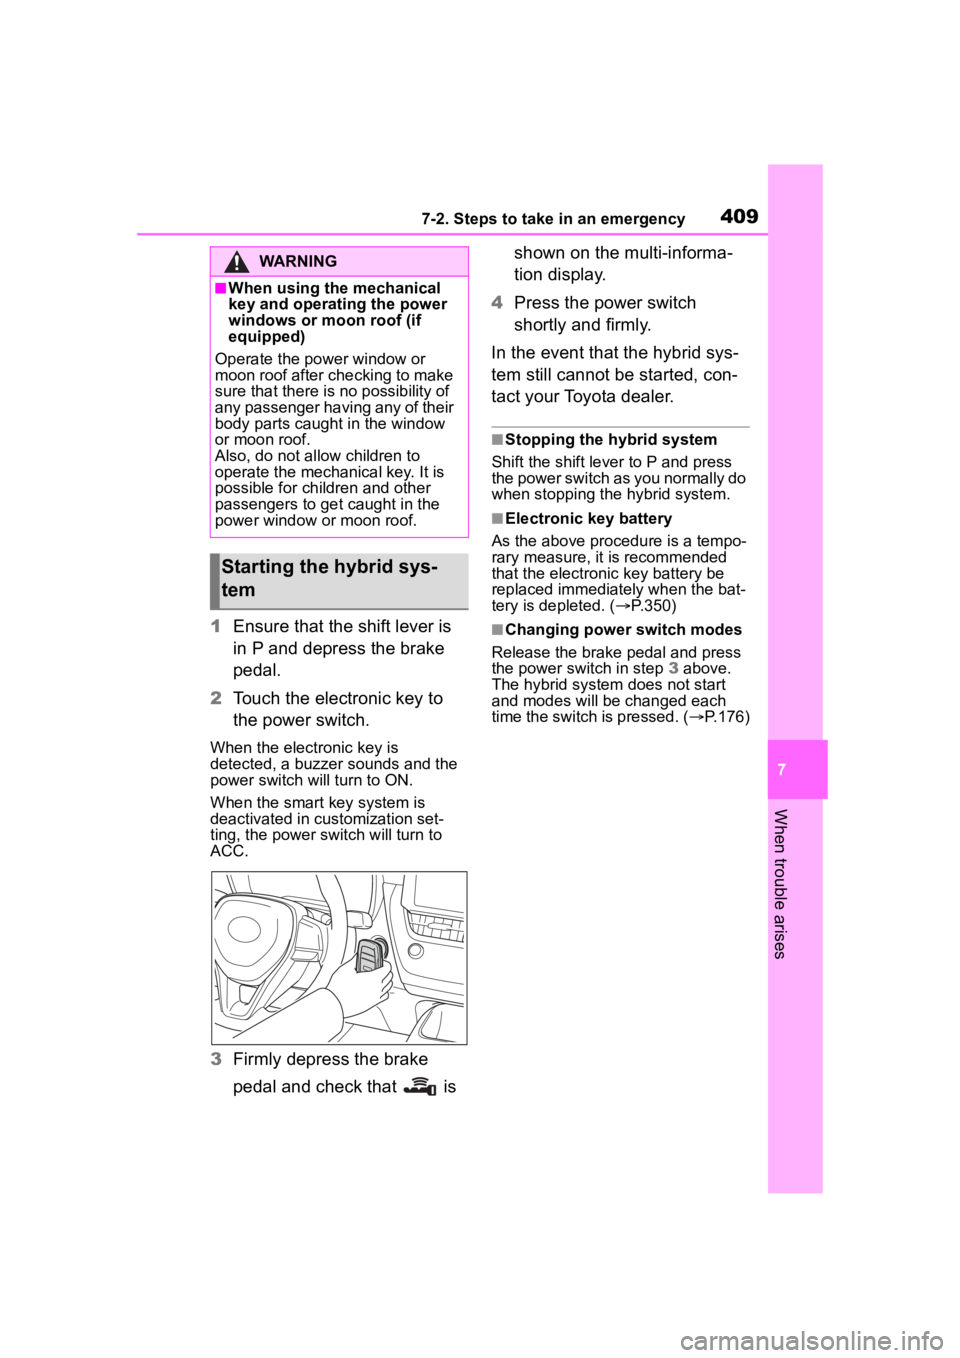
2 Touch the electronic key to
the power switch.
When the electronic key is
detected, a buzzer sounds and the
power switch will turn to ON.
When the smart key system is
deactivated in customization set-
ting, the power switch will turn to
ACC.
3Firmly depress the brake
pedal and check that is shown on the multi-informa-
tion display.
4 Press the power switch
shortly and firmly.
In the event that the hybrid sys-
tem still cannot be started, con-
tact your Toyota dealer.
■Stopping the hybrid system
Shift the shift lever to P and press
the power switch as you normally do
when stopping the hybrid system.
■Electronic key battery
As the above proce dure is a tempo-
rary measure, it is recommended
that the electronic key battery be
replaced immediately when the bat-
tery is depleted. ( P.350)
■Changing power switch modes
Release the brake pedal and press
the power switch in step 3 above.
The hybrid system does not start
and modes will be changed each
time the switch is pressed. ( P.176)
WARNING
■When using the mechanical
key and operating the power
windows or moon roof (if
equipped)
Operate the power window or
moon roof after checking to make
sure that there is n o possibility of
any passenger having any of their
body parts caught in the window
or moon roof.
Also, do not allow children to
operate the mechanical key. It is
possible for children and other
passengers to get caught in the
power window or moon roof.
Starting the hybrid sys-
tem