2023 TOYOTA COROLLA CROSS fuel
[x] Cancel search: fuelPage 151 of 500
1514-1. Before driving
4
Driving
WARNING
■Overloading the vehicle
Do not overload the vehicle.
It may not only cause damage to
the tires, but also degrade steer-
ing and braking ability, resulting in
an accident.
Trailer towing
Your vehicle is designed pri-
marily as a passen-
ger-and-load-carrying
vehicle. Towing a trailer can
have an adverse impact on
handling, performance,
braking, durability, and fuel
consumption. For your
safety and the safety of oth-
ers, you must not overload
your vehicle or trailer. You
must also ensure that you
are using appropriate tow-
ing equipment, that the tow-
ing equipment has been
installed correctly and used
properly, and that you
employ the requisite driv-
ing habits.
Vehicle-trailer stability and
braking performance are
affected by trailer stability,
brake performance and set-
ting, trailer brakes, the hitch
and hitch systems (if
equipped).
To tow a trailer safely, use
extreme care and drive the
vehicle in accordance with
your trailer’s characteris-
tics and operating condi-
tions.
Page 168 of 500
1684-2. Driving procedures
*: To improve fuel efficiency and reduce noise, shift the shift lever
to D for normal driving.
■To protect the continuously
variable transmission
If the transmission fluid tempera-
ture is high, “Transmission Oil Temp
High Stop in a Safe Place and See
Owner’s Manual” will be displayed
while driving, make sure to return to
D position driving and reduce speed
by easing off the accelerator pedal.
Stop the vehicle in a safe place, shift
the shift lever to P and let the engine
idle until the warning message goes
out.
When the warning message goes out, the vehicle can be driven again.
If the warning message does not go
out after waiting a while, have your
vehicle inspected by your Toyota
dealer.
■Restraining sudden start
(Drive-Start Control)
P.147
■After recharging/reconnecting
the battery
P.421
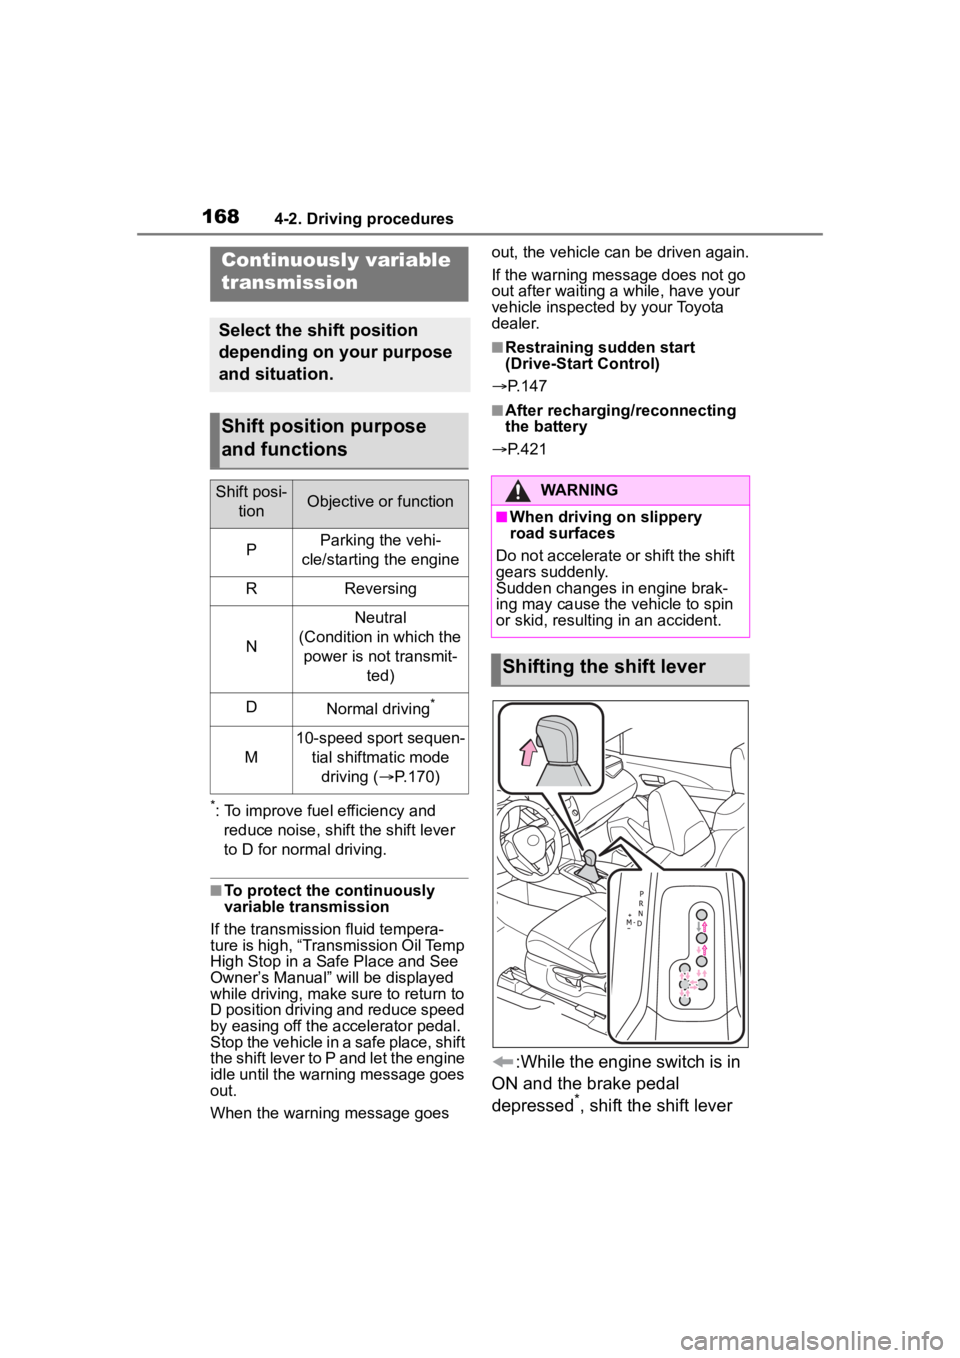
:While the engine switch is in
ON and the brake pedal
depressed
*, shift the shift lever
Continuously variable
transmission
Select the shift position
depending on your purpose
and situation.
Shift position purpose
and functions
Shift posi- tionObjective or function
PParking the vehi-
cle/starting the engine
RReversing
N
Neutral
(Condition in which the power is not transmit- ted)
DNormal driving*
M
10-speed sport sequen-tial shiftmatic mode driving ( P.170)
WARNING
■When driving on slippery
road surfaces
Do not accelerate or shift the shift
gears suddenly.
Sudden changes in engine brak-
ing may cause the vehicle to spin
or skid, resulting in an accident.
Shifting the shift lever
Page 179 of 500
1794-3. Operating the lights and wipers
4
Driving
■Daytime running light system
●Vehicles without a smart key sys-
tem :The daytime running lights
illuminate using the same lights as
the headlights and illuminate
darker than the headlights.
Vehicles with a smart key system
:The daytime runni ng lights illumi-
nate using the sa me lights as the
parking lights and illuminate darker
than the parking lights.
●To make your vehicle more visible
to other drivers during daytime
driving, the daytime running lights
turn on automatically when all of
the following condi tions are met.
(The daytime running lights are
not designed for use at night.)
• The engine is running
• The parking brake is released
• The headlight switch is in the
or
* position
*: When the surroundings are bright
The daytime running lights remain
on after they illumi nate, even if the
parking brake is set again.
●Daytime running lights can be
turned off by operating the switch.
●Compared to turning on the head-
lights, the daytime running light
system offers gr eater durability
and consumes less electricity, so
it can help improve fuel economy.
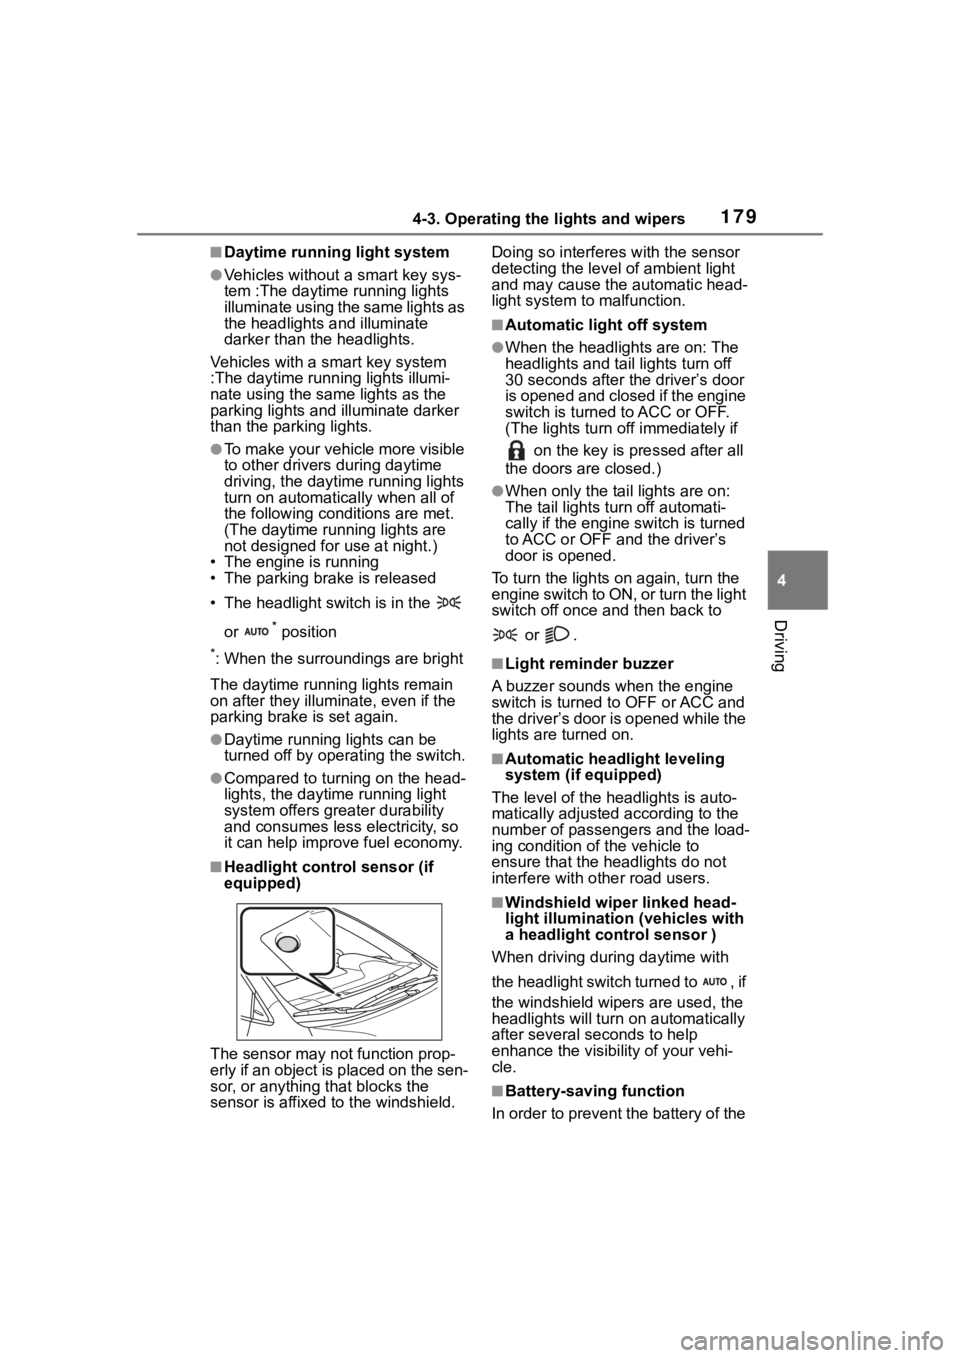
■Headlight control sensor (if
equipped)
The sensor may not function prop-
erly if an object is placed on the sen-
sor, or anything that blocks the
sensor is affixed to the windshield. Doing so interferes with the sensor
detecting the level
of ambient light
and may cause t he automatic head-
light system to malfunction.
■Automatic light off system
●When the headlights are on: The
headlights and tail lights turn off
30 seconds after the driver’s door
is opened and closed if the engine
switch is turned to ACC or OFF.
(The lights turn off immediately if
on the key is pressed after all
the doors are closed.)
●When only the tail lights are on:
The tail lights turn off automati-
cally if the engine switch is turned
to ACC or OFF and the driver’s
door is opened.
To turn the lights on again, turn the
engine switch to ON, or turn the light
switch off once and then back to
or .
■Light reminder buzzer
A buzzer sounds when the engine
switch is turned t o OFF or ACC and
the driver’s door is opened while the
lights are turned on.
■Automatic headlight leveling
system (if equipped)
The level of the headlights is auto-
matically adjusted according to the
number of passengers and the load-
ing condition of the vehicle to
ensure that the headlights do not
interfere with o ther road users.
■Windshield wiper linked head-
light illumination (vehicles with
a headlight control sensor )
When driving during daytime with
the headlight switch turned to , if
the windshield wipers are used, the
headlights will turn o n automatically
after several se conds to help
enhance the visibility of your vehi-
cle.
■Battery-saving function
In order to prevent the battery of the
Page 188 of 500
1884-4. Refueling
4-4.Refueling
Turn the engine switch off and
ensure that all the doors and
windows are closed.
Confirm the type of fuel.
■Fuel types
P. 4 3 6
■Fuel tank opening for unleaded
gasoline
To help prevent incorrect fueling,
your vehicle has a fuel tank opening
that only accommodates the spe-
cial nozzle on unle aded fuel pumps.
■If the malfunction indicator
lamp illuminates
The malfunction indicator lamp may
illuminate erroneous ly if refueling is
performed repeatedly when the fuel
tank is nearly full.
Opening the fuel tank
cap
Perform the following steps
to open the fuel tank cap:
Before refueling the vehi-
cle
WARNING
■When refueling the vehicle
Observe the following precautions
while refueling the vehicle. Failure
to do so may result in death or
serious injury.
●After exiting the vehicle and
before opening the fuel door,
touch an unpainted metal sur-
face to discharge any static
electricity. It is important to dis-
charge static electricity before
refueling because sparks result-
ing from static electricity can
cause fuel vapors to ignite while
refueling.
●Always hold the grips on the
fuel tank cap and turn it slowly
to remove it.
A whooshing sound may be
heard when the f uel tank cap is
loosened. Wait until the sound
cannot be heard before fully
removing the cap. In hot
weather, pressurized fuel may
spray out the filler neck and
cause injury.
●Do not allow anyone that has
not discharged static electricity
from their body to come close to
an open fuel tank.
●Do not inhale vaporized fuel.
Fuel contains substances that
are harmful if inhaled.
●Do not smoke while refueling
the vehicle.
Doing so may cause the fuel to
ignite and cause a fire.
●Do not return to the vehicle or
touch any person or object that
is statically charged.
This may cause static electricity
to build up, resulting in a possi-
ble ignition hazard.
■When refueling
Observe the following precautions
to prevent fuel overflowing from
the fuel tank:
●Securely insert the fuel nozzle
into the fuel filler neck.
●Stop filling the tank after the fuel
nozzle automatically clicks off.
Page 189 of 500
1894-4. Refueling
4
Driving
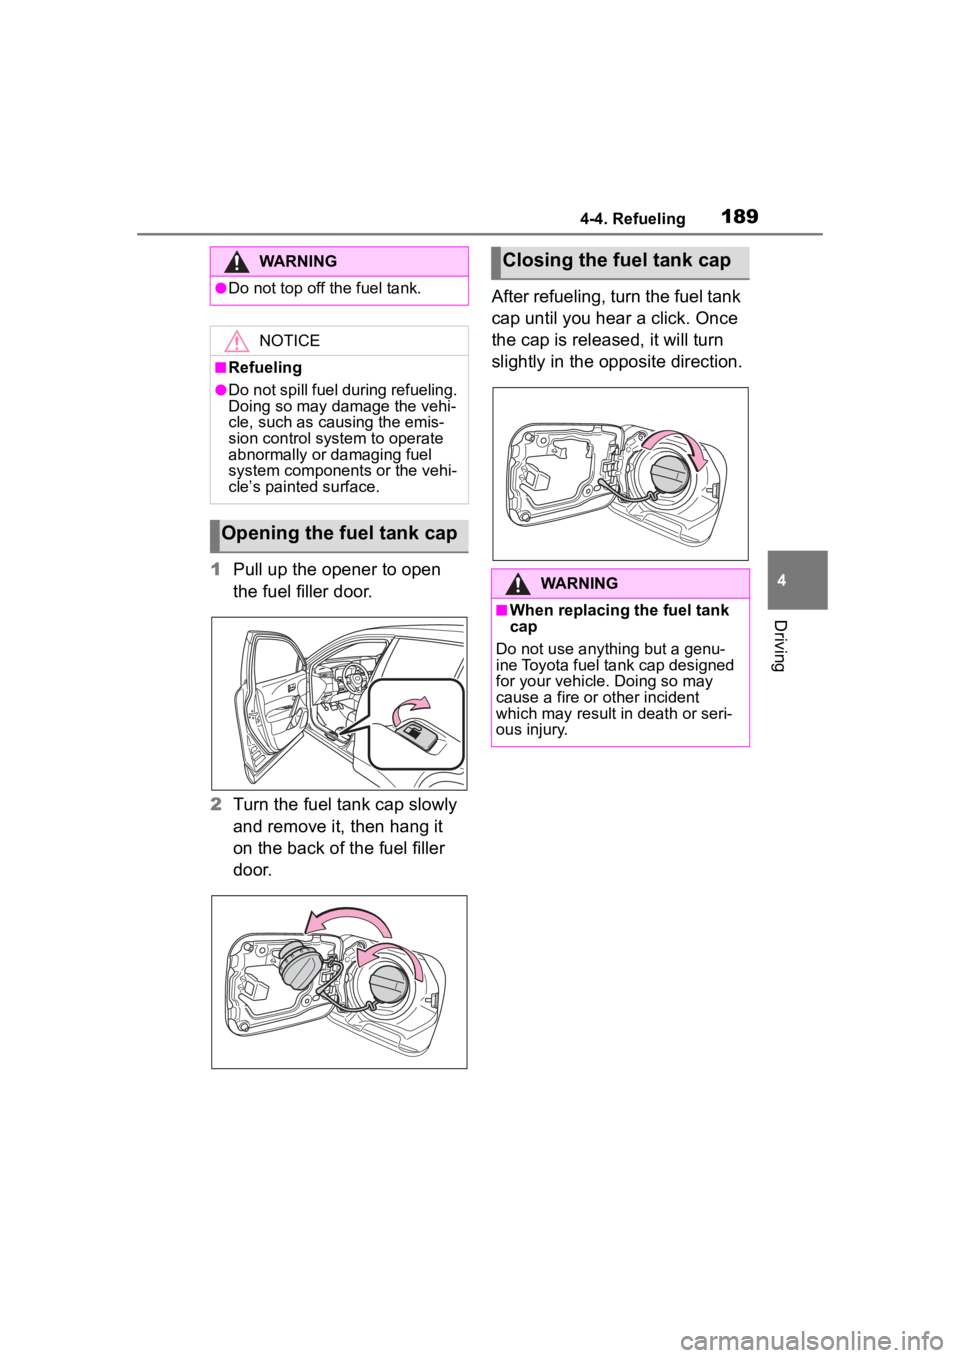
1Pull up the opener to open
the fuel filler door.
2 Turn the fuel tank cap slowly
and remove it, then hang it
on the back of the fuel filler
door. After refueling, turn the fuel tank
cap until you hear a click. Once
the cap is released, it will turn
slightly in the opposite direction.
WARNING
●Do not top off the fuel tank.
NOTICE
■Refueling
●Do not spill fuel during refueling.
Doing so may damage the vehi-
cle, such as causing the emis-
sion control system to operate
abnormally or damaging fuel
system components or the vehi-
cle’s painted surface.
Opening the fuel tank cap
Closing the fuel tank cap
WARNING
■When replacing the fuel tank
cap
Do not use anything but a genu-
ine Toyota fuel tank cap designed
for your vehicle. Doing so may
cause a fire or other incident
which may result i n death or seri-
ous injury.
Page 237 of 500
2374-5. Using the driving support systems
4
Driving
the brake lights may illuminate,
depending on the road conditions,
etc.
After entering the deceleration
stop phase, a buzzer will sound
continuously and a message will
be displayed to warn the driver,
and the vehicle will slowly decel-
erate and stop. After the vehicle
stops, the system will enter the
stop and hold phase.
After the vehicle is stopped, the
parking brake will be applied
automatically. After entering the
stop and hold phase, the buzzer
will continue sounding continu-
ously and the emergency flash-
ers (hazard lights) will flash to
warn other drivers of the emer-
gency.
■Restricted functions after the
operation is canceled
After shifting to the deceleration
stop phase, the following functions
will not be available until the engine
is re-started even though the emer-
gency driving stop system is can-
celed:
●LTA
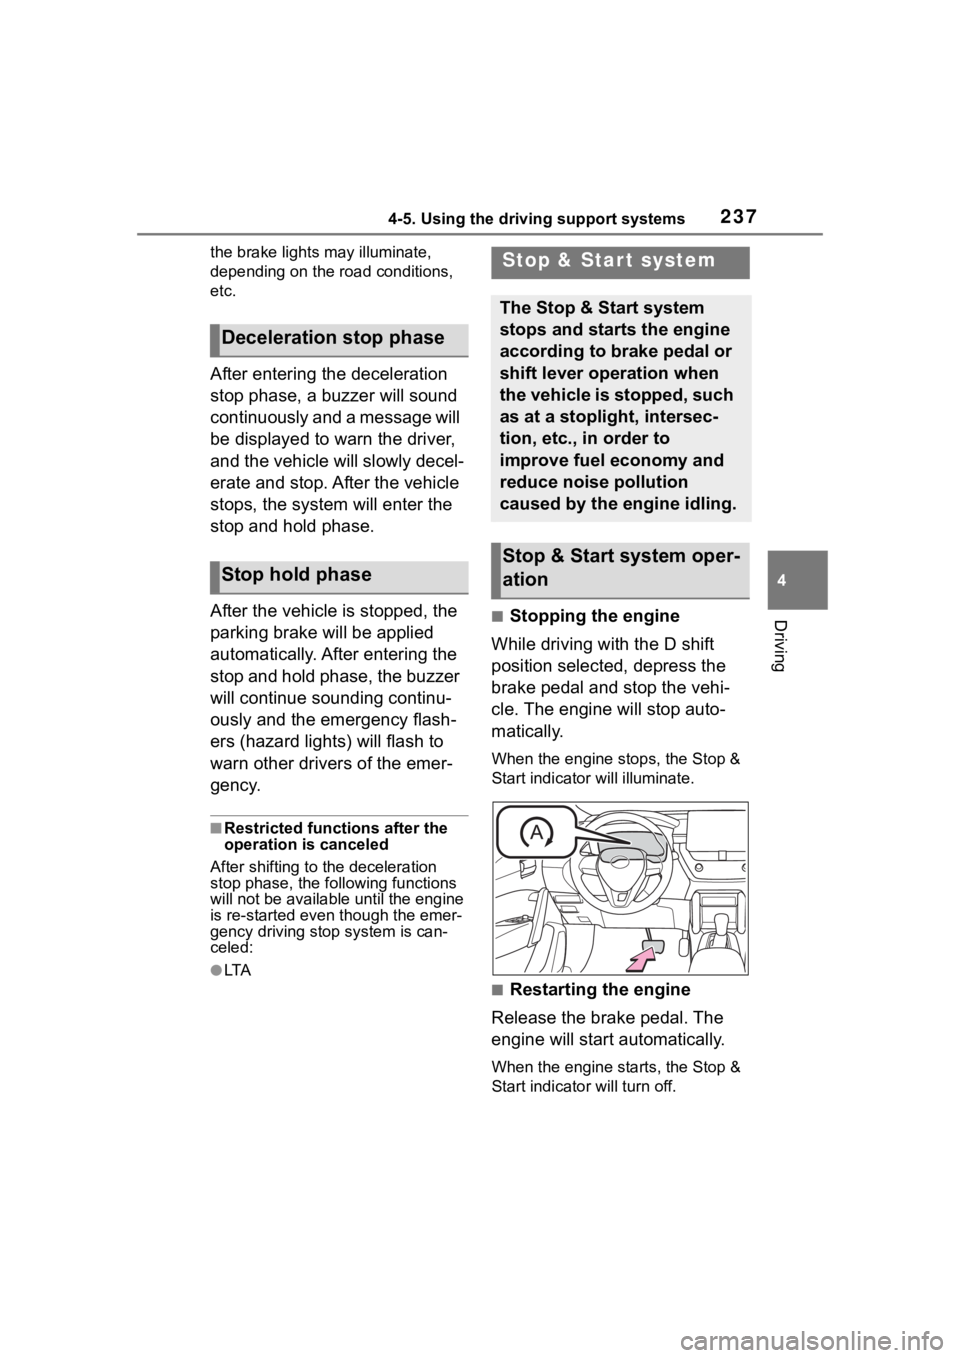
■Stopping the engine
While driving with the D shift
position selected, depress the
brake pedal and stop the vehi-
cle. The engine will stop auto-
matically.
When the engine stops, the Stop &
Start indicator will illuminate.
■Restarting the engine
Release the brake pedal. The
engine will start automatically.
When the engine starts, the Stop &
Start indicator will turn off.
Deceleration stop phase
Stop hold phase
Stop & Star t system
The Stop & Start system
stops and starts the engine
according to brake pedal or
shift lever operation when
the vehicle is stopped, such
as at a stoplight, intersec-
tion, etc., in order to
improve fuel economy and
reduce noise pollution
caused by the engine idling.
Stop & Start system oper-
ation
Page 295 of 500
2955-1. Using the air conditioning system and defogger
5
Interior features
To defog the windshield and the
side windows quickly, turn the air
flow and temperature up.
To return to the previous mode,
press the windshield defogger
switch again when the windshield is
defogged.
When the windshield defogger
switch is on, the indicator illumi-
nates on the windshield defogger
switch.
■Defogging the rear window
and outside rear view mir-
rors
Defoggers are used to defog the
rear window, and to remove
raindrops, dew and frost from
the outside rear view mirrors.
Press the rear window and out-
side rear view mirror defoggers
switch.
The defoggers will automatically
turn off after a while.
When the rear window and outside
rear view mirror defoggers switch is
on, the indicator illuminates on the
rear window and ou tside rear view
mirror defoggers switch.
■Eco air conditioning mode
The air conditioning is controlled
with low fuel consumption priori-
tized such as reducing fan
speed, etc.
Press the eco air conditioning
mode switch.
When the eco air conditioning
mode is on, the indicator illumi-
nates on the eco air conditioning
mode switch.
■When the outside temperature
exceeds 75°F (24°C) and the air
conditioning system is on
●In order to reduce the air condi-
tioning power consumption, the air
conditioning system may switch to
recirculated air mode automati-
cally. This may also reduce fuel
consumption.
●Recirculated air mode is selected
as a default mode when the
engine switch is turned to ON.
●It is possible to switch to outside
air mode at any time by pressing
the outside air mode switch.
■Fogging up of the windows
●The windows will easily fog up
when the humidity in the vehicle is
high. Turning “A/C” on will dehu-
midify the air from the outlets and
defog the windshield effectively.
●If you turn “A/C” off, the windows
may fog up more easily.
●The windows may fog up if the
recirculated air mode is used.
■When driving on dusty roads
Close all windows. If dust thrown up
by the vehicle is still drawn into the
vehicle after closing the windows, it
is recommended that the air intake
mode be set to outside air mode and
the fan speed to a ny setting except
off.
■Outside/recirculated air mode
●Setting to the recirculated air
mode temporarily is recom-
mended in preventing dirty air
from entering the vehicle interior
and helping to c ool the vehicle
when the outside air temperature
is high.
●Outside/recirculated air mode may
automatically switch depending on
the temperature setting or the
inside temperature.
Page 297 of 500
2975-1. Using the air conditioning system and defogger
5
Interior features
1Press the automatic mode
switch.
2 Adjust the temperature set-
ting.
3 To stop the operation, press
the off switch.
If the fan speed setting or air
flow modes are operated, the
automatic mode indicator goes
off. However, automatic mode
for functions other than that
operated is maintained.
■Using automatic mode
Fan speed is adjusted automati-
cally according to the temperature
setting and the ambient conditions. Therefore, the fan may stop for a
while until warm or
cool air is ready
to flow immediately after the auto-
matic mode switch pressed.
This function automatically con-
trols the air conditioning airflow
so that priority is given to the
front seats. Unnecessary air
conditioning is suppressed, con-
tributing to increased fuel effi-
ciency.
Front seat concentrated airflow
mode operates in the following
situations.
No passengers are detected
in the rear seats
The windshield defogger is
not operating
While operating, illumi-
nates.
■Manually turning front seat
concentrated airflow mode
on/off
In front seat concentrated air-
flow mode, directing airflow to
the front seats only and to all
seats can be switched via switch
operation. When the mode has
been switched manually, auto-
matic airflow control stops oper-
ating.
Press on the air condi-
tioning operation panel and
switch the airflow.
WARNING
■When the outside rear view
mirror defoggers are operat-
ing
Do not touch the outside rear view
mirror surfaces, as they can
become very hot and burn you.
NOTICE
■To prevent battery discharge
Do not leave the air conditioning
system on longer than necessary
when the engine is off.
■When repairing/replacing
parts of the air conditioning
system
Have repair/replacement per-
formed by your Toyota dealer.
When a part of the air conditioning
system, such as the evaporator, is
to be replaced, it must be
replaced with a new one.
Using automatic mode
Front seat concentrated
airflow mode (S-FLOW)