2023 PEUGEOT EXPERT audio
[x] Cancel search: audioPage 87 of 348

85
Ease of use and comfort
3The additional heating must always be
switched off while refuelling to avoid any risk
of fire or explosion.
To avoid the risk of poisoning or asphyxia, the programmable heating
must not be used, even for short periods, in a
closed environment such as a garage or
workshop which is not equipped with an
exhaust gas extraction system.
Do not park the vehicle on a flammable
surface (dry grass, dead leaves, paper, etc.)
- Risk of fire!
Glazed surfaces such as the rear screen
or windscreen can become very hot in
places.
Never put objects on these surfaces; never
touch these surfaces - Risk of burns!
Independent additional
heating
Depending on the country of sale, this is an
additional and independent system which heats
the hot water circuit of the Diesel engine to
improve comfort and to raise the temperature
of the cold engine. It improves demisting and
defrosting performance. With the engine idling
or the vehicle stationary, it is normal to notice a
high-pitched whistling and some emissions of
smoke or odour.
The temperature near the heating system must
not exceed 120°C. A higher temperature (e.g. in
a paint oven) could damage the components of
electronic circuits.
The additional heating is supplied by the
vehicle's fuel tank. Make sure that the low fuel
warning lamp is not on.
To avoid the risks of poisoning or suffocation, the additional heating must
not be used, even for short periods, in a
closed environment such as a garage or
workshop which is not equipped with an
exhaust gas extraction system.
Do not park the vehicle on a flammable
surface (for example: dry grass, fallen
leaves, paper, etc.) - risk of fire!
Have the additional heating checked at
least once a year, at the beginning of
winter.
For maintenance and repairs, you must only
contact a PEUGEOT dealer or a qualified
workshop.
Temperature pre- conditioning (Electric)
This function allows you to programme the
temperature in the passenger compartment to
reach a pre-defined, non-modifiable temperature
(approx. 21°C) before you enter the vehicle, on
the days and at the times of your choice.
This function is available when the vehicle is
connected or not connected.
Programming
With Bluetooth® audio system
Temperature pre-conditioning is not available
with the Bluetooth® audio system.
With the Audio System with T ouch Screen
or 3D Connected Navigation system
Programming can be carried out from a
smartphone using the MYPEUGEOT APP
application.
For more information on Remote functions,
refer to the corresponding section.
With 3D Connected Navigation system
In the Applications menu:
Press " Car Apps" to display the applications
home page.
Select Temperature conditioning .
►
Press
+ to add a programme. CarM an uals 2 .c o m
Page 92 of 348

90
Lighting and visibility
on if rain is detected, at the same time as the
automatic rain sensitive wipers.
As soon as the brightness returns to a sufficient
level or after the windscreen wipers are switched
off, the lamps are switched off automatically.
Malfunction
In the event of a malfunction of the rain/sunshine
sensor, the vehicle’s lamps come on and this
warning lamp is displayed on the instrument
panel, accompanied by an audible signal and/or
the display of a message.
Have it checked by a PEUGEOT dealer or a
qualified workshop.
Do not cover the rain/sunshine sensor
located at the top centre of the
windscreen behind the interior rear view
mirror; the associated functions would no
longer be controlled.
In fog or snow, the rain/sunshine sensor
may detect sufficient light. For this
reason, the lighting will not come on
automatically.
The inner surface of the windscreen may become misted up and affect the proper
operation of the rain/sunshine sensor.
In humid and cold weather, demist the
windscreen regularly.
Guide-me-home and
welcome lighting
Guide-me-home lighting
Manual
► With the ignition off, pull the lighting control
stalk toward you ("headlamp flash") to activate/
deactivate the function.
Manual guide-me-home lighting goes off
automatically after a period of time.
Automatic
With the "Automatic illumination of lamps"
function activated (lighting control stalk in the
"AUTO" position) and when the light is poor, the
dipped beam headlamps come on automatically
when the ignition is switched off.
With the ring in the "AUTO" position and when
the light is poor, the dipped beam headlamps
come on automatically when the ignition is
switched off.
With audio system or touch screen
The activation, deactivation and duration of guide-me-home lighting
are set in the vehicle configuration menu.
Exterior welcome lighting
The remote operation of the lighting makes your
approach to the vehicle easier in poor light. It
is activated when the lighting control is in the
"AUTO" position and the level of light detected
by the sunshine sensor is low.
Switching on
Press this button on the remote control or
on one of the front door handles with the
"Keyless Entry and Start" system.
The dipped beam headlamps and sidelamps
come on; your vehicle is also unlocked.
Switching off
The exterior welcome lighting switches off
automatically after a set time, when the ignition
is switched on or on locking the vehicle.
Programming
With audio system or touch screen
The activation, deactivation and duration of the welcome lighting
can be set via the vehicle configuration menu. CarM an uals 2 .c o m
Page 93 of 348
91
Lighting and visibility
4Automatic lighting systems - General
recommendations
The automatic lighting systems use a detection
camera, located at the top of the windscreen.
Operating limits
The system may be disrupted or not work
correctly:
–
When visibility conditions are poor
(e.g.
snowfall, heavy rain).
–
If the windscreen is dirty
, misted-up or
masked (e.g.
sticker) in front of the camera.
–
If the vehicle is facing highly reflective signs
or safety barrier reflectors.
The system is not able to detect:
–
Road users that do not have their own
lighting, such as pedestrians.
–
V
ehicles with hidden lighting (e.g. travelling
behind a safety barrier on the motorway).
–
V
ehicles at the top or bottom of a steep
slope, on winding roads, on crossroads.
Maintenance
Clean the windscreen regularly,
particularly the area in front of the camera.
The internal surface of the windscreen can
also become misted around the camera.
In humid and cold weather, demist the
windscreen regularly.
Do not allow snow to accumulate on the
bonnet or roof of the vehicle as this could
obstruct the camera.
Automatic headlamp dipping
For more information, refer to the
General recommendations for
automatic lighting systems.
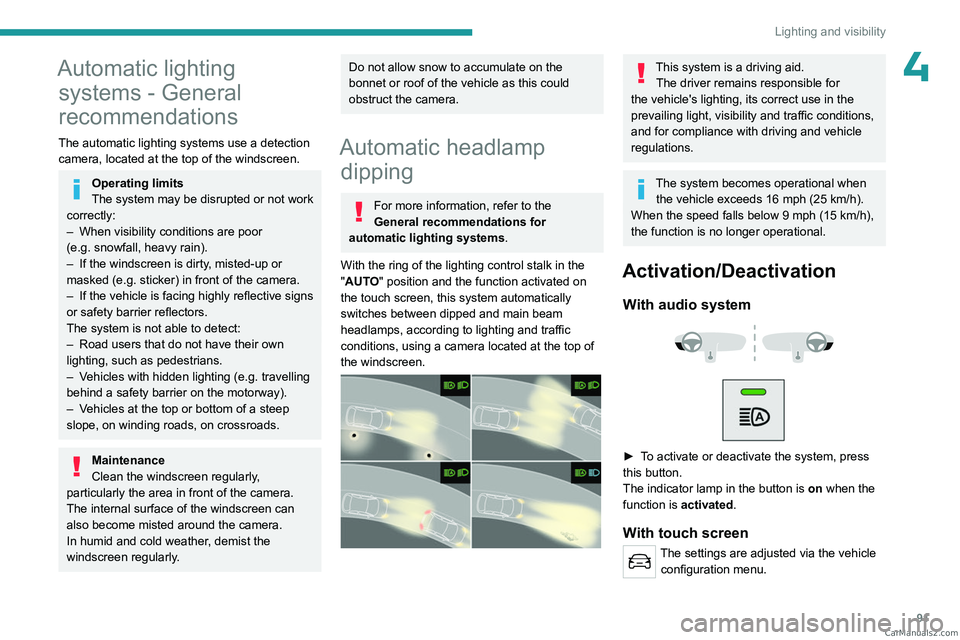
With the ring of the lighting control stalk in the
"AUTO" position and the function activated on
the touch screen, this system automatically
switches between dipped and main beam
headlamps, according to lighting and traffic
conditions, using a camera located at the top of
the windscreen.
This system is a driving aid. The driver remains responsible for
the vehicle's lighting, its correct use in the
prevailing light, visibility and traffic conditions,
and for compliance with driving and vehicle
regulations.
The system becomes operational when the vehicle exceeds 16 mph (25 km/h).
When the speed falls below 9 mph (15
km/h),
the function is no longer operational.
Activation/Deactivation
With audio system
► To activate or deactivate the system, press
this button.
The indicator lamp in the button is
on
when the
function is activated.
With touch screen
The settings are adjusted via the vehicle configuration menu. CarM an uals 2 .c o m
Page 95 of 348
93
Lighting and visibility
4Interior ambient lighting
The dimmed passenger compartment lighting
improves visibility inside the vehicle when the
light is poor.
Switching on
At night, the front roof lighting and panoramic
roof lighting (if fitted to your vehicle) comes on
automatically when the sidelamps are switched
on.
The ambient lighting switches off automatically
when the sidelamps are switched off.
Programming
With audio system or touch screen
The activation, deactivation and the choice of brightness of the
ambience lighting can be set via the vehicle
configuration menu.
Wiper control stalk
Before operating the wipers in wintry
conditions, clear any snow, ice or frost
from the windscreen and around the wiper
arms and blades.
Do not operate the wipers on a dry
windscreen. In extremely hot or cold
weather, check that the wiper blades are not
stuck to the windscreen before operating the
wipers.
After using an automatic car wash, you may temporarily notice abnormal noises
and poorer wiping performance.
You do not
need to replace the wiper blades.
Without AUTO wiping
With AUTO wiping
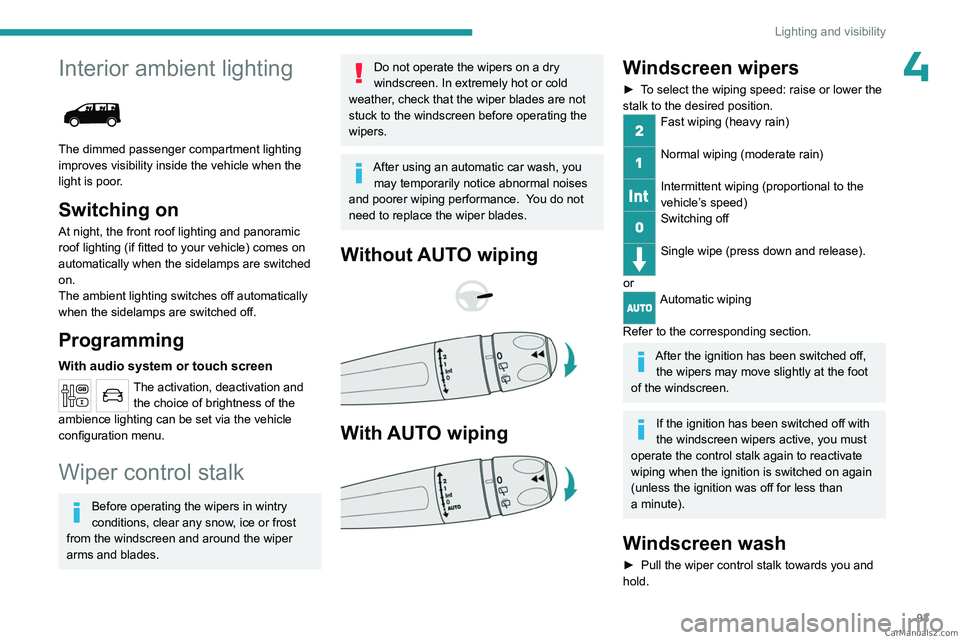
Windscreen wipers
► To select the wiping speed: raise or lower the
stalk to the desired position.
Fast wiping (heavy rain)
Normal wiping (moderate rain)
Intermittent wiping (proportional to the
vehicle’s speed)
Switching off
Single wipe (press down and release).
or
Automatic wiping
Refer to the corresponding section.
After the ignition has been switched off, the wipers may move slightly at the foot
of the windscreen.
If the ignition has been switched off with
the windscreen wipers active, you must
operate the control stalk again to reactivate
wiping when the ignition is switched on again
(unless the ignition was off for less than
a
minute).
Windscreen wash
► Pull the wiper control stalk towards you and
hold. CarM an uals 2 .c o m
Page 97 of 348
95
Lighting and visibility
4Reverse gear
When reverse gear is engaged, if the windscreen
wipers are operating, the rear wiper will come
into operation automatically (activated by
default).
Activation/Deactivation
With audio system or touch screen
The system's settings are adjusted via the vehicle configuration menu.
This function is activated by default.
In the event of accumulation of snow or
hard frost or if a bicycle carrier is fitted to
the tailgate, deactivate the automatic rear
wiper via the vehicle configuration menu.
Rear screenwash
► Turn the ring as far as it will go and hold it in
position.
The screenwash and the wiper operate for as
long as the ring remains turned.
A final wiping cycle is performed when screen
washing ends.
Special position of the
windscreen wipers
This maintenance position is used while cleaning
or replacing the wiper blades. It can also be
useful, in wintry weather (ice, snow), to release
the wiper blades from the windscreen.
To maintain the effectiveness of the flat wiper blades, it is advisable to:
–
handle them with care.
–
clean them regularly using soapy water
.
–
avoid using them to hold cardboard on the
windscreen.
–
replace them at the first signs of wear
.
Before removing a windscreen wiper blade
Operating the wiper control stalk immediately
after switching off the ignition will place the wiper
blades in a vertical position.
►
Proceed with the desired operation or the
replacement of the wiper blades.
After refitting a windscreen wiper blade
► To return the wiper blades to their initial
position after the operation, switch on the ignition
and operate the wiper control stalk.
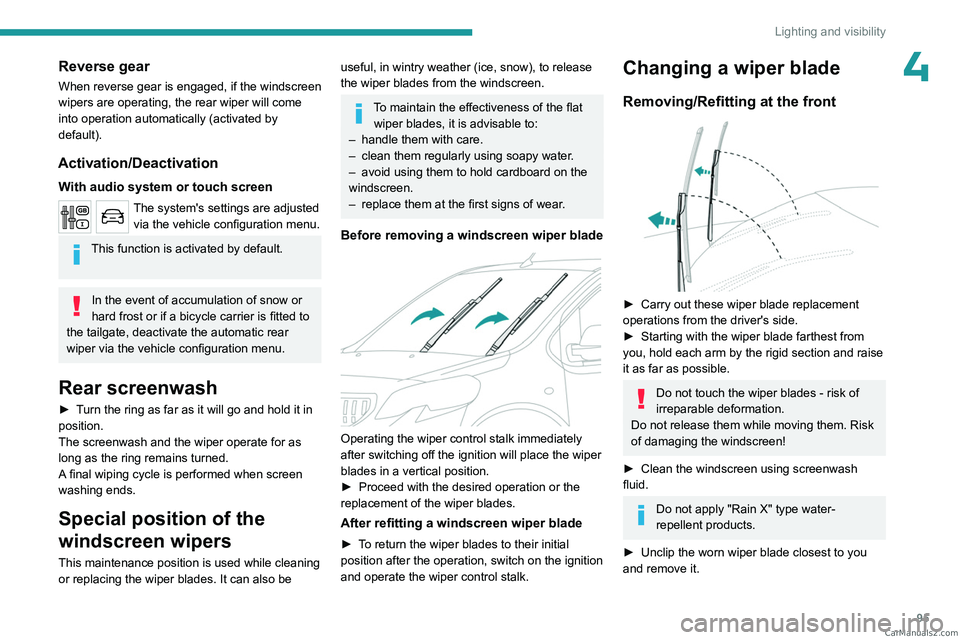
Changing a wiper blade
Removing/Refitting at the front
► Carry out these wiper blade replacement
operations from the driver's side.
►
Starting with the wiper blade farthest from
you, hold each arm by the rigid section and raise
it as far as possible.
Do not touch the wiper blades - risk of
irreparable deformation.
Do not release them while moving them. Risk
of damaging the windscreen!
►
Clean the windscreen using screenwash
fluid.
Do not apply "Rain X" type water-
repellent products.
►
Unclip the worn wiper blade closest to you
and remove it. CarM an uals 2 .c o m
Page 138 of 348
136
Driving
the "START/STOP" button to assist unlocking
of the steering column. A message is
displayed.
Switching off
With the conventional key/With the
remote control key
► Immobilise the vehicle.
► T urn the key all the way to position 1 (Stop)
and remove it from the ignition.
►
T
o lock the steering column, turn the steering
wheel until it locks.
To facilitate unlocking of the steering column, it is recommended that the
wheels be returned to the straight ahead
position before switching off the engine.
►
Check that the parking brake is correctly
applied, particularly on sloping ground.
Never switch off the ignition before the
complete immobilisation of the vehicle.
With the engine off, the braking and steering
assistance systems are also turned off: risk of
loss of control of the vehicle.
As a safety measure, never leave the vehicle without taking the remote control
with you, even for a short time.
Avoid attaching heavy objects to the key or the remote control, which would weigh
down on its blade in the ignition switch and
could cause a malfunction.
Energy economy mode
After the engine has stopped (position 1. Stop),
for a maximum combined duration of 30 minutes,
you can still use functions such as the audio and
telematics system, courtesy lamps or dipped
beam headlamps.
For more information on Energy
economy mode, refer to the
corresponding section.
Key left in the ignition
When opening the driver's door, an alert
message is displayed, accompanied by
an audible signal, to remind you that the key
is still in the ignition switch at position 1
(Stop).
If the key has been left in the ignition switch
at position 2 (Ignition on) , the ignition will be
switched off automatically after one hour.
To switch the ignition back on, turn the key
to position 1 (Stop), then back to position 2
(Ignition on) .
With Keyless Entry and Start
► Immobilise the vehicle.
► With the remote control in the recognition
zone, press the " START/STOP" button.
The engine stops and the steering column locks.
If the vehicle is not immobilised, the
engine will not stop.
To avoid any risk of jamming the pedals: – only use mats which are suited to the
fixings already present in the vehicle; these
fixings must be used,
–
never place one mat on top of another
.
The use of mats not approved by PEUGEOT
may interfere with access to the pedals and
hinder the operation of the cruise control /
speed limiter.
The mats approved by PEUGEOT have two
fixings located below the seat.
Starting/Switching off the
electric motor
Starting
The drive selector must be in mode P.
► If using a conventional or remote control
key
, depress the brake pedal and turn the key
to position 3 until the motor starts, without
depressing the accelerator. As soon as the motor
starts, release the key so it returns to position 2.
►
If using
Keyless Entry and Start, depress the
brake pedal and briefly press the "START/STOP"
button. CarM an uals 2 .c o m
Page 149 of 348
147
Driving
6When starting the vehicle, no mode can be
selected until the READY indicator lamp is
displayed.
When the message disappears, the selected
mode is activated and remains indicated on the
instrument panel (except Normal mode).
Each time the ignition is switched on, Normal
mode is selected by default.
Normal
This optimises the driving range and dynamic
performance.
To obtain maximum torque and power, depress
the accelerator pedal fully.
Eco
Optimises energy consumption, by reducing
the output of the heating and air conditioning
(without actually deactivating them) and limiting
both motor torque and power.
Power
Provides equivalent vehicle performance when
fully laden (GVW) to when the vehicle is in
Normal mode and when unladen.
Stop & Start
The Stop & Start function puts the engine temporarily into standby - STOP mode - during
phases when the vehicle is stationary (e.g.
red
lights, traffic jams). The engine automatically
restarts - START mode - as soon as the driver
indicates the intention of moving off again.
Primarily designed for urban use, the function
is intended to reduce fuel consumption and
exhaust emissions as well as the noise level
when stationary.
The function does not affect the functionalities of
the vehicle, in particular the braking.
Deactivation/Reactivation
With audio system
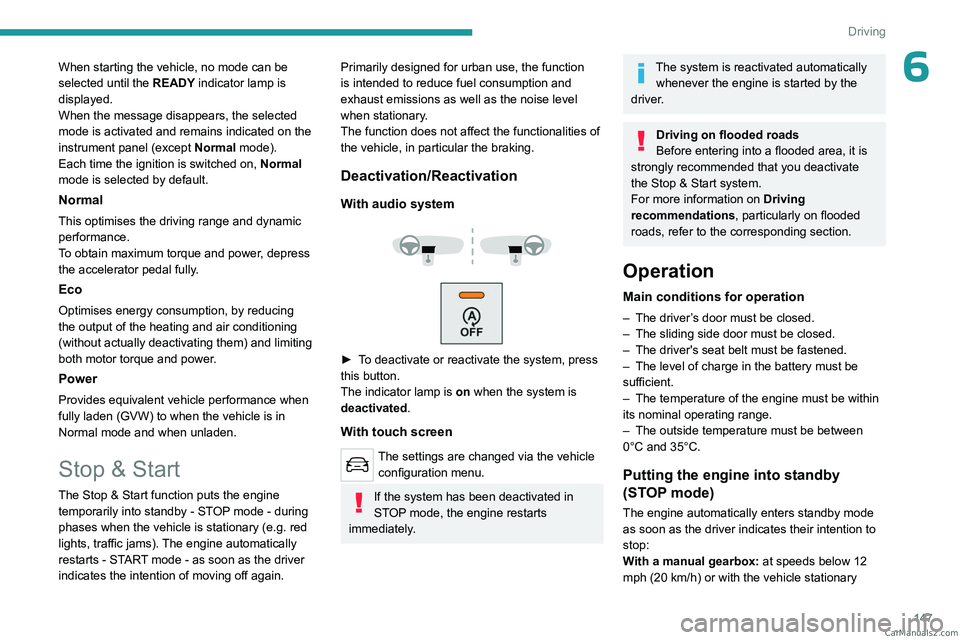
► To deactivate or reactivate the system, press
this button.
The indicator lamp is on when the system is
deactivated.
With touch screen
The settings are changed via the vehicle configuration menu.
If the system has been deactivated in
STOP mode, the engine restarts
immediately.
The system is reactivated automatically whenever the engine is started by the
driver.
Driving on flooded roads
Before entering into a flooded area, it is
strongly recommended that you deactivate
the Stop & Start system.
For more information on Driving
recommendations, particularly on flooded
roads, refer to the corresponding section.
Operation
Main conditions for operation
– The driver ’s door must be closed.
– The sliding side door must be closed.
–
The driver's seat belt must be fastened.
–
The level of charge in the battery must be
sufficient.
–
The temperature of the engine must be within
its nominal operating range.
–
The outside temperature must be between
0°C and 35°C.
Putting the engine into standby
(STOP mode)
The engine automatically enters standby mode
as soon as the driver indicates their intention to
stop:
With a manual gearbox: at speeds below 12
mph (20
km/h) or with the vehicle stationary CarM an uals 2 .c o m
Page 165 of 348
163
Driving
6Seat belts fastened for all passengers.
Stabilised speed on roads with no or low
curvature.
This warning lamp lights up on the instrument panel without any additional
message, to indicate that the automatic braking
system is not available.
This is a normal behavior indicating that a
condition is not fulfilled and which does not
request the support of a workshop.
In any situations with ignition on where automatic
braking presents a risk, deactivating the
system via the vehicle's configuration menu is
recommended, for instance:
–
T
owing a trailer (particularly a trailer without its
own braking system).
–
Carrying long objects on roof bars or roof rack.
–
Driving with snow chains.
–
Using an automatic car wash.
–
Performing any maintenance (e.g.
changing a
wheel, working inside the engine compartment).
–
Placing the vehicle on a rolling bench in a
workshop.
–
T
owing the vehicle.
–
Following a front bumper deformation.
–
Following a damage of the windscreen close
to the detection camera.
In case the detection is degraded or
temporarily unavailable by environment
conditions, then a driver indication is not
displayed (because a driver action is not
requested).
It can be dangerous to drive if the brake
lamps are not in perfect working order.
The driver must not overload the vehicle (keep within the GVW limit and load
height limits for roof bars).
Collision Risk Alert
This function warns the driver if there is a risk
of collision with the preceding vehicle, or with a
pedestrian or cyclist.
Modifying the alert trigger threshold
This trigger threshold determines the sensitivity
with which the function warns of the risk of
collision.
The threshold is set via the vehicle configuration menu with the audio
system or touch screen.
►
Select one of the three pre-defined
thresholds: "
Far", "Normal" or "Close".
The last threshold selected is memorised when
the ignition is switched off.
Operation
Depending on the collision risk detected by the
system and the alert trigger threshold chosen
by the driver, different levels of alert may be
triggered and displayed on the instrument panel.
The system takes into account the vehicle
dynamics, the difference speed of the own
vehicle and the object identified for the
collision risk, and the operation of the vehicle
(e.g. actions on the pedals, steering wheel) to
trigger the alert at the most relevant moment.
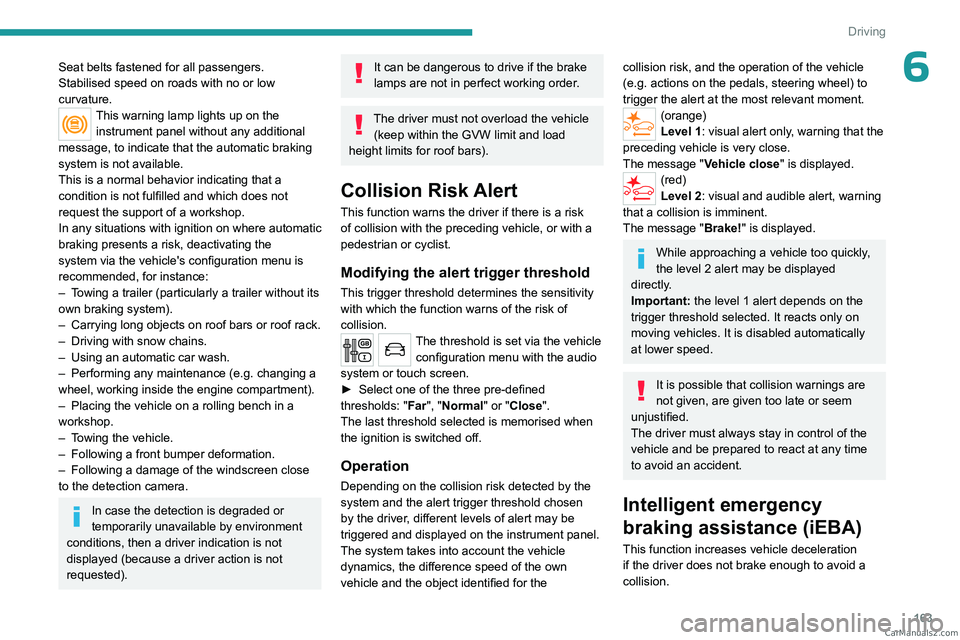
(orange)
Level 1: visual alert only, warning that the
preceding vehicle is very close.
The message "Vehicle close" is displayed.
(red)
Level 2: visual and audible alert, warning
that a collision is imminent.
The message "Brake! " is displayed.
While approaching a vehicle too quickly,
the level 2 alert may be displayed
directly.
Important: the level 1 alert depends on the
trigger threshold selected. It reacts only on
moving vehicles. It is disabled automatically
at lower speed.
It is possible that collision warnings are
not given, are given too late or seem
unjustified.
The driver must always stay in control of the
vehicle and be prepared to react at any time
to avoid an accident.
Intelligent emergency
braking assistance (iEBA)
This function increases vehicle deceleration
if the driver does not brake enough to avoid a
collision. CarM an uals 2 .c o m