2023 NISSAN SENTRA ECO mode
[x] Cancel search: ECO modePage 296 of 556
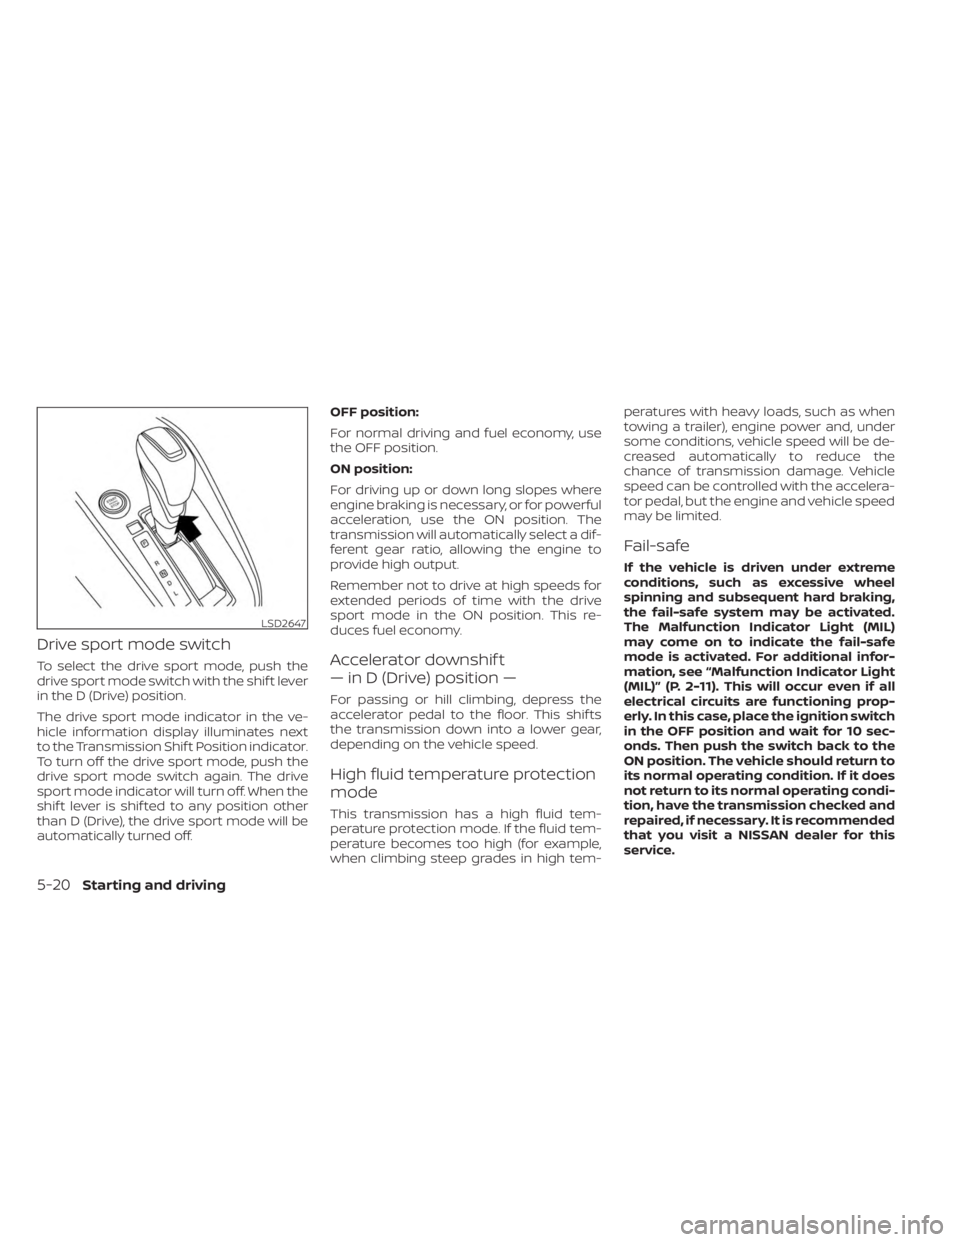
Drive sport mode switch
To select the drive sport mode, push the
drive sport mode switch with the shif t lever
in the D (Drive) position.
The drive sport mode indicator in the ve-
hicle information display illuminates next
to the Transmission Shif t Position indicator.
To turn off the drive sport mode, push the
drive sport mode switch again. The drive
sport mode indicator will turn off. When the
shif t lever is shif ted to any position other
than D (Drive), the drive sport mode will be
automatically turned off.OFF position:
For normal driving and fuel economy, use
the OFF position.
ON position:
For driving up or down long slopes where
engine braking is necessary, or for powerful
acceleration, use the ON position. The
transmission will automatically select a dif-
ferent gear ratio, allowing the engine to
provide high output.
Remember not to drive at high speeds for
extended periods of time with the drive
sport mode in the ON position. This re-
duces fuel economy.Accelerator downshif t
— in D (Drive) position —
For passing or hill climbing, depress the
accelerator pedal to the floor. This shif ts
the transmission down into a lower gear,
depending on the vehicle speed.
High fluid temperature protection
mode
This transmission has a high fluid tem-
perature protection mode. If the fluid tem-
perature becomes too high (for example,
when climbing steep grades in high tem-peratures with heavy loads, such as when
towing a trailer), engine power and, under
some conditions, vehicle speed will be de-
creased automatically to reduce the
chance of transmission damage. Vehicle
speed can be controlled with the accelera-
tor pedal, but the engine and vehicle speed
may be limited.
Fail-safe
If the vehicle is driven under extreme
conditions, such as excessive wheel
spinning and subsequent hard braking,
the fail-safe system may be activated.
The Malfunction Indicator Light (MIL)
may come on to indicate the fail-safe
mode is activated. For additional infor-
mation, see “Malfunction Indicator Light
(MIL)” (P. 2-11). This will occur even if all
electrical circuits are functioning prop-
erly. In this case, place the ignition switch
in the OFF position and wait for 10 sec-
onds. Then push the switch back to the
ON position. The vehicle should return to
its normal operating condition. If it does
not return to its normal operating condi-
tion, have the transmission checked and
repaired, if necessary. It is recommended
that you visit a NISSAN dealer for this
service.
LSD2647
5-20Starting and driving
Page 298 of 556
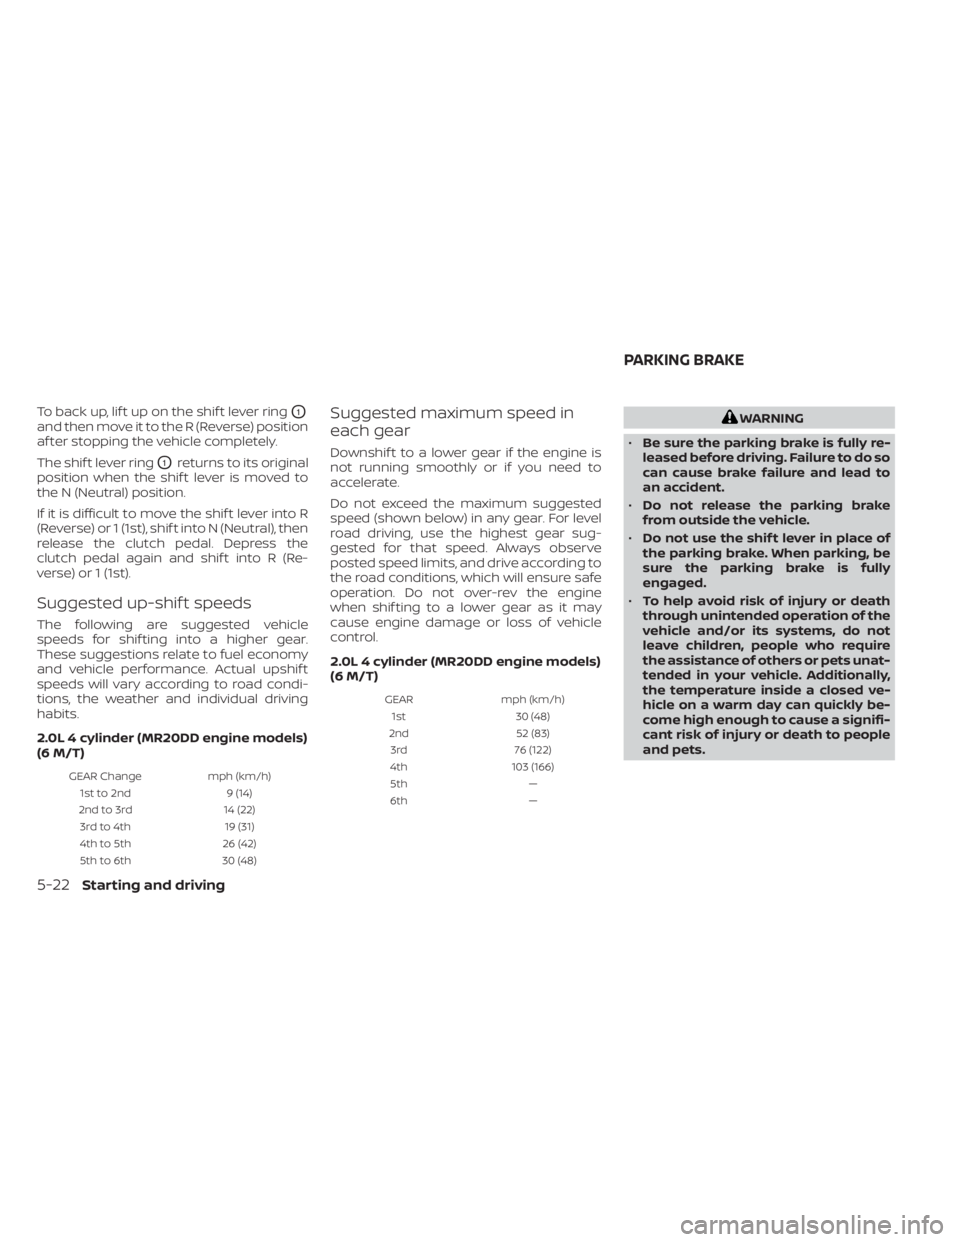
To back up, lif t up on the shif t lever ringO1
and then move it to the R (Reverse) position
af ter stopping the vehicle completely.
The shif t lever ring
O1returns to its original
position when the shif t lever is moved to
the N (Neutral) position.
If it is difficult to move the shif t lever into R
(Reverse) or 1 (1st), shif t into N (Neutral), then
release the clutch pedal. Depress the
clutch pedal again and shif t into R (Re-
verse) or 1 (1st).
Suggested up-shif t speeds
The following are suggested vehicle
speeds for shif ting into a higher gear.
These suggestions relate to fuel economy
and vehicle performance. Actual upshif t
speeds will vary according to road condi-
tions, the weather and individual driving
habits.
2.0L 4 cylinder (MR20DD engine models)
(6 M/T)
GEAR Change mph (km/h)
1st to 2nd 9 (14)
2nd to 3rd 14 (22)
3rd to 4th 19 (31)
4th to 5th 26 (42)
5th to 6th 30 (48)
Suggested maximum speed in
each gear
Downshif t to a lower gear if the engine is
not running smoothly or if you need to
accelerate.
Do not exceed the maximum suggested
speed (shown below) in any gear. For level
road driving, use the highest gear sug-
gested for that speed. Always observe
posted speed limits, and drive according to
the road conditions, which will ensure safe
operation. Do not over-rev the engine
when shif ting to a lower gear as it may
cause engine damage or loss of vehicle
control.
2.0L 4 cylinder (MR20DD engine models)
(6 M/T)
GEARmph (km/h)
1st 30 (48)
2nd 52 (83)
3rd 76 (122)
4th 103 (166)
5th —
6th —
WARNING
• Be sure the parking brake is fully re-
leased before driving. Failure to do so
can cause brake failure and lead to
an accident.
• Do not release the parking brake
from outside the vehicle.
• Do not use the shif t lever in place of
the parking brake. When parking, be
sure the parking brake is fully
engaged.
• To help avoid risk of injury or death
through unintended operation of the
vehicle and/or its systems, do not
leave children, people who require
the assistance of others or pets unat-
tended in your vehicle. Additionally,
the temperature inside a closed ve-
hicle on a warm day can quickly be-
come high enough to cause a signifi-
cant risk of injury or death to people
and pets.
PARKING BRAKE
5-22Starting and driving
Page 300 of 556
The ECO mode helps to enhance the fuel
economy by controlling the throttle sensi-
tivity and transmission points.
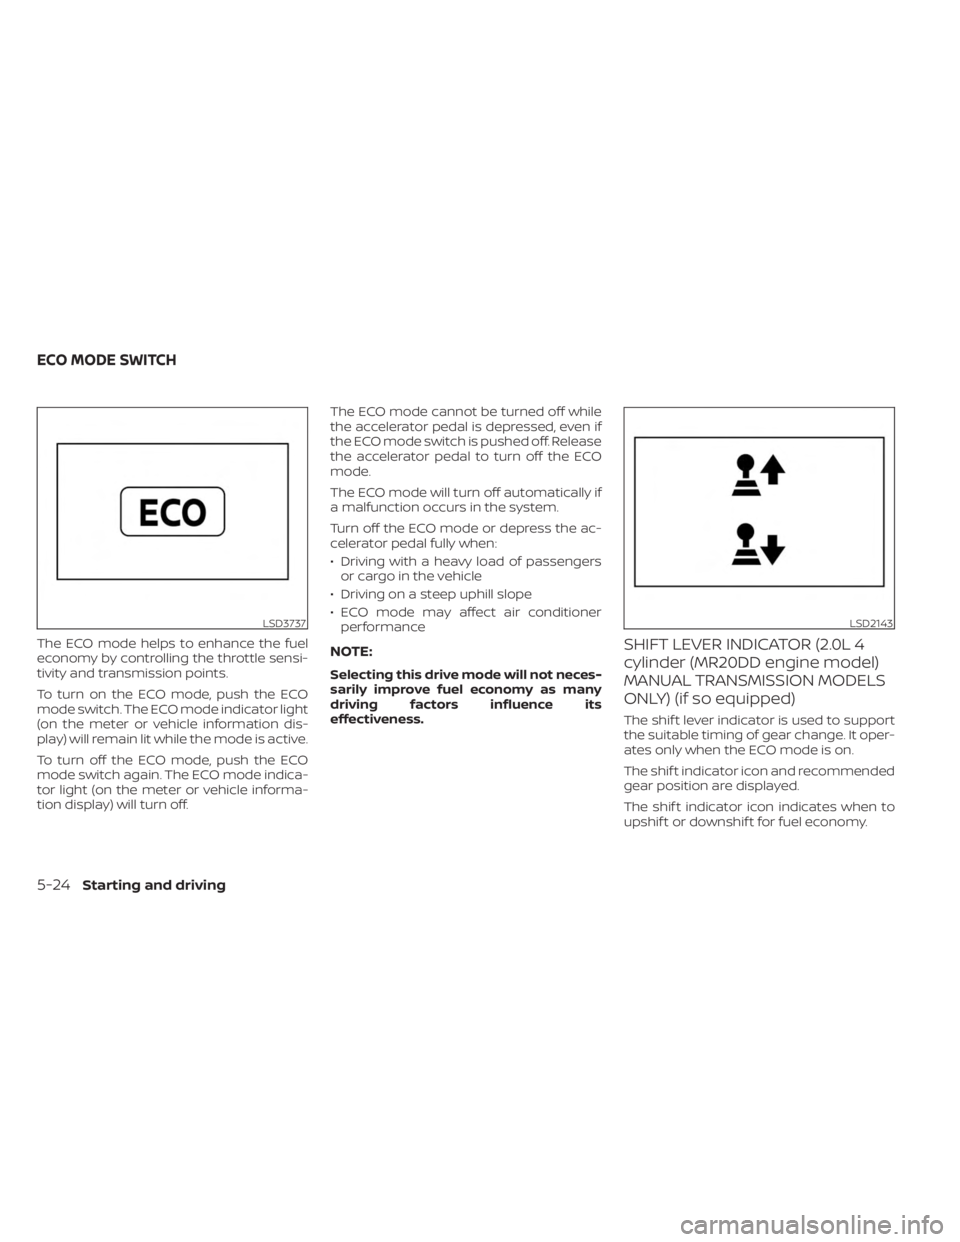
To turn on the ECO mode, push the ECO
mode switch. The ECO mode indicator light
(on the meter or vehicle information dis-
play) will remain lit while the mode is active.
To turn off the ECO mode, push the ECO
mode switch again. The ECO mode indica-
tor light (on the meter or vehicle informa-
tion display) will turn off.The ECO mode cannot be turned off while
the accelerator pedal is depressed, even if
the ECO mode switch is pushed off. Release
the accelerator pedal to turn off the ECO
mode.
The ECO mode will turn off automatically if
a malfunction occurs in the system.
Turn off the ECO mode or depress the ac-
celerator pedal fully when:
• Driving with a heavy load of passengers
or cargo in the vehicle
• Driving on a steep uphill slope
• ECO mode may affect air conditioner performanceNOTE:
Selecting this drive mode will not neces-
sarily improve fuel economy as many
driving factors influence its
effectiveness.
SHIFT LEVER INDICATOR (2.0L 4
cylinder (MR20DD engine model)
MANUAL TRANSMISSION MODELS
ONLY) (if so equipped)
The shif t lever indicator is used to support
the suitable timing of gear change. It oper-
ates only when the ECO mode is on.
The shif t indicator icon and recommended
gear position are displayed.
The shif t indicator icon indicates when to
upshif t or downshif t for fuel economy.
LSD3737LSD2143
ECO MODE SWITCH
5-24Starting and driving
Page 336 of 556
• If the cruise control system malfunctions,it cancels automatically. Theindica-
tor in the instrument panel then blinks to
warn the driver. For additional informa-
tion, see “Vehicle information display 4.2
inch (11 cm) TYPE A” (P. 2-18) or “Vehicle
information display 7 inch (18 cm) Type B”
(P. 2-32).
• If the
indicator blinks, push the
Cruise control switch off and have the
system checked. It is recommended that
you visit a NISSAN dealer for this service.
• The
indicator may blink when the
Cruise control switch is pushed on while
pushing the RES +, SET-, or CANCEL
switch. To properly set the cruise control
system, use the following procedures.
WARNING
Do not use the cruise control when driv-
ing under the following conditions:
• When it is not possible to keep the
vehicle at a set speed.
• In heavy traffic or in traffic that varies
in speed.
• On winding or hilly roads.
• On slippery roads (rain, snow, ice,
etc.).
• In very windy areas. Doing so could cause a loss of vehicle
control and result in an accident.
CRUISE CONTROL OPERATIONS
The cruise control allows driving at a speed
between 25 - 89 mph (40 - 144 km/h) with-
out keeping your foot on the accelerator
pedal.
To turn on the cruise control,
push the
Cruise control switch. The
indicator in
the instrument panel comes on.
To set cruising speed, accelerate the ve-
hicle to the desired speed, push the SET—
switch and release it. Take your foot off the
accelerator pedal. Your vehicle maintains
the set speed.
• To pass another vehicle, depress the ac-
celerator pedal. When you release the
pedal, the vehicle returns to the previ-
ously set speed.
• The vehicle may not maintain the set speed when going up or down steep hills.
If this happens, drive without the cruise
control.
To cancel the preset speed, use one of the
following three methods:
• Push the CANCEL switch.
• Tap the brake pedal. • Push the Cruise control switch off. The
indicator in the instrument panel
goes out.
The cruise control is automatically can-
celed if:
• You depress the brake or clutch pedal (for Manual Transmission models) while
pushing the RES+ or SET- switch. The pre-
set speed is deleted from memory.
• The vehicle slows down more than 8 mph (13 km/h) below the set speed.
• You depress the clutch pedal (for Manual Transmission models), or move the shif t
lever to N (Neutral) (for Continuously Vari-
able Transmission models).
To reset at a faster cruising speed, use
one of the following three methods:
• Depress the accelerator pedal. When the vehicle attains the desired speed, push
and release the SET— switch.
• Push and hold the RES+ switch. When the vehicle attains the speed you desire, re-
lease the switch.
• Push and release the RES+ switch. Each time you do this, the set speed increases
by about 1 mph (1.6 km/h).
5-60Starting and driving
Page 339 of 556
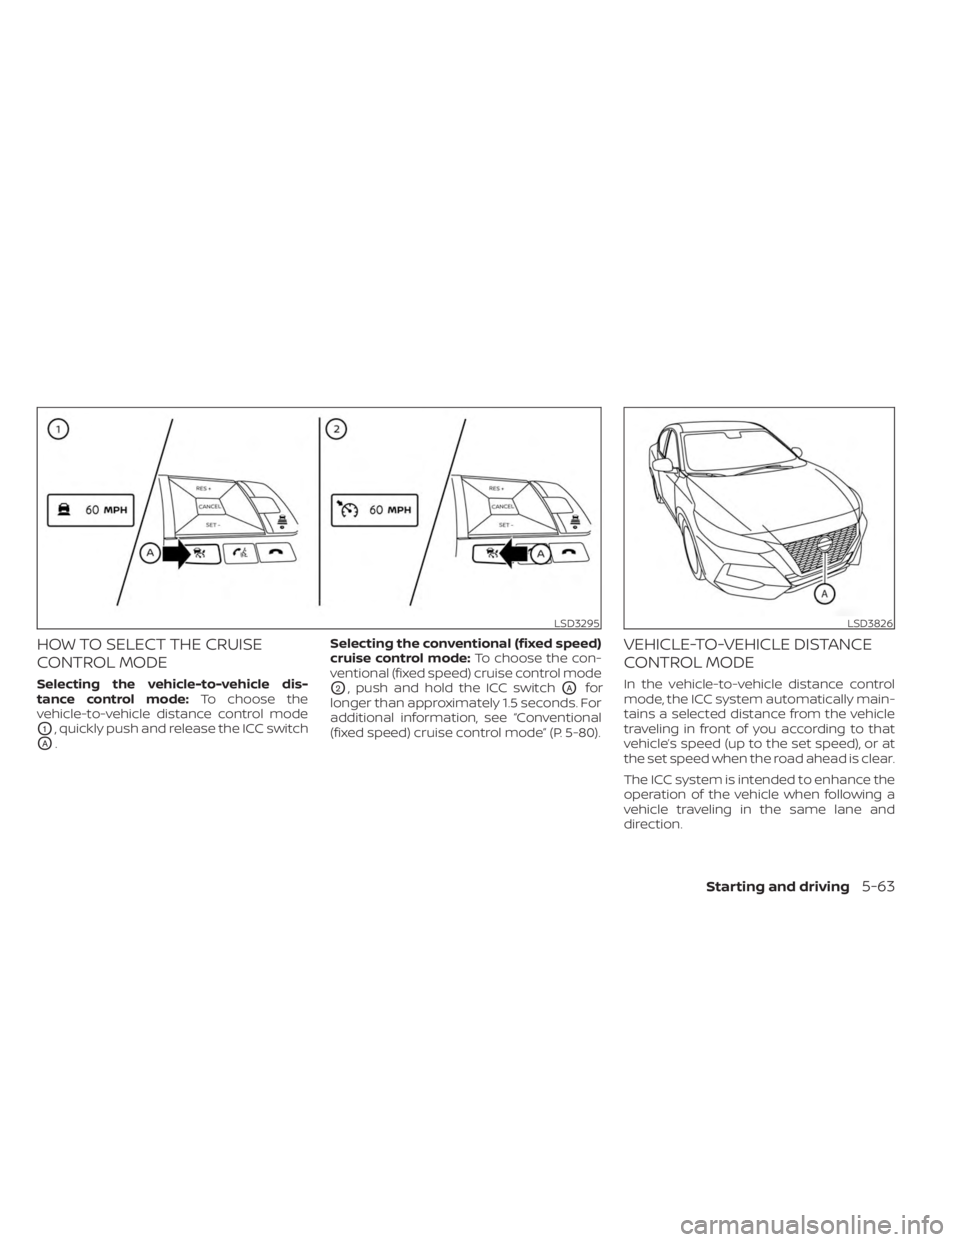
HOW TO SELECT THE CRUISE
CONTROL MODE
Selecting the vehicle-to-vehicle dis-
tance control mode:To choose the
vehicle-to-vehicle distance control mode
O1, quickly push and release the ICC switch
OA. Selecting the conventional (fixed speed)
cruise control mode:
To choose the con-
ventional (fixed speed) cruise control mode
O2, push and hold the ICC switchOAfor
longer than approximately 1.5 seconds. For
additional information, see “Conventional
(fixed speed) cruise control mode” (P. 5-80).
VEHICLE-TO-VEHICLE DISTANCE
CONTROL MODE
In the vehicle-to-vehicle distance control
mode, the ICC system automatically main-
tains a selected distance from the vehicle
traveling in front of you according to that
vehicle’s speed (up to the set speed), or at
the set speed when the road ahead is clear.
The ICC system is intended to enhance the
operation of the vehicle when following a
vehicle traveling in the same lane and
direction.
LSD3295LSD3826
Starting and driving5-63
Page 344 of 556
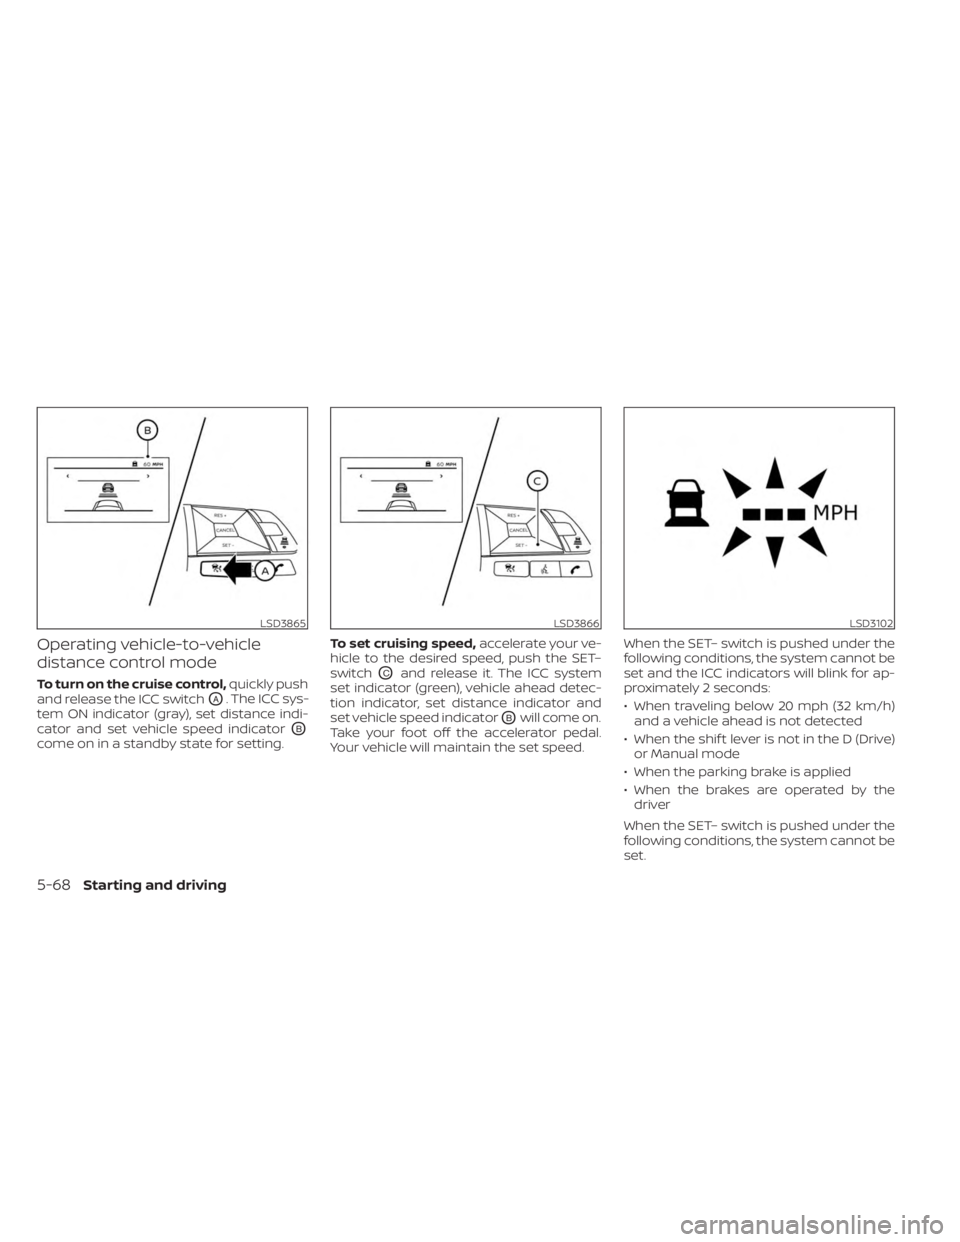
Operating vehicle-to-vehicle
distance control mode
To turn on the cruise control,quickly push
and release the ICC switch
OA. The ICC sys-
tem ON indicator (gray), set distance indi-
cator and set vehicle speed indicator
OB
come on in a standby state for setting. To set cruising speed,
accelerate your ve-
hicle to the desired speed, push the SET–
switch
OCand release it. The ICC system
set indicator (green), vehicle ahead detec-
tion indicator, set distance indicator and
set vehicle speed indicator
OBwill come on.
Take your foot off the accelerator pedal.
Your vehicle will maintain the set speed. When the SET– switch is pushed under the
following conditions, the system cannot be
set and the ICC indicators will blink for ap-
proximately 2 seconds:
• When traveling below 20 mph (32 km/h)
and a vehicle ahead is not detected
• When the shif t lever is not in the D (Drive) or Manual mode
• When the parking brake is applied
• When the brakes are operated by the driver
When the SET– switch is pushed under the
following conditions, the system cannot be
set.
LSD3865LSD3866LSD3102
5-68Starting and driving
Page 348 of 556
Approach warning
If your vehicle comes closer to the vehicle
ahead due to rapid deceleration of that ve-
hicle or if another vehicle cuts in, the sys-
tem warns the driver with the chime and
ICC system display. Decelerate by depress-
ing the brake pedal to maintain a safe ve-
hicle distance if:
• The chime sounds.
• The vehicle ahead detection indicatorblinks.
The warning chime may not sound in
some cases when there is a short distance
between vehicles. Some examples are:
• When the vehicles are traveling at the same speed and the distance between
vehicles is not changing.
• When the vehicle ahead is traveling faster and the distance between vehicles is
increasing.
• When a vehicle cuts in near your vehicle.
The warning chime will not sound when:
• The vehicle approaches other vehicles that are parked or moving slowly.
• The accelerator pedal is depressed, over- riding the system.
NOTE:
The approach warning chime may sound
and the system display may blink when
the ICC sensor detects objects on the
side of the vehicle or on the side of the
road. This may cause the ICC system to
decelerate or accelerate the vehicle. The
ICC sensor may detect these objects
when the vehicle is driven on winding
roads, narrow roads, hilly roads, or when
entering or exiting a curve. In these
cases you will have to manually control
the proper distance ahead of your
vehicle.
Also, the sensor sensitivity can be affected
by vehicle operation (steering maneuver or
driving position in the lane) or traffic or ve-
hicle condition (for example, if a vehicle is
being driven with some damage).
Automatic cancellation
A chime sounds under the following condi-
tions and the control is automatically can-
celed:
• When the vehicle ahead is not detectedand your vehicle is traveling below the
speed of 15 mph (24 km/h)
• When the system judges the vehicle is at a standstill • When the shif t lever is not in the D (Drive)
position, L (Low) mode.
• When the parking brake system is applied
• When the VDC system is turned off
• When VDC operates
• When distance measurement becomes impaired due to adhesion of dirt or ob-
struction to the sensor
• When a wheel slips
• When the radar signal is temporarily interrupted
VEHICLE-TO-VEHICLE DISTANCE
CONTROL MODE LIMITATIONS
WARNING
Listed below are the system limitations
for the ICC system. Failure to operate
the vehicle in accordance with these
system limitations could result in seri-
ous injury or death.
• The ICC system is primarily intended
for use on straight, dry, open roads
with light traffic. It is not advisable to
use the ICC system in city traffic or
congested areas.
5-72Starting and driving
Page 355 of 556
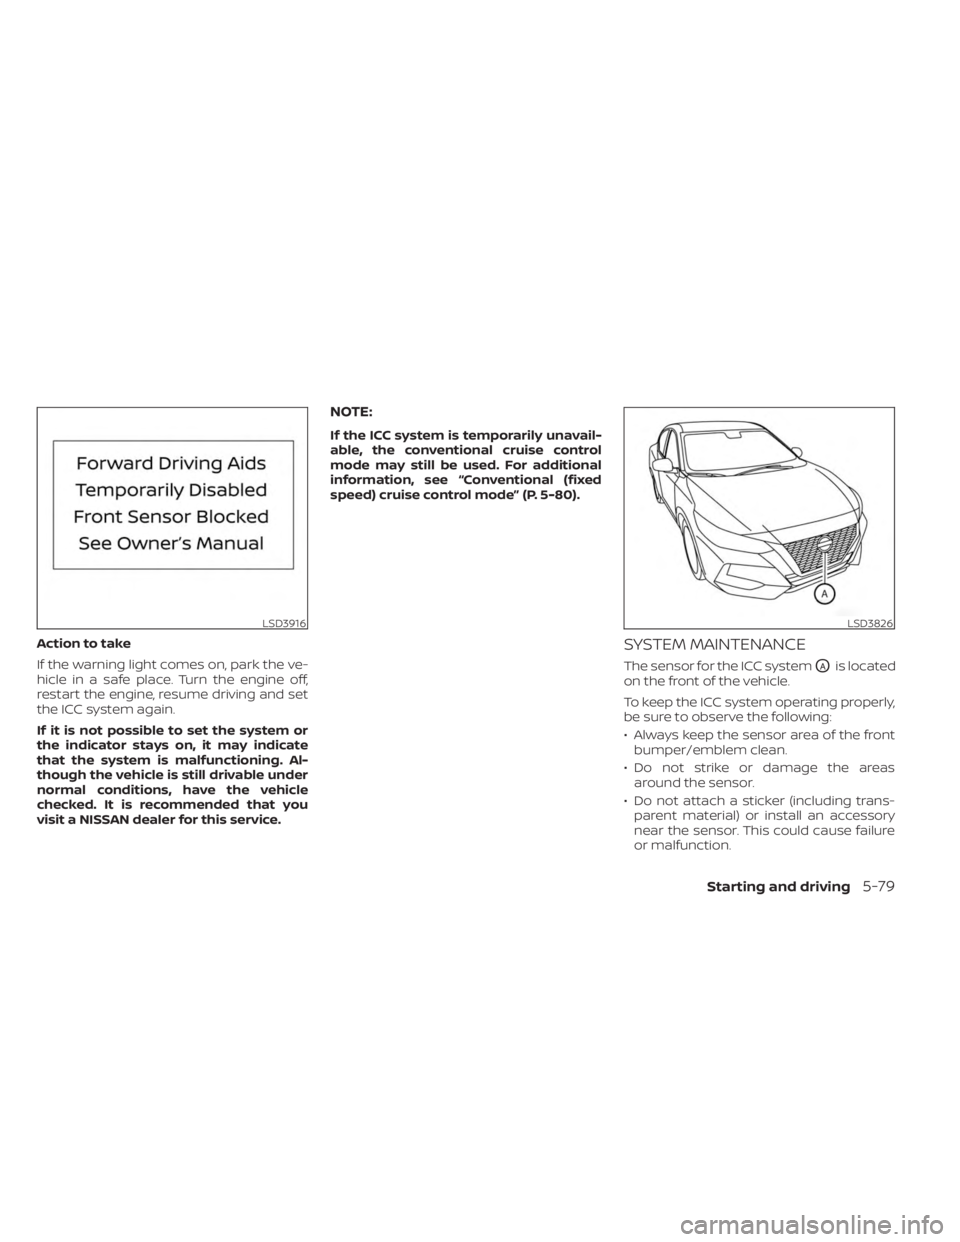
Action to take
If the warning light comes on, park the ve-
hicle in a safe place. Turn the engine off,
restart the engine, resume driving and set
the ICC system again.
If it is not possible to set the system or
the indicator stays on, it may indicate
that the system is malfunctioning. Al-
though the vehicle is still drivable under
normal conditions, have the vehicle
checked. It is recommended that you
visit a NISSAN dealer for this service.
NOTE:
If the ICC system is temporarily unavail-
able, the conventional cruise control
mode may still be used. For additional
information, see “Conventional (fixed
speed) cruise control mode” (P. 5-80).
SYSTEM MAINTENANCE
The sensor for the ICC systemOAis located
on the front of the vehicle.
To keep the ICC system operating properly,
be sure to observe the following:
• Always keep the sensor area of the front bumper/emblem clean.
• Do not strike or damage the areas around the sensor.
• Do not attach a sticker (including trans- parent material) or install an accessory
near the sensor. This could cause failure
or malfunction.
LSD3916LSD3826
Starting and driving5-79