2023 NISSAN SENTRA audio
[x] Cancel search: audioPage 125 of 556
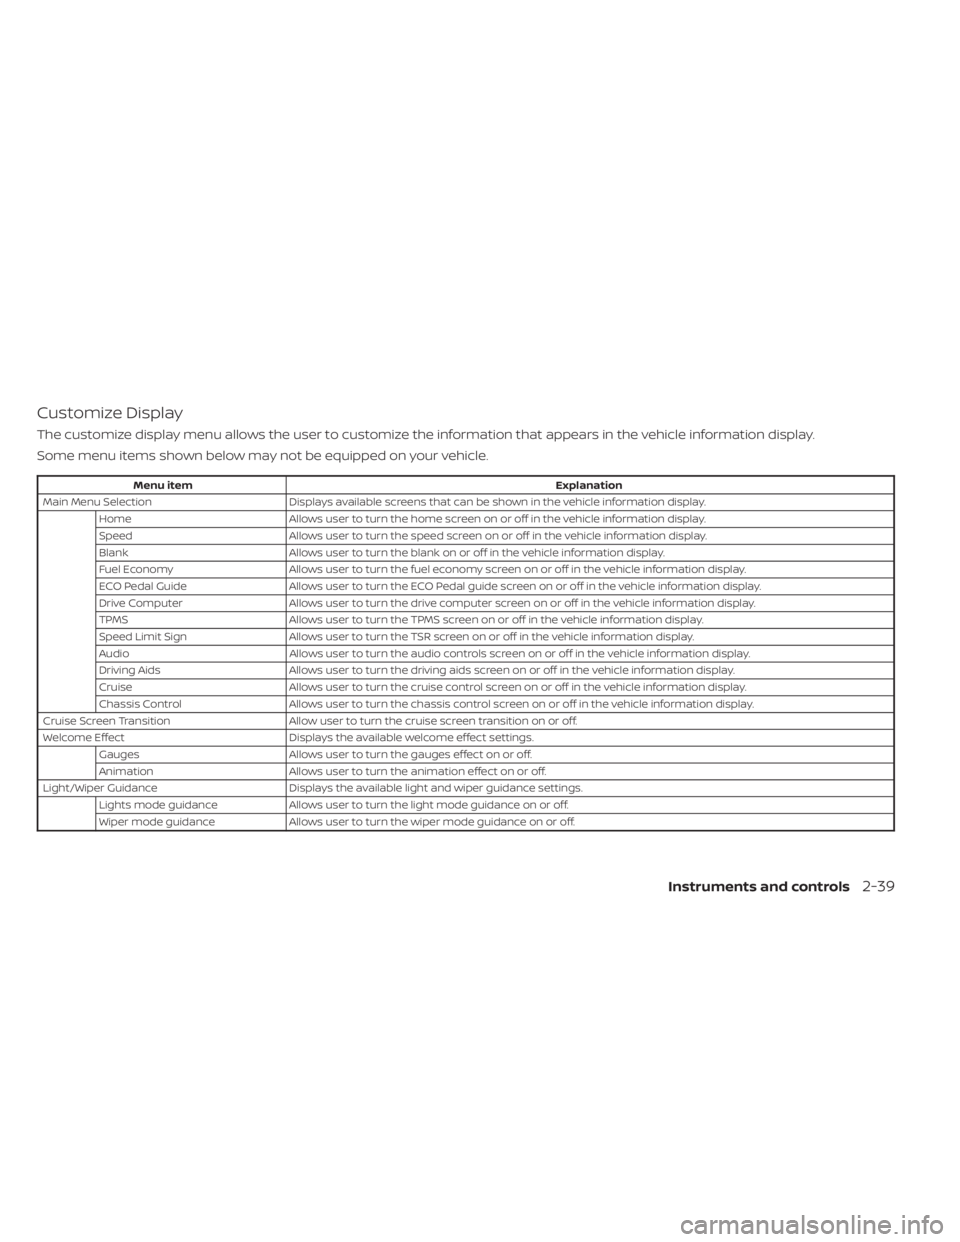
Customize Display
The customize display menu allows the user to customize the information that appears in the vehicle information display.
Some menu items shown below may not be equipped on your vehicle.
Menu itemExplanation
Main Menu Selection Displays available screens that can be shown in the vehicle information display.
Home Allows user to turn the home screen on or off in the vehicle information display.
Speed Allows user to turn the speed screen on or off in the vehicle information display.
Blank Allows user to turn the blank on or off in the vehicle information display.
Fuel Economy Allows user to turn the fuel economy screen on or off in the vehicle information display.
ECO Pedal Guide Allows user to turn the ECO Pedal guide screen on or off in the vehicle information display.
Drive Computer Allows user to turn the drive computer screen on or off in the vehicle information display.
TPMS Allows user to turn the TPMS screen on or off in the vehicle information display.
Speed Limit Sign Allows user to turn the TSR screen on or off in the vehicle information display.
Audio Allows user to turn the audio controls screen on or off in the vehicle information display.
Driving Aids Allows user to turn the driving aids screen on or off in the vehicle information display.
Cruise Allows user to turn the cruise control screen on or off in the vehicle information display.
Chassis Control Allows user to turn the chassis control screen on or off in the vehicle information display.
Cruise Screen Transition Allow user to turn the cruise screen transition on or off.
Welcome Effect Displays the available welcome effect settings.
Gauges Allows user to turn the gauges effect on or off.
Animation Allows user to turn the animation effect on or off.
Light/Wiper Guidance Displays the available light and wiper guidance settings.
Lights mode guidance Allows user to turn the light mode guidance on or off.
Wiper mode guidance Allows user to turn the wiper mode guidance on or off.
Instruments and controls2-39
Page 150 of 556
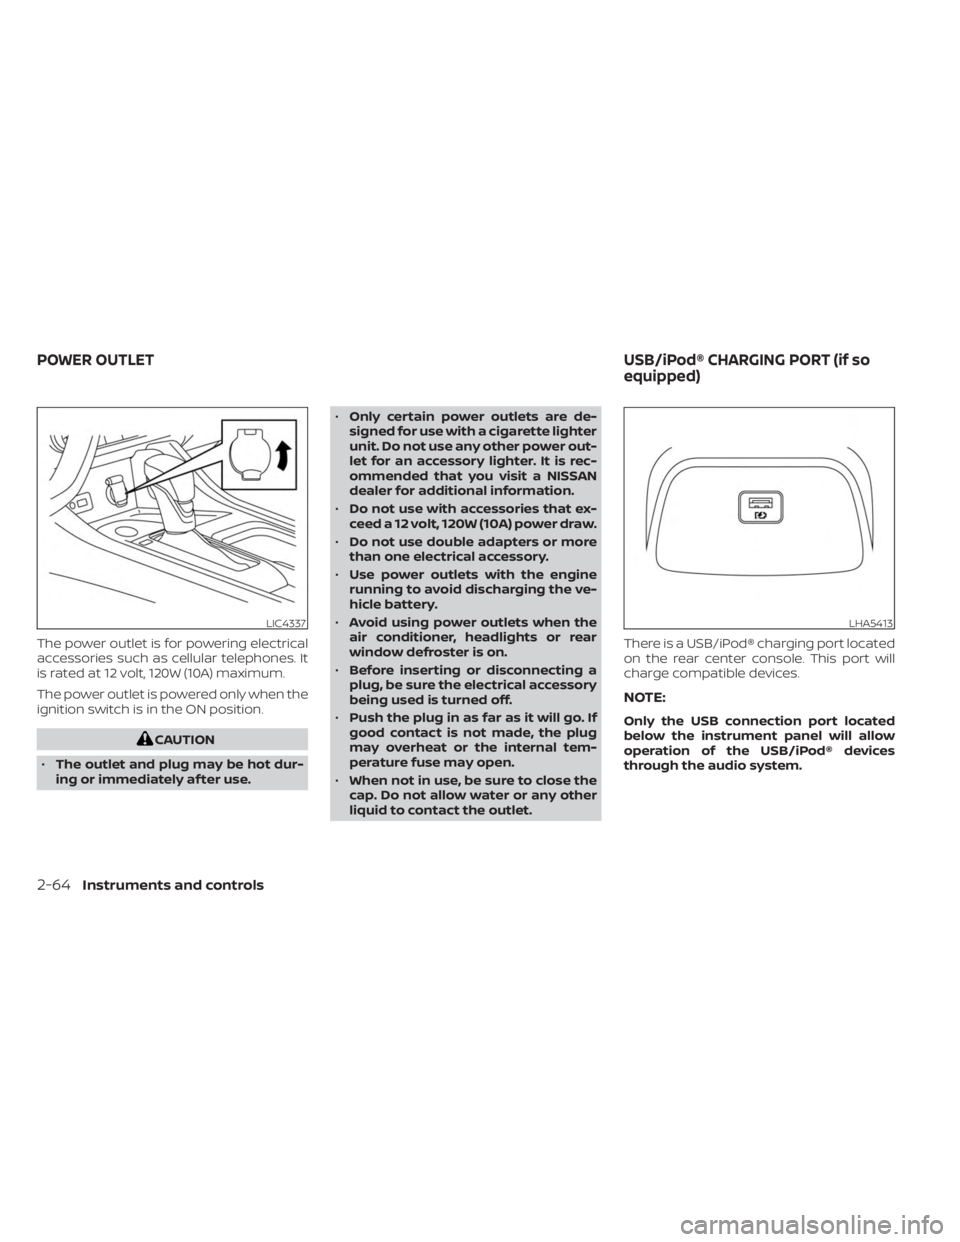
The power outlet is for powering electrical
accessories such as cellular telephones. It
is rated at 12 volt, 120W (10A) maximum.
The power outlet is powered only when the
ignition switch is in the ON position.
CAUTION
• The outlet and plug may be hot dur-
ing or immediately af ter use. •
Only certain power outlets are de-
signed for use with a cigarette lighter
unit. Do not use any other power out-
let for an accessory lighter. It is rec-
ommended that you visit a NISSAN
dealer for additional information.
• Do not use with accessories that ex-
ceed a 12 volt, 120W (10A) power draw.
• Do not use double adapters or more
than one electrical accessory.
• Use power outlets with the engine
running to avoid discharging the ve-
hicle battery.
• Avoid using power outlets when the
air conditioner, headlights or rear
window defroster is on.
• Before inserting or disconnecting a
plug, be sure the electrical accessory
being used is turned off.
• Push the plug in as far as it will go. If
good contact is not made, the plug
may overheat or the internal tem-
perature fuse may open.
• When not in use, be sure to close the
cap. Do not allow water or any other
liquid to contact the outlet. There is a USB/iPod® charging port located
on the rear center console. This port will
charge compatible devices.
NOTE:
Only the USB connection port located
below the instrument panel will allow
operation of the USB/iPod® devices
through the audio system.
LIC4337LHA5413
POWER OUTLET
USB/iPod® CHARGING PORT (if so
equipped)
2-64Instruments and controls
Page 165 of 556
•Wetting may damage the Intelligent
Key. If the Intelligent Key gets wet,
immediately wipe until it is com-
pletely dry.
• Do not place the Intelligent Key for an
extended period in an area where
temperatures exceed 140°F (60°C).
• Do not attach the Intelligent Key with
a key holder that contains a magnet.
• Do not place the Intelligent Key near
equipment that produces a magnetic
field, such as a TV, audio equipment
and personal computers.
If an Intelligent Key is lost or stolen,
NISSAN recommends erasing the ID
code of that Intelligent Key from the
vehicle. This may prevent the unau-
thorized use of the Intelligent Key to
operate the vehicle. For information re-
garding the erasing procedure, it is rec-
ommended that you visit a NISSAN
dealer.
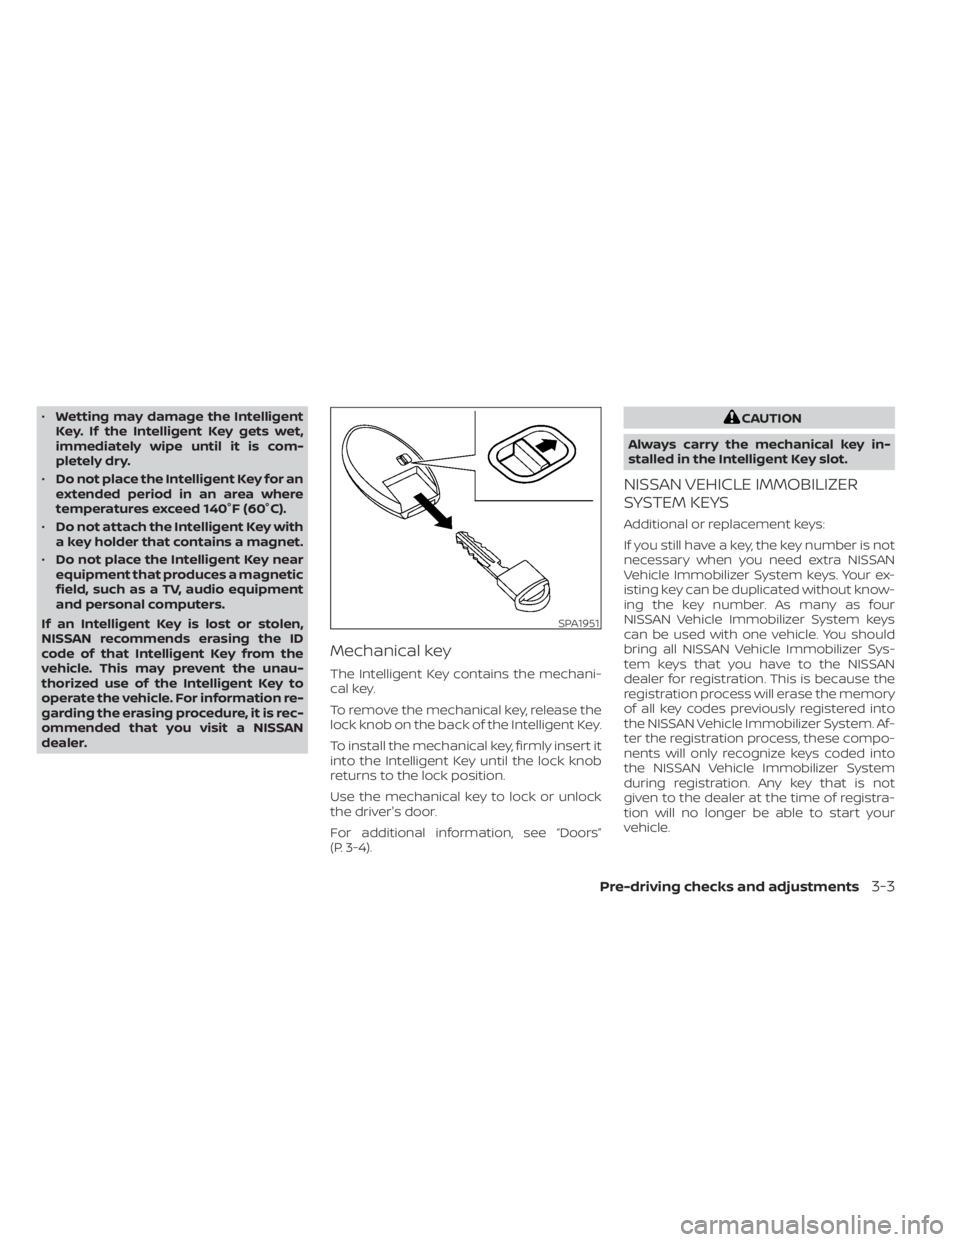
Mechanical key
The Intelligent Key contains the mechani-
cal key.
To remove the mechanical key, release the
lock knob on the back of the Intelligent Key.
To install the mechanical key, firmly insert it
into the Intelligent Key until the lock knob
returns to the lock position.
Use the mechanical key to lock or unlock
the driver's door.
For additional information, see “Doors”
(P. 3-4).
CAUTION
Always carry the mechanical key in-
stalled in the Intelligent Key slot.
NISSAN VEHICLE IMMOBILIZER
SYSTEM KEYS
Additional or replacement keys:
If you still have a key, the key number is not
necessary when you need extra NISSAN
Vehicle Immobilizer System keys. Your ex-
isting key can be duplicated without know-
ing the key number. As many as four
NISSAN Vehicle Immobilizer System keys
can be used with one vehicle. You should
bring all NISSAN Vehicle Immobilizer Sys-
tem keys that you have to the NISSAN
dealer for registration. This is because the
registration process will erase the memory
of all key codes previously registered into
the NISSAN Vehicle Immobilizer System. Af-
ter the registration process, these compo-
nents will only recognize keys coded into
the NISSAN Vehicle Immobilizer System
during registration. Any key that is not
given to the dealer at the time of registra-
tion will no longer be able to start your
vehicle.
SPA1951
Pre-driving checks and adjustments3-3
Page 170 of 556
In such cases, correct the operating condi-
tions before using the Intelligent Key func-
tion or use the mechanical key.
Although the life of the battery varies de-
pending on the operating conditions, the
battery’s life is approximately two years. If
the battery is discharged, replace it with a
new one.
Since the Intelligent Key is continuously re-
ceiving radio waves, if the key is lef t near
equipment which transmits strong radio
waves, such as signals from a TV and per-
sonal computer, the battery life may be-
come shorter.
For information regarding replacement of
a battery, see “Battery replacement”
(P. 8-23).
As many as four Intelligent Keys can be
registered and used with one vehicle. For
information about the purchase and use of
additional Intelligent Keys, it is recom-
mended that you visit a NISSAN dealer.CAUTION
Listed below are conditions or occur-
rences which will damage the Intelli-
gent Key:
• Do not allow the Intelligent Key,
which contains electrical compo-
nents, to come into contact with wa-
ter or salt water. This could affect the
system function.
• Do not drop the Intelligent Key.
• Do not strike the Intelligent Key
sharply against another object.
• Do not change or modif y the Intelli-
gent Key.
• Wetting may damage the Intelligent
Key. If the Intelligent Key gets wet,
immediately wipe until it is com-
pletely dry.
• Do not place the Intelligent Key for an
extended period in an area where
temperatures exceed 140°F (60°C).
• Do not attach the Intelligent Key with
a key holder that contains a magnet.
• Do not place the Intelligent Key near
equipment that produces a magnetic
field, such as a TV, audio equipment
and personal computers. If an Intelligent Key is lost or stolen, NISSAN
recommends erasing the ID code of that
Intelligent Key from the vehicle. This may
prevent the unauthorized use of the Intelli-
gent Key to operate the vehicle. For infor-
mation regarding the erasing procedure, it
is recommended that you visit a NISSAN
dealer.
3-8Pre-driving checks and adjustments
Page 192 of 556
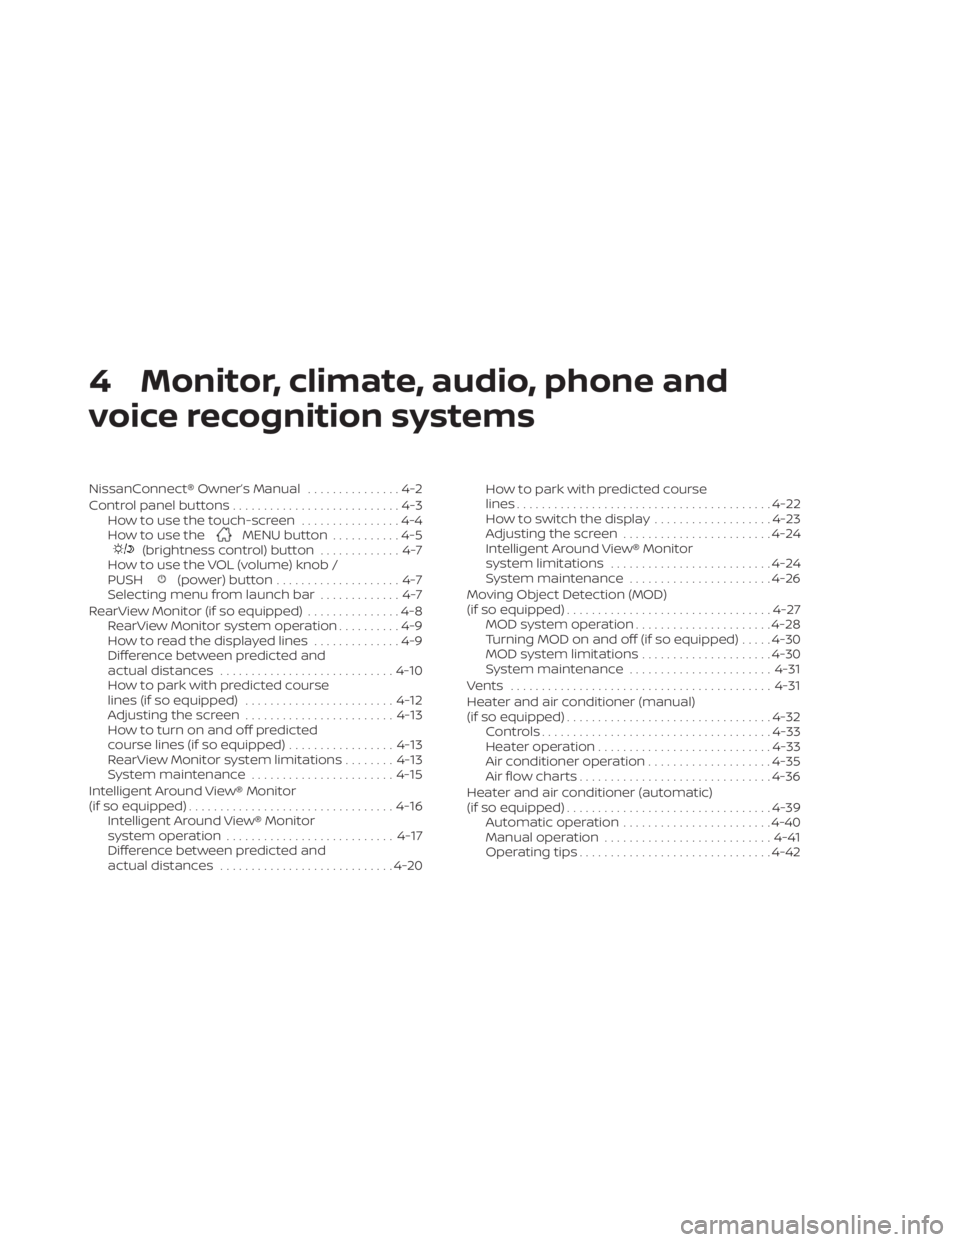
4 Monitor, climate, audio, phone and
voice recognition systems
NissanConnect® Owner’s Manual...............4-2
Control panel buttons ...........................4-3
How to use the touch-screen ................4-4
How to use the
MENU button ...........4-5(brightness control) button .............4-7
How to use the VOL (volume) knob /
PUSH
(power)button....................4-7
Selecting menu from launch bar .............4-7
RearView Monitor (if so equipped) ...............4-8
RearView Monitor system operation ..........4-9
How to read the displayed lines ..............4-9
Difference between predicted and
actual distances ............................ 4-10
How to park with predicted course
lines (if so equipped) ........................ 4-12
Adjusting the screen ........................ 4-13
How to turn on and off predicted
course lines (if so equipped) .................4-13
RearView Monitor system limitations ........4-13
System maintenance ....................... 4-15
Intelligent Around View® Monitor
(if so equipped) ................................. 4-16
Intelligent Around View® Monitor
system operation ........................... 4-17
Difference between predicted and
actual distances ............................ 4-20How to park with predicted course
lines
......................................... 4-22
How to switch the display ...................4-23
Adjusting the screen ........................ 4-24
Intelligent Around View® Monitor
system limitations .......................... 4-24
System maintenance .......................4-26
Moving Object Detection (MOD)
(if so equipped) ................................. 4-27
MOD system operation ......................4-28
Turning MOD on and off (if so equipped) .....4-30
MOD system limitations .....................4-30
System maintenance ....................... 4-31
Vents .......................................... 4-31
Heater and air conditioner (manual)
(if so equipped) ................................. 4-32
Controls ..................................... 4-33
Heater operation ............................ 4-33
Air conditioner operation ....................4-35
Air flow charts ............................... 4-36
Heater and air conditioner (automatic)
(if so equipped) ................................. 4-39
Automatic operation ........................ 4-40
Manual operation ........................... 4-41
Operating tips ............................... 4-42
Page 193 of 556
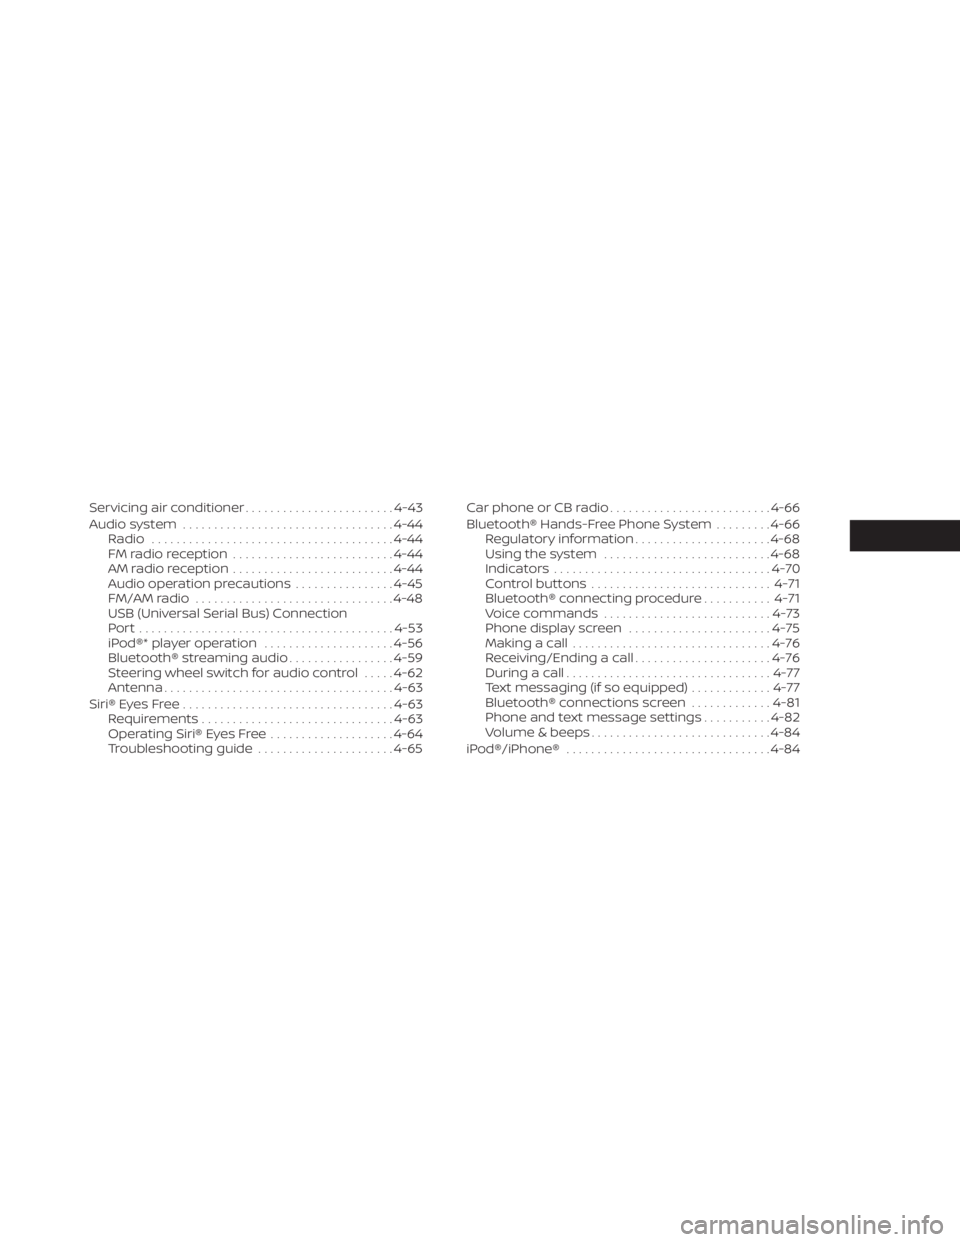
Servicing air conditioner........................4-43
Audio system .................................. 4-44
Radio ....................................... 4-44
FM radio reception .......................... 4-44
AM radio reception .......................... 4-44
Audio operation precautions ................4-45
FM/AM radio ................................ 4-48
USB (Universal Serial Bus) Connection
Port......................................... 4-53
iPod®* player operation .....................4-56
Bluetooth® streaming audio .................4-59
Steering wheel switch for audio control .....4-62
Antenna ..................................... 4-63
Siri® Eyes Free .................................. 4-63
Requirements ............................... 4-63
Operating Siri® Eyes Free ....................4-64
Troubleshooting guide ......................4-65Car phone or CB radio
.......................... 4-66
Bluetooth® Hands-Free Phone System .........4-66
Regulatory information ......................4-68
Using the system ........................... 4-68
Indicators ................................... 4-70
Control buttons ............................. 4-71
Bluetooth® connecting procedure ...........4-71
Voice commands ........................... 4-73
Phone display screen .......................4-75
Making a call ................................ 4-76
Receiving/Ending a call ......................4-76
During a call ................................. 4-77
Text messaging (if so equipped) .............4-77
Bluetooth® connections screen .............4-81
Phone and text message settings ...........4-82
Volume & beeps ............................. 4-84
iPod®/iPhone® ................................. 4-84
Page 194 of 556
Refer to the digital NissanConnect® Own-
er’s manual using the QR code on this
page, or your printed NissanConnect®
Owner’s manual (if so equipped). This
manual includes the following information:
• NissanConnect® Services (if so equipped)
• Audio system
• Apple CarPlay®
• Android Auto
TM
• Bluetooth® Hands-Free Phone system
• Viewing information
• Other settings• Voice recognition
• General system information
LHA5548
NISSANCONNECT® OWNER’S
MANUAL
4-2Monitor, climate, audio, phone and voice recognition systems
Page 195 of 556
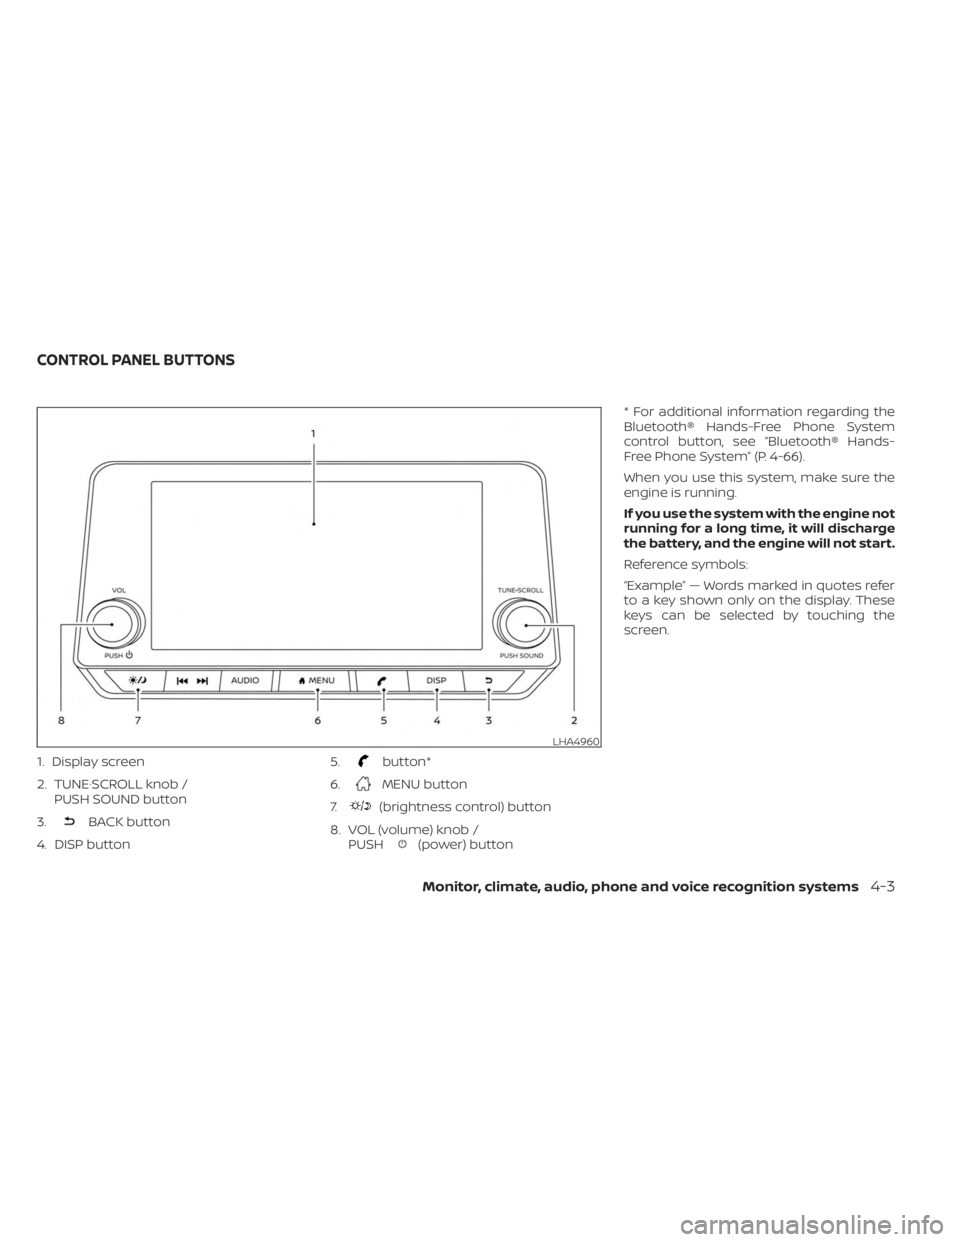
1. Display screen
2. TUNE·SCROLL knob /PUSH SOUND button
3.
BACK button
4. DISP button 5.
button*
6.
MENU button
7.
(brightness control) button
8. VOL (volume) knob / PUSH
(power) button * For additional information regarding the
Bluetooth® Hands-Free Phone System
control button, see “Bluetooth® Hands-
Free Phone System” (P. 4-66).
When you use this system, make sure the
engine is running.
If you use the system with the engine not
running for a long time, it will discharge
the battery, and the engine will not start.
Reference symbols:
“Example” — Words marked in quotes refer
to a key shown only on the display. These
keys can be selected by touching the
screen.
LHA4960
CONTROL PANEL BUTTONS
Monitor, climate, audio, phone and voice recognition systems4-3