2023 NISSAN FRONTIER audio
[x] Cancel search: audioPage 9 of 572

Table of
contentsIllustrated table of contents
Safety-Seats, seat belts and supplemental restraint system
Instruments and controls
Pre-driving checks and adjustments
Monitor, climate, audio, phone and voice recognition systems
Starting and driving
In case of emergency
Appearance and care
Do-it-yourself
Maintenance and schedules
Technical and consumer information
Index
0
1
2
3
4
5
6
7
8
9
10
11
Page 16 of 572

1. Vents (P. 4-28)
2. Headlight/fog lights (if so equipped)/turn signal switch (P. 2-43)
3. Bluetooth® Hands-Free Phone System
(P. 4-2)
Audio system controls (P. 4-2)
4. Driver supplemental air bag (P. 1-70) Horn (P. 2-50)
5. Meters and gauges (P. 2-4) Warning and indicator lights (P. 2-11)
Vehicle information display (P. 2-22)
6. Cruise control switches (if so equipped)
(P. 5-50)
Intelligent cruise control (ICC) switches
(if so equipped) (P. 5-52)
7. Wiper and washer switch (P. 2-42)
8. Climate controls (P. 4-29, 4-38) Outside mirror defroster switch
(if so equipped) (P. 2-43)
9. Storage (P. 2-67)
10. Audio system (P. 4-2)
11. Front passenger air bag status light
(P. 1-80)
Hazard warning flasher switch (P. 6-2)
Idling stop OFF switch (P. 5-129)
12. Front passenger supplemental air bag
(P. 1-70)
13. Front passenger supplemental knee air
bag (P. 1-87)
14. Glove box (P. 2-71)
15. Power outlet (P. 2-60)
LII2716
INSTRUMENT PANEL
0-6Illustrated table of contents
Page 118 of 572

1. Vents (P. 4-28)
2. Headlight/fog lights (if so equipped)/turn signal switch (P. 2-43) 3. Bluetooth® Hands-Free Phone System
(P. 4-2)
Audio system controls (P. 4-2) 4. Driver supplemental air bag (P. 1-70)
Horn (P. 2-50)
5. Meters and gauges (P. 2-4) Warning and indicator lights (P. 2-11)
Vehicle information display (P. 2-22)
6. Cruise control switches (if so equipped)
(P. 5-50)
Intelligent cruise control (ICC) switches
(if so equipped) (P. 5-52)
7. Wiper and washer switch (P. 2-42)
8. Climate controls (P. 4-29, 4-38) Outside mirror defroster switch
(if so equipped) (P. 2-43)
9. Storage (P. 2-67)
10. Audio system (P. 4-2)
11. Front passenger air bag status light
(P. 1-80)
Hazard warning flasher switch (P. 6-2)
Idling stop OFF switch (P. 5-129)
12. Front passenger supplemental air bag
(P. 1-70)
13. Front passenger supplemental knee air
bag (P. 1-87)
14. Glove box (P. 2-71)
15. Power outlet (P. 2-60)
16. Storage (P. 2-67)
17. Heated seats (if so equipped) (P. 2-51)
18. USB connection port (P. 4-2) AUX input (if so equipped) (P. 4-2)
19. Shif t lever (P. 5-20)
LII2716
INSTRUMENT PANEL
2-2Instruments and controls
Page 139 of 572

The ENTER button also controls audio
functions. For additional information, refer
to the separate NissanConnect® Owner’s
Manual.
STARTUP DISPLAY
When the vehicle is placed in the ON or ACC
(if so equipped) position, the vehicle infor-
mation display may display the following
screens:
• Speed
• Off Road (if so equipped)
• Auxiliary Gauges (if so equipped)
• Driving
• Fuel Economy
• Audio
• Navigation (if so equipped)
• Compass (if so equipped)
• Driving Aids
• Tire Pressures
• Warning Confirmation
• SettingsWarning Confirmation will only display if
there are any warnings present. For addi-
tional information, see “Vehicle information
display warnings and indicators” (P. 2-33).
To control which items display in the ve-
hicle information display, see “Settings”
(P. 2-26).
Instruments and controls2-23
Page 141 of 572

1. Vehicle speed (MPH or km/h)
The vehicle speed mode shows the current
vehicle speed and the average vehicle
speed since the last reset.
Average vehicle speed:
Press the
buttons on the steering
wheel for longer than 1.5 seconds to reset.
The average vehicle display is updated ev-
ery 30 seconds. the first 30 seconds af ter a
rest, the display shows “– – –’
2. Elapsed time and trip odometer
Elapsed time:
The elapsed time shows the time since the
last reset. Press the
buttons on the
steering wheel for longer than 1.5 seconds
to reset. The trip odometer is also reset at
the same time.
Trip odometer:
The trip odometer shows the total dis-
tance the vehicle has been driven since the
last reset. Press the
buttons on the
steering wheel for longer than 1.5 seconds
to reset. The elapsed time is also reset at
the same time.
3. Fuel economy display
Current fuel consumption:
The current fuel consumption mode
shows the current fuel consumption.
Average fuel consumption:
The average fuel consumption mode
shows the average fuel consumption since
the last reset. Press the
buttons on
the steering wheel for longer than 1.5 sec-
onds to reset.
The display is updated every 30 seconds.
For about the first 1/3 of a mile (500 m) af ter
a reset, the display shows “– –.”
The average fuel consumption is also rest
in the lower display. For additional informa-
tion, refer to the separate For additional
information, refer to the separate
NissanConnect® Owner's Manual.
4. Navigation (if so equipped)
When the route guidance is set in the navi-
gation system, this item shows the naviga-
tion route information.
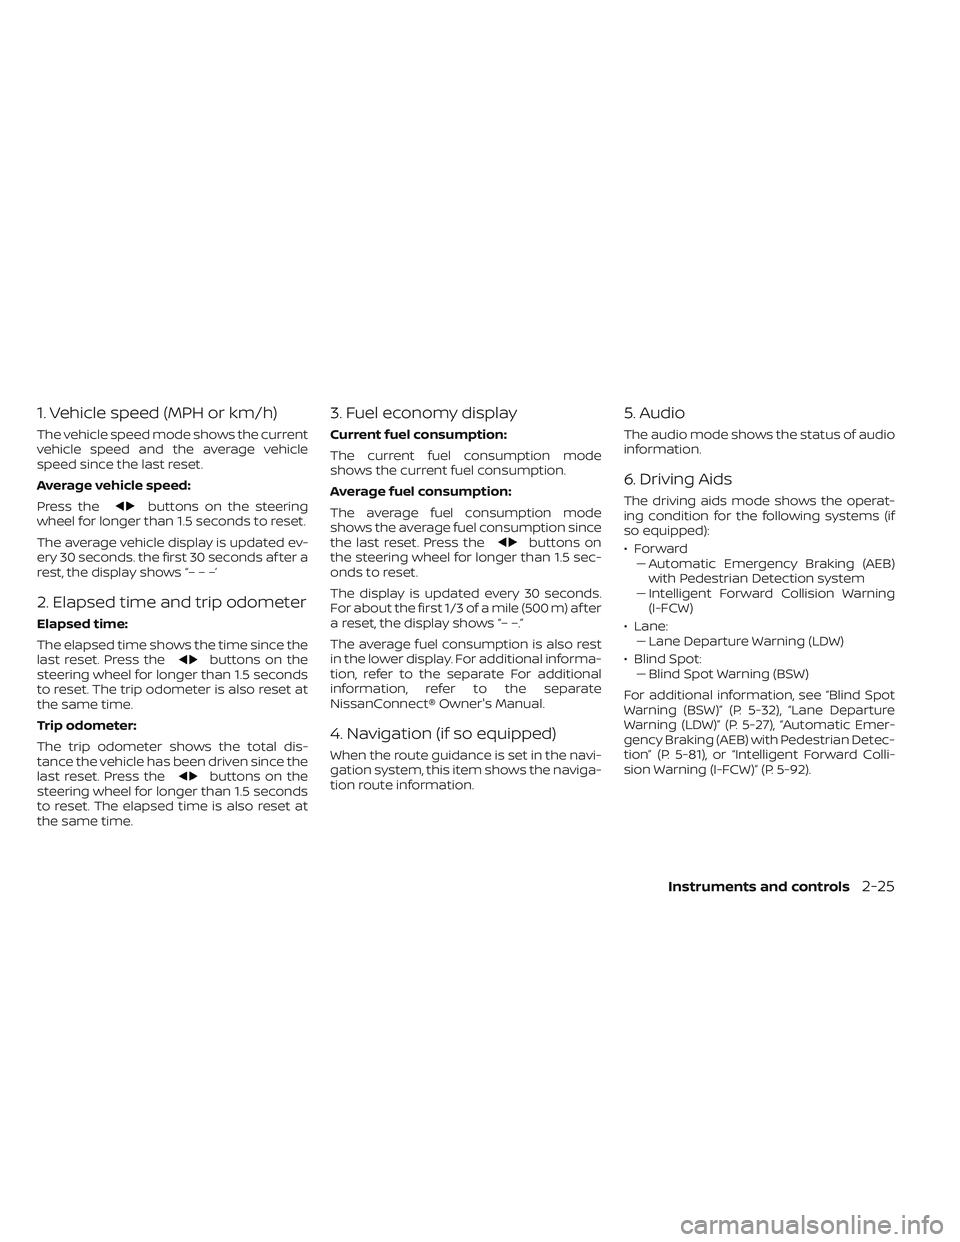
5. Audio
The audio mode shows the status of audio
information.
6. Driving Aids
The driving aids mode shows the operat-
ing condition for the following systems (if
so equipped):
•Forward –– Automatic Emergency Braking (AEB)with Pedestrian Detection system
– – Intelligent Forward Collision Warning
(I-FCW)
• Lane: –– Lane Departure Warning (LDW)
• Blind Spot: –– Blind Spot Warning (BSW)
For additional information, see “Blind Spot
Warning (BSW)” (P. 5-32), “Lane Departure
Warning (LDW)” (P. 5-27), “Automatic Emer-
gency Braking (AEB) with Pedestrian Detec-
tion” (P. 5-81), or “Intelligent Forward Colli-
sion Warning (I-FCW)” (P. 5-92).
Instruments and controls2-25
Page 144 of 572

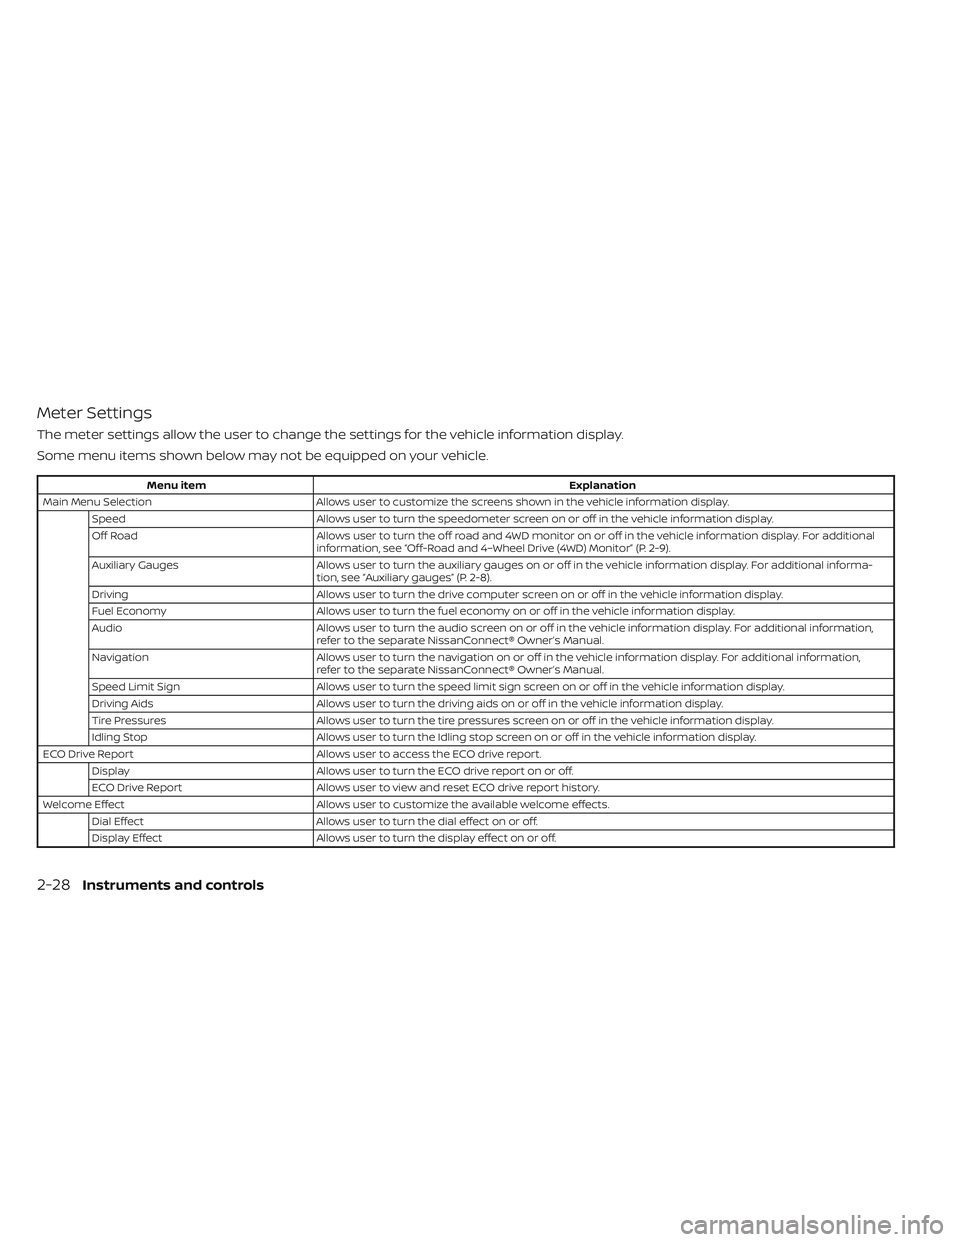
Meter Settings
The meter settings allow the user to change the settings for the vehicle information display.
Some menu items shown below may not be equipped on your vehicle.
Menu itemExplanation
Main Menu Selection Allows user to customize the screens shown in the vehicle information display.
Speed Allows user to turn the speedometer screen on or off in the vehicle information display.
Off Road Allows user to turn the off road and 4WD monitor on or off in the vehicle information display. For additional
information, see “Off-Road and 4–Wheel Drive (4WD) Monitor” (P. 2-9).
Auxiliary Gauges Allows user to turn the auxiliary gauges on or off in the vehicle information display. For additional informa-
tion, see “Auxiliary gauges” (P. 2-8).
Driving Allows user to turn the drive computer screen on or off in the vehicle information display.
Fuel Economy Allows user to turn the fuel economy on or off in the vehicle information display.
Audio Allows user to turn the audio screen on or off in the vehicle information display. For additional information,
refer to the separate NissanConnect® Owner’s Manual.
Navigation Allows user to turn the navigation on or off in the vehicle information display. For additional information,
refer to the separate NissanConnect® Owner’s Manual.
Speed Limit Sign Allows user to turn the speed limit sign screen on or off in the vehicle information display.
Driving Aids Allows user to turn the driving aids on or off in the vehicle information display.
Tire Pressures Allows user to turn the tire pressures screen on or off in the vehicle information display.
Idling Stop Allows user to turn the Idling stop screen on or off in the vehicle information display.
ECO Drive Report Allows user to access the ECO drive report.
Display Allows user to turn the ECO drive report on or off.
ECO Drive Report Allows user to view and reset ECO drive report history.
Welcome Effect Allows user to customize the available welcome effects.
Dial Effect Allows user to turn the dial effect on or off.
Display Effect Allows user to turn the display effect on or off.
2-28Instruments and controls
Page 205 of 572

•Wetting may damage the Intelligent
Key. If the Intelligent Key gets wet,
immediately wipe until it is com-
pletely dry.
• Do not place the Intelligent Key for an
extended period in an area where
temperatures exceed 140°F (60°C).
• Do not attach the Intelligent Key with
a key holder that contains a magnet.
• Do not place the Intelligent Key near
equipment that produces a magnetic
field, such as a TV, audio equipment
and personal computers.
If an Intelligent Key is lost or stolen,
NISSAN recommends erasing the ID
code of that Intelligent Key from the
vehicle. This may prevent the unau-
thorized use of the Intelligent Key to
operate the vehicle. For information re-
garding the erasing procedure, it is rec-
ommended that you visit a NISSAN
dealer.
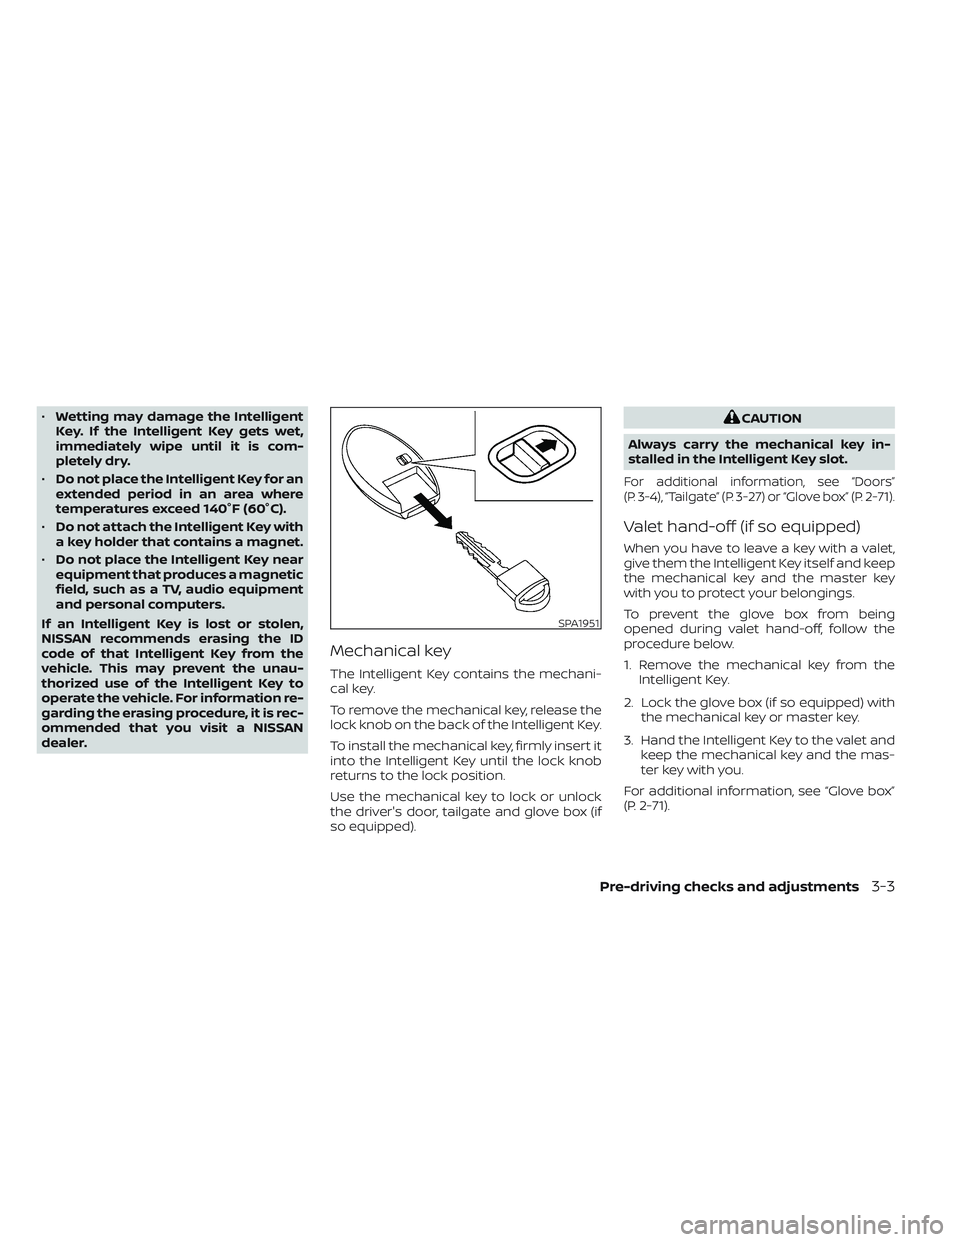
Mechanical key
The Intelligent Key contains the mechani-
cal key.
To remove the mechanical key, release the
lock knob on the back of the Intelligent Key.
To install the mechanical key, firmly insert it
into the Intelligent Key until the lock knob
returns to the lock position.
Use the mechanical key to lock or unlock
the driver's door, tailgate and glove box (if
so equipped).
CAUTION
Always carry the mechanical key in-
stalled in the Intelligent Key slot.
For additional information, see “Doors”
(P. 3-4), “Tailgate” (P. 3-27) or “Glove box” (P. 2-71).
Valet hand-off (if so equipped)
When you have to leave a key with a valet,
give them the Intelligent Key itself and keep
the mechanical key and the master key
with you to protect your belongings.
To prevent the glove box from being
opened during valet hand-off, follow the
procedure below.
1. Remove the mechanical key from the Intelligent Key.
2. Lock the glove box (if so equipped) with the mechanical key or master key.
3. Hand the Intelligent Key to the valet and keep the mechanical key and the mas-
ter key with you.
For additional information, see “Glove box”
(P. 2-71).
SPA1951
Pre-driving checks and adjustments3-3
Page 235 of 572

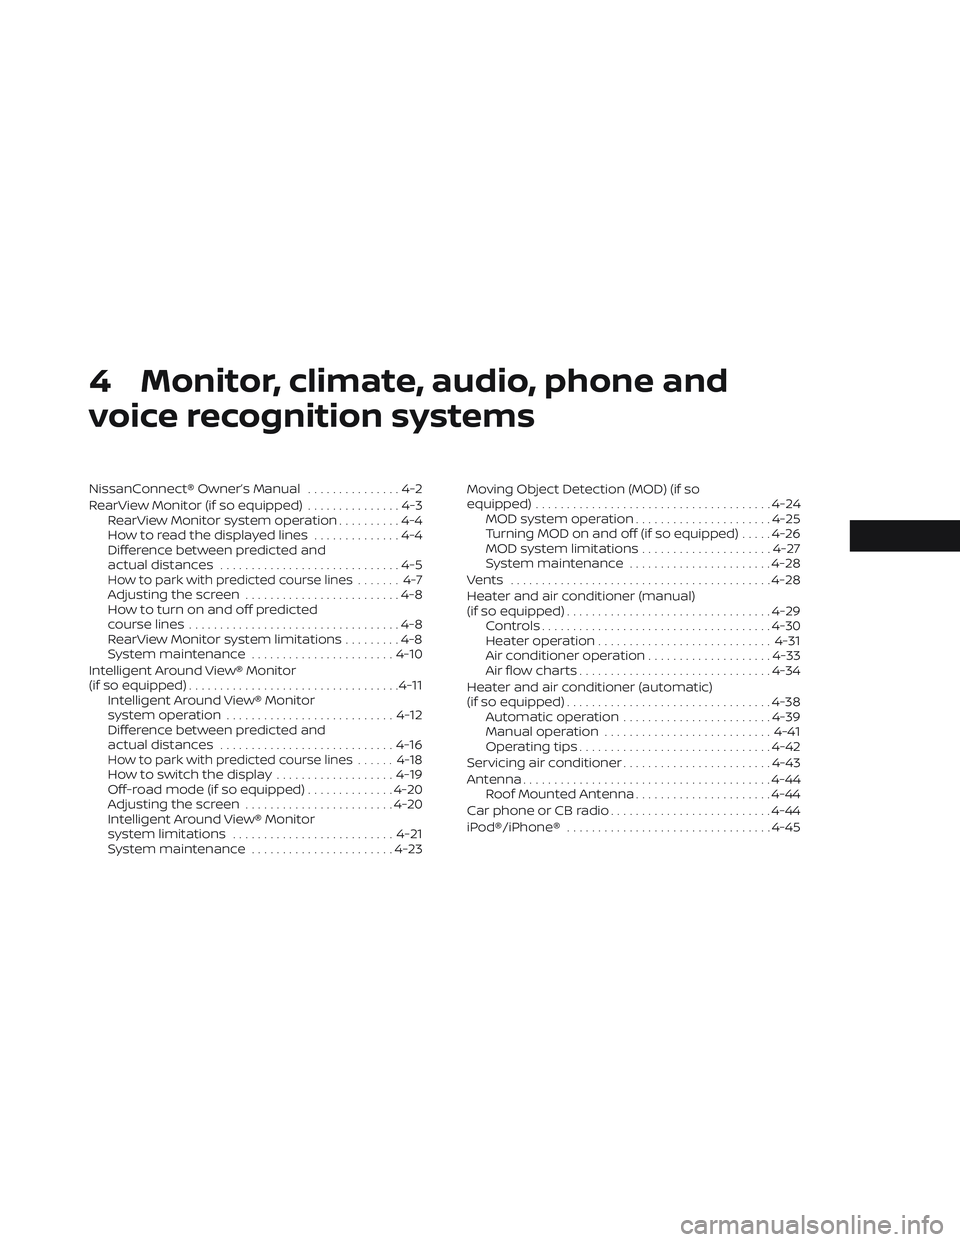
4 Monitor, climate, audio, phone and
voice recognition systems
NissanConnect® Owner’s Manual...............4-2
RearView Monitor (if so equipped) ...............4-3
RearView Monitor system operation ..........4-4
How to read the displayed lines ..............4-4
Difference between predicted and
actual distances .............................4-5
How to park with predicted course lines ....... 4-7Adjusting the screen.........................4-8
How to turn on and off predicted
course lines ..................................4-8
RearView Monitor system limitations .........4-8
System maintenance ....................... 4-10
Intelligent Around View® Monitor
(if so equipped) .................................. 4-11
Intelligent Around View® Monitor
system operation ........................... 4-12
Difference between predicted and
actual distances ............................ 4-16
How to park with predicted course lines ......4-18How to switch the display ...................4-19
Off-road mode (if so equipped) ..............4-20
Adjusting the screen ........................ 4-20
Intelligent Around View® Monitor
system limitations .......................... 4-21
System maintenance .......................4-23Moving Object Detection (MOD) (if so
equipped)
...................................... 4-24
MOD system operation ......................4-25
Turning MOD on and off (if so equipped) .....4-26
MOD system limitations .....................4-27
System maintenance .......................4-28
Vents .......................................... 4-28
Heater and air conditioner (manual)
(if so equipped) ................................. 4-29
Controls ..................................... 4-30
Heater operation ............................ 4-31
Air conditioner operation ....................4-33
Air flow charts ............................... 4-34
Heater and air conditioner (automatic)
(if so equipped) ................................. 4-38
Automatic operation ........................ 4-39
Manual operation ........................... 4-41
Operating tips ............................... 4-42
Servicing air conditioner ........................4-43
Antenna ........................................ 4-44
Roof Mounted Antenna ......................4-44
Car phone or CB radio .......................... 4-44
iPod®/iPhone® ................................. 4-45