2023 KIA NIRO PHEV ECO mode
[x] Cancel search: ECO modePage 50 of 172
2-14
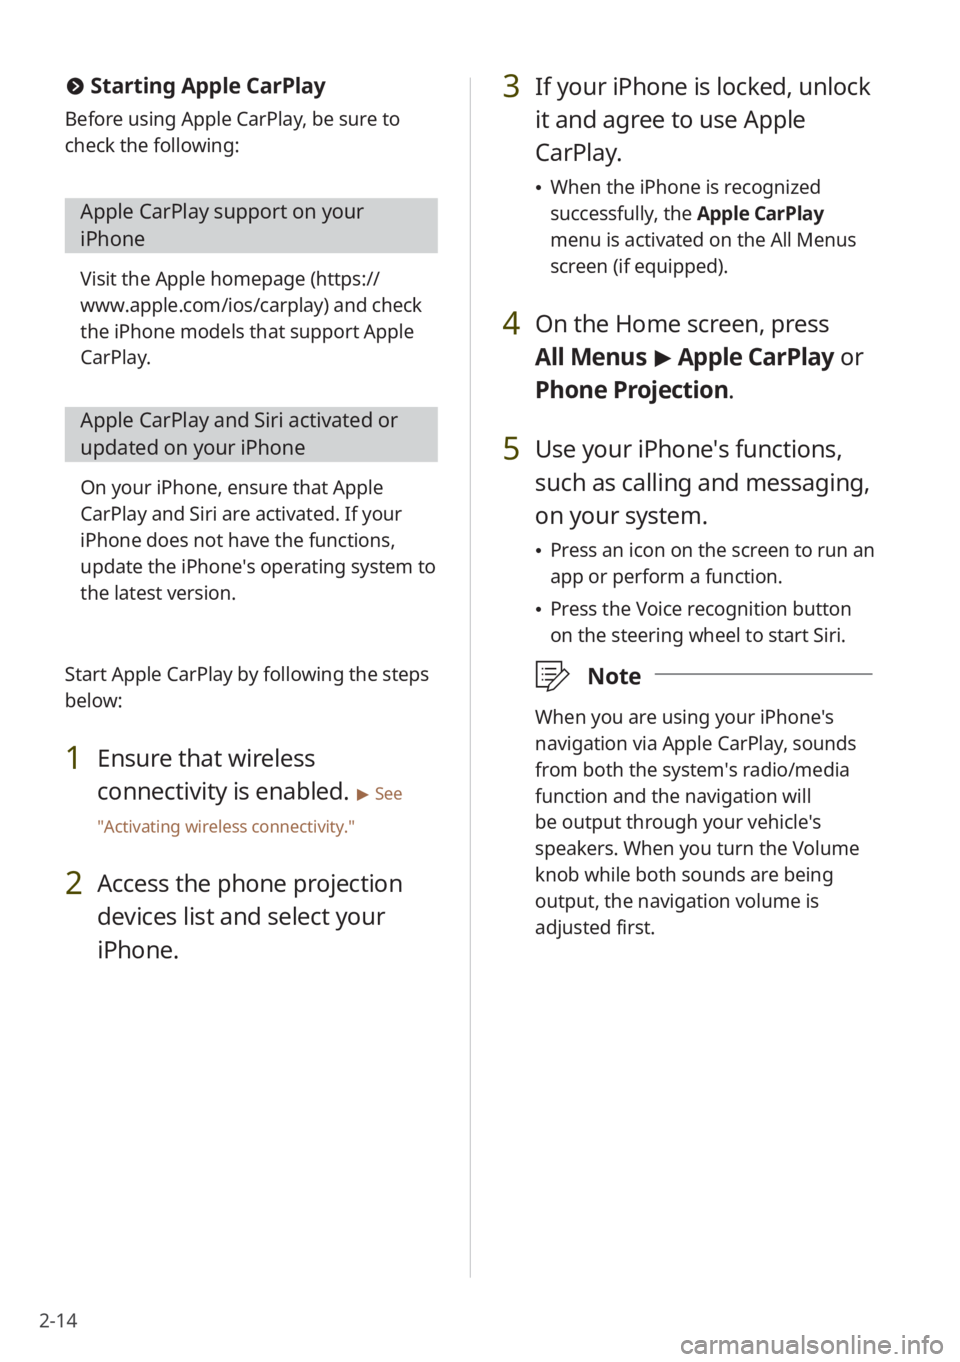
3 If your iPhone is locked, unlock
it and agree to use Apple
CarPlay.
\225When the iPhone is recognized
successfully, the Apple CarPlay
menu is activated on the All Menus
screen (if equipped).
4 On the Home screen, press
All Menus > Apple CarPlay or
Phone Projectio n.
5 Use your iPhone′s functions,
such as calling and messaging,
on your system.
\225 Press an icon on the screen to run an
app or perform a function.
\225Press the Voice recognition button
on the steering wheel to start Siri.
\333 Note
When you are using your iPhone′s
navigation via Apple CarPlay, sounds
from both the system′s radio/media
function and the navigation will
be output through your vehicle′s
speakers. When you turn the Volume
knob while both sounds are being
output, the navigation volume is
adjusted first.
#Starting Apple CarPlay
Before using Apple CarPlay, be sure to
check the following:
Apple CarPlay support on your
iPhone
Visit the Apple homepage ( https://
www.apple.com/ios/carplay) and check
the iPhone models that support Apple
CarPlay.
Apple CarPlay and Siri activated or
updated on your iPhone
On your iPhone, ensure that Apple
CarPlay and Siri are activated. If your
iPhone does not have the functions,
update the iPhone′s operating system to
the latest version.
Start Apple CarPlay by following the steps
below:
1 Ensure that wireless
connectivity is enabled.
> See
″ Activating wireless connectivity .″
2 Access the phone projection
devices list and select your
iPhone.
Page 51 of 172
2-15
Getting to know the
driving assistance
screen
You can view the outside of your vehicle
on the system screen. Depending on the
vehicle model or specifications, displayed
screens and available functions may vary.
\334Warning
When backing up, make sure to follow the
guidelines below:
\225Before entering your vehicle, always
check the area behind your vehicle.
\225Do not solely rely on the rear view
camera when backing up. Always ensure
that it is safe to back up by checking
behind you and looking in the rearview
mirrors.
\225Always back up slowly and stop
immediately if you suspect that a
person, especially a child, might be
behind you.
\335 Caution
The distance shown in the rear view
screen may differ from the actual
distance. For safety, be sure to visually
check the rear, left, and right sides of your
vehicle.
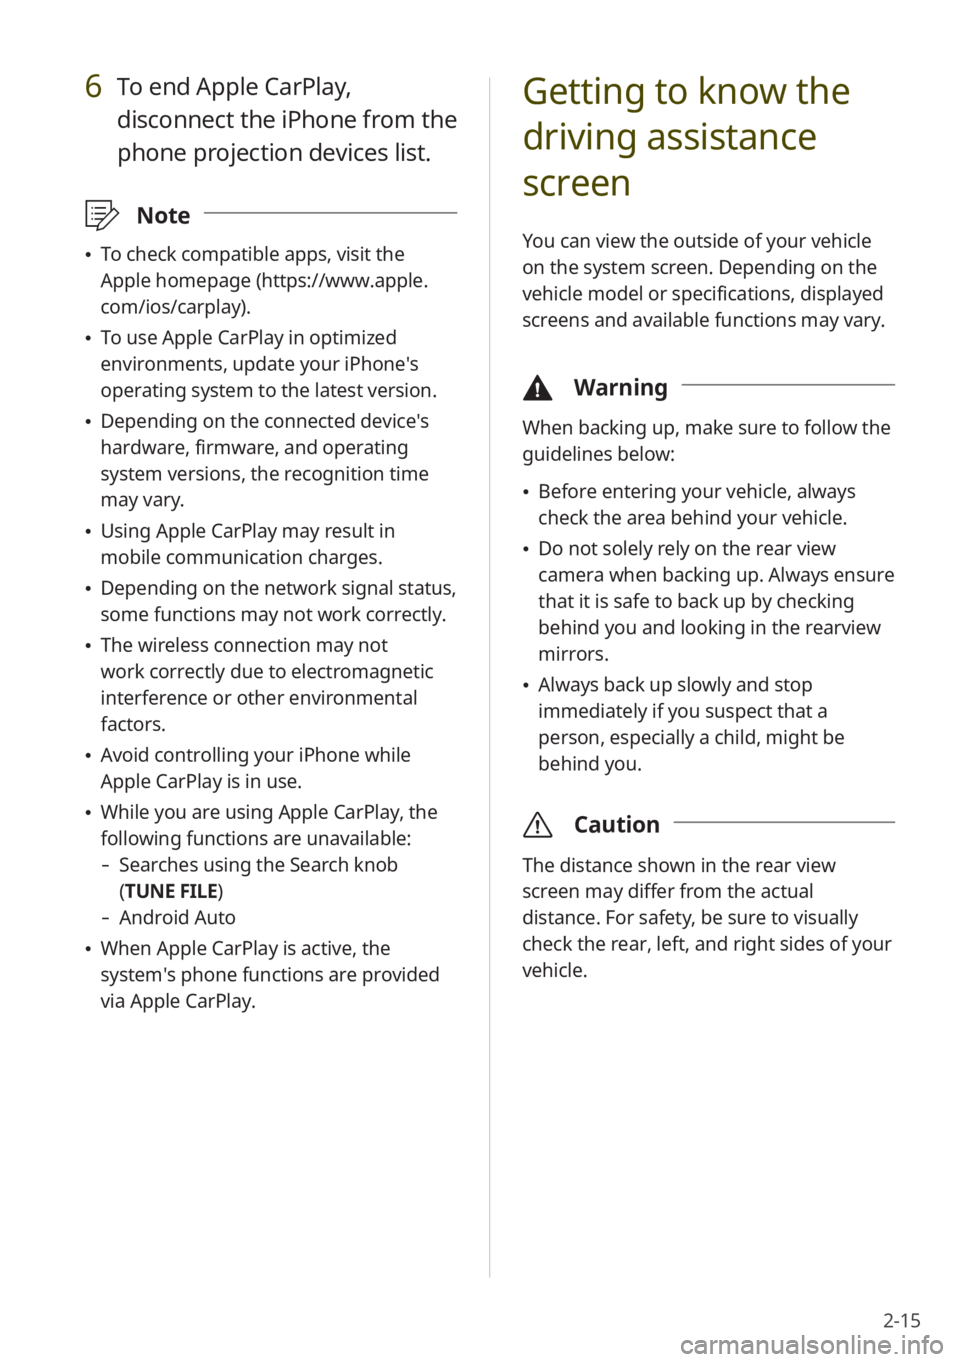
6 To end Apple CarPlay,
disconnect the iPhone from the
phone projection devices list.
\333Note
\225To check compatible apps, visit the
Apple homepage (https://www.apple.
com/ios/carplay).
\225To use Apple CarPlay in optimized
environments, update your iPhone′s
operating system to the latest version.
\225Depending on the connected device′s
hardware, firmware, and operating
system versions, the recognition time
may vary.
\225Using Apple CarPlay may result in
mobile communication charges.
\225Depending on the network signal status,
some functions may not work correctly.
\225The wireless connection may not
work correctly due to electromagnetic
interference or other environmental
factors.
\225Avoid controlling your iPhone while
Apple CarPlay is in use.
\225While you are using Apple CarPlay, the
following functions are unavailable:
- Searches using the Search knob
(TUNE FILE)
- Android Auto
\225When Apple CarPlay is active, the
system′s phone functions are provided
via Apple CarPlay.
Page 58 of 172

2-22
Viewing driving
information
(if equipped)
You can view your driving patterns by
checking information such as driving time,
distance, idling time ratio, and speed
distribution. Use driving information
to ensure safe and economical vehicle
operation.
1 On the Home screen, press All
Menus > Driving Info .
2 View your vehicle′s driving
information.
aabbcc
a a Update driving information with
the up-to-date data.
b b Display the options list.
\225User′s Manual on Web (QR
Code): Access the web manual
via the QR code. For safety
reasons, you can access the QR
code only when your vehicle is
stationary.
c c Return to the previous level.
\333 Note
You can use this function only when your
vehicle is parked with the engine running.
\225User′s Manual on Web (QR
Code): Access the web manual
via the QR code. For safety
reasons, you can access the QR
code only when your vehicle is
stationary.
b b Return to the previous level.
c c Adjust the interior temperature.
d d Adjust the air direction.
e e Adjust the fan speed.
f f Activate the AUTO mode. The
AUTO mode will be deactivated
automatically if you adjust the
climate control system by using the
buttons. (if equipped)
g g Turn off the climate control system.
\225 If the climate control system does not
support the AUTO mode, you will see
the climate control screen shown below.
aabb
dd
gg
ccee
\333 Note
\225For more information on how to use
the climate control system, refer to the
owner′s manual of your vehicle.
\225Depending on the vehicle model or
specifications, displayed screens and
available functions may vary.
Page 64 of 172
3-2
Using the Plug-in
Hybrid menu
(PHEV only)
You can use various features for plug-in
hybrid electric vehicles, such as viewing
your vehicle′s energy information or
scheduling a charging of your vehicle.
Starting the Plug-in Hybrid
menu
(PHEV only)
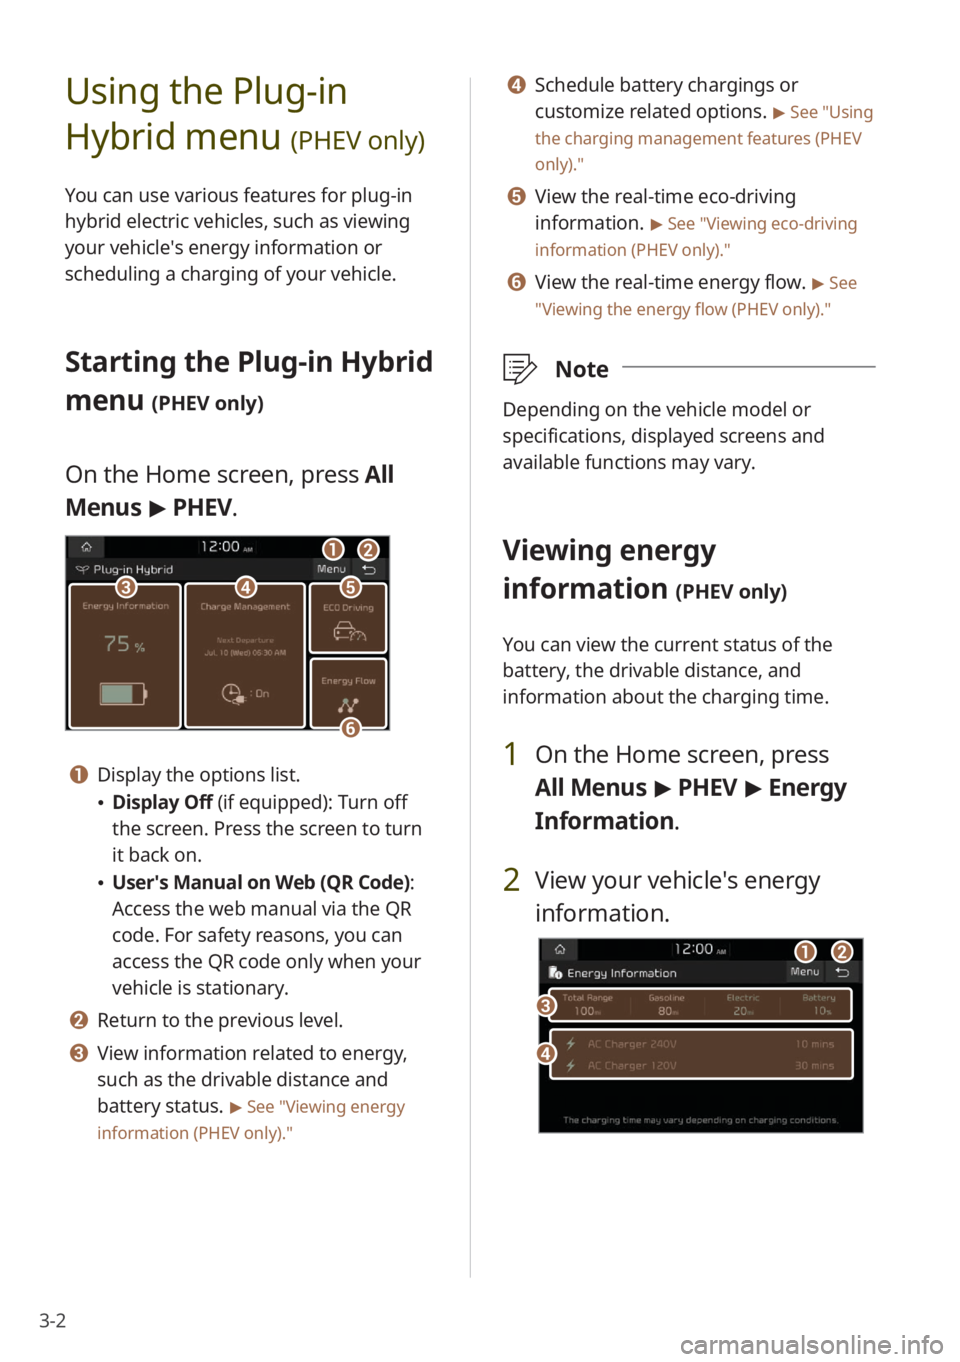
On the Home screen, press All
Menus > PHEV.
ccddee
ff
aabb
a a Display the options list.
\225 Display Off (if equipped): Turn off
the screen. Press the screen to turn
it back on.
\225User′s Manual on Web (QR Code) :
Access the web manual via the QR
code. For safety reasons, you can
access the QR code only when your
vehicle is stationary.
b b Return to the previous level.
c c View information related to energy,
such as the drivable distance and
battery status.
> See ″Viewing energy
information (PHEV only) .″
d d Schedule battery chargings or
customize related options.
> See ″Using
the charging management features (PHEV
only).″
e e View the real-time eco-driving
information.
> See ″Viewing eco-driving
information (PHEV only) .″
f f View the real-time energy flow. > See
″ Viewing the energy flow (PHEV only) .″
\333Note
Depending on the vehicle model or
specifications, displayed screens and
available functions may vary.
Viewing energy
information
(PHEV only)
You can view the current status of the
battery, the drivable distance, and
information about the charging time.
1 On the Home screen, press
All Menus > PHEV > Energy
Information .
2 View your vehicle′s energy
information.
dd
cc
aabb
Page 73 of 172
4-3
\225Station List : Access the list of
available radio stations.
\225 Scan FM/ Scan AM (if equipped):
Preview each radio station for a
few seconds and select the one you
want.
\225 Delete Presets: Delete saved radio
stations from the preset list.
> See
″ Deleting saved radio stations .″
\225Info : Set to display text information
received from the current
broadcasting station.
\225 Radio Noise (if equipped): Select the
FM radio noise reduction option for
the sound quality of the incoming
signal.
> See ″Radio Noise (if equipped) .″
\225Reorder Presets (if equipped):
Rearrange saved radio stations on
the preset list.
> See ″Rearranging the
preset list (if equipped).″
\225 Set Number of Presets (if equipped):
Set the number of radio stations
to display on the preset list.
> See
″ Changing the number of radio stations
on the preset list (if equipped) .″
\225Sound Settings: Customize the
system sound settings.
> See
″ Configuring the sound settings.″
\225 User′s Manual on Web (QR Code) :
Access the web manual via the QR
code. For safety reasons, you can
access the QR code only when your
vehicle is stationary.
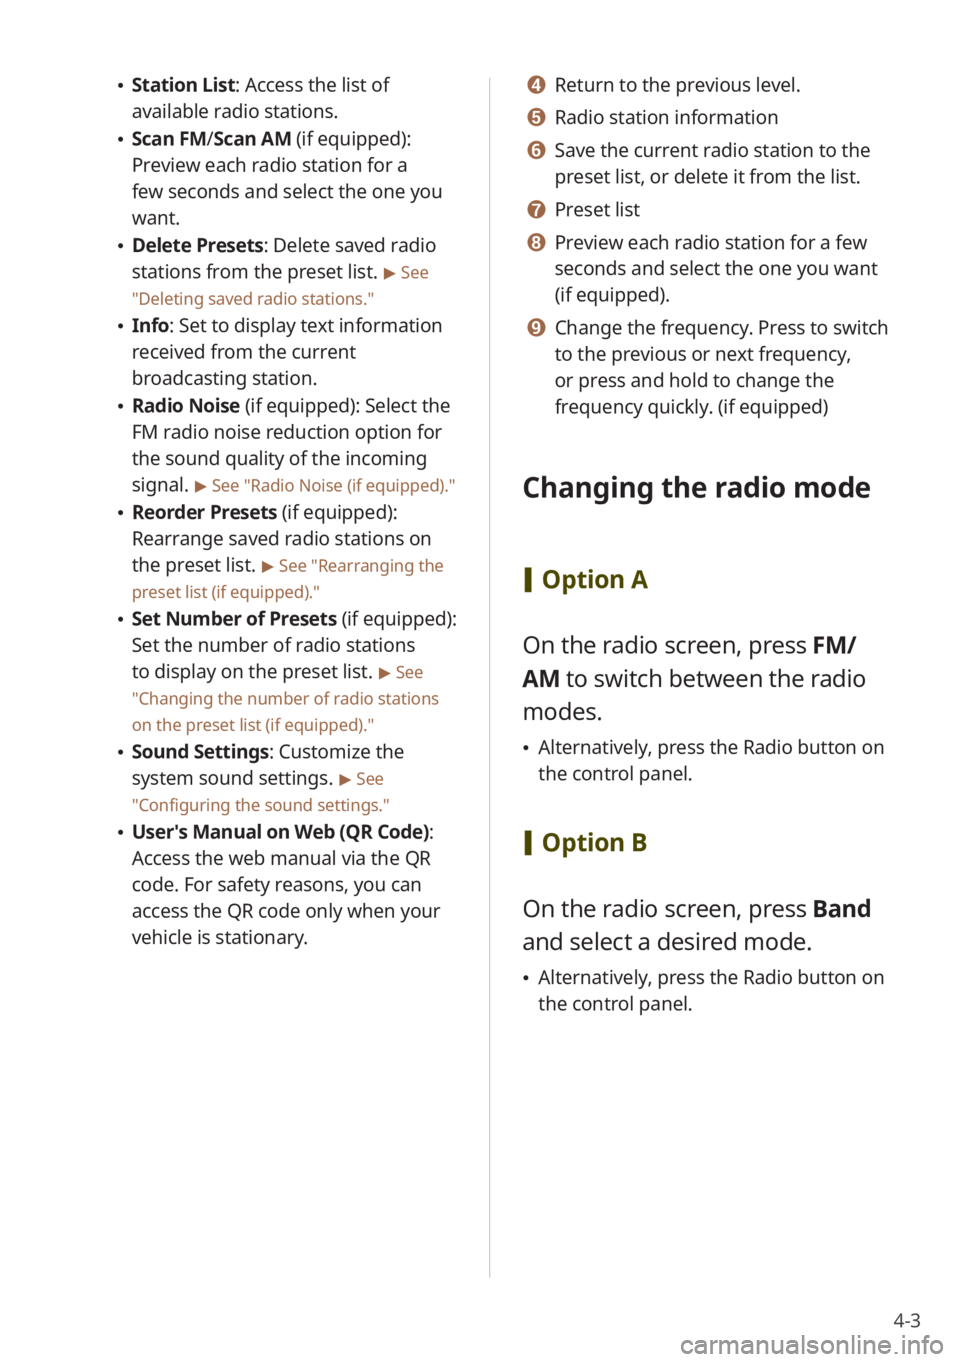
d d Return to the previous level.
e e Radio station information
f f Save the current radio station to the
preset list, or delete it from the list.
g g Preset list
h h Preview each radio station for a few
seconds and select the one you want
(if equipped).
i i Change the frequency. Press to switch
to the previous or next frequency,
or press and hold to change the
frequency quickly. (if equipped)
Changing the radio mode
[ Option A
On the radio screen, press FM/
AM to switch between the radio
modes.
\225 Alternatively, press the Radio button on
the control panel.
[Option B
On the radio screen, press Band
and select a desired mode.
\225 Alternatively, press the Radio button on
the control panel.
Page 74 of 172

4-4
Scanning for available
radio stations
You can listen to each radio station for a
few seconds and select the one you want.
1 On the radio screen, press
or press Menu > Scan FM or
Scan AM, depending on your
vehicle model.
\225 The system provides a preview of
each radio station on the available
stations list for five seconds.
2 When you find the radio
station to which you want to
listen, press
to stop the scan.
\225You can continue listening to the
current radio station.
Searching for radio
stations
You can search for radio stations by
changing frequencies.
To change frequencies, press the
Search backward button (SEEK)
or the Search forward button
(TRACK ) on the control panel.
\225An available radio station will be
selected automatically.
To change frequencies manually,
turn the Search knob (TUNE FILE)
on the control panel.
\225Alternatively, press or on the radio
screen (if equipped).
\333 Note
If multiple HD Radio stations are available
on one radio frequency in HD Radio mode,
turning the Search knob (TUNE FILE) on
that frequency will allow you to select
each radio station.
Page 78 of 172
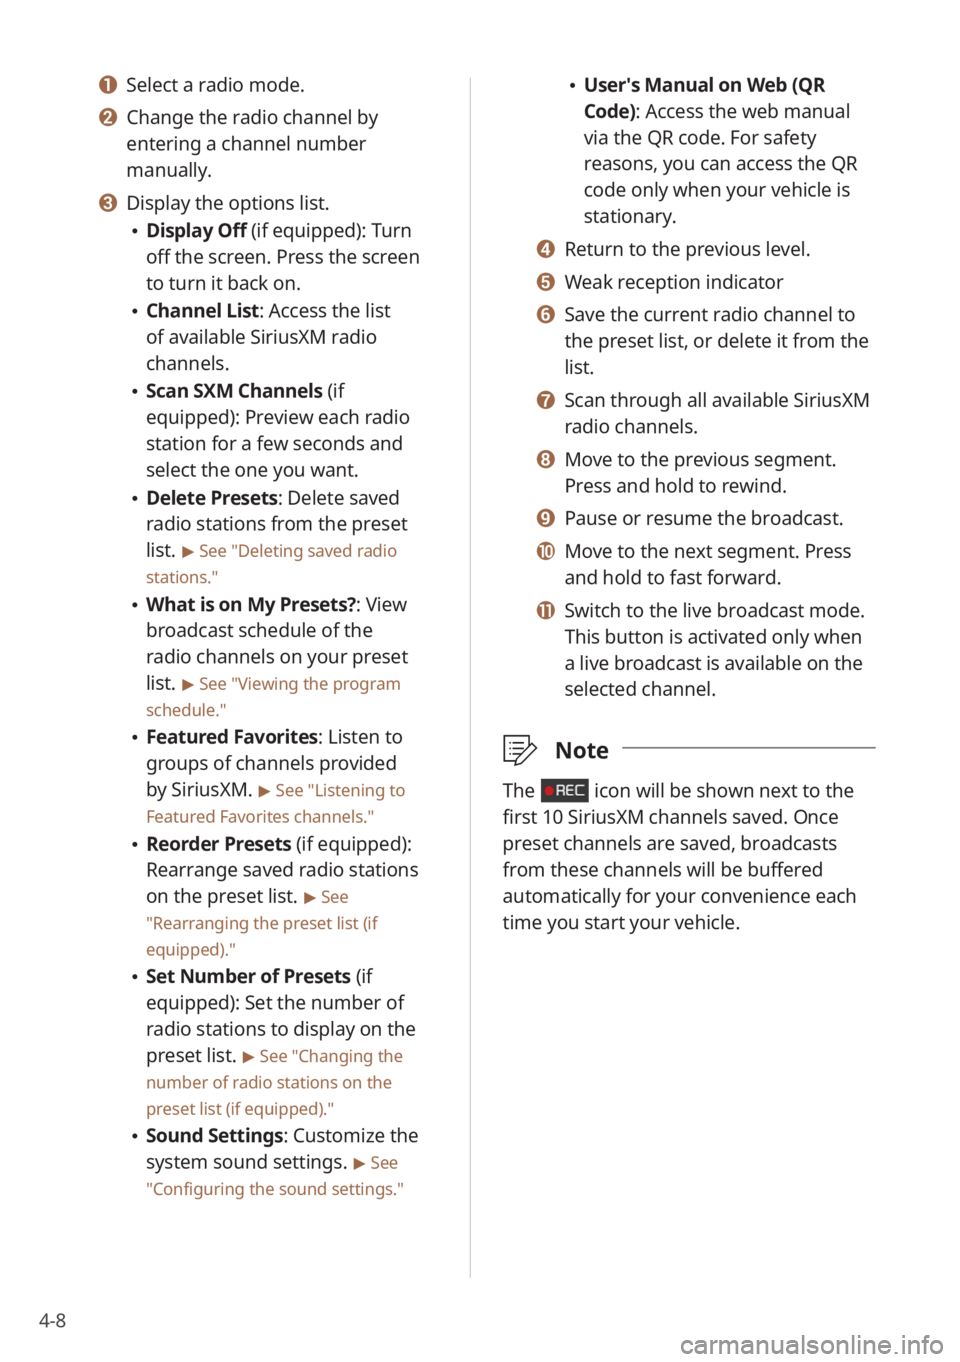
4-8
\225User′s Manual on Web (QR
Code): Access the web manual
via the QR code. For safety
reasons, you can access the QR
code only when your vehicle is
stationary.
d d Return to the previous level.
e e Weak reception indicator
f f Save the current radio channel to
the preset list, or delete it from the
list.
g g Scan through all available SiriusXM
radio channels.
h h Move to the previous segment.
Press and hold to rewind.
i i Pause or resume the broadcast.
j j Move to the next segment. Press
and hold to fast forward.
k k Switch to the live broadcast mode.
This button is activated only when
a live broadcast is available on the
selected channel.
\333 Note
The icon will be shown next to the
first 10 SiriusXM channels saved. Once
preset channels are saved, broadcasts
from these channels will be buffered
automatically for your convenience each
time you start your vehicle.
a a Select a radio mode.
b b Change the radio channel by
entering a channel number
manually.
c c Display the options list.
\225Display Off (if equipped): Turn
off the screen. Press the screen
to turn it back on.
\225Channel List : Access the list
of available SiriusXM radio
channels.
\225 Scan SXM Channels (if
equipped): Preview each radio
station for a few seconds and
select the one you want.
\225Delete Presets: Delete saved
radio stations from the preset
list.
> See ″Deleting saved radio
stations.″
\225 What is on My Presets?: View
broadcast schedule of the
radio channels on your preset
list.
> See ″Viewing the program
schedule.″
\225 Featured Favorites: Listen to
groups of channels provided
by SiriusXM.
> See ″Listening to
Featured Favorites channels.″
\225 Reorder Presets (if equipped):
Rearrange saved radio stations
on the preset list.
> See
″ Rearranging the preset list (if
equipped) .″
\225Set Number of Presets (if
equipped): Set the number of
radio stations to display on the
preset list.
> See ″Changing the
number of radio stations on the
preset list (if equipped).″
\225 Sound Settings: Customize the
system sound settings.
> See
″ Configuring the sound settings.″
Page 84 of 172

5-4
\333Note
\225Depending on the vehicle model or
specifications, displayed screens and
available functions may vary.
\225When connecting a USB storage device,
do not use an extension cable. If you use
a USB hub or an extension cable, the
device may not be recognized.
\225Fully insert a USB connector into the
USB port. Failure to do so may cause a
communication error.
\225When you disconnect a USB device, a
distorted noise may occur.
\225The system can play only files encoded
in a standard format.
\225The following types of USB devices may
not be recognized or work correctly:
- Encrypted MP3 players
-USB devices not recognized as
removable disks
\225A USB device may not be recognized
depending on its condition.
\225Some USB devices may be incompatible
with your system.
\225Depending on the USB device's type,
capacity, or the format of files, USB
recognition time may be longer.
\225Depending on the specification, some
USB devices may not support charging
via a USB connection.
[Controlling the USB player
Use the buttons on the media player
screen to control the music playback.
Pausing/Resuming playback
Press to pause music playback. Press
to resume playback.
Rewinding/Fast forwarding
Press and hold or to rewind or
fast forward the song.
\225 Alternatively, use the Search backward
button (SEEK) or the Search forward
button (TRACK) on the control panel.
\225You can also use the Search lever/
button on the steering wheel.
\225You can change the playback position
by pressing the progress bar on the
screen. Music will begin playing from
the selected location.