Page 88 of 555
4-2
Instrument Cluster
ODN8A049039C/ODN8A049032C
Instrument Cluster
1. Tachometer
2. Speedometer
3. Engine coolant temperature gauge4.
Fuel gauge
5. Warning and indicator lights
6. LCD display (including trip computer)
The actual cluster in the vehicle may differ from the illustration.
For more information, refer to the "Gauges and Meters" in this chapter.
„„Type A
„
„Type B
Page 89 of 555
4-3
04
ODN8A049002/ONX4040002
1. Tachometer
2. Speedometer
3. Engine coolant temperature gauge 4.
Fuel gauge
5. Warning and indicator lights
6. LCD display (including trip computer)
The actual cluster in the vehicle may differ from the illustration.
For more information, refer to the "Gauges and Meters" in this chapter.
„„Type C
„
„Type D
Page 92 of 555
Instrument Cluster
4-6
NOTICE
If the gauge pointer moves beyond
the normal range area toward the "H"
position, it indicates overheating that
may damage the engine.
Do not continue driving with an
overheated engine. If your engine
overheats, refer to "If the Engine
Overheats" in chapter 7.
WARNING
Never remove the radiator cap or
reservoir cap when the engine is hot.
The engine coolant is under pressure
and could severely burn. Wait until the
engine is cool before adding coolant to
the reservoir. Fuel gauge
„„Type A, B
ODN8A049040
„„Type C
ODN8A049007
„„Type D
OCN7040011
This gauge indicates the approximate
amount of fuel remaining in the fuel tank.
Page 93 of 555

04
4 -7
Information
• The fuel tank capacity is given in
chapter 2.
• The fuel gauge is supplemented by a low fuel warning light, which will illuminate when the fuel tank is nearly
empty.
• On inclines or curves, the fuel gauge
pointer may fluctuate or the low fuel
warning light may come on earlier than usual due to the movement of fuel in the tank.
WARNING
Running out of fuel can expose vehicle
occupants to danger.
You must stop and obtain additional
fuel as soon as possible after the
warning light comes on or when the
gauge indicator comes close to the "E
(Empty)" level.
NOTICE
Avoid driving with an extremely low
fuel level. Running out of fuel could
cause the engine to misfire and damage
the catalytic converter. Outside temperature gauge
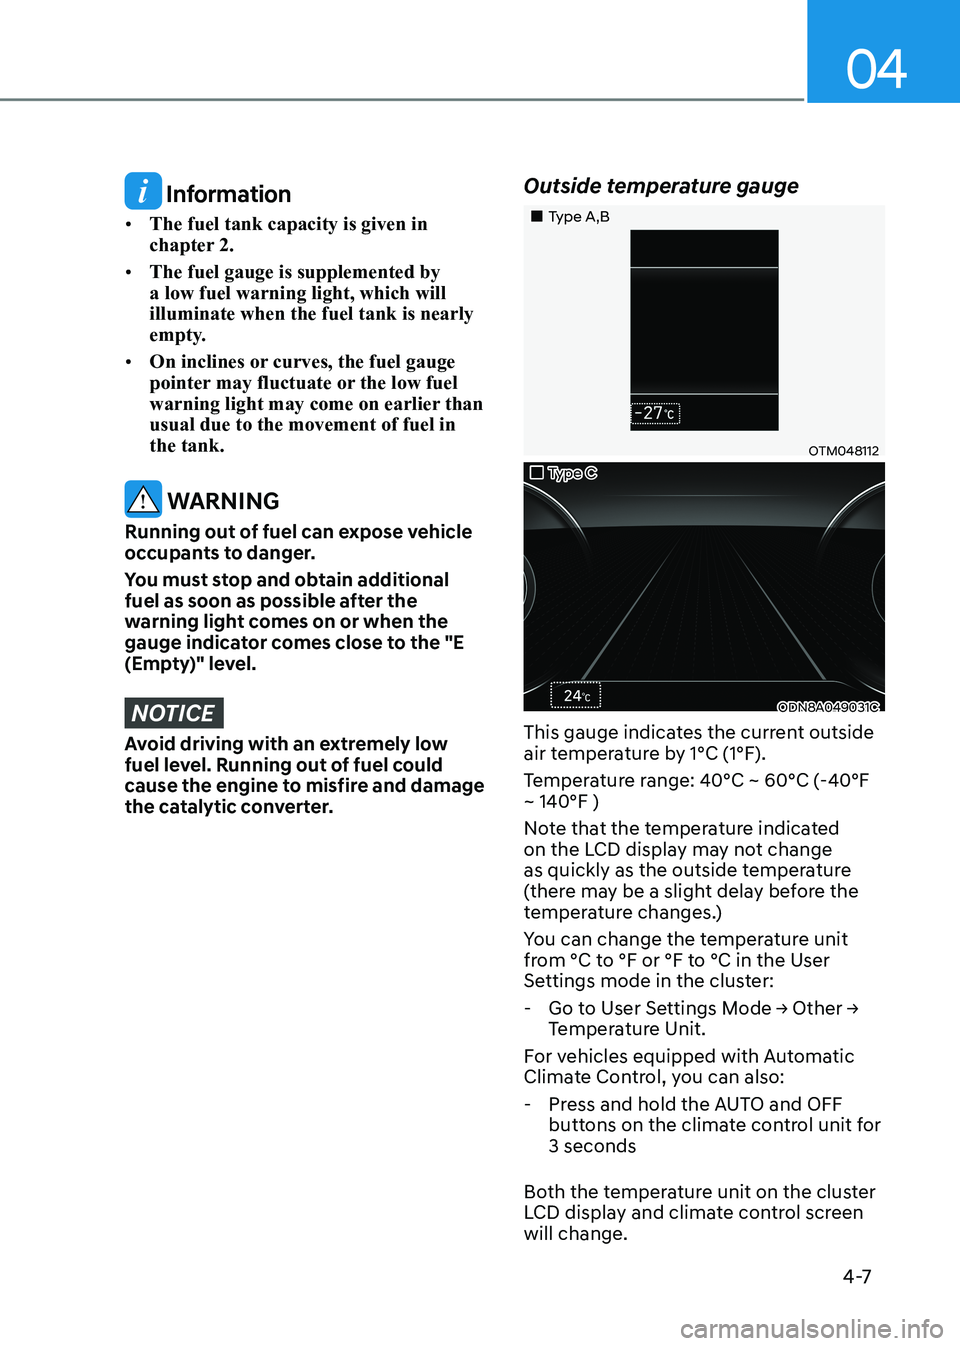
„„Type A,B
OTM048112
„„Type C
ODN8A049031C
This gauge indicates the current outside
air temperature by 1°C (1°F).
Temperature range: 40°C ~ 60°C (-40°F ~ 140°F )
Note that the temperature indicated
on the LCD display may not change
as quickly as the outside temperature
(there may be a slight delay before the
temperature changes.)
You can change the temperature unit
from °C to °F or °F to °C in the User
Settings mode in the cluster:
- Go to User Settings Mode → Other →
Temperature Unit.
For vehicles equipped with Automatic
Climate Control, you can also: - Press and hold the AUTO and OFF buttons on the climate control unit for 3 seconds
Both the temperature unit on the cluster
LCD display and climate control screen will change.
Page 94 of 555
Instrument Cluster
4-8
Odometer
„„Type A, B
OIG046114
„„Type C
ODN8A049037C
„„Type D
OCN7040015
The odometer indicates the total
distance that the vehicle has been
driven and should be used to determine
when periodic maintenance should be
performed. Range
„„Type A, B
OPD046138
„„Type C
ODN8A049033C
„„Type D
OCN7040016
• The range is the estimated distance
the vehicle can be driven with the
remaining fuel.
• If the estimated distance is below
1 km (1 mi.), the trip computer will
display "----" as range.
Page 204 of 555

Convenience Features
5-58
• If a fire breaks out during refueling,
leave the vicinity of the vehicle, and
immediately contact the manager
of the gas station and then contact
the local fire department. Follow any
safety instructions they provide.
• If pressurized fuel sprays out, it can
cover your clothes or skin and thus
subject you to the risk of fire and
burns. Always remove the fuel cap
carefully and slowly. If the cap is
venting fuel or if you hear a hissing
sound, wait until the condition stops
before completely removing the cap.
• Always check that the fuel cap is
installed securely to prevent fuel
spillage in the event of an accident.
Information
Make sure to refuel your vehicle according
to the “Fuel Requirements” suggested in
the Introduction chapter.
NOTICE
• Do not spill fuel on the exterior
surfaces of the vehicle. Any type of
fuel spilled on painted surfaces may
damage the paint.
• If the fuel filler cap requires
replacement, use only a genuine
HYUNDAI cap or the equivalent
specified for your vehicle. An
incorrect fuel filler cap can result
in a serious malfunction of the fuel
system or emission control system.
Page 308 of 555

06
6-21
•
The dual clutch transmission can be
thought of as an automatically shifting
manual transmission. It gives the
driving feel of a manual transmission,
yet provides the ease of a fully
automatic transmission.
• When D (Drive) is selected, the
transmission will automatically
shift through the gears similar to a
conventional automatic transmission.
Unlike a traditional automatic
transmission, the gear shifting can
sometimes be felt and heard as the
actuators engage the clutches and the
gears are selected.
• The dual clutch transmission
incorporates a wet-type dual clutch
mechanism, which allows for better
acceleration performance and
increased fuel efficiency while driving.
But it differs from a conventional
automatic transmission because
it does not incorporate a torque
converter. Instead, the transition from
one gear to the next is managed by
clutch slip, especially at lower speeds.
As a result, shifts are sometimes more
noticeable, and a light vibration can
be felt as the transmission shaft speed
is matched with the engine shaft
speed. This is a normal condition of
the dual clutch transmission.
• The wet-type clutch transfers torque
more directly and provides a direct-
drive feeling which may feel different
from a conventional automatic
transmission. This may be more
noticeable when launching the vehicle
from a stop or when traveling at low,
stop-and-go vehicle speeds. •
When rapidly accelerating from a
lower vehicle speed, the engine
rpm may increase dramatically as a
result of clutch slip as the dual clutch
transmission selects the correct gear. This is a normal condition.
• When accelerating from a stop on
an incline, press the accelerator
smoothly and gradually to avoid any
shudder feeling or jerkiness.
• When traveling at a lower vehicle
speed, if you release the accelerator
pedal quickly, you may feel engine
braking before the transmission
changes gears. This engine braking
feeling is similar to operating a
manual transmission at low speed.
• When driving downhill, you may wish
to move the gear shift lever/button to
Manual Shift mode and downshift to
a lower gear in order to control your
speed without using the brake pedal
excessively.
• When you turn the engine on and off,
you may hear clicking sounds as the
system goes through a self-test. This
is a normal sound for the dual clutch
transmission.
• During the first 1,500 km (1000 miles),
you may feel that the vehicle may not
be smooth when accelerating at low
speed. During this break-in period, the
shift quality and performance of your
new vehicle is continuously optimized.
Page 313 of 555

While Driving
6-26
D (Drive)
This is the normal driving position. The
transmission will automatically shift
through a 8-gear sequence, providing
the best fuel economy and power.
To start the vehicle forward, push the D
(Drive) button by depressing the brake
pedal with the engine ON. Then depress
the accelerator pedal smoothly. For extra
power when passing another vehicle or
driving uphill, depress the accelerator
fully. The transmission will automatically
downshift to the next lower gear (or
gears, as appropriate). When the vehicle
is stopped in D (Drive) position, if you
open the driver’s door with the seat belt
unfastened, the gear is shifted to P (Park)
position automatically.
However when the vehicle moves in D
(Drive) position, if you open the driver’s
door with the seat belt unfastened,
the gear may be not shifted to P (Park)
position automatically for protecting the
dual clutch transmission.
The DRIVE MODE switch, located on
the shift lever/button console, allows
the driver to switch from NORMAL/
COMFORT mode to SPORT or ECO mode. (if equipped)
For more details, refer to “Drive Mode
Integrated Control System” later in this
chapter. Shift-lock system
For your safety, the automatic
transmission has a shift-lock system
which prevents shifting the transmission
from P (Park) or N (Neutral) to R
(Reverse) or D (Drive) unless the brake
pedal is depressed.
To shift the transmission from P (Park)
into R (Reverse):
1. Depress and hold the brake pedal.
2. Start the engine or place the ignition
switch in the ON position.
3. Depress the brake pedal and move the shift lever to R (Reverse). (shift lever
type)
Depress the brake pedal and push the
R (Reverse) button. (shift button type)
When the battery is discharged:
You cannot shift the shift lever/button,
when the battery is discharged.
In emergencies, do the following
to move the shift lever/button to N
(Neutral) on a level ground.
1. Connect the battery cables from another vehicle or from a another
battery to the jump-starting terminals
inside the engine compartment.
For more details, refer to “Jump
Starting” in chapter 8.
2. Release the parking brake with the ignition switch in the ON position.
3. Shift the gear to the N(Neutral) position refer to the “Stay in Neutral
when vehicle is Off” in this chapter.