2023 HYUNDAI KONA EV lock
[x] Cancel search: lockPage 104 of 548
03
3-25
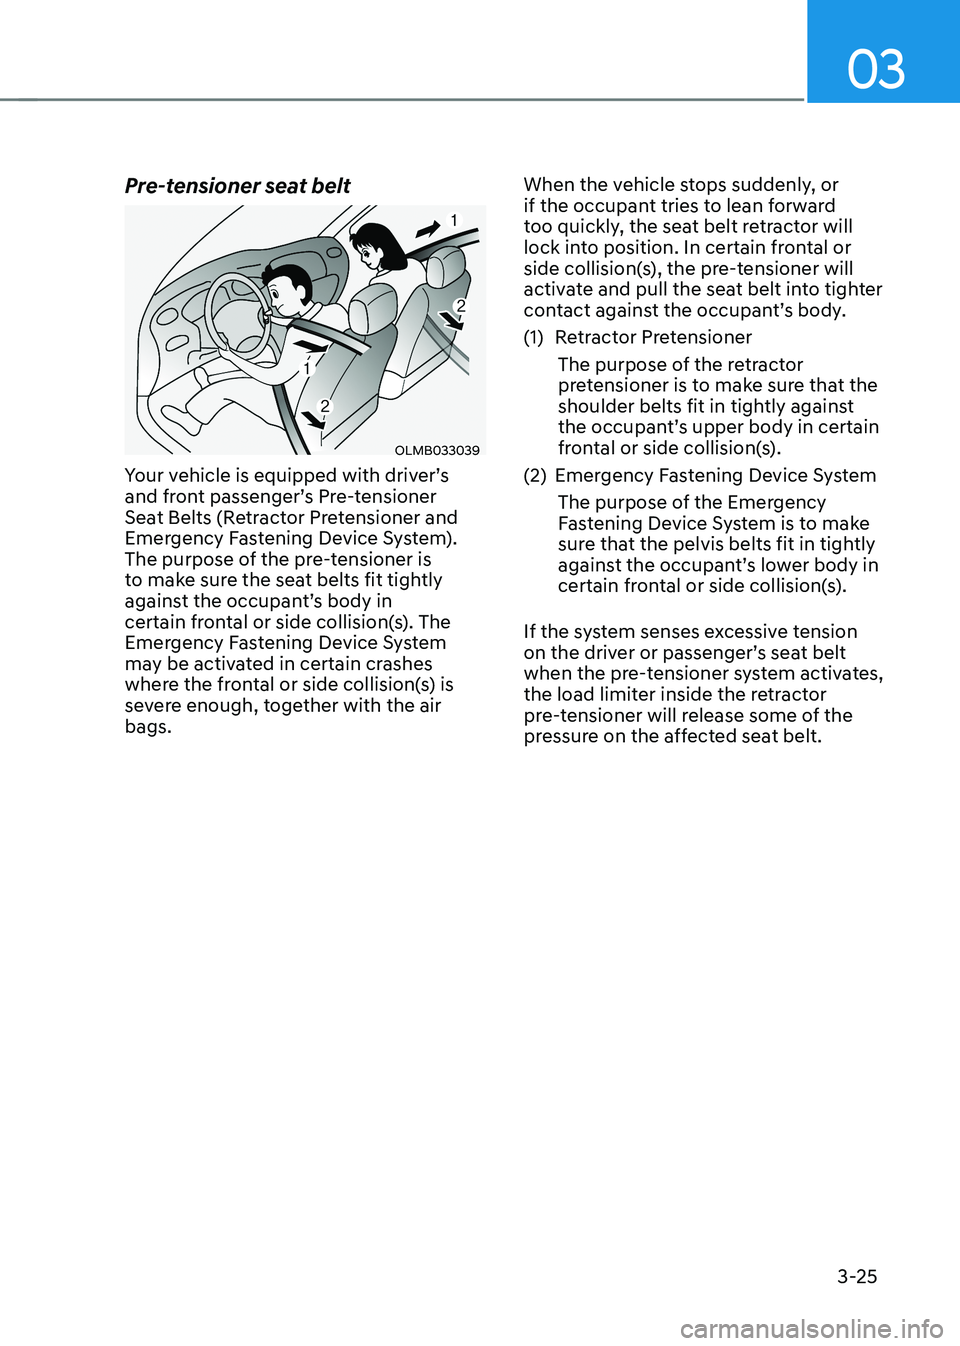
Pre-tensioner seat belt
OLMB033039
Your vehicle is equipped with driver’s
and front passenger’s Pre-tensioner
Seat Belts (Retractor Pretensioner and
Emergency Fastening Device System).
The purpose of the pre-tensioner is
to make sure the seat belts fit tightly
against the occupant’s body in
certain frontal or side collision(s). The
Emergency Fastening Device System
may be activated in certain crashes
where the frontal or side collision(s) is
severe enough, together with the air bags. When the vehicle stops suddenly, or
if the occupant tries to lean forward
too quickly, the seat belt retractor will
lock into position. In certain frontal or
side collision(s), the pre-tensioner will
activate and pull the seat belt into tighter
contact against the occupant’s body.
(1) Retractor Pretensioner
The purpose of the retractor pretensioner is to make sure that the
shoulder belts fit in tightly against
the occupant’s upper body in certain
frontal or side collision(s).
(2) Emergency Fastening Device System
The purpose of the Emergency Fastening Device System is to make
sure that the pelvis belts fit in tightly
against the occupant’s lower body in
certain frontal or side collision(s).
If the system senses excessive tension
on the driver or passenger’s seat belt
when the pre-tensioner system activates,
the load limiter inside the retractor
pre-tensioner will release some of the
pressure on the affected seat belt.
Page 118 of 548
03
3-39
Securing a Child Restraint System with a lap/shoulder belt
WARNING
ALWAYS place a rearward-facing Child
Restraint System in the rear seat of the
vehicle.
Placing a rearward-facing child restraint
in the front seat can result in serious
injury or death if the Child Restraint
System is struck by an inflating air bag.
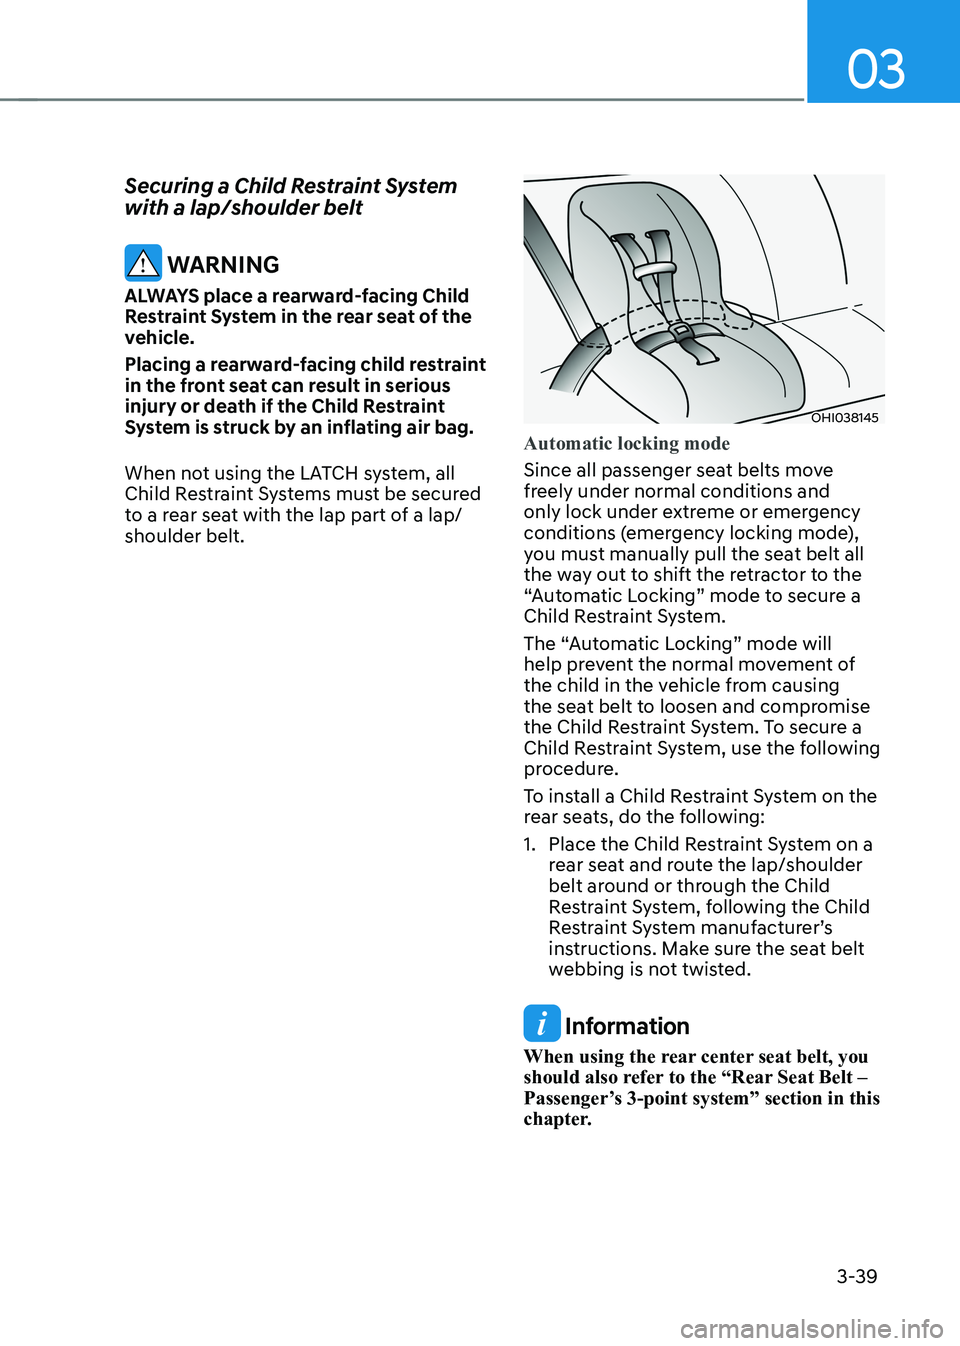
When not using the LATCH system, all
Child Restraint Systems must be secured
to a rear seat with the lap part of a lap/shoulder belt.
OHI038145
Automatic locking mode
Since all passenger seat belts move
freely under normal conditions and
only lock under extreme or emergency
conditions (emergency locking mode),
you must manually pull the seat belt all
the way out to shift the retractor to the
“Automatic Locking” mode to secure a
Child Restraint System.
The “Automatic Locking” mode will
help prevent the normal movement of
the child in the vehicle from causing
the seat belt to loosen and compromise
the Child Restraint System. To secure a
Child Restraint System, use the following
procedure.
To install a Child Restraint System on the
rear seats, do the following:
1. Place the Child Restraint System on a rear seat and route the lap/shoulder
belt around or through the Child
Restraint System, following the Child
Restraint System manufacturer’s
instructions. Make sure the seat belt
webbing is not twisted.
Information
When using the rear center seat belt, you
should also refer to the “Rear Seat Belt –
Passenger’s 3-point system” section in this
chapter.
Page 119 of 548
Safety system
3-40
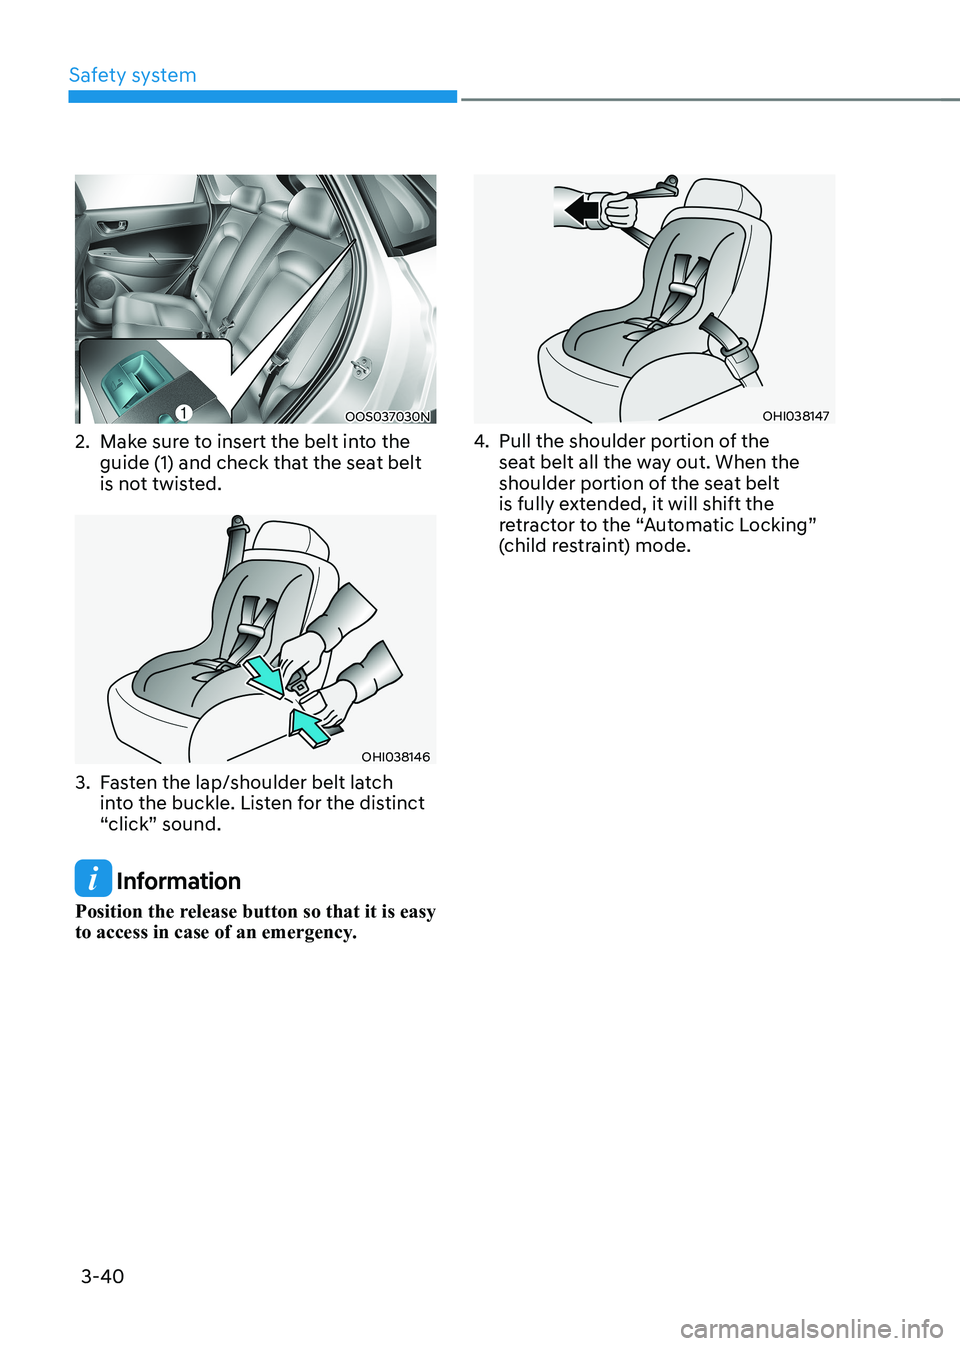
OOS037030N
2. Make sure to insert the belt into the guide (1) and check that the seat belt
is not twisted.
OHI038146
3. Fasten the lap/shoulder belt latch into the buckle. Listen for the distinct
“click” sound.
Information
Position the release button so that it is easy
to access in case of an emergency.
OHI038147
4. Pull the shoulder portion of the
seat belt all the way out. When the
shoulder portion of the seat belt
is fully extended, it will shift the
retractor to the “Automatic Locking”
(child restraint) mode.
Page 120 of 548
03
3-41
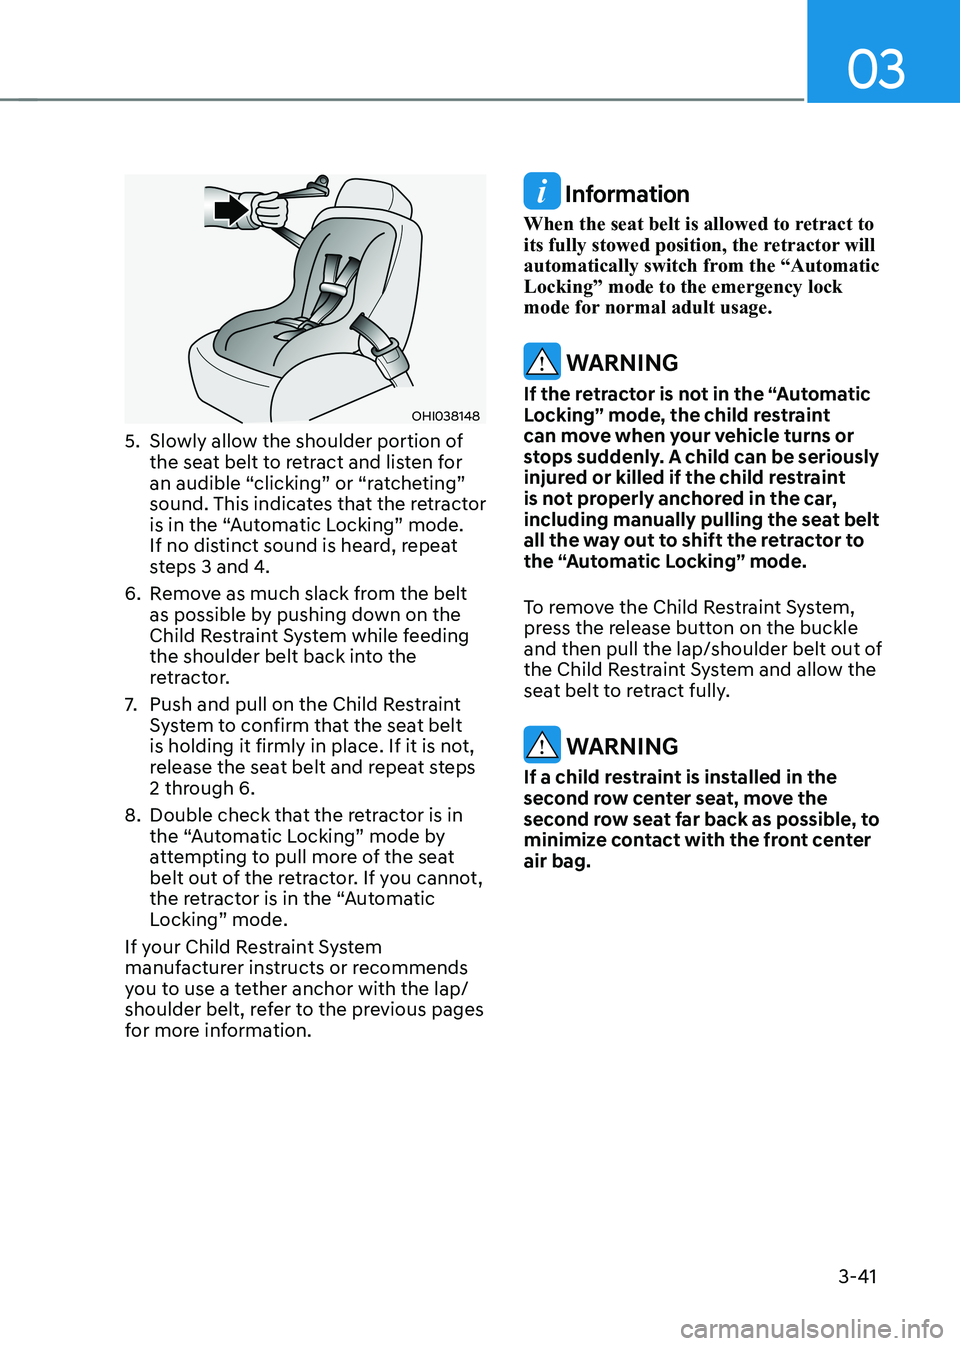
OHI038148
5. Slowly allow the shoulder portion of the seat belt to retract and listen for
an audible “clicking” or “ratcheting”
sound. This indicates that the retractor
is in the “Automatic Locking” mode.
If no distinct sound is heard, repeat
steps 3 and 4.
6. Remove as much slack from the belt as possible by pushing down on the
Child Restraint System while feeding
the shoulder belt back into the
retractor.
7. Push and pull on the Child Restraint
System to confirm that the seat belt
is holding it firmly in place. If it is not,
release the seat belt and repeat steps
2 through 6.
8. Double check that the retractor is in the “Automatic Locking” mode by
attempting to pull more of the seat
belt out of the retractor. If you cannot,
the retractor is in the “Automatic
Locking” mode.
If your Child Restraint System
manufacturer instructs or recommends
you to use a tether anchor with the lap/
shoulder belt, refer to the previous pages
for more information.
Information
When the seat belt is allowed to retract to
its fully stowed position, the retractor will
automatically switch from the “Automatic Locking” mode to the emergency lock
mode for normal adult usage.
WARNING
If the retractor is not in the “Automatic
Locking” mode, the child restraint
can move when your vehicle turns or
stops suddenly. A child can be seriously
injured or killed if the child restraint
is not properly anchored in the car,
including manually pulling the seat belt
all the way out to shift the retractor to
the “Automatic Locking” mode.
To remove the Child Restraint System,
press the release button on the buckle
and then pull the lap/shoulder belt out of
the Child Restraint System and allow the
seat belt to retract fully.
WARNING
If a child restraint is installed in the
second row center seat, move the
second row seat far back as possible, to
minimize contact with the front center air bag.
Page 125 of 548
Safety system
3-46
WARNING
To reduce the risk of serious injury or
death from an inflating side air bag,
take the following precautions: • Seat belts must be worn at all times
to help keep occupants positioned
properly.
• Do not allow passengers to lean their
heads or bodies onto doors, put their
arms on the doors, stretch their arms
out of the window, or place objects
between the doors and seats.
• Hold the steering wheel at the 9
o’clock and 3 o’clock positions, to
minimize the risk of injuries to your hands and arms.
• Do not use any accessory seat covers.
This could reduce or prevent the
effectiveness of the system.
• Do not hang other objects except
clothes. In an accident they may cause
vehicle damage or personal injury
especially when air bag is inflated.
• Do not place any objects over the
air bag or between the air bag and
yourself. Also, do not attach any
objects around the area the air bag
inflates such as the door, side door
glass, front and rear pillar.
• Do not place any objects between the
door and the seat. They may become
dangerous projectiles if the side air
bag inflates.
• Do not put any objects between the
side airbag label and seat cushion.
They could cause harm if the vehicle
is in a crash severe enough to cause
the air bags to deploy.
• Do not install any accessories on the side or near the side air bags.
• Do not cause impact to the doors
when the START/STOP button is in the
ON position as this may cause the side
air bags to inflate.
• If the seat or seat cover is damaged,
we recommend that the system be
serviced by an authorized HYUNDAI
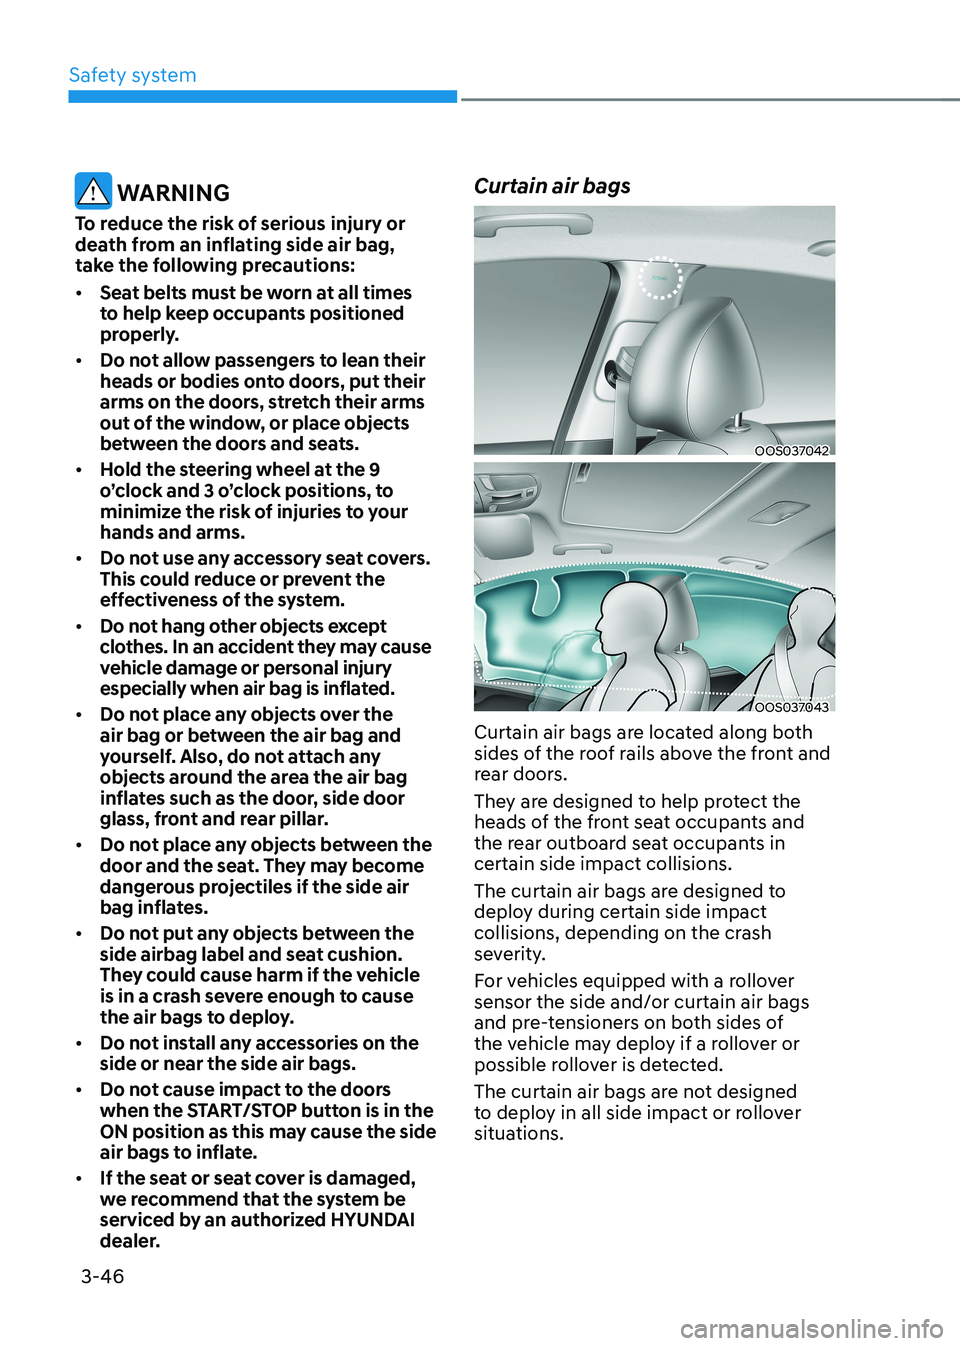
dealer. Curtain air bags
OOS037042
OOS037043
Curtain air bags are located along both
sides of the roof rails above the front and
rear doors.
They are designed to help protect the
heads of the front seat occupants and
the rear outboard seat occupants in certain side impact collisions.
The curtain air bags are designed to
deploy during certain side impact
collisions, depending on the crash
severity.
For vehicles equipped with a rollover sensor the side and/or curtain air bags
and pre-tensioners on both sides of
the vehicle may deploy if a rollover or
possible rollover is detected.
The curtain air bags are not designed
to deploy in all side impact or rollover
situations.
Page 128 of 548
03
3-49
•
In addition to inflating in serious side
collisions, vehicles equipped with a
rollover sensor, side and/or curtain air
bags will inflate if the sensing system
detects a rollover.
When a rollover is detected, curtain
air bags will remain inflated longer to
help provide protection from ejection, especially when used in conjunction
with the seat belts. (if equipped with a
rollover sensor)
• To help provide protection, the air
bags must inflate rapidly. The speed
of air bag inflation is a consequence
of extremely short time in which
to inflate the air bag between the
occupant and the vehicle structures
before the occupant impacts those
structures. This speed of inflation
reduces the risk of serious or
lifethreatening injuries and is thus a
necessary part of air bag design.
However, the rapid air bag inflation can also cause injuries which can
include facial abrasions, bruises and
broken bones because the inflation
speed also causes the air bags to
expand with a great deal of force.
• There are even circumstances under
which contact with the air bag can
cause fatal injuries, especially if the
occupant is positioned excessively
close to the air bag.
You can take steps to reduce the risk of
being injured by an inflating air bag. The
greatest risk is sitting too close to the air
bag. An air bag needs space to inflate.
It is recommended that drivers sit as far
as possible between the center of the
steering wheel and the chest while still
maintaining control of the vehicle.
WARNING
To reduce the risk of serious injury or
death from an inflating air bag, take the
following precautions: • NEVER place a child restraint in the
front passenger seat.
Always properly restrain children
under age 13 in the rear seats of the
vehicle.
• Adjust the front passenger’s and
driver’s seats as far to the rear as
possible while allowing you to
maintain full control of the vehicle.
• Hold the steering wheel with
hands at the 9 o’clock and 3 o’clock positions.
• Never place anything or anyone
between the air bag and the seat
occupant.
• Do not allow the front passenger
to place their feet or legs on the
dashboard.
Page 137 of 548
Safety system
3-58
Why didn’t my air bag go off in a
collision?
There are certain types of accidents in
which the air bag would not be expected
to provide additional protection. These
include rear impacts, second or third
collisions in multiple impact accidents,
as well as low speed impacts. Damage to
the vehicle indicates a collision energy
absorption, and is not an indicator of
whether or not an air bag should have
inflated.Air bag collision sensors WARNING
To reduce the risk of an air bag
deploying unexpectedly and causing
serious injury or death: • Do not hit or allow any objects to
impact the locations where air bags
or sensors are installed.
• Do not perform maintenance on or
around the air bag sensors. If the
location or angle of the sensors is
altered, the air bags may deploy
when they should not or may not
deploy when they should.
• Installing bumper guards with non-
genuine Hyundai or non-equivalent
parts may adversely affect the
collision and air bag deployment
performance.
To ensure correct function of the
air bag system we recommend to
replace the bumper with genuine
Hyundai part or the equivalent (of
the genuine part) specified for your
vehicle.
• Place the START/STOP button to the
LOCK/OFF or ACC position, when the
vehicle is being towed to prevent
inadvertent air bag deployment.
• We recommend that all air bag
repairs are conducted by an
authorized HYUNDAI dealer.
Page 153 of 548
Instrument cluster
4-10
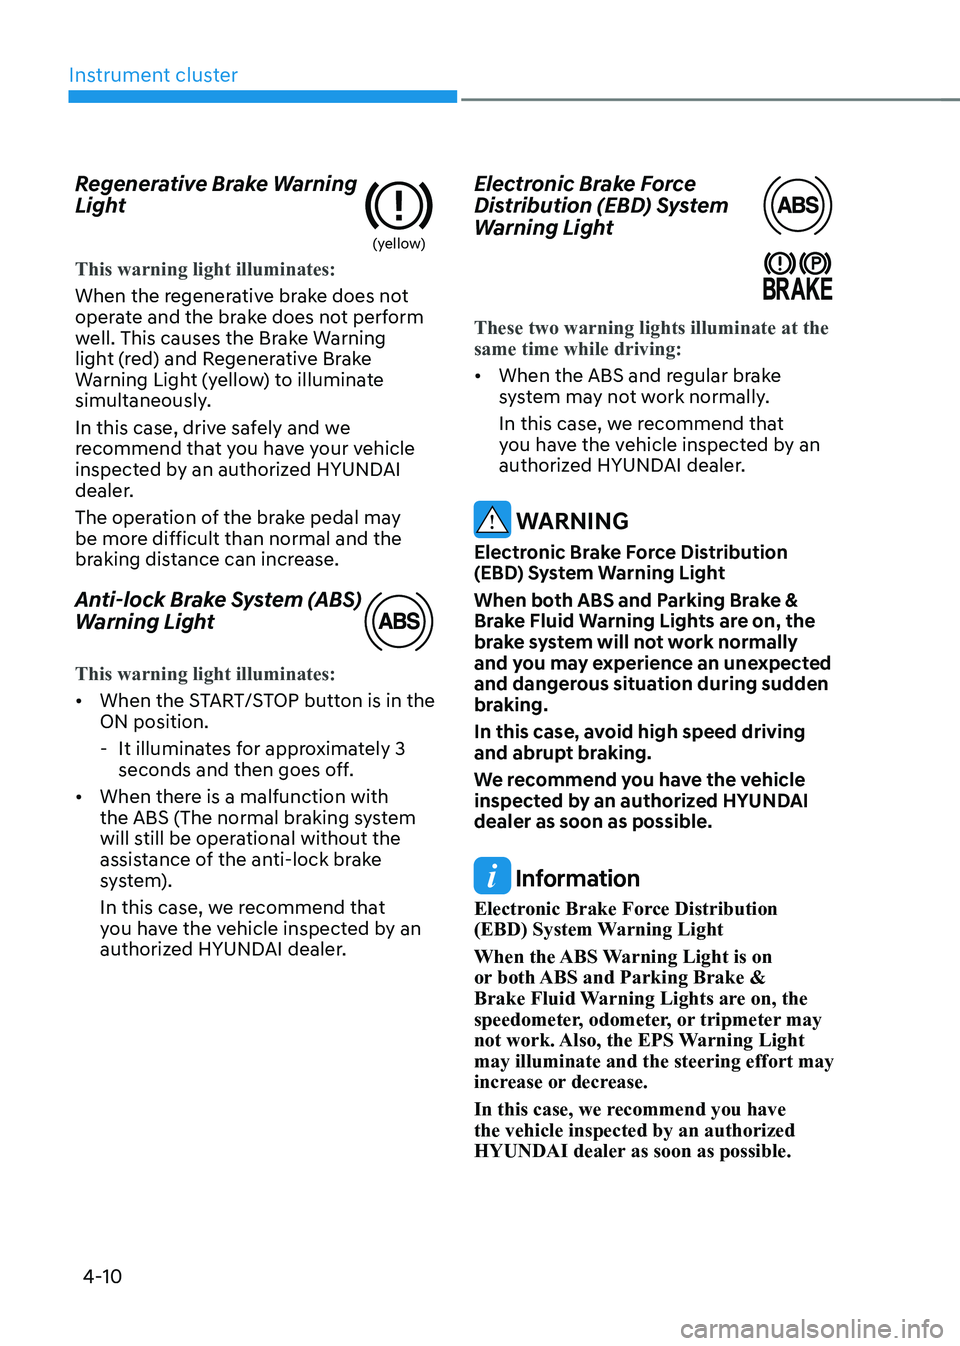
Regenerative Brake Warning
Light
(yellow)
This warning light illuminates:
When the regenerative brake does not
operate and the brake does not perform
well. This causes the Brake Warning
light (red) and Regenerative Brake
Warning Light (yellow) to illuminate
simultaneously.
In this case, drive safely and we
recommend that you have your vehicle
inspected by an authorized HYUNDAI
dealer.
The operation of the brake pedal may
be more difficult than normal and the
braking distance can increase.
Anti-lock Brake System (ABS)
Warning Light
This warning light illuminates:
•
When the START/STOP button is in the ON position.
- It illuminates for approximately 3 seconds and then goes off.
• When there is a malfunction with
the ABS (The normal braking system
will still be operational without the
assistance of the anti-lock brake
system).
In this case, we recommend that
you have the vehicle inspected by an
authorized HYUNDAI dealer. Electronic Brake Force
Distribution (EBD) System
Warning Light
These two warning lights illuminate at the same time while driving:
•
When the ABS and regular brake
system may not work normally.
In this case, we recommend that
you have the vehicle inspected by an
authorized HYUNDAI dealer.
WARNING
Electronic Brake Force Distribution
(EBD) System Warning Light
When both ABS and Parking Brake &
Brake Fluid Warning Lights are on, the
brake system will not work normally
and you may experience an unexpected
and dangerous situation during sudden
braking.
In this case, avoid high speed driving
and abrupt braking.
We recommend you have the vehicle
inspected by an authorized HYUNDAI dealer as soon as possible.
Information
Electronic Brake Force Distribution
(EBD) System Warning Light
When the ABS Warning Light is on
or both ABS and Parking Brake &
Brake Fluid Warning Lights are on, the
speedometer, odometer, or tripmeter may
not work. Also, the EPS Warning Light may illuminate and the steering effort may
increase or decrease.
In this case, we recommend you have the vehicle inspected by an authorized
HYUNDAI dealer as soon as possible.