2023 HYUNDAI IONIQ 5 start stop
[x] Cancel search: start stopPage 60 of 680

01
1-55
ONE1Q011011
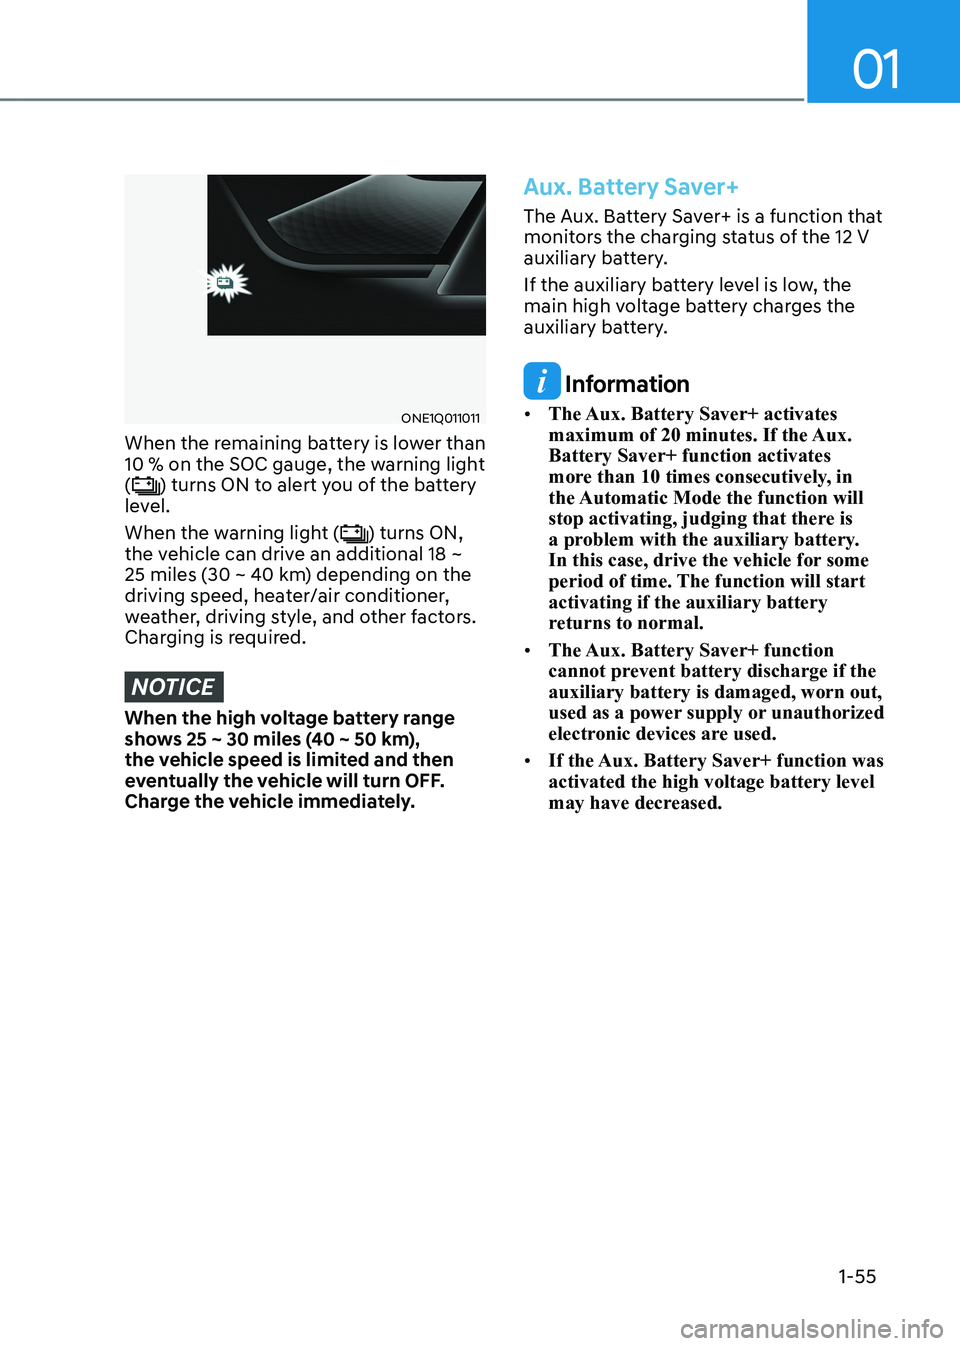
When the remaining battery is lower than
10 % on the SOC gauge, the warning light (
) turns ON to alert you of the battery
level.
When the warning light (
) turns ON,
the vehicle can drive an additional 18 ~
25 miles (30 ~ 40 km) depending on the
driving speed, heater/air conditioner,
weather, driving style, and other factors.
Charging is required.
NOTICE
When the high voltage battery range
shows 25 ~ 30 miles (40 ~ 50 km),
the vehicle speed is limited and then
eventually the vehicle will turn OFF.
Charge the vehicle immediately.
Aux. Battery Saver+
The Aux. Battery Saver+ is a function that
monitors the charging status of the 12 V
auxiliary battery.
If the auxiliary battery level is low, the
main high voltage battery charges the
auxiliary battery.
Information
• The Aux. Battery Saver+ activates
maximum of 20 minutes. If the Aux. Battery Saver+ function activates
more than 10 times consecutively, in
the Automatic Mode the function will
stop activating, judging that there is
a problem with the auxiliary battery.
In this case, drive the vehicle for some
period of time. The function will start activating if the auxiliary battery
returns to normal.
• The Aux. Battery Saver+ function
cannot prevent battery discharge if the auxiliary battery is damaged, worn out,
used as a power supply or unauthorized
electronic devices are used.
• If the Aux. Battery Saver+ function was activated the high voltage battery level
may have decreased.
Page 61 of 680

Foreword / Electric Vehicle System Overview
1-56
WARNING
ONE1Q011038
When the function is activating the
indicator lamp will illuminate and high
voltage electricity will be flowing in the
vehicle. Do not touch the high voltage
electric wire (orange), connector, and
all electric components and devices.
This may cause electric shock and lead
to injuries. Also, do not modify your
vehicle in any way. This may affect your
vehicle performance and lead to an
accident.
Warning and Indicator Lights
(related to electric vehicle)
Ready indicator
This indicator illuminates:
When the vehicle is ready to be driven.
- ON : Normal driving is possible.
- OFF : Normal driving is not possible, or a problem has occurred.
- Blinking : Emergency driving.
When the ready indicator goes OFF
or blinks, there is a problem with the
system. In this case, have your vehicle
inspected by an authorized HYUNDAI
dealer.
Service Warning Light
This warning light illuminates:
• When the Start/Stop button is in the ON position.
- It illuminates for approximately 3 seconds and then goes off.
• When there is a problem with related
parts of the electric vehicle control
system, such as sensors, etc.
When the warning light illuminates while
driving, or does not go OFF after starting
the vehicle, have your vehicle inspected
by an authorized HYUNDAI dealer.
Page 62 of 680

01
1-57
Power Down Warning Light
This warning light illuminates:
• When the Start/Stop button is in the ON position.
- It illuminates for approximately 3 seconds and then goes off.
• When the power is limited for the
safety of the high-powered parts of an
electric vehicle. The power is limited
for the following reasons.(Unless both
Service Warning Light and Power
Down Indicator Light illuminate at the
same time, it is not a failure.)
- The high voltage battery level is too low or voltage is decreasing
- The temperature of the high voltage battery is too high or too low
- The temperature of the motor is high
NOTICE
• Do not accelerate or start the vehicle
suddenly when the power down
warning light is ON.
• When the power is limited for the
safety of the high-powered parts of
an electric vehicle, the power down
indicator light illuminates. your
vehicle may not drive uphill or skid
on a slope with the indicator light ON. Charging Indicator Light
This warning light illuminates:
•
When charging the high voltage
battery.
High Voltage Battery Level
Warning Light
This warning light illuminates:
• When the high voltage battery level
is low.
• When the warning light turns ON,
charge the battery immediately.
Regenerative Brake Warning
Light
This warning light illuminates:
When the regenerative brake does not
operate and the brake does not perform
well. This causes the Brake Warning
light (red) and Regenerative Brake
Warning Light (yellow) to illuminate
simultaneously.
In this case, drive safely and have your
vehicle inspected by an authorized
HYUNDAI dealer.
The operation of the brake pedal may
be more difficult than normal and the
braking distance can increase.
Page 66 of 680

01
1-61
EV Battery Overheated! Stop vehicle
OOSEV040509L
This warning message is displayed to
protect battery and electric vehicle
system when the high voltage battery
temperature is too high.
Turn off the Start/Stop button and
stop the vehicle so that the battery
temperature decreases.
Power limited
ONE1Q011008L
This Indicator light illuminates: • When the START/STOP button is in the ON position.
- It illuminates for approximately 3 seconds and then goes off.
• When the power is limited for the
safety of the high-powered parts of an
electric vehicle. The power is limited
for the following reasons. (Unless
both Service Warning Light and Power
Down Indicator Light illuminate at the
same time, it is not a failure.)
- The high voltage battery level is too low or voltage is decreasing
- The temperature of the high voltage battery is too high or too low
- The temperature of the motor is high
NOTICE
• When this warning message is
displayed, do not accelerate or start
the vehicle suddenly.
• When the power is limited for the
safety of the high-powered parts of
an electric vehicle, the power down
indicator light illuminates. Your
vehicle may not drive uphill or skid
on a slope with the indicator light ON.
Page 75 of 680

2-5
02
1. Instrument cluster ..................................4-4
2. Horn ....................................................... 5-46
3. Driver’s front air bag .............................3-53
4. Infotainment system ...........................5-136
5. Hazard warning flasher button ..............8-2
6. Start/Stop button ................................... 6-4
7. Automatic climate control system .....5-102
8. Parking/View button ............................7-114
9. Parking Safety button ..........................7-134
10. Passenger’s front air bag ..................... 3-53 11. Glove box
............................................. 5-123
12. USB port ............................................... 5-135
13. Power outlet ......................................... 5-125
14. Cup holder ........................................... 5-124
15. USB charger ......................................... 5-126
16. Wireless charging system ...................5-127
17. Wireless charging system pad ............5-127
18. Center console..................................... 5-122
19. Rear seat USB charger ........................5-126
The actual shape may differ from the illustration.
ONE1011004
instrumEnt panEl ovErviEw (i)
Page 112 of 680

03
3-25
„„Climate control panel
ONE1031081
Press WARMER in the front climate
control panel.
ONE1031080L
To activate seat warmer of each front
seats, touch
icon on the infotainment
screen. Adjust the temperature by
pressing either
or icons.
The seat warmer will automatically stop
when the seat temperature reaches
certain level and will automatically
reactivate when the seat temperature
drops below certain temperature. •
Manual temperature control
Refer to the infotainment system
web manual for manual temperature
control.
• Automatic temperature control
The seat warmer starts to
automatically control the seat
temperature in order to prevent
low temperature burns after being manually turned on.
OFF � HIGH ( 3 ) � MIDDLE ( 2 ) � LOW ( 1 )
30 min 60 min
You may manually touch the icon to
increase seat temperature. However,
the seat temperature is automatically
adjusted again.
• Auto. Controls That Use Climate
Control Settings (for driver’s seat)
The seat warmer automatically
controls the seat temperature
depending on the ambient
temperature when the vehicle is running.
To use this function, it must be
enabled from the Settings menu in the
infotainment system screen. Select:
- Setup � Vehicle Settings � Seat �
Heated/Ventilated Features � Auto.
Controls That Use Climate Control
Settings � Seat Warmer/Ventilation
• The seat warmer defaults to the OFF
position whenever the Start/Stop
button is pressed to the ON position.
However, if the Auto. Controls That
Use Climate Control Settings function
is On, the driver’s seat warmer will
turn on and off depending on the
ambient temperature.
Page 114 of 680

03
3-27
ONE1031080L
To activate air ventilation of each front
seats, touch
icon on the infotainment
screen. Adjust the airflow by pressing either
or icons.
• If the air ventilation seat is positioned
at HIGH, the airflow speed will
increase according to vehicle speed.
• Use the air ventilation seat with the
air conditioning on for more effective
ventilation.
• It may take 3~5 minutes after switch
operation to feel the temperature change.
Refer to the infotainment system
web manual for manual temperature
control. •
Auto. Controls That Use Climate
Control Settings (for driver’s seat)
The air ventilation seat automatically
controls the seat temperature
depending on the ambient
temperature when the vehicle is running.
To use this function, it must be
enabled from the Settings menu in the
infotainment system screen. Select:
- Setup � Vehicle Settings � Seat �
Heated/Ventilated Features � Auto.
Controls That Use Climate Control
Settings � Seat Warmer/Ventilation
• The air ventilation seats defaults to the
OFF position whenever the Start/Stop
button is pressed to the ON position.
However, if the Auto. Controls That
Use Climate Control Settings function
is on, the driver’s seat warmer will turn
on and off depending on the ambient
temperature.
Page 116 of 680

03
3-29
seat belts
This section describes how to use the
seat belts properly. It also describes
some of the things not to do when using
seat belts.
Seat Belt Safety Precautions
Always fasten your seat belt and make
sure all passengers have fastened their
seat belts before starting any trip. Air
bags are designed to supplement the
seat belt as an additional safety device,
not a replacement. Most countries
require all occupants of a vehicle to wear
seat belts.
WARNING
Seat belts must be used by ALL
passengers whenever the vehicle is
moving. Take the following precautions
when adjusting and wearing seat belts: • Children under the age of 13 should
be properly restrained in the rear
seats.
• Never allow children to ride in the
front passenger seat, unless the air
bag is deactivated. If a child is seated
in the front passenger seat, move
the seat as far back as possible and
properly restrain them in the seat.
• NEVER allow an infant or child to be
carried on an occupant’s lap.
• NEVER ride with the seatback
reclined when the vehicle is moving.
• Do not allow children to share a seat
or seat belt.
• Do not wear the shoulder belt under
your arm or behind your back. •
NEVER wear a seat belt over fragile
objects. If there is a sudden stop or
impact, the seat belt can damage it.
• Do not use the seat belt if it is
twisted. A twisted seat belt will not
protect you properly in an accident.
• Do not use a seat belt if the webbing
or hardware is damaged.
• Do not latch the seat belt into the
buckles of other seats.
• NEVER unfasten the seat belt
while driving. This may cause loss
of vehicle control resulting in an
accident.
• Make sure there is nothing in the
buckle interfering with the seat belt
latch mechanism. This may prevent
the seat belt from fastening securely.
• No modifications or additions
should be made by the user which
will either prohibit the seat belt
adjusting devices from operating to
remove slack, or prohibit the seat
belt assembly from being adjusted to
remove slack.
WARNING
Damaged seat belts and seat belt
assemblies will not operate properly.
Always replace: • Frayed, contaminated, or damaged
webbing.
• Damaged hardware.
• The entire seat belt assembly after it
has been worn in an accident, even
if damage to webbing or assembly is
not apparent.