2023 HYUNDAI IONIQ 5 warranty
[x] Cancel search: warrantyPage 10 of 680

01
1-5
•
This vehicle should not be modified. Modification of your vehicle could affect its
performance, safety or durability and may even violate governmental safety and
emissions regulations.
In addition, damage or performance problems resulting from any modification may
not be covered under warranty.
• If you use unauthorized electronic devices, it may cause the vehicle to operate
abnormally, wire damage, battery discharge and fire. For your safety, do not use
unauthorized electronic devices.
WARNING
CALIFORNIA PROPOSITION 65 WARNING
Items contained in motor vehicles or emitted from them are known to the State of
California to cause cancer and birth defects or reproductive harm. These include:• Gasoline and its vapors
• Engine exhaust
• Used engine oil
• Interior passenger compartment components and materials
• Component parts which are subject to heat and wear
In addition, battery posts, terminals and related accessories contain lead, lead
compounds and other chemicals known to the State of California to cause cancer
and reproductive harm.
VeHiCle modiFiCationS
Page 203 of 680

05
5-11
Remotely moving vehicle forward or
backward (if equipped)
With the smart key, the driver can move
the vehicle forward or backward using
the Forward or Backward button (6, 7) on
the smart key.
For more details, refer to “Remote
Smart Parking Assist (RSPA)” section in
chapter 7.
Start-up
You can start the vehicle without
inserting the key.
For more details, refer to the “Start/
Stop Button” section in chapter 6.
Information
If the smart key is not moved for some
time, the detection function for smart key operation will pause. Lift the smart key to activate the detection again.
NOTICE
To prevent damaging the smart key: • Keep the smart key in a cool,
dry place to avoid damage or
malfunction. Exposure to moisture
or high temperature may cause
the internal circuit of the smart key
to malfunction which may not be
covered under warranty.
• Avoid dropping or throwing the
smart key.
• Protect the smart key from extreme
temperatures. Mechanical key
If the Smart Key does not operate
normally, you can lock or unlock the
driver’s door by using the mechanical
key.
To remove the mechanical key from the
smart key FOB:
OFE048007
1. Press the mechanical key and remove it from the smart key FOB.
2. Move the release lever in the direction of the arrow (1) and then remove
the mechanical key (2). Insert the
mechanical key into the key hole on
the door.
To reinstall the mechanical key, put
the key into the hole and push it until
a click sound is heard.
Loss of a smart key
A maximum of three Smart Keys can
be registered to a single vehicle. If
you happen to lose your smart key,
it is recommended that you should
immediately take the vehicle and
remaining keys to your authorized
HYUNDAI dealer or tow the vehicle, if
necessary.
Page 204 of 680

Convenience Features
5-12
Smart key precautions
The smart key may not work if any of the
following occur: •
The smart key is close to a radio
transmitter such as a radio station or
an airport which can interfere with
normal operation of the transmitter.
• The smart key is near a mobile two
way radio system or a mobile phone.
• Another vehicle’s smart key is being
operated close to your vehicle.
If the smart key does not work correctly, open and close the door with the
mechanical key. If you have a problem
with the smart key, contact an authorized
HYUNDAI dealer.
If the smart key is in close proximity to
your mobile phone, the signal could be
blocked by your mobile phone’s normal
operational signals. This is specifically
relevant when the phone is active such
as making and receiving calls, text
messaging, and/or sending/receiving
emails. When possible, avoid keeping the
smart key and your mobile phone in the
same location such as a pants or jacket
pocket in order to avoid interference
between the two devices.
Information
Changes or modifications not expressly
approved by the party responsible
for compliance could void the user’s authority to operate the equipment. If the keyless entry system is inoperative due
to changes or modifications not expressly
approved by the party responsible for
compliance, it will not be covered by your
manufacturer’s vehicle warranty.
Information
This device complies with Part 15 of the FCC rules.
Operation is subject to the following three conditions: 1. This device may not cause harmful
interference, and
2. This device must accept any
interference received, including
interference that may cause undesired operation.
3. Changes or modifications not expressly
approved by the party responsible
for compliance could void the user’s authority to operate the device.
NOTICE
• Keep the smart key away from
electromagnetic materials that
blocks electromagnetic waves to the
key surface.
• Always have the smart key with
you when leaving the vehicle. If the
smart key is left near the vehicle, the
vehicle battery may be discharged.
Page 289 of 680

05
5-97
AUTO (Automatic) control
ONE1051072
The rain sensor located on the upper
end of the windshield glass senses
the amount of rainfall and controls the
wiping cycle for the proper interval.
The wiper operation time will be
automatically controlled depends on
rainfall.
When the rain stops, the wiper stops.
To vary the sensitivity setting, turn the
sensitivity control knob.
If the wiper switch is set in AUTO mode
when the Start/Stop button is in the ON
position, the wiper will operate once to
perform a self-check of the system. Set
the wiper to the OFF position when the
wiper is not in use.
WARNING
To avoid personal injury from the
windshield wipers, when the vehicle is running and the windshield wiper
switch is placed in the AUTO mode: • Do not touch the upper end of the
windshield glass facing the rain
sensor.
• Do not wipe the upper end of the
windshield glass with a damp or wet
cloth.
• Do not put pressure on the windshield glass.
NOTICE
• When washing the vehicle, set the
wiper switch in the OFF position to
stop the auto wiper operation. The
wiper may operate and be damaged
if the switch is set in the AUTO mode
while washing the vehicle.
• Do not remove the sensor cover
located on the upper end of the passenger side windshield glass.
Damage to system components
could occur and may not be covered
by your vehicle warranty.
• Because of using a photo sensor,
temporary malfunction could occur
according to sudden ambient light
change made by stone and dust while driving.
Page 309 of 680

05
5-117
Turning the Auto Defogging System ON or OFF
Climate control system
Touch the front windshield defroster
icon for 3 seconds when the Start/Stop
button is in the ON position. When the
Auto Defogging System is turned off, the
ADS OFF symbol will blink 3 times and
ADS OFF will be displayed on the climate
control information screen.
When the Auto Defogging System is
turned on, the ADS OFF symbol will blink 6 times without a signal.
Infotainment system
Auto Defogging System can be turned
on and off by selecting ‘Setup →
Vehicle Settings → Climate → Defog/
Defrost Options → Auto Defog’ from the
infotainment system screen.
For detailed information, refer to the
separately supplied infotainment
system manual.
Information
• When the air conditioning is turned
on by Auto Defogging System, if you
try to turn off the air conditioning, the
indicator will blink 3 times and the air conditioning will not be turned off.
• To maintain the effectiveness and
efficiency of the Auto Defogging
System, do not select Recirculation mode while the system is operating.
• When Auto Defogging System is operating, fan speed adjustment,
temperature adjustment, and air intake
control selection are all disabled.
NOTICE
Do not remove the sensor cover located
on the upper end of the windshield glass.
Damage to system parts could occur
and may not be covered by your vehicle
warranty.
Auto Dehumidify (if equipped)
To increase cabin air quality and reduce
windshield misting, recirculation mode
switches off automatically after about
5 minutes, depending on the outside
temperature, and the air intake will
change to fresh mode.
Turning Auto Dehumidify ON or OFF
Climate control system
To turn the Auto Dehumidify feature on
or off, select Face level () mode and
touch the air intake control icon at least
five times within three seconds. When
Auto Dehumidify is turned on, the air
intake control button indicator will blink
6 times. When turned off, the indicator will blink 3 times.
Infotainment system
Auto Dehumidify can be turned on and
off by selecting ‘Setup → Vehicle Settings
→ Climate → Automatic Ventilation →
Auto Dehumidify’ from the infotainment
system screen.
Information
If the battery (12V) is discharged or
disconnected, Auto dehumidify settings
will be reset. Readjust the settings to
turning Auto dehumidify option ON or
OFF.
For detailed information, refer to the separately supplied infotainment system manual.
Page 353 of 680

06
6-27
Disc Brakes Wear Indicator
When your brake pads are worn and new
pads are required, you will hear a high
pitched warning sound from your front
or rear brakes. You may hear this sound
come and go or it may occur whenever
you depress the brake pedal.
Note that some driving conditions or
climates may cause a brake squeal
when you first apply (or lightly apply)
the brakes. This is normal and does not
indicate a problem with your brakes.
NOTICE
To avoid costly brake repairs, do not
continue to drive with worn brake pads.
Information
Always replace brake pads as complete
front or rear axle sets.
WARNING
Frequent braking may deform
components and worn the disc brake
causing vibration when braking.
Observe the speed limit to prevent
brake damage from excessive braking.
Brake wear, noise, vibration from
excessive braking or deformation of the
brakes caused by repeatedly braking in
high speed, racing on tracks, etc. can be
excluded from warranty coverage.
Electronic Parking Brake (EPB)
Applying the parking brake
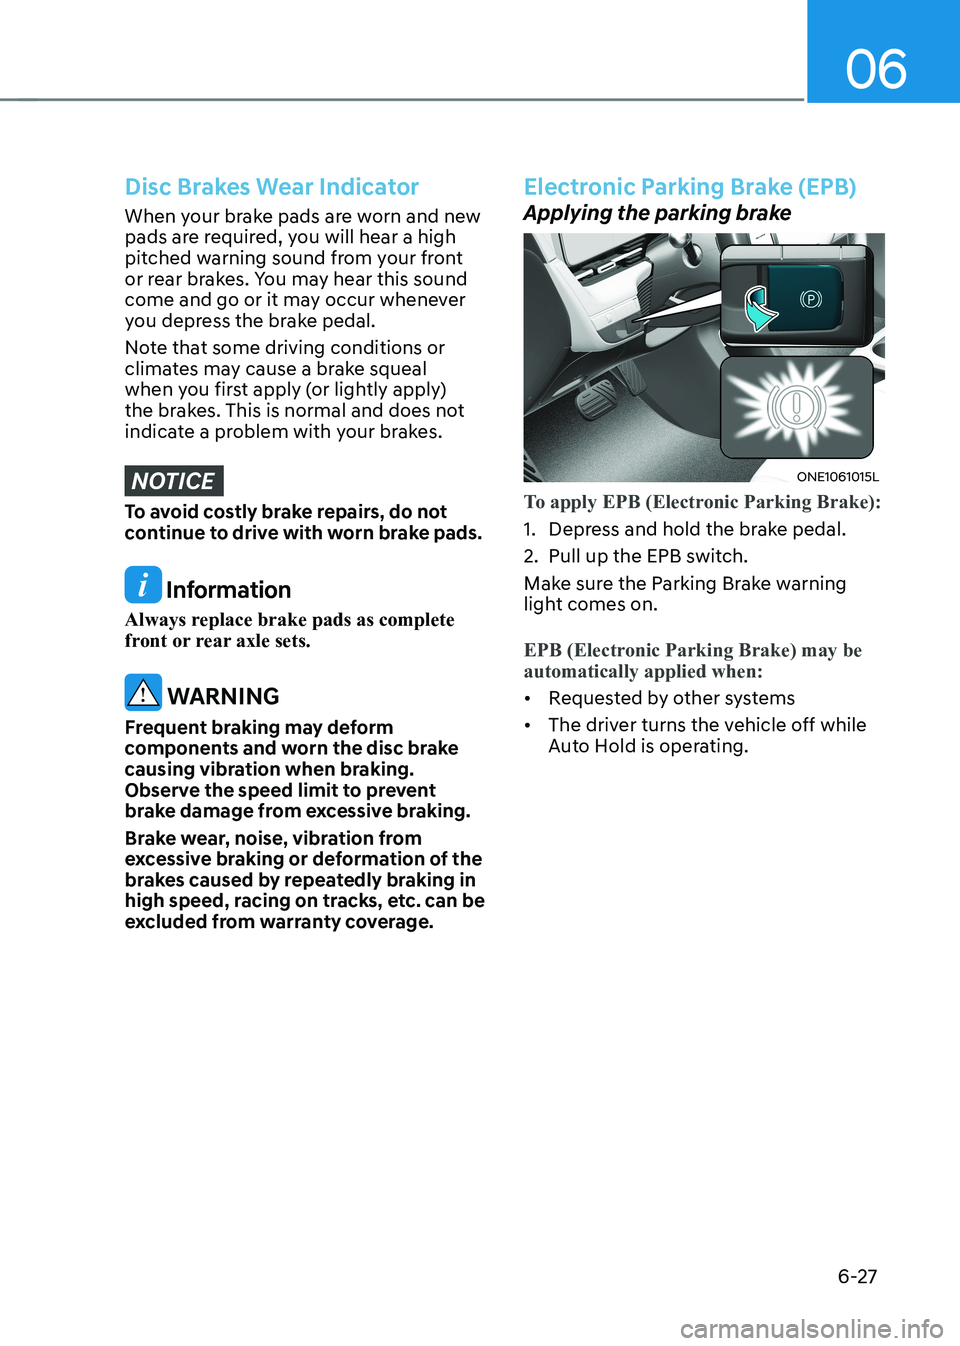
ONE1061015L
To apply EPB (Electronic Parking Brake):
1. Depress and hold the brake pedal.
2. Pull up the EPB switch.
Make sure the Parking Brake warning
light comes on.
EPB (Electronic Parking Brake) may be automatically applied when:
• Requested by other systems
• The driver turns the vehicle off while
Auto Hold is operating.
Page 365 of 680

06
6-39
NOTICE
Driving with wheels and tires with
different sizes may cause the ESC
system to malfunction. Before replacing
tires, make sure all four tires and wheels
are the same size. Never drive the
vehicle with different sized wheels and
tires installed. ESC OFF usage
When Driving
The ESC OFF mode should only be used
briefly to help free the vehicle if stuck in
snow or mud, by temporarily stopping
operation of ESC, to maintain wheel
torque.
To turn ESC off while driving, press the
ESC OFF button while driving on a flat
road surface.
NOTICE
To prevent damage to the reduction gear: • Do not allow wheel(s) of one axle to
spin excessively while the ESC, ABS,
and Parking Brake warning lights
are displayed. The repairs would not
be covered by the vehicle warranty.
Reduce motor power and do not spin
the wheel(s) excessively while these
lights are displayed.
• When operating the vehicle
on a dynamometer, make sure
ESC is turned off (ESC OFF light
illuminated).
Information
• Turning ESC off does not affect ABS or standard brake system operation.
• Select 0 step of the regenerative
braking system and depress the brake
pedal around 10 times to efficiently apply brake disc cleaning.
Brake disc cleaning may decrease the
driving distance by restraining the
regenerative braking system. After
brake disc cleaning, the regenerative
braking system may be restored.
If the regenerative braking system
is not restored after the brake disc cleaning, have the vehicle inspected by
an authorized HYUNDAI dealer.
Page 384 of 680

Driving Your Vehicle
6-58
Tire chains (Wire chains)
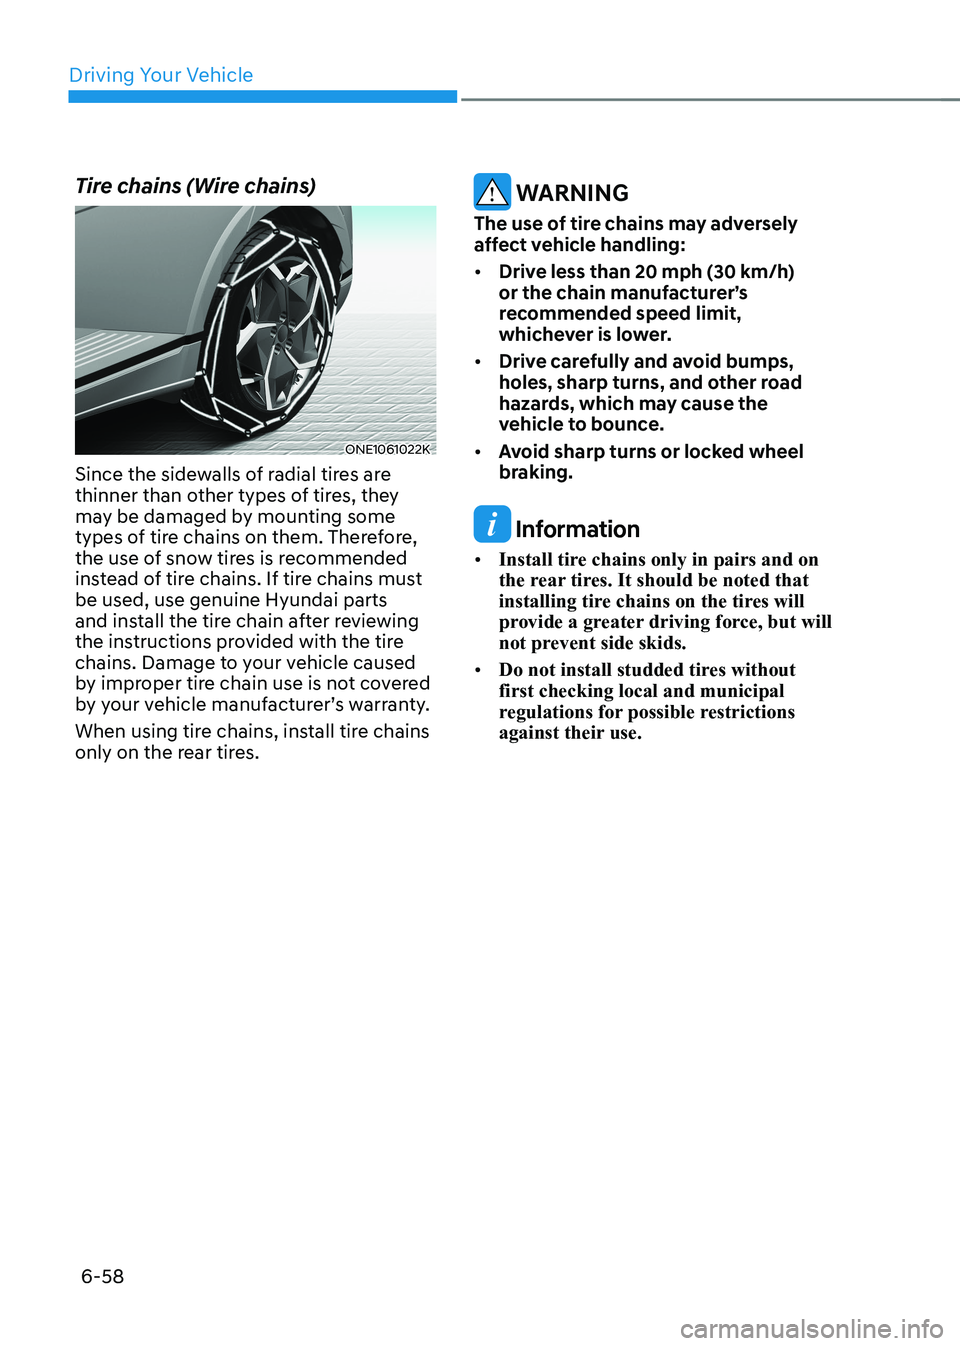
ONE1061022K
Since the sidewalls of radial tires are
thinner than other types of tires, they
may be damaged by mounting some
types of tire chains on them. Therefore,
the use of snow tires is recommended
instead of tire chains. If tire chains must be used, use genuine Hyundai parts
and install the tire chain after reviewing
the instructions provided with the tire
chains. Damage to your vehicle caused
by improper tire chain use is not covered
by your vehicle manufacturer’s warranty.
When using tire chains, install tire chains
only on the rear tires.
WARNING
The use of tire chains may adversely
affect vehicle handling: • Drive less than 20 mph (30 km/h)
or the chain manufacturer’s
recommended speed limit,
whichever is lower.
• Drive carefully and avoid bumps,
holes, sharp turns, and other road
hazards, which may cause the
vehicle to bounce.
• Avoid sharp turns or locked wheel
braking.
Information
• Install tire chains only in pairs and on
the rear tires. It should be noted that
installing tire chains on the tires will
provide a greater driving force, but will
not prevent side skids.
• Do not install studded tires without first checking local and municipal
regulations for possible restrictions
against their use.