2023 FORD F650/750 instrument cluster
[x] Cancel search: instrument clusterPage 142 of 378
E209041
If the system is disabled, normal
braking is still effective. If the
brake warning lamp illuminates
with the parking brake released, have the
system checked immediately. It also
momentarily illuminates when you switch
the ignition on to confirm the lamp is
functional. If it does not illuminate when
you switch the ignition on, or begins to
flash at any time, have the system
checked.
HINTS ON DRIVING WITH
ANTI-LOCK BRAKES
The anti-lock brake system does not
eliminate the risks when:
• You drive too closely to the vehicle in
front of you.
• Your vehicle is hydroplaning.
• You take corners too fast.
• The road surface is poor.
Note: If the system activates, the brake
pedal could pulse and may travel further.
Maintain pressure on the brake pedal. You
may also hear a noise from the system. This
is normal.
PARKING BRAKE
Hydraulic Brakes (If Equipped)
WARNING: Always set the parking
brake and leave your vehicle with the
transmission in park (P).
WARNING: This control is for
parking only. Do not leave the vehicle
unattended after setting the parking
brake without placing the transmission
in park (P). We recommend using wheel
chocks for hilly or off-road
circumstances.
WARNING: Unexpected and
possibly sudden vehicle movement may
occur if you do not take these
precautions.
WARNING: If the parking brake is
fully released, but the brake warning
lamp remains illuminated, the brakes
may not be working properly. Have your
vehicle checked as soon as possible.
Apply the parking brake whenever the
vehicle is parked. To set the parking brake,
pull the handle up until it snaps into the
locked position.
When the parking brake is out of
adjustment, seek service immediately.
E208810
The parking brake warning lamp
in the instrument cluster
illuminates, and remains
illuminated (when you switch on the
ignition), until you release the parking
brake.
E210347
138
Brakes
Page 148 of 378
Use the button on the instrument panel, in
combination with the accelerator pedal,
to maximize the use of the exhaust brake
in the following conditions:
• Off-highway driving.
• Mountain driving.
• Heavy traffic.
• High-speed highway driving.
E215226
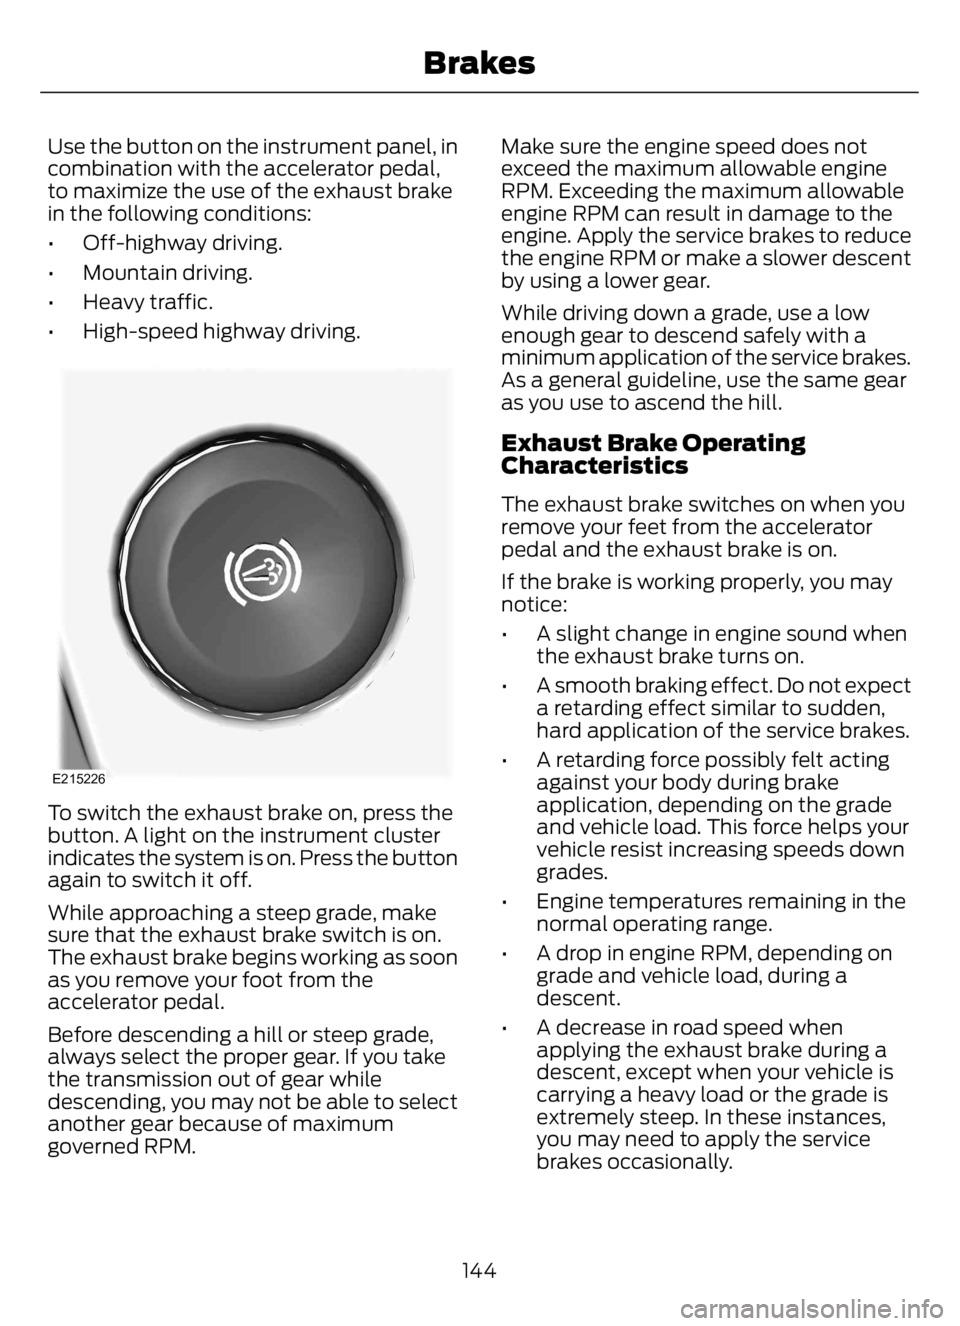
To switch the exhaust brake on, press the
button. A light on the instrument cluster
indicates the system is on. Press the button
again to switch it off.
While approaching a steep grade, make
sure that the exhaust brake switch is on.
The exhaust brake begins working as soon
as you remove your foot from the
accelerator pedal.
Before descending a hill or steep grade,
always select the proper gear. If you take
the transmission out of gear while
descending, you may not be able to select
another gear because of maximum
governed RPM.Make sure the engine speed does not
exceed the maximum allowable engine
RPM. Exceeding the maximum allowable
engine RPM can result in damage to the
engine. Apply the service brakes to reduce
the engine RPM or make a slower descent
by using a lower gear.
While driving down a grade, use a low
enough gear to descend safely with a
minimum application of the service brakes.
As a general guideline, use the same gear
as you use to ascend the hill.
Exhaust Brake Operating
Characteristics
The exhaust brake switches on when you
remove your feet from the accelerator
pedal and the exhaust brake is on.
If the brake is working properly, you may
notice:
• A slight change in engine sound when
the exhaust brake turns on.
• A smooth braking effect. Do not expect
a retarding effect similar to sudden,
hard application of the service brakes.
• A retarding force possibly felt acting
against your body during brake
application, depending on the grade
and vehicle load. This force helps your
vehicle resist increasing speeds down
grades.
• Engine temperatures remaining in the
normal operating range.
• A drop in engine RPM, depending on
grade and vehicle load, during a
descent.
• A decrease in road speed when
applying the exhaust brake during a
descent, except when your vehicle is
carrying a heavy load or the grade is
extremely steep. In these instances,
you may need to apply the service
brakes occasionally.
144
Brakes
Page 153 of 378
PRINCIPLE OF OPERATION
The traction control system helps avoid
drive wheel spin and loss of traction.
If your vehicle begins to slide, the system
applies the brakes to individual wheels
and, when needed, reduces engine power
at the same time. If the wheels spin when
accelerating on slippery or loose surfaces,
the system reduces engine power in order
to increase traction.
Note:The system does not apply the brakes
when vehicle speed is above 25 mph
(40 km/h).
USING TRACTION CONTROL -
VEHICLES WITH: AIR BRAKES
WARNING: Operating your vehicle
with the traction control disabled could
lead to an increased risk of loss of vehicle
control, vehicle rollover, personal injury
and death.
E330660E330660
Press the TCS Off button on the
instrument panel to enable the
mud/snow mode.
This is beneficial when your vehicle is stuck
in snow or on a slippery road surface. This
mode allows wheel spin to dig your vehicle
out and allows you to rock your vehicle.
Press the switch again to select standard
traction control. The system automatically
selects standard traction control at the
next ignition cycle.
System Indicator Light
Note:If the traction control light does not
flash during a traction control event or stays
illuminated, the system is not functioning
properly. Take your vehicle to an authorized
dealer for service.During traction control operation, the
traction control light flashes rapidly and
the engine does not rev-up when you press
further on the accelerator. This is normal
and is no reason for concern.
In mud/snow mode, the TCS OFF light
illuminates on the instrument cluster. If a
traction event occurs in either mode, the
stability and traction control light flashes
rapidly.
USING TRACTION CONTROL -
VEHICLES WITH: HYDRAULIC
BRAKES
WARNING: Operating your vehicle
with the traction control disabled could
lead to an increased risk of loss of vehicle
control, vehicle rollover, personal injury
and death.
The system turns on each time you switch
the ignition on.
E330660E330660
Use the traction control button
on the instrument panel to
switch the system off or on.
If your vehicle is stuck in mud or snow,
switching traction control off is beneficial
as this allows the wheels to spin.
Press the button again to switch the
traction control system on.
System Indicator Light
Note:If the traction control light does not
flash during a traction control event or stays
on, the system is not operating. Have the
system checked as soon as possible.
During a traction control event, the traction
control light rapidly flashes. Pressing
further on the accelerator does not cause
the engine to rev higher. This is normal and
is no reason for concern.
149
Traction Control
Page 154 of 378
When the system turns the traction control
off, the OFF light illuminates on the
instrument cluster. If a traction event
occurs in either mode, the stability and
traction control light rapidly flashes.
150
Traction Control
Page 160 of 378

E144529
The indicator, current gap setting
and set speed appear in the
information display.
E233874E233874
Setting the Adaptive Cruise Speed
Drive to your preferred speed.
Press and release either button.
Take your foot off the accelerator pedal.
The indicator, current gap setting and set
speed appear in the information display.
E233874E233874
A vehicle graphic illuminates if there is a
vehicle detected in front of you.Note:When adaptive cruise control is
active, the speedometer may vary slightly
from the set speed displayed in the
information display.
Following a Vehicle
WARNING: When following a
vehicle that is braking, your vehicle does
not always decelerate quickly enough to
avoid a crash without driver intervention.
Apply the brakes when necessary. Failure
to follow this instruction could result in
personal injury or death.
WARNING: The system only warns
of vehicles detected by the radar sensor.
In some cases there may be no warning
or a delayed warning. Apply the brakes
when necessary. Failure to follow this
instruction could result in personal injury
or death.
Note:When you are following a vehicle and
you switch on a direction indicator, adaptive
cruise control may provide a small
temporary acceleration to help you pass.
Note:The brakes may emit noise when
applied by the system.
When a vehicle ahead of you enters the
same lane or a slower vehicle is ahead in
the same lane, the vehicle speed adjusts
to maintain a preset gap distance. A
vehicle graphic illuminates in the
instrument cluster.
Your vehicle maintains a consistent gap
from the vehicle ahead until any of the
following occur:
• The vehicle in front of you accelerates
to a speed above the set speed.
• The vehicle in front of you moves out
of the lane you are in.
156
Cruise Control - Vehicles With: Adaptive Cruise Control
Page 215 of 378
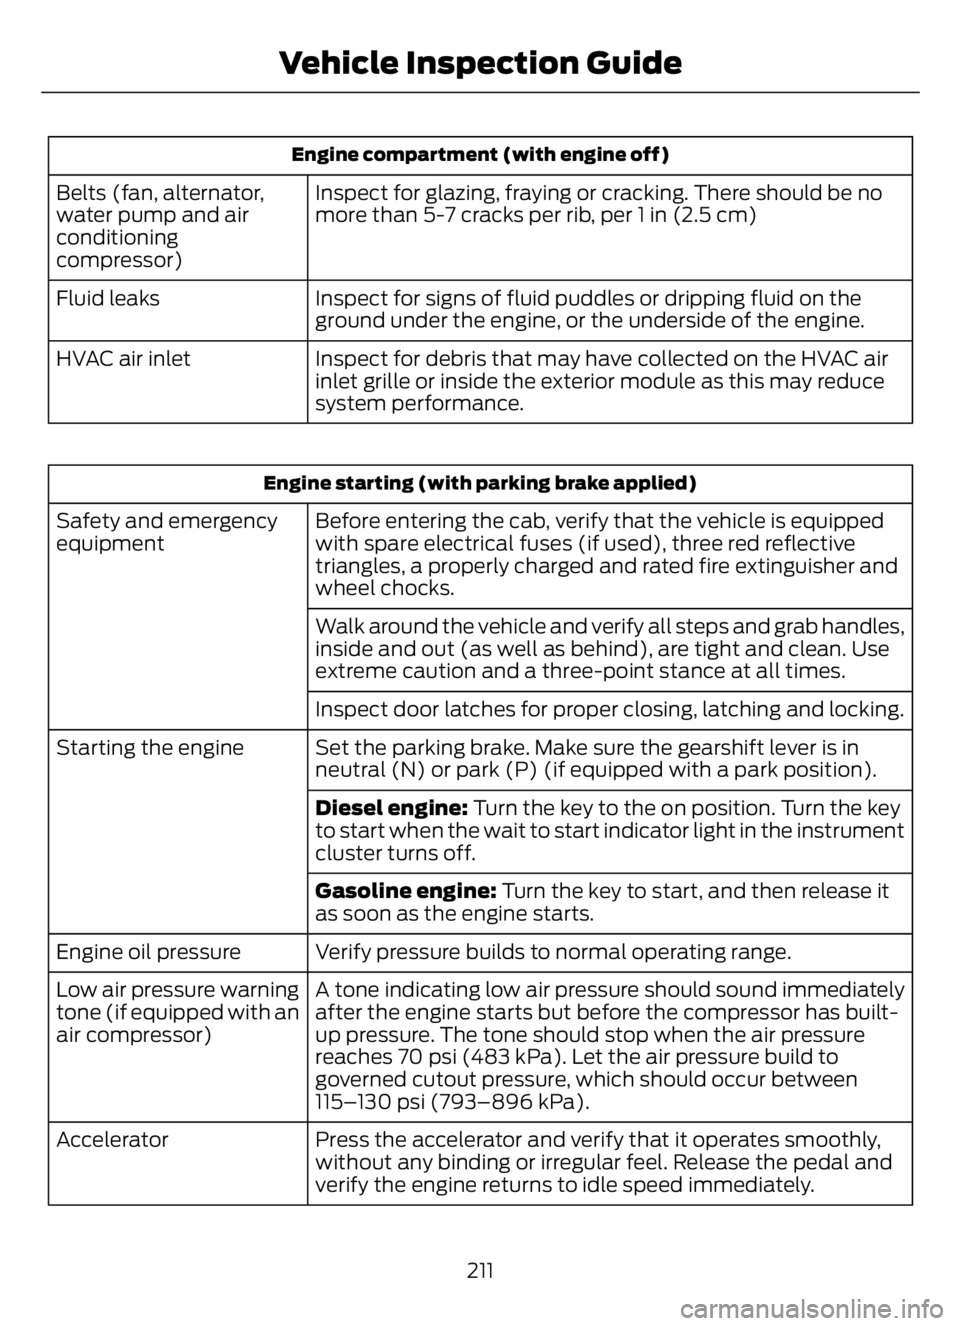
Engine compartment (with engine off)
Inspect for glazing, fraying or cracking. There should be no
more than 5-7 cracks per rib, per 1 in (2.5 cm) Belts (fan, alternator,
water pump and air
conditioning
compressor)
Inspect for signs of fluid puddles or dripping fluid on the
ground under the engine, or the underside of the engine. Fluid leaks
Inspect for debris that may have collected on the HVAC air
inlet grille or inside the exterior module as this may reduce
system performance. HVAC air inlet
Engine starting (with parking brake applied)
Before entering the cab, verify that the vehicle is equipped
with spare electrical fuses (if used), three red reflective
triangles, a properly charged and rated fire extinguisher and
wheel chocks. Safety and emergency
equipment
Walk around the vehicle and verify all steps and grab handles,
inside and out (as well as behind), are tight and clean. Use
extreme caution and a three-point stance at all times.
Inspect door latches for proper closing, latching and locking.
Set the parking brake. Make sure the gearshift lever is in
neutral (N) or park (P) (if equipped with a park position). Starting the engine
Diesel engine: Turn the key to the on position. Turn the key
to start when the wait to start indicator light in the instrument
cluster turns off.
Gasoline engine: Turn the key to start, and then release it
as soon as the engine starts.
Verify pressure builds to normal operating range. Engine oil pressure
A tone indicating low air pressure should sound immediately
after the engine starts but before the compressor has built-
up pressure. The tone should stop when the air pressure
reaches 70 psi (483 kPa). Let the air pressure build to
governed cutout pressure, which should occur between
115–130 psi (793–896 kPa). Low air pressure warning
tone (if equipped with an
air compressor)
Press the accelerator and verify that it operates smoothly,
without any binding or irregular feel. Release the pedal and
verify the engine returns to idle speed immediately. Accelerator
211
Vehicle Inspection Guide
Page 231 of 378

• Sustained, high-speed driving at the
gross vehicle weight rating.
• Use of fuels with sulfur content other
than ultra-low sulfur diesel (ULSD).
• Use of high-sulfur diesel fuel.
Only use engine oil that meets our
specifications. See Capacities and
Specifications (page 288).
OIL CHANGE INDICATOR
RESET
Base Cluster
Use the information display controls on
the steering wheel to reset the oil change
indicator.
From the main menu scroll to:
Action and Description Message
Press the right arrow button,
then from this menu scroll
to the following message. Settings
Press the down arrow
button, then from this menu
scroll to the following
message. Vehicle
Press the right arrow button,
then from this menu scroll
to the following message. Oil Life
Reset
Press and hold the OK
button until the instrument
cluster displays the
following message. Oil Life
Hold to
Reset
Press and hold the OK
button until the instrument
cluster displays the
following message. Oil Life
Hold OK
to Reset
Action and Description Message
Reset Complete
If the instrument cluster
displays the following
message, repeat the
process.
Reset Cancelled
High Series Cluster
Use the information display controls on
the steering wheel to reset the oil change
indicator.
From the main menu scroll to:
Action and Description Message
Press the down arrow
button, then from this menu
scroll to the following
message. Truck Info
Press the OK button. Mainten-
ance
Monitor
Press the down arrow
button, then from this menu
scroll to the following
message. Oil Life:
xxx%
Press the OK button. Oil Life
Press and hold the OK
button until the instrument
cluster displays the
following message. Oil Life
Hold OK to
Reset
Oil Life: 100%
When the oil change indic-
ator resets, the instrument
cluster displays 100%.
Repeat the process if the oil
change indicator does not
reset.
227
Maintenance
Page 247 of 378
1. Drive the vehicle until it reaches normal
operating temperature. This may take
up to 20 mi (30 km). Make sure that
the transmission fluid temperature
gauge on the instrument cluster is
within normal operating temperature
196–215°F (91–102°C) before
checking.
2. Make sure that your vehicle is on level
ground.
3. With the engine running, parking brake
engaged and your foot on the brake
pedal, move the gearshift lever through
all of the gear ranges. Allow sufficient
time for each gear to engage.
4. Make sure the parking brake is on. Make
sure the transmission is in park (P) or
neutral (N) and leave the engine
running.
5. Open the hood. See Opening and
Closing the Hood (page 220).
6. Remove the dipstick and wipe it with
a clean, lint-free cloth. See Under
Hood Overview (page 222).
7. Replace the dipstick and remove it
again to check the fluid level.
8. If the fluid level is correct, replace the
dipstick and make sure it is fully seated.
Note:If the fluid level is between the
maximum and minimum marks, the fluid
level is acceptable. Do not add fluid.Transmission Fluid Level
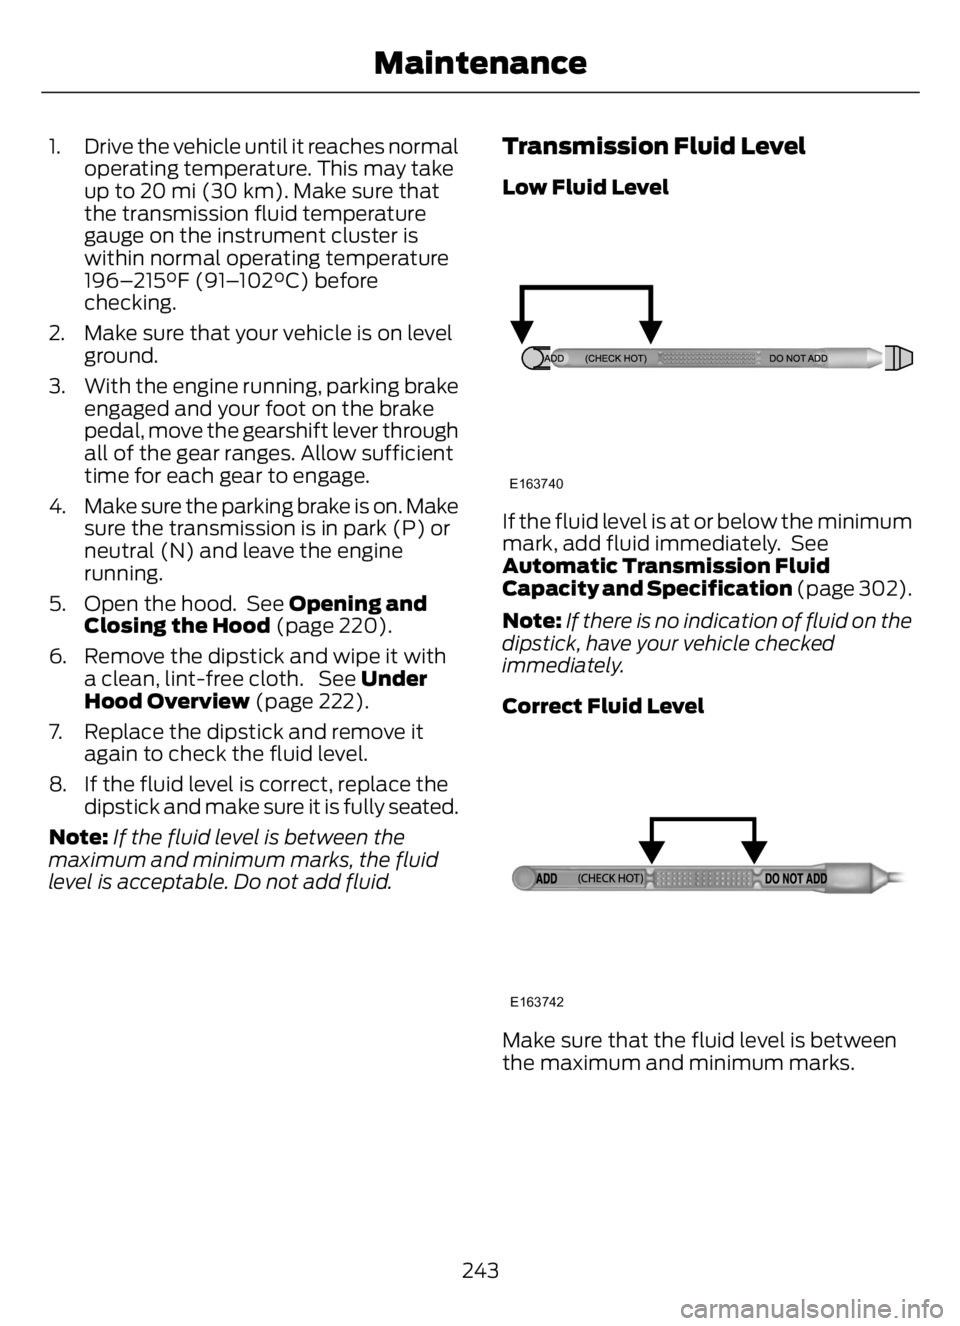
Low Fluid Level
E163740
If the fluid level is at or below the minimum
mark, add fluid immediately. See
Automatic Transmission Fluid
Capacity and Specification (page 302).
Note:If there is no indication of fluid on the
dipstick, have your vehicle checked
immediately.
Correct Fluid Level
E163742
Make sure that the fluid level is between
the maximum and minimum marks.
243
Maintenance