2023 FORD EXPLORER transmission
[x] Cancel search: transmissionPage 242 of 573
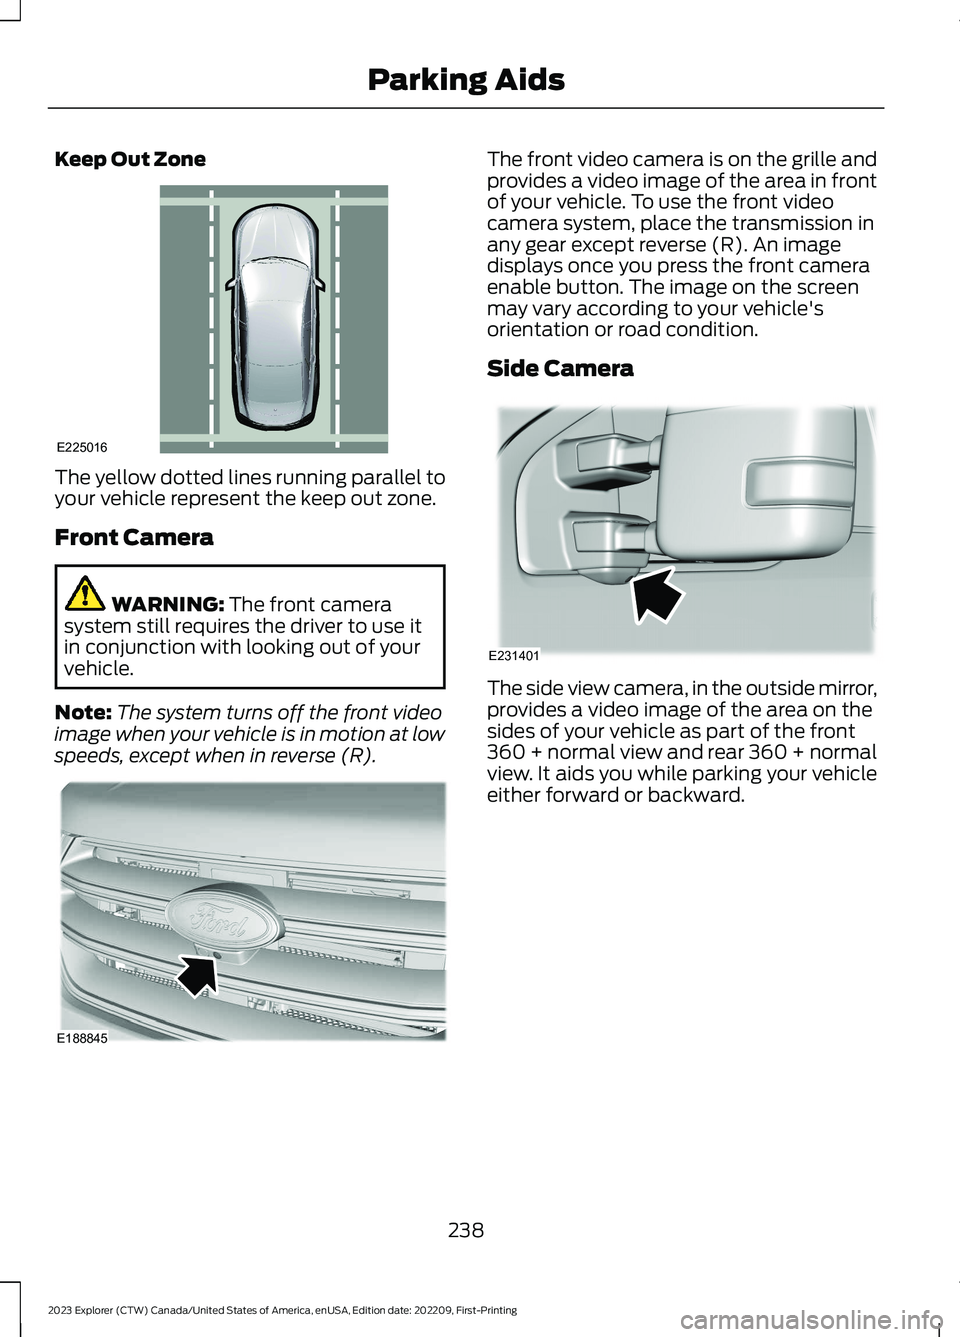
Keep Out Zone
The yellow dotted lines running parallel toyour vehicle represent the keep out zone.
Front Camera
WARNING: The front camerasystem still requires the driver to use itin conjunction with looking out of yourvehicle.
Note:The system turns off the front videoimage when your vehicle is in motion at lowspeeds, except when in reverse (R).
The front video camera is on the grille andprovides a video image of the area in frontof your vehicle. To use the front videocamera system, place the transmission inany gear except reverse (R). An imagedisplays once you press the front cameraenable button. The image on the screenmay vary according to your vehicle'sorientation or road condition.
Side Camera
The side view camera, in the outside mirror,provides a video image of the area on thesides of your vehicle as part of the front360 + normal view and rear 360 + normalview. It aids you while parking your vehicleeither forward or backward.
238
2023 Explorer (CTW) Canada/United States of America, enUSA, Edition date: 202209, First-PrintingParking AidsE225016 E188845 E231401
Page 264 of 573

The design of the system is to detectvehicles that enter the blind spot zone. Thedetection area is on both sides of yourvehicle, extending rearward from theexterior mirrors to approximately 13 ft(4 m) beyond the rear bumper. Thedetection area extends to approximately59 ft (18 m) beyond the rear bumper whenthe vehicle speed is greater than 30 mph(48 km/h) to alert you of fasterapproaching vehicles.
Note:The system does not prevent contactwith other vehicles. It does not detectparked vehicles, pedestrians, animals orother infrastructures.
Using the Blind Spot InformationSystem
Vehicles with Automatic Transmission
The system turns on when all of thefollowing occur:
•You start your vehicle.
•You shift into drive (D).
•The vehicle speed is greater than6 mph (10 km/h).
Note:The system does not operate in park(P) or reverse (R).
System Lights and Messages
When the system detects a vehicle, analert indicator illuminates in the exteriormirror on the side the approaching vehicleis coming from. If you switch the directionindicator on for that side of your vehicle,the alert indicator flashes.
Note:The system may not alert you if avehicle quickly passes through the detectionzone.
Blocked Sensors
The sensors are behind the rear bumperon both sides of your vehicle.
Note:Keep the sensors free from snow, iceand large accumulations of dirt.
Note:Do not cover the sensors with bumperstickers, repair compound or other objects.
Note:Blocked sensors could affect systemperformance.
Note:Bike and cargo racks could causefalse alerts due to obstruction of the sensor.We recommend switching the feature offwhen using a bike or cargo rack.
If the sensors become blocked, a messagecould appear in the information display.See Information Messages (page 119).The alert indicators remain illuminated,but the system does not alert you.
System Errors
If the system detects a fault, a warninglamp illuminates and a message displays.See Information Messages (page 119).
260
2023 Explorer (CTW) Canada/United States of America, enUSA, Edition date: 202209, First-PrintingDriving AidsE142442 E205199
Page 277 of 573
WHAT IS DRIVE MODE
CONTROL
Your vehicle has various drive modes thatyou can select for different drivingconditions. Depending on the drive modethat you select, the system adjusts variousvehicle settings.
HOW DOES DRIVE MODE
CONTROL WORK
Selectable drive modes change variouselectronic and mechanical settings withinyour vehicle to tailor its performance anddriving characteristics to on-road oroff-road driving conditions. Steering feeland effort, traction control, stabilitycontrol, chassis control, powertrainresponse, transmission shift points andfour-wheel driveline settings alter to apre-determined setting depending uponthe drive mode that you select.
Note:Your vehicle has diagnostic checksthat continuously monitor all systems forproper operation. If a drive mode isunavailable due to a system fault, yourvehicle defaults to normal mode.
SELECTING A DRIVE MODE
Note:Drive mode changes may not beavailable when the ignition is off or whenthe engine is not running.
Note:Button icons shown may vary fromyour vehicle.
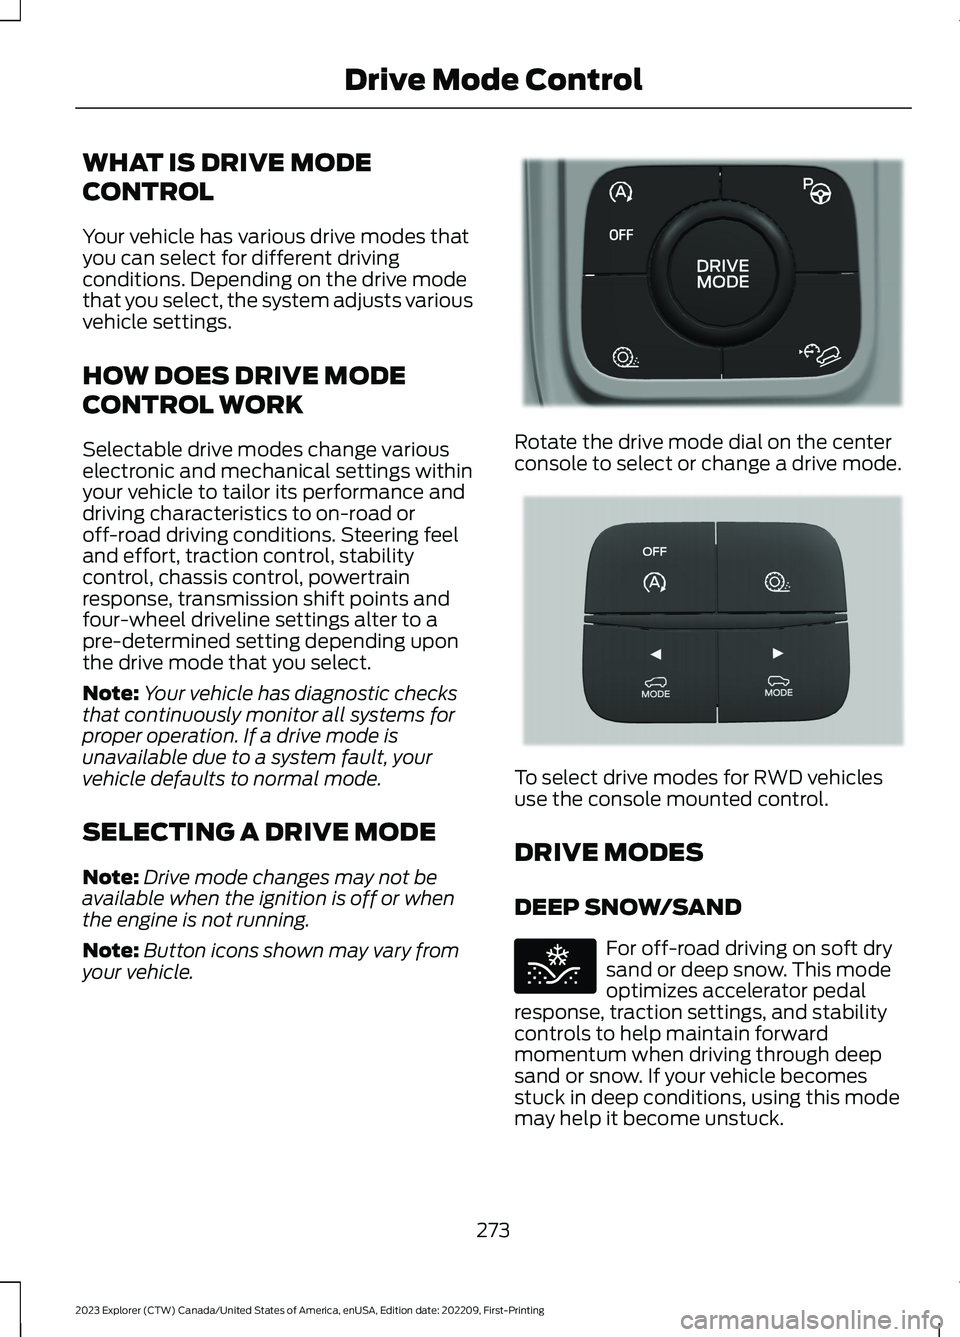
Rotate the drive mode dial on the centerconsole to select or change a drive mode.
To select drive modes for RWD vehiclesuse the console mounted control.
DRIVE MODES
DEEP SNOW/SAND
For off-road driving on soft drysand or deep snow. This modeoptimizes accelerator pedalresponse, traction settings, and stabilitycontrols to help maintain forwardmomentum when driving through deepsand or snow. If your vehicle becomesstuck in deep conditions, using this modemay help it become unstuck.
273
2023 Explorer (CTW) Canada/United States of America, enUSA, Edition date: 202209, First-PrintingDrive Mode ControlE298238 E297643 E295420
Page 278 of 573
Note:Using deep snow/sand mode on dry,hard surfaces could produce some vibration,driveline bind up, and potential excessivetire wear.
ECO
For efficient driving. This modehelps deliver maximum fuelefficiency and helps to increasedriving range.
NORMAL
For everyday driving. This modeis a perfect balance ofexcitement, comfort andconvenience. This is the default mode aftereach ignition cycle.
SLIPPERY
For less than ideal roadconditions such as snow or icecovered roads. This mode lowersthrottle response, adjusts transmissionshift points, and optimizes vehicle stabilitycontrols to help mitigate wheel spin andmaintain vehicle control when driving inwinter conditions.
Note:Using slippery mode on dry, hardsurfaces could produce some vibration,driveline bind up, and potential excessivetire wear.
SPORT
For sporty driving with improvedperformance handling andresponse. This mode increasesaccelerator pedal response, enhancessteering to provide a sportier feel, andadjusts transmission shift points for quickervehicle acceleration.
TOW/HAUL
For improved transmissionoperation when towing a traileror a heavy load. This modemoves upshifts to higher engine speeds toreduce the frequency of transmissionshifting. This mode also provides enginebraking in all forward gears, which slowsyour vehicle and assists you in controllingyour vehicle when descending a slope. Theamount of downshift braking providedvaries based on the amount you press thebrake pedal.
TRAIL
For off-road driving on muddy,rutted, soft, or uneven terrain.This mode lowers throttleresponse to enhance low speed vehiclecontrol when driving off road. Additionally,the mode optimizes traction and stabilitycontrol settings, helping the vehicle tomaintain forward momentum throughloose deformable surfaces.
274
2023 Explorer (CTW) Canada/United States of America, enUSA, Edition date: 202209, First-PrintingDrive Mode ControlE295413 E225310 E295414 E246593 E246592 E295419
Page 287 of 573

TOWING A TRAILER
WARNING: Towing trailersbeyond the maximumrecommended gross trailerweight exceeds the limit of yourvehicle and could result in enginedamage, transmission damage,structural damage, loss ofvehicle control, vehicle rolloverand personal injury.
WARNING: Do not exceedthe GVWR or the GAWRspecified on the certificationlabel.
Note: See RecommendedTowing Weights (page 284).
Your vehicle may have electricalitems, such as fuses or relays,related to towing. See Fuses(page 305).
Your vehicle's load capacitydesignation is by weight, not byvolume, so you cannot necessarilyuse all available space whenloading a vehicle or trailer.
Towing a trailer places an extraload on your vehicle's engine,transmission, axle, brakes, tiresand suspension. Inspect thesecomponents periodically during,and after, any towing operation.
Load Placement
To help minimize how trailermovement affects your vehiclewhen driving:
•Load the heaviest items closestto the trailer floor.
•Load the heaviest itemscentered between the left andright side trailer tires.
•Load the heaviest items abovethe trailer axles or just slightlyforward toward the trailertongue. Do not allow the finaltrailer tongue weight to goabove or below 10-15% of theloaded trailer weight.
•Select a ball mount with thecorrect rise or drop and loadcapacity. When both theloaded vehicle and trailer areconnected, the trailer frameshould be level, or slightlyangled down toward yourvehicle, when viewed from theside.
When driving with a trailer orpayload, a slight takeoff vibrationor shudder may be present due tothe increased payload weight.Additional information regardingproper trailer loading and settingyour vehicle up for towing islocated in another chapter of thismanual. See Load Limit (page277).
You can also find information inthe RV & Trailer Towing Guideavailable at your authorizeddealer, or online.
283
2023 Explorer (CTW) Canada/United States of America, enUSA, Edition date: 202209, First-PrintingTowing
Page 290 of 573
Before Towing a Trailer
Practice turning, stopping and backing upto get the feel of your vehicle-trailercombination before starting on a trip.When turning, make wider turns so thetrailer wheels clear curbs and otherobstacles.
When Towing a Trailer
•Do not drive faster than 70 mph(113 km/h) during the first 500 mi(800 km).
•Do not make full-throttle starts.
•Check your hitch, electrical connectionsand trailer wheel lug nuts thoroughlyafter you have traveled 50 mi (80 km).
•When stopped in congested or heavytraffic during hot weather, place thegearshift in park (P) to aid engine andtransmission cooling and to help A/Cperformance.
•Turn off the speed control with heavyloads or in hilly terrain. The speedcontrol may turn off automaticallywhen you are towing on long, steepgrades.
•Shift to a lower gear when driving downa long or steep hill. Do not apply thebrakes continuously, as they mayoverheat and become less effective.
•If your transmission is equipped with aGrade Assist or Tow/Haul feature, usethis feature when towing. This providesengine braking and helps eliminateexcessive transmission shifting foroptimum fuel economy andtransmission cooling.
•Allow more distance for stopping witha trailer attached. Anticipate stops andbrake gradually.
•Avoid parking on a grade. However, ifyou must park on a grade:
1.Turn the steering wheel to point yourvehicle tires away from traffic flow.
2.Set your vehicle parking brake.
3.Place the automatic transmission inpark (P).
4.Place wheel chocks in front and backof the trailer wheels. (Chocks notincluded with vehicle.)
Launching or Retrieving a Boat orPersonal Watercraft (PWC)
Note:Disconnect the wiring to the trailerbefore backing the trailer into the water.
Note:Reconnect the wiring to the trailerafter removing the trailer from the water.
When backing down a ramp during boatlaunching or retrieval:
•Do not allow the static water level torise above the bottom edge of the rearbumper.
•Do not allow waves to break higherthan 6 in (15 cm) above the bottomedge of the rear bumper.
Exceeding these limits may allow water toenter vehicle components:
•Causing internal damage to thecomponents.
•Affecting driveability, emissions, andreliability.
Replace the rear axle lubricant anytimethe rear axle has been submerged in water.Water may have contaminated the rearaxle lubricant, which is not normallychecked or changed unless a leak issuspected or other axle repair is required.
286
2023 Explorer (CTW) Canada/United States of America, enUSA, Edition date: 202209, First-PrintingTowing
Page 291 of 573
TOWING THE VEHICLE ON
FOUR WHEELS
Emergency Towing
WARNING: If your vehicle has asteering wheel lock make sure theignition is in the accessory or on positionwhen being towed.
If your vehicle becomes inoperable withoutaccess to wheel dollies or a vehicletransport trailer, it can be flat-towed withall wheels on the ground, regardless of thepowertrain and transmission configuration,under the following conditions:
•Your vehicle is facing forward fortowing in a forward direction.
•Refer to the Manual Park Releaseprocedure. See AutomaticTransmission (page 197). Failing todo so could result in damage to thetransmission.
•Maximum speed is 35 mph (56 km/h).
•Maximum distance is 50 mi (80 km).
Note:If you are unsure of the vehicle’sconfiguration, contact an authorized dealer.
Recreational Towing - Front-WheelDrive Vehicles (If Equipped)
You cannot recreational tow your vehiclewith all wheels on the ground becausevehicle or transmission damage couldoccur. Place the front wheels on atwo-wheel tow dolly. If you are using a towdolly, follow the instructions specified bythe equipment provider.
Recreational Towing - Rear-WheelDrive Vehicles (If Equipped)
You cannot recreational tow your vehiclewith all wheels on the ground becausevehicle or transmission damage couldoccur. We recommend towing your vehiclewith all four wheels off the ground, suchas when using a car-hauling trailer.Otherwise, you cannot recreational towyour vehicle.
Recreational Towing - All-Wheeland Four-Wheel Drive Vehicles (If
Equipped)
You cannot recreational tow your vehiclewith all wheels on the ground becausevehicle or transmission damage couldoccur. We recommend towing your vehiclewith all four wheels off the ground, suchas when using a car-hauling trailer.Otherwise, you cannot recreational towyour vehicle.
287
2023 Explorer (CTW) Canada/United States of America, enUSA, Edition date: 202209, First-PrintingTowing
Page 297 of 573
4.You can attempt to start the vehicleby pressing the brake pedal andSTART/STOP, or press START/STOPwithout pressing the brake pedal.
5.If the vehicle does not start, repeatsteps 1 through 4.
JUMP STARTING THE VEHICLE
WARNING: Batteries normallyproduce explosive gases which cancause personal injury. Therefore, do notallow flames, sparks or lightedsubstances to come near the battery.When working near the battery, alwaysshield your face and protect your eyes.Always provide correct ventilation.
WARNING: Keep batteries out ofreach of children. Batteries containsulfuric acid. Avoid contact with skin,eyes or clothing. Shield your eyes whenworking near the battery to protectagainst possible splashing of acidsolution. In case of acid contact with skinor eyes, flush immediately with water fora minimum of 15 minutes and get promptmedical attention. If acid is swallowed,call a physician immediately.
WARNING: Use only adequatelysized cables with insulated clamps.
Preparing Your Vehicle
Do not attempt to push-start yourautomatic transmission vehicle.
Note:Attempting to push-start a vehiclewith an automatic transmission may causetransmission damage.
Note:Use only a 12-volt supply to start yourvehicle.
Note:Do not disconnect the battery of thedisabled vehicle as this could damage thevehicle electrical system.
Park the booster vehicle close to the hoodof the disabled vehicle, making sure thetwo vehicles do not touch.
Locating the Jump StartingConnection Points
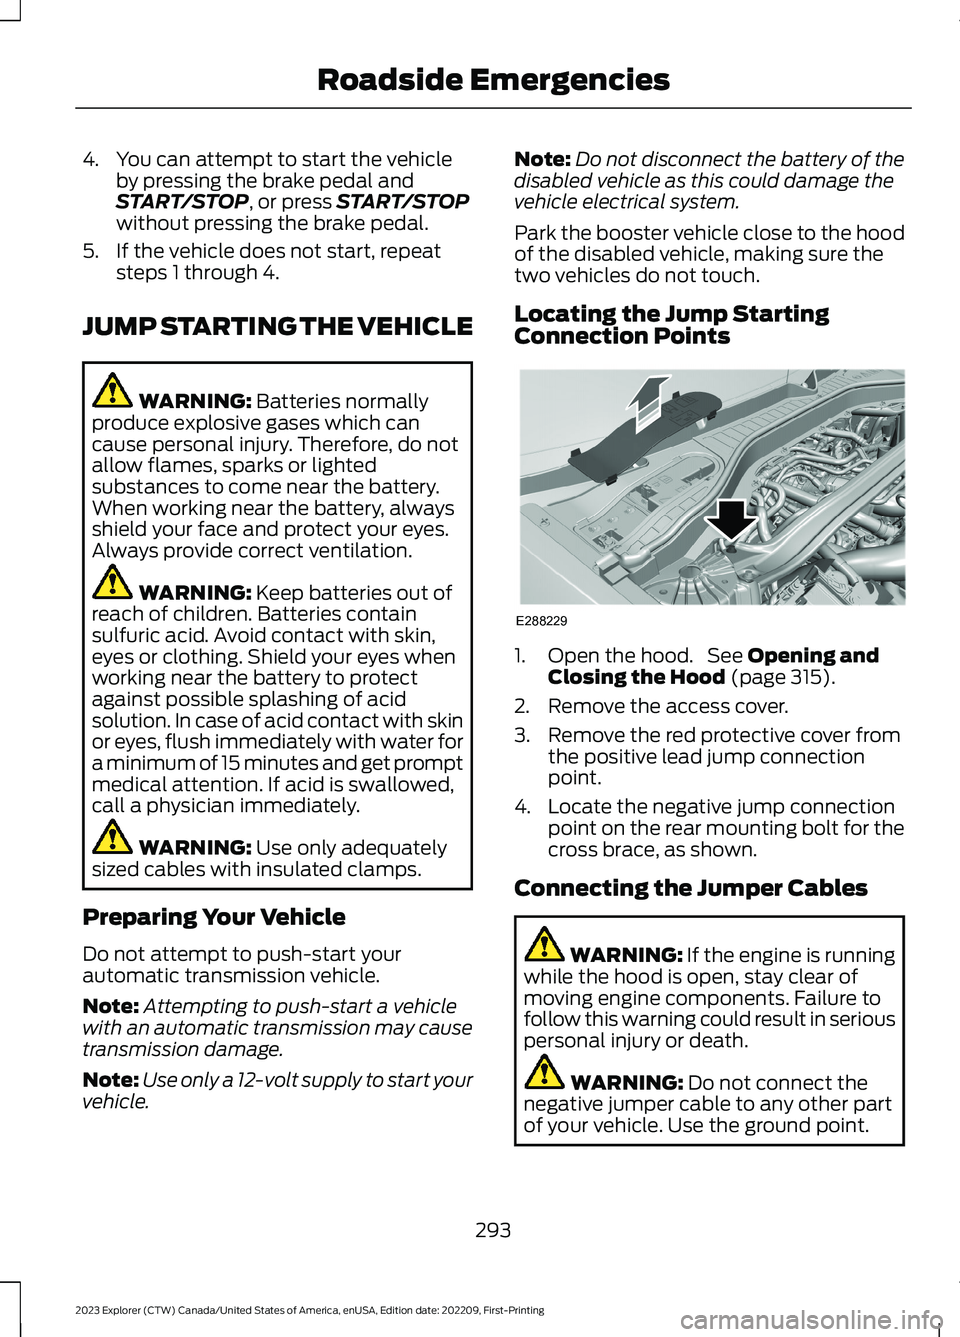
1.Open the hood. See Opening andClosing the Hood (page 315).
2.Remove the access cover.
3.Remove the red protective cover fromthe positive lead jump connectionpoint.
4.Locate the negative jump connectionpoint on the rear mounting bolt for thecross brace, as shown.
Connecting the Jumper Cables
WARNING: If the engine is runningwhile the hood is open, stay clear ofmoving engine components. Failure tofollow this warning could result in seriouspersonal injury or death.
WARNING: Do not connect thenegative jumper cable to any other partof your vehicle. Use the ground point.
293
2023 Explorer (CTW) Canada/United States of America, enUSA, Edition date: 202209, First-PrintingRoadside EmergenciesE288229