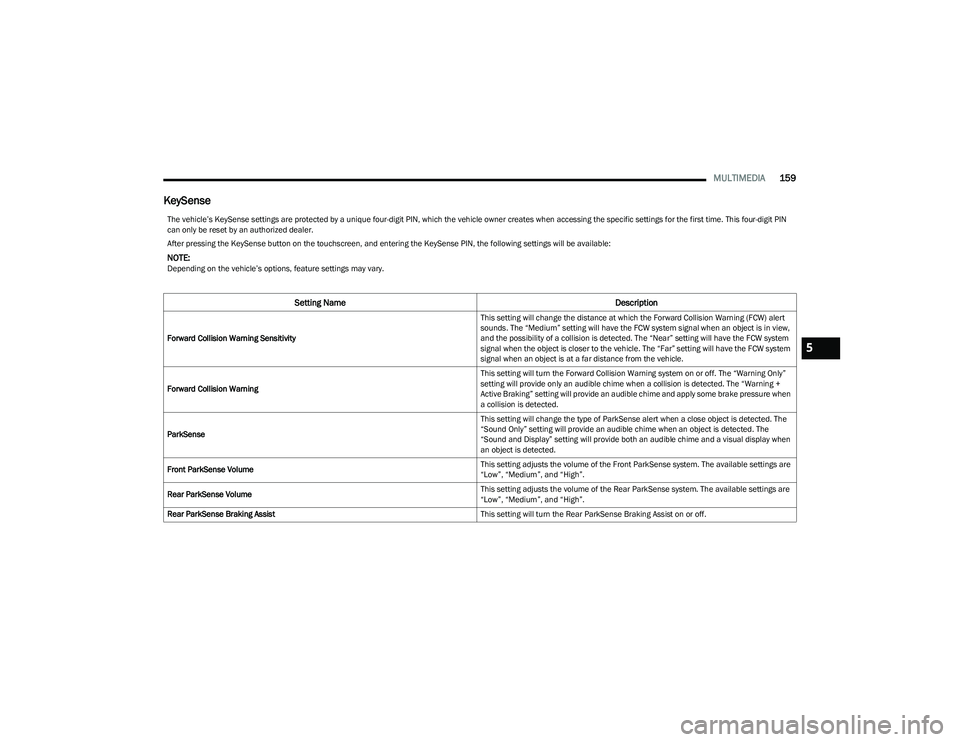
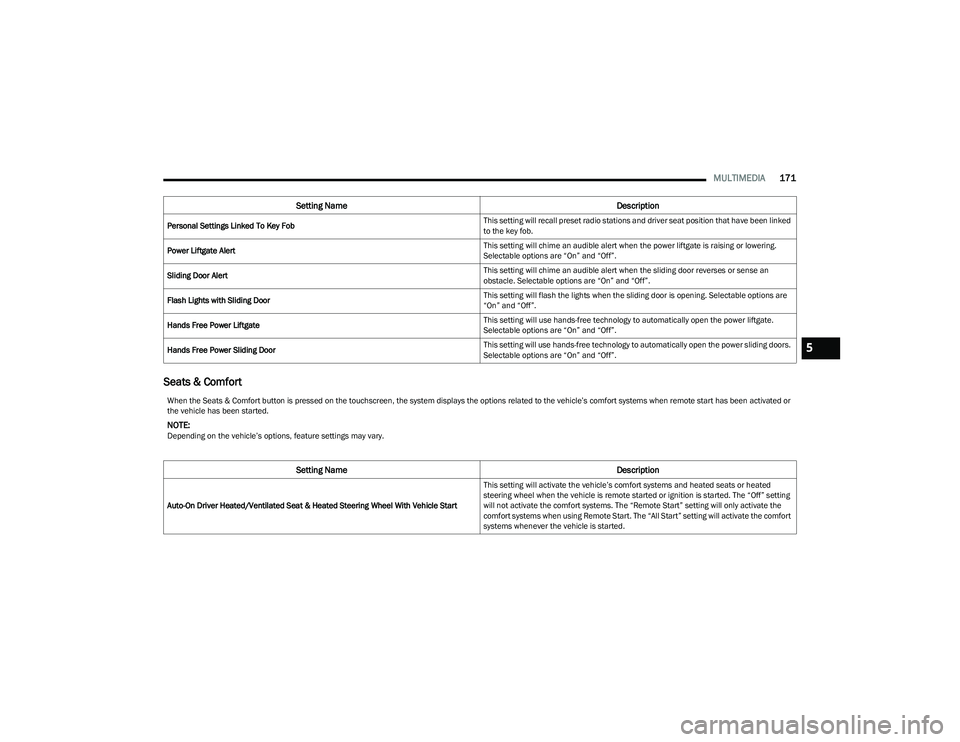
2023 CHRYSLER PACIFICA reset
[x] Cancel search: resetPage 125 of 328

STARTING AND OPERATING123
TO MANUALLY TURN ON THE STOP/
S
TART SYSTEM
After turning off the Stop/Start system, push the Stop/
Start OFF switch again (located on the switch bank). The
light on the switch will turn off.
SYSTEM MALFUNCTION
If there is a malfunction in the Stop/Start system, the
system will not shut down the engine. A “Service STOP/
START System” message and a yellow Stop/Start telltale
will appear in the instrument cluster display
If the “Service STOP/START System” message appears in
the instrument cluster display, have the system checked
by an authorized dealer.
If a malfunction occurs during an autostop, the vehicle
may not auto start and will need a key start.
CRUISE CONTROL SYSTEMS — IF EQUIPPED
Your vehicle may be equipped with the Cruise Control
system, or the Adaptive Cruise Control (ACC) system:
Cruise Control will keep your vehicle at a constant
preset speed.
Adaptive Cruise Control (ACC) will adjust the vehicle
speed up to the preset speed to maintain a distance
with the vehicle ahead.
NOTE:
In vehicles equipped with ACC, if ACC is not enabled,
Fixed Speed Cruise Control will not detect vehicles
directly ahead of you. Always be aware of the feature
selected.
Only one Cruise Control feature can operate at a time.
For example, if Fixed Speed Cruise Control is enabled,
Adaptive Cruise Control will be unavailable, and vice
versa.
CRUISE CONTROL
When engaged, the Cruise Control takes over accelerator
operations at speeds greater than 20 mph (32 km/h).
The Cruise Control buttons are located on the right side of
the steering wheel.
Cruise Control Buttons
To Activate
Push the on/off button to activate the Cruise Control. The
cruise indicator light in the instrument cluster display will
illuminate. To turn the system off, push the on/off button
a second time. The cruise indicator light will turn off. The
system should be turned off when not in use.
To Set A Desired Speed
Turn the Cruise Control on.
NOTE:The vehicle should be traveling at a steady speed and on
level ground before pushing the SET (+) or SET (-) button.
When the vehicle has reached the desired speed, push
the SET (+) or SET (-) button and release. Release the
accelerator and the vehicle will operate at the selected
speed.
1 — On/Off
2 — CANC/Cancel
3 — SET (+)/Accel
4 — RES/Resume
5 — SET (-)/Decel
WARNING!
Cruise Control can be dangerous where the system
cannot maintain a constant speed. Your vehicle could
go too fast for the conditions, and you could lose control
and have an accident. Do not use Cruise Control in
heavy traffic or on roads that are winding, icy,
snow-covered or slippery.
WARNING!
Leaving the Cruise Control system on when not in use is
dangerous. You could accidentally set the system or
cause it to go faster than you want. You could lose
control and have an accident. Always turn the system
off when you are not using it.
4
23_RUP_OM_EN_USC_t.book Page 123
Page 126 of 328

124STARTING AND OPERATING
To Vary The Speed Setting
To Increase Or Decrease The Set Speed
When the Cruise Control is set, you can increase speed by
pushing the SET (+) button, or decrease speed by pushing
the SET (-) button.
U.S. Speed (mph)
Pushing the SET (+), or SET (-) button once will result in
a 1 mph speed adjustment. Each subsequent tap of
the button results in an adjustment of 1 mph.
If the button is continually pushed, the set speed will
continue to adjust in 5 mph increments until the button
is released. The new set speed is reflected in the instru -
ment cluster display.
Metric Speed (km/h)
Pushing the SET (+), or SET (-) button once will result in
a 1 km/h speed adjustment. Each subsequent tap of
the button results in an adjustment of 1 km/h.
If the button is continually pushed, the set speed will
continue to adjust in 10 km/h increments until the
button is released. The new set speed is reflected in
the instrument cluster display.
To Accelerate For Passing
While the Cruise Control is set, press the accelerator to
pass as you would normally. When the pedal is released,
the vehicle will return to the set speed.
USING CRUISE CONTROL ON HILLS
The transmission may downshift on hills to maintain the
vehicle set speed.
The Cruise Control system maintains speed up and down
hills. A slight speed change on moderate hills is normal.
On steep hills, a greater speed loss or gain may occur so it
may be preferable to drive without Cruise Control.
To Resume Speed
To resume a previously set speed, push the RES button
and release. Resume can be used at any speed above
20 mph (32 km/h).
To Deactivate
A tap on the brake pedal, or pushing the CANC button, or
normal brake pressure will deactivate the Cruise Control
system without erasing the set speed from memory.
Pushing the on/off button or placing the ignition in the OFF
position erases the set speed from memory.
ADAPTIVE CRUISE CONTROL (ACC)
Adaptive Cruise Control (ACC) increases the driving
convenience provided by cruise control while traveling on
highways and major roadways. However, it is not a safety
system and not designed to prevent collisions. The Cruise
Control function performs differently
Úpage 123.
ACC will allow you to keep Cruise Control engaged in light
to moderate traffic conditions without the constant need
to reset your Cruise Control. ACC utilizes a radar sensor
and a forward facing camera designed to detect a vehicle
directly ahead of you.
NOTE:
If the ACC sensor detects a vehicle ahead, ACC will
apply limited braking or accelerate (not to exceed the
original set speed) automatically to maintain a preset
following distance, while matching the speed of the
vehicle ahead.
Any chassis/suspension or tire size modifications to
the vehicle will affect the performance of the Adaptive
Cruise Control and Forward Collision Warning system.
Fixed Speed Cruise Control will not detect vehicles
directly ahead of you. Always be aware of the feature
selected
Úpage 312.
WARNING!
Cruise Control can be dangerous where the system
cannot maintain a constant speed. Your vehicle could
go too fast for the conditions, and you could lose control
and have an accident. Do not use Cruise Control in
heavy traffic or on roads that are winding, icy,
snow-covered or slippery.
23_RUP_OM_EN_USC_t.book Page 124
Page 160 of 328

158MULTIMEDIA
Your Uconnect system may also have SCREEN OFF and
MUTE buttons on the faceplate.
Push the SCREEN OFF button on the faceplate to turn off
the Uconnect screen. Push the button again or tap the
screen to turn the screen on.
Press the Back Arrow button to exit out of a Menu or
certain option on the Uconnect system.
Push and hold the Power button on the radio’s faceplate
for a minimum of 15 seconds to reset the radio.
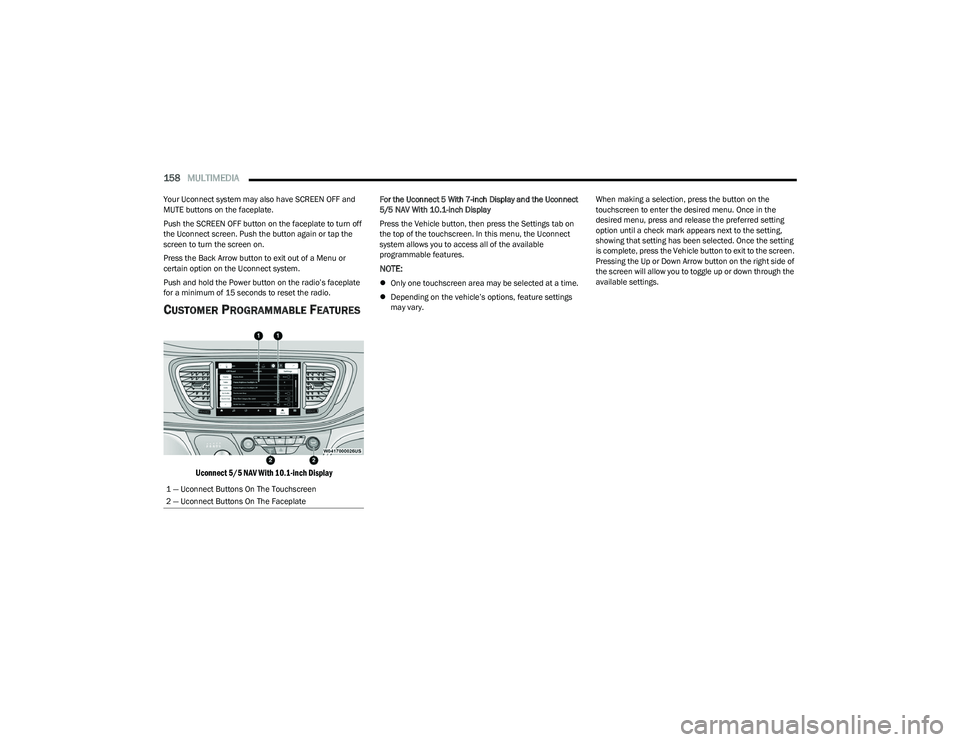
CUSTOMER PROGRAMMABLE FEATURES
Uconnect 5/5 NAV With 10.1-inch Display
For the Uconnect 5 With 7-inch Display and the Uconnect
5/5 NAV With 10.1-inch Display
Press the Vehicle button, then press the Settings tab on
the top of the touchscreen. In this menu, the Uconnect
system allows you to access all of the available
programmable features.
NOTE:
Only one touchscreen area may be selected at a time.
Depending on the vehicle’s options, feature settings
may vary. When making a selection, press the button on the
touchscreen to enter the desired menu. Once in the
desired menu, press and release the preferred setting
option until a check mark appears next to the setting,
showing that setting has been selected. Once the setting
is complete, press the Vehicle button to exit to the screen.
Pressing the Up or Down Arrow button on the right side of
the screen will allow you to toggle up or down through the
available settings.
1 — Uconnect Buttons On The Touchscreen
2 — Uconnect Buttons On The Faceplate
23_RUP_OM_EN_USC_t.book Page 158
Page 161 of 328

MULTIMEDIA159
KeySense
The vehicle’s KeySense settings are protected by a unique four-digit PIN, which the vehicle owner creates when accessing the specific settings for the first time. This four-digit PIN
can only be reset by an authorized dealer.
After pressing the KeySense button on the touchscreen, and entering the KeySense PIN, the following settings will be available:
NOTE:Depending on the vehicle’s options, feature settings may vary.
Setting Name Description
Forward Collision Warning Sensitivity This setting will change the distance at which the Forward Collision Warning (FCW) alert
sounds. The “Medium” setting will have the FCW system signal when an object is in view,
and the possibility of a collision is detected. The “Near” setting will have the FCW system
signal when the object is closer to the vehicle. The “Far” setting will have the FCW system
signal when an object is at a far distance from the vehicle.
Forward Collision Warning This setting will turn the Forward Collision Warning system on or off. The “Warning Only”
setting will provide only an audible chime when a collision is detected. The “Warning +
Active Braking” setting will provide an audible chime and apply some brake pressure when
a collision is detected.
ParkSense This setting will change the type of ParkSense alert when a close object is detected. The
“Sound Only” setting will provide an audible chime when an object is detected. The
“Sound and Display” setting will provide both an audible chime and a visual display when
an object is detected.
Front ParkSense Volume This setting adjusts the volume of the Front ParkSense system. The available settings are
“Low”, “Medium”, and “High”.
Rear ParkSense Volume This setting adjusts the volume of the Rear ParkSense system. The available settings are
“Low”, “Medium”, and “High”.
Rear ParkSense Braking Assist This setting will turn the Rear ParkSense Braking Assist on or off.5
23_RUP_OM_EN_USC_t.book Page 159
Page 164 of 328

162MULTIMEDIA
Display
App Drawer Unfavoritings Popups This setting will allow you to unfavorite app drawer pop-ups with “On” and “Off” options.
New Text Message Popups This setting will allow you to have pop-up notifications for new text messages. This setting
options are “On” and “Off”.
Missed Calls Message This setting will allow you to have pop-up notifications for missed calls. This setting
options are “On” and “Off”.
Navigation Popups This setting will allow you to have pop-up notifications for Navigation. This setting options
are “On” and “Off”.
Navigation Settings This setting will allow you to customize the settings within Navigation Mode.
Auto-On Driver Heated Seat & Steering Wheel This setting will activate the vehicle’s comfort systems and heated seats or heated
steering wheel when the vehicle is remote started or ignition is started. The “Off” setting
will not activate the comfort systems. The “Remote Start” setting will only activate the
comfort systems when using Remote Start. The “All Start” setting will activate the comfort
systems whenever the vehicle is started.
Audio Settings This setting will take you to the audio settings for the vehicle profiles.
Reset App Drawer to Default Order This setting will reset the app drawer to its factory default layout.
Restore Settings to Default This setting will return all the previously changed settings to their factory defaults.
More Profile Options This setting will give access to more profile options.
Setting NameDescription
After pressing the Display button on the touchscreen, the following settings will be available:
NOTE:Depending on the vehicle’s options, feature settings may vary.
Setting NameDescription
Language This setting will change the language of the Uconnect system and Instrument Cluster
Display. The available languages are English, Français, Español, and Italiano.
23_RUP_OM_EN_USC_t.book Page 162
Page 173 of 328

MULTIMEDIA171
Seats & Comfort
Personal Settings Linked To Key Fob This setting will recall preset radio stations and driver seat position that have been linked
to the key fob.
Power Liftgate Alert This setting will chime an audible alert when the power liftgate is raising or lowering.
Selectable options are “On” and “Off”.
Sliding Door Alert This setting will chime an audible alert when the sliding door reverses or sense an
obstacle. Selectable options are “On” and “Off”.
Flash Lights with Sliding Door This setting will flash the lights when the sliding door is opening. Selectable options are
“On” and “Off”.
Hands Free Power Liftgate This setting will use hands-free technology to automatically open the power liftgate.
Selectable options are “On” and “Off”.
Hands Free Power Sliding Door This setting will use hands-free technology to automatically open the power sliding doors.
Selectable options are “On” and “Off”.
Setting Name
Description
When the Seats & Comfort button is pressed on the touchscreen, the system displays the options related to the vehicle’s comfort systems when remote start has been activated or
the vehicle has been started.
NOTE:Depending on the vehicle’s options, feature settings may vary.
Setting NameDescription
Auto-On Driver Heated/Ventilated Seat & Heated Steering Wheel With Vehicle Start This setting will activate the vehicle’s comfort systems and heated seats or heated
steering wheel when the vehicle is remote started or ignition is started. The “Off” setting
will not activate the comfort systems. The “Remote Start” setting will only activate the
comfort systems when using Remote Start. The “All Start” setting will activate the comfort
systems whenever the vehicle is started.
5
23_RUP_OM_EN_USC_t.book Page 171
Page 178 of 328

176MULTIMEDIA
System Information
Reset
When the System Information button is pressed on the touchscreen, the system displays the radio system information.
NOTE:Depending on the vehicle’s options, feature settings may vary.
Setting Name Description
Version Information When this feature is selected, a Version Information screen will appear, displaying
information about the version of your radio.
License Information When this feature is selected, a License Information screen will appear, displaying the
licensing information of your radio.
When the Reset button is pressed on the touchscreen, the system displays the options related to resetting the Uconnect system back to its default settings. These settings can clear
personal data and reset selected settings from other menus.
NOTE:Depending on the vehicle’s options, feature settings may vary.
Setting Name
Description
Notifications Sounds Turn this setting on or off to hear notification sounds throughout your system.
Restart Radio This setting will restart the radio.
Reset App Drawer to Default Order This setting will reset the app drawer to its factory default layout.
Restore Settings to Default This setting will return all the previously changed settings to their factory defaults.
Clear Personal Data This setting will display a pop-up that gives you the option to clear all personal data from
the system, including Bluetooth® devices and presets.
Reset Wi-Fi Password for Projection This setting will reset your Wi-Fi password for projection.
23_RUP_OM_EN_USC_t.book Page 176
Page 179 of 328

MULTIMEDIA177
REAR SEAT ENTERTAINMENT (RSE) WITH
AMAZON FIRE TV BUILT-IN — IF EQUIPPED
OVERVIEW
Rear Seat Entertainment with Fire TV built-in is designed
to give your family years of enjoyment.
Fire TV lets passengers enjoy a wide variety of content
from popular apps (subscriptions may be required).
Stream videos, play games, listen to music, get
information, and watch downloaded programs all while on
the road. Two Voice Remotes with Alexa are included with
the system. Press the Microphone button on the Voice
Remote with Alexa to easily find, launch, and control
content. Check sports scores, play music, control smart
home devices, or see your live camera feeds (compatible
smart home device required and sold separately). In
addition to streaming and downloaded content, changing
the input in Fire TV also enables you to:
Play your favorite CDs, DVDs, or Blu-ray™ Discs.
Mirror what’s on your phone or tablet to Fire TV via
Miracast capable devices.
Plug and play a variety of standard video games or
devices into the HDMI port.
Listen to audio over wired or wireless headphones (not
included, customer will have to provide their own or
play audio through in-cabin speakers with Listen In
feature in front seat).
Plug and play a variety of devices into the front seat
Video USB port. USB ports located under the rear
screens are charge only.
Watch content individually on each rear display or
mirror across both displays to watch together.
NOTE:Vehicle must be in an active and usable cellular range and
properly equipped with a Uconnect 5 NAV system and
Rear Seat Entertainment with Fire TV package. Streaming
requires a Wi-Fi connection and registered Amazon
account to run Fire TV in the vehicle. Streaming service
subscriptions are not included. Services and features are
subject to change or withdrawal at any time, may not be
available in all areas and languages, and may require
separate subscriptions.
GETTING STARTED
Rear Seat Entertainment For Uconnect 5/5 NAV
Factory Reset This setting will factory reset the radio. It may cause the radio to restart multiple times
and the backup camera, radio, SOS, and several driving assistance features will not be
available. Once the system resets, you will need to turn the vehicle off then back on to
complete the process.
Setting Name
Description
1 — Rear Seat Entertainment (Rear Touchscreen)
2 — Headphone Jack
3 — HDMI Port
4 — USB C Charging Port
5 — Uconnect System (Front Touchscreen)
5
23_RUP_OM_EN_USC_t.book Page 177