2023 CHEVROLET SILVERADO 2500 Battery
[x] Cancel search: BatteryPage 44 of 441
Chevrolet Silverado 2500 HD/3500 HD Owner Manual (GMNA-Localizing-U.
S./Canada/Mexico-15546003) - 2022 - CRC - 5/12/21
Keys, Doors, and Windows 43
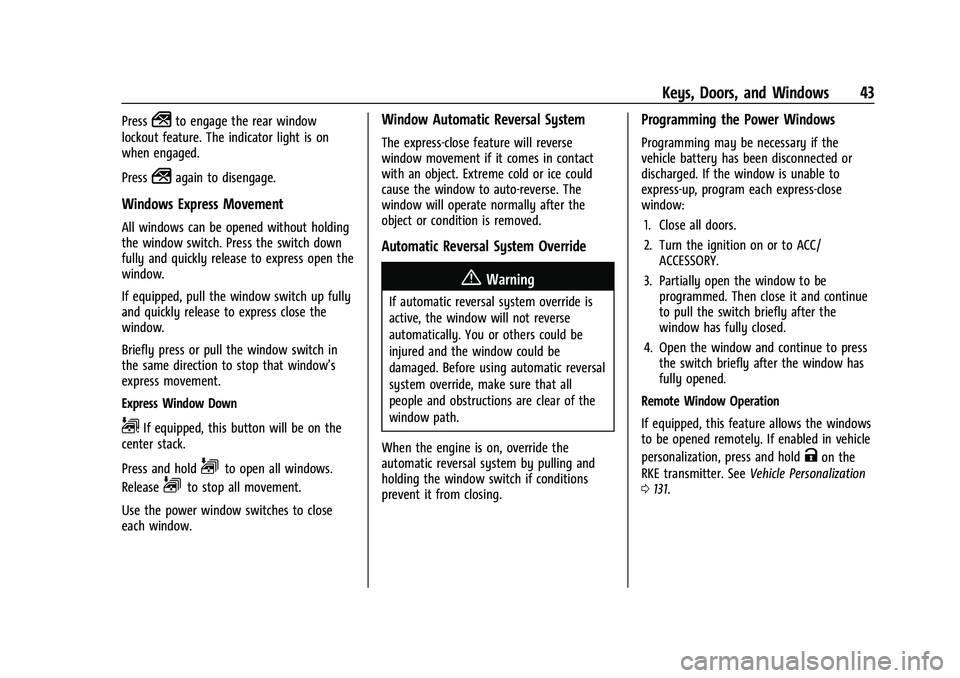
Press2to engage the rear window
lockout feature. The indicator light is on
when engaged.
Press
2again to disengage.
Windows Express Movement
All windows can be opened without holding
the window switch. Press the switch down
fully and quickly release to express open the
window.
If equipped, pull the window switch up fully
and quickly release to express close the
window.
Briefly press or pull the window switch in
the same direction to stop that window’s
express movement.
Express Window Down
L: If equipped, this button will be on the
center stack.
Press and hold
Lto open all windows.
Release
Lto stop all movement.
Use the power window switches to close
each window.
Window Automatic Reversal System
The express-close feature will reverse
window movement if it comes in contact
with an object. Extreme cold or ice could
cause the window to auto-reverse. The
window will operate normally after the
object or condition is removed.
Automatic Reversal System Override
{Warning
If automatic reversal system override is
active, the window will not reverse
automatically. You or others could be
injured and the window could be
damaged. Before using automatic reversal
system override, make sure that all
people and obstructions are clear of the
window path.
When the engine is on, override the
automatic reversal system by pulling and
holding the window switch if conditions
prevent it from closing.
Programming the Power Windows
Programming may be necessary if the
vehicle battery has been disconnected or
discharged. If the window is unable to
express-up, program each express-close
window: 1. Close all doors.
2. Turn the ignition on or to ACC/ ACCESSORY.
3. Partially open the window to be programmed. Then close it and continue
to pull the switch briefly after the
window has fully closed.
4. Open the window and continue to press the switch briefly after the window has
fully opened.
Remote Window Operation
If equipped, this feature allows the windows
to be opened remotely. If enabled in vehicle
personalization, press and hold
Kon the
RKE transmitter. See Vehicle Personalization
0 131.
Page 72 of 441
Chevrolet Silverado 2500 HD/3500 HD Owner Manual (GMNA-Localizing-U.
S./Canada/Mexico-15546003) - 2022 - CRC - 5/5/21
Seats and Restraints 71
approved by GM for your specific vehicle.
SeeAdding Equipment to the
Airbag-Equipped Vehicle 071 for more
information about modifications that can
affect how the system operates.
The ON indicator may be lit if an object,
such as a briefcase, handbag, grocery bag,
laptop, or other electronic device, is put on
an unoccupied seat. If this is not desired,
remove the object from the seat.
{Warning
Stowing articles under the passenger seat
or between the passenger seat cushion
and seatback may interfere with the
proper operation of the passenger
sensing system.
Servicing the Airbag-Equipped
Vehicle
Airbags affect how the vehicle should be
serviced. There are parts of the airbag
system in several places around the vehicle.
Your dealer and the service manual have
information about servicing the vehicle and
the airbag system. To purchase a service
manual, see Publication Ordering
Information 0416.
{Warning
For up to 10 seconds after the vehicle is
turned off and the battery is
disconnected, an airbag can still inflate
during improper service. You can be
injured if you are close to an airbag
when it inflates. Avoid yellow connectors.
They are probably part of the airbag
system. Be sure to follow proper service
procedures, and make sure the person
performing work for you is qualified to
do so.
Adding Equipment to the
Airbag-Equipped Vehicle
Adding accessories that change the vehicle's
frame, bumper system, height, front end,
or side sheet metal, may keep the airbag
system from working properly.
The operation of the airbag system can also
be affected by changing, including
improperly repairing or replacing, any parts
of the following:
.Airbag system, including airbag modules,
front or side impact sensors, sensing and
diagnostic module, or airbag wiring
.Front seats, including stitching, seams,
or zippers
.Seat belts
.Steering wheel, instrument panel,
overhead console, ceiling trim, or pillar
garnish trim
.Inner door seals, including speakers
Your dealer and the service manual have
information about the location of the airbag
modules and sensors, sensing and diagnostic
module, and airbag wiring along with the
proper replacement procedures.
In addition, the vehicle has a passenger
sensing system for the front outboard
passenger position, which includes sensors
that are part of the passenger seat. The
passenger sensing system may not operate
properly if the original seat trim is replaced
with non-GM covers, upholstery, or trim; or
with GM covers, upholstery, or trim
designed for a different vehicle. Any object,
such as an aftermarket seat heater or a
comfort-enhancing pad or device, installed
under or on top of the seat fabric, could
also interfere with the operation of the
passenger sensing system. This could either
prevent proper deployment of the passenger
airbag(s) or prevent the passenger sensing
Page 104 of 441

Chevrolet Silverado 2500 HD/3500 HD Owner Manual (GMNA-Localizing-U.
S./Canada/Mexico-15546003) - 2022 - CRC - 5/12/21
Instruments and Controls 103
If the ignition is turned off while the wipers
are performing wipes due to windshield
washing, the wipers continue to run until
they reach the base of the windshield.
Compass
The vehicle may have a compass display on
the Driver Information Center (DIC). The
compass receives its heading and other
information from the Global Positioning
System (GPS) antenna, Electronic Stability
Control (ESC), and vehicle speed information.
The compass system is designed to operate
for a certain number of miles or degrees of
turn before needing a signal from the GPS
satellites. When the compass display shows
CAL, drive the vehicle for a short distance in
an open area where it can receive a GPS
signal. The compass system will
automatically determine when a GPS signal
is restored and provide a heading again.
Clock
Set the time and date using the
infotainment system. See "Time / Date"
underSettings 0184.
Power Outlets
Accessory power outlets can be used to plug
in electrical equipment, such as a cell phone
or MP3 player.
Rear of Front Center Console
The vehicle has one accessory power outlet
under the climate control system and one
accessory power outlet on the rear of the
center console, if equipped, or on the rear of
the bench seat, if equipped.
Lift the cover to access and replace when
not in use.
{Warning
Power is always supplied to the outlets.
Do not leave electrical equipment
plugged in when the vehicle is not in use
because the vehicle could catch fire and
cause injury or death.
Caution
Leaving electrical equipment plugged in
for an extended period of time while the
vehicle is off will drain the battery.
Always unplug electrical equipment when
not in use and do not plug in equipment
that exceeds the maximum 15 amp
rating.
Certain power accessory plugs may not be
compatible with the accessory power outlet
and could overload vehicle or adapter fuses.
If a problem is experienced, see your dealer.
When adding electrical equipment, be sure
to follow the proper installation instructions
included with the equipment. See Add-On
Electrical Equipment 0303.
Page 114 of 441
Chevrolet Silverado 2500 HD/3500 HD Owner Manual (GMNA-Localizing-U.
S./Canada/Mexico-15546003) - 2022 - CRC - 5/12/21
Instruments and Controls 113
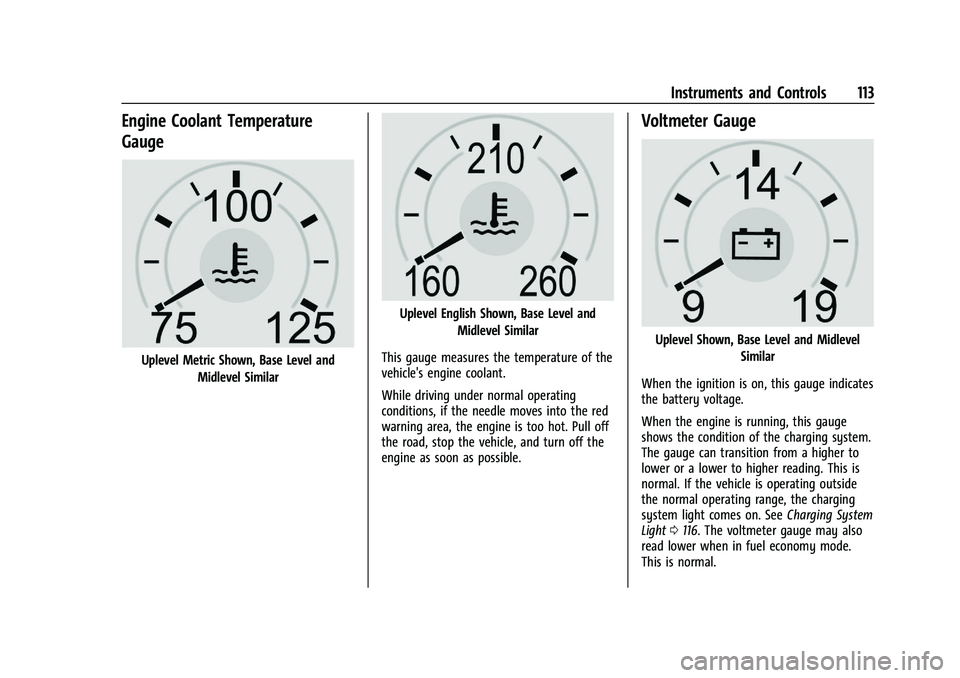
Engine Coolant Temperature
Gauge
Uplevel Metric Shown, Base Level andMidlevel Similar
Uplevel English Shown, Base Level and Midlevel Similar
This gauge measures the temperature of the
vehicle's engine coolant.
While driving under normal operating
conditions, if the needle moves into the red
warning area, the engine is too hot. Pull off
the road, stop the vehicle, and turn off the
engine as soon as possible.
Voltmeter Gauge
Uplevel Shown, Base Level and Midlevel Similar
When the ignition is on, this gauge indicates
the battery voltage.
When the engine is running, this gauge
shows the condition of the charging system.
The gauge can transition from a higher to
lower or a lower to higher reading. This is
normal. If the vehicle is operating outside
the normal operating range, the charging
system light comes on. See Charging System
Light 0116. The voltmeter gauge may also
read lower when in fuel economy mode.
This is normal.
Page 117 of 441
Chevrolet Silverado 2500 HD/3500 HD Owner Manual (GMNA-Localizing-U.
S./Canada/Mexico-15546003) - 2022 - CRC - 5/12/21
116 Instruments and Controls
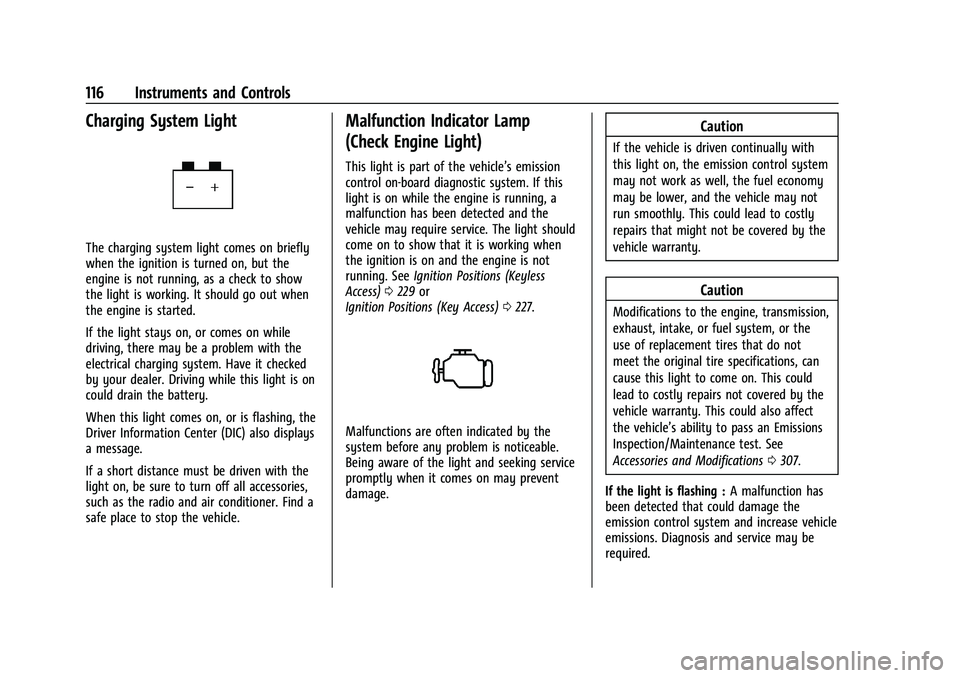
Charging System Light
The charging system light comes on briefly
when the ignition is turned on, but the
engine is not running, as a check to show
the light is working. It should go out when
the engine is started.
If the light stays on, or comes on while
driving, there may be a problem with the
electrical charging system. Have it checked
by your dealer. Driving while this light is on
could drain the battery.
When this light comes on, or is flashing, the
Driver Information Center (DIC) also displays
a message.
If a short distance must be driven with the
light on, be sure to turn off all accessories,
such as the radio and air conditioner. Find a
safe place to stop the vehicle.
Malfunction Indicator Lamp
(Check Engine Light)
This light is part of the vehicle’s emission
control on-board diagnostic system. If this
light is on while the engine is running, a
malfunction has been detected and the
vehicle may require service. The light should
come on to show that it is working when
the ignition is on and the engine is not
running. SeeIgnition Positions (Keyless
Access) 0229 or
Ignition Positions (Key Access) 0227.
Malfunctions are often indicated by the
system before any problem is noticeable.
Being aware of the light and seeking service
promptly when it comes on may prevent
damage.
Caution
If the vehicle is driven continually with
this light on, the emission control system
may not work as well, the fuel economy
may be lower, and the vehicle may not
run smoothly. This could lead to costly
repairs that might not be covered by the
vehicle warranty.
Caution
Modifications to the engine, transmission,
exhaust, intake, or fuel system, or the
use of replacement tires that do not
meet the original tire specifications, can
cause this light to come on. This could
lead to costly repairs not covered by the
vehicle warranty. This could also affect
the vehicle’s ability to pass an Emissions
Inspection/Maintenance test. See
Accessories and Modifications 0307.
If the light is flashing : A malfunction has
been detected that could damage the
emission control system and increase vehicle
emissions. Diagnosis and service may be
required.
Page 118 of 441
Chevrolet Silverado 2500 HD/3500 HD Owner Manual (GMNA-Localizing-U.
S./Canada/Mexico-15546003) - 2022 - CRC - 5/12/21
Instruments and Controls 117
To help prevent damage, reduce vehicle
speed and avoid hard accelerations and
uphill grades. If towing a trailer, reduce the
amount of cargo being hauled as soon as
possible.
If the light continues to flash, find a safe
place to park. Turn the vehicle off and wait
at least 10 seconds before restarting the
engine. If the light is still flashing, follow
the previous guidelines and see your dealer
for service as soon as possible.
If the light is on steady :A malfunction has
been detected. Diagnosis and service may be
required.
Check the following:
.If fuel has been added to the vehicle
using the capless funnel adapter, make
sure that it has been removed. See
“Filling the Tank with a Portable Gas Can”
under Filling the Tank (Chassis Cab and
Box Delete Models) 0272 or
Filling the Tank (Pickup Models) 0271. The
diagnostic system can detect if the
adapter has been left installed in the
vehicle, allowing fuel to evaporate into
the atmosphere. A few driving trips with
the adapter removed may turn off the
light.
.Poor fuel quality can cause inefficient
engine operation and poor driveability,
which may go away once the engine is
warmed up. If this occurs, change the fuel
brand. It may require at least one full
tank of the proper fuel to turn the light
off. See Recommended Fuel 0269.
If the light remains on, see your dealer.
Emissions Inspection and Maintenance
Programs
If the vehicle requires an Emissions
Inspection/Maintenance test, the test
equipment will likely connect to the
vehicle's Data Link Connector (DLC).
The DLC is under the instrument panel to
the left of the steering wheel. Connecting
devices that are not used to perform an
Emissions Inspection/Maintenance test or to
service the vehicle may affect vehicle operation. See
Add-On Electrical Equipment
0 303. See your dealer if assistance is
needed.
The vehicle may not pass inspection if:
.The light is on when the engine is
running.
.The light does not come on when the
ignition is on while the engine is off.
.Critical emission control systems have not
been completely diagnosed. If this
happens, the vehicle would not be ready
for inspection and might require
several days of routine driving before the
system is ready for inspection. This can
happen if the 12-volt battery has recently
been replaced or run down, or if the
vehicle has been recently serviced.
See your dealer if the vehicle will not pass
or cannot be made ready for the test.
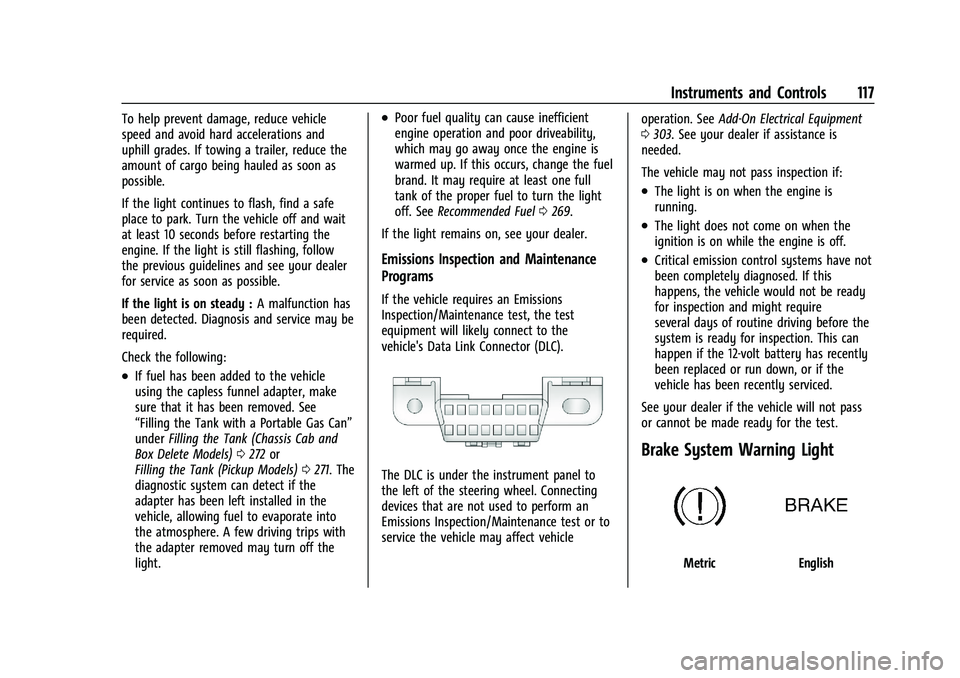
Brake System Warning Light
MetricEnglish
Page 131 of 441
Chevrolet Silverado 2500 HD/3500 HD Owner Manual (GMNA-Localizing-U.
S./Canada/Mexico-15546003) - 2022 - CRC - 5/12/21
130 Instruments and Controls
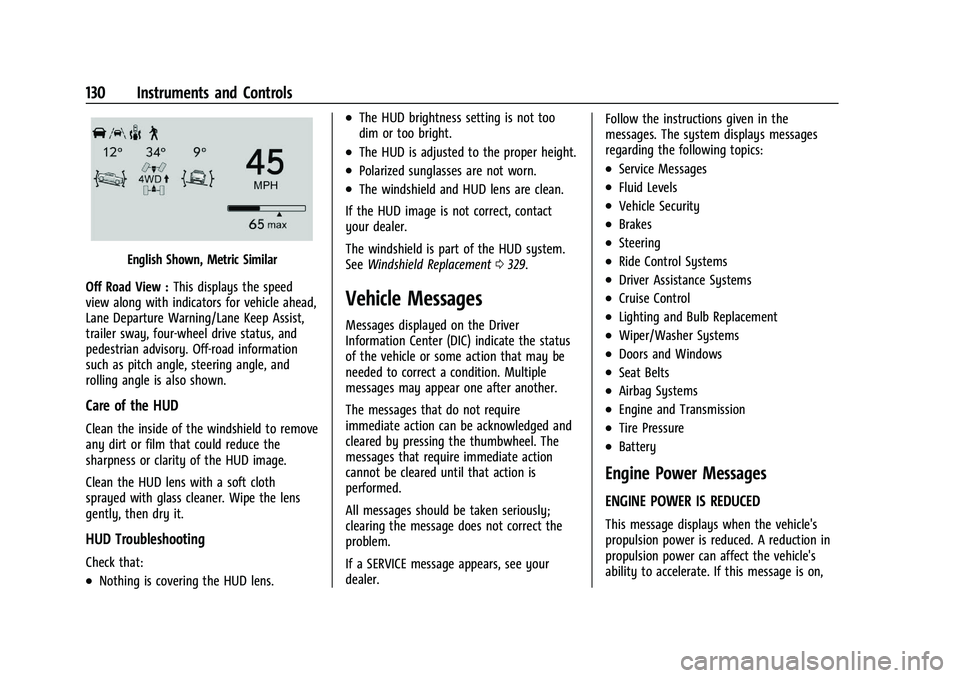
English Shown, Metric Similar
Off Road View : This displays the speed
view along with indicators for vehicle ahead,
Lane Departure Warning/Lane Keep Assist,
trailer sway, four-wheel drive status, and
pedestrian advisory. Off-road information
such as pitch angle, steering angle, and
rolling angle is also shown.
Care of the HUD
Clean the inside of the windshield to remove
any dirt or film that could reduce the
sharpness or clarity of the HUD image.
Clean the HUD lens with a soft cloth
sprayed with glass cleaner. Wipe the lens
gently, then dry it.
HUD Troubleshooting
Check that:
.Nothing is covering the HUD lens.
.The HUD brightness setting is not too
dim or too bright.
.The HUD is adjusted to the proper height.
.Polarized sunglasses are not worn.
.The windshield and HUD lens are clean.
If the HUD image is not correct, contact
your dealer.
The windshield is part of the HUD system.
See Windshield Replacement 0329.
Vehicle Messages
Messages displayed on the Driver
Information Center (DIC) indicate the status
of the vehicle or some action that may be
needed to correct a condition. Multiple
messages may appear one after another.
The messages that do not require
immediate action can be acknowledged and
cleared by pressing the thumbwheel. The
messages that require immediate action
cannot be cleared until that action is
performed.
All messages should be taken seriously;
clearing the message does not correct the
problem.
If a SERVICE message appears, see your
dealer. Follow the instructions given in the
messages. The system displays messages
regarding the following topics:
.Service Messages
.Fluid Levels
.Vehicle Security
.Brakes
.Steering
.Ride Control Systems
.Driver Assistance Systems
.Cruise Control
.Lighting and Bulb Replacement
.Wiper/Washer Systems
.Doors and Windows
.Seat Belts
.Airbag Systems
.Engine and Transmission
.Tire Pressure
.Battery
Engine Power Messages
ENGINE POWER IS REDUCED
This message displays when the vehicle's
propulsion power is reduced. A reduction in
propulsion power can affect the vehicle's
ability to accelerate. If this message is on,
Page 137 of 441
Chevrolet Silverado 2500 HD/3500 HD Owner Manual (GMNA-Localizing-U.
S./Canada/Mexico-15546003) - 2022 - CRC - 5/12/21
136 Instruments and Controls
systems, and home automation devices.
These instructions refer to a garage door
opener, but can be used for other devices.
Do not use the Universal Remote system
with any garage door opener that does not
have the stop and reverse feature. This
includes any garage door opener model
manufactured before April 1, 1982.
Keep the original hand-held transmitter for
use in other vehicles as well as for future
programming. Erase the programming when
vehicle ownership is terminated. See
“Erasing Universal Remote System Buttons”
later in this section.
To program a garage door opener, park
outside directly in line with and facing the
garage door opener receiver. Clear all people
and objects near the garage door.
Make sure the hand-held transmitter has a
new battery for quick and accurate
transmission of the radio-frequency signal.
Programming the Universal Remote
System
Programming involves time-sensitive actions
and may time out, requiring the procedure
to be repeated. Read these instructions
completely before programming theUniversal Remote system. It may help to
have another person assist with the
programming process.
1. Hold the end of the hand-held transmitter about 3 to 8 cm (1 to 3 in)
away from the Universal Remote system
buttons with the indicator light in view.
The hand-held transmitter was supplied
by the manufacturer of the garage door
opener receiver.
2. Press and release one of the three Universal Remote system buttons to be
programmed. Press and hold the
hand-held transmitter button. Do not
release the hand-held transmitter button
until the indicator light changes from a
slow to a rapid flash or continuous light.
Then release the hand-held transmitter
button.
Some garage door openers may require
substitution of Step 2 with the procedure
under “Radio Signals for Some Gate
Operators” later in this section. 3. Press and hold the newly programmed
Universal Remote system button for
five seconds while watching the indicator
light and garage door activation.
.If the indicator light stays on
continuously or the garage door
moves when the button is pressed,
then programming is complete. There
is no need to complete Steps 4–6.
.If the indicator light does not come
on or the garage door does not
move, a second button press may be
required. For a second time, press
and hold the newly programmed
button for five seconds. If the
indicator light stays on continuously
or the garage door moves when the
button is pressed, then programming
is complete. There is no need to
complete Steps 4–6.
.If the garage door does not move,
continue with programming
Steps 4–6.