2023 CHEVROLET SILVERADO 1500 oil
[x] Cancel search: oilPage 342 of 463
Chevrolet Silverado 1500 Owner Manual (GMNA-Localizing-U.S./Canada/
Mexico/Paraguay-16515119) - 2023 - CRC - 6/2/22
Vehicle Care 341
in these vehicles. Because this procedure is
difficult, this should be done at the dealer.
Contact the dealer for additional information
or the procedure can be found in the service
manual. SeePublication Ordering
Information 0437.
Caution
Use of the incorrect automatic
transmission fluid may damage the
vehicle, and the damage may not be
covered by the vehicle warranty. Always
use the correct automatic transmission
fluid. See Recommended Fluids and
Lubricants 0421.
Change the fluid and filter at the scheduled
maintenance intervals listed in Maintenance
Schedule 0417. Be sure to use the
transmission fluid listed in Recommended
Fluids and Lubricants 0421.
Engine Air Filter Life System
If equipped, this feature provides the engine
air filter’s remaining life and best timing for
a change. The timing to change an engine
air filter depends on driving and
environmental conditions.
When to Change the Engine Air Filter
When the Driver Information Center (DIC)
displays a message to replace the engine air
filter at the next oil change, follow this
timing.
When the DIC displays a message to replace
the engine air filter soon, replace the engine
air filter at the earliest convenience.
The system must be reset after the engine
air filter is changed.
If the DIC displays a message to check the
engine air filter system, see your dealer.
How to Reset the Engine Air Filter Life
System
To reset:
1. Place the vehicle in P (Park).
2. Display the Air Filter Life on the DIC. See Driver Information Center (DIC) (Base
Level) 0126 or
Driver Information Center (DIC) (Uplevel)
0 127.
3. Press
Ton the steering wheel, or press
the trip odometer reset stem if the
vehicle does not have DIC controls, to
move to the Reset/Disable display area. Select Reset then press the thumbwheel
or press the reset stem for several
seconds.
4. Press the thumbwheel or the reset stem to confirm the reset.
Engine Air Cleaner/Filter
The engine air cleaner/filter is on the driver
side of the engine compartment. See Engine
Compartment Overview 0335.
When to Inspect the Engine Air Cleaner/
Filter
If the vehicle is not equipped with the
engine air filter life system see Maintenance
Schedule 0417 for intervals on inspecting
and replacing the engine air cleaner filter.
How to Inspect/Replace the Engine Air
Cleaner/Filter
Do not start or run the engine with the
engine air cleaner/filter housing open.
Before removing the engine air cleaner/
filter, clear any dirt and debris away from
the engine air cleaner/filter housing and
nearby components. Remove the engine air
cleaner/filter. Lightly tap and shake the
engine air cleaner/filter (away from the
vehicle), to release loose dust and dirt.
Page 344 of 463
Chevrolet Silverado 1500 Owner Manual (GMNA-Localizing-U.S./Canada/
Mexico/Paraguay-16515119) - 2023 - CRC - 6/2/22
Vehicle Care 343
Cooling System
If the vehicle has the Duramax diesel
engine, see the Duramax diesel supplement.
The cooling system allows the engine to
maintain the correct working temperature.
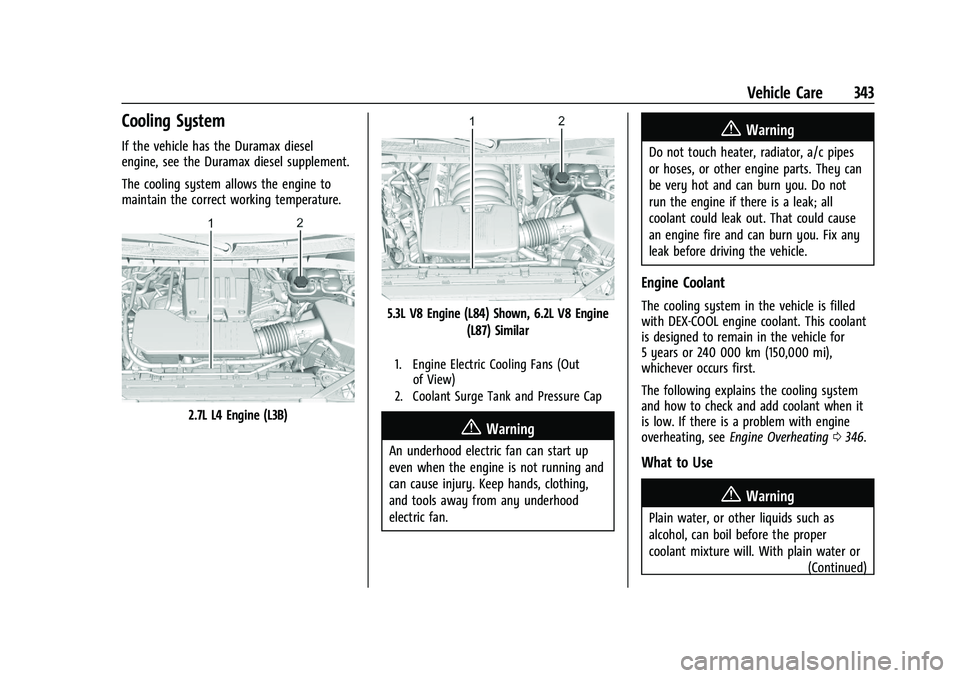
2.7L L4 Engine (L3B)
5.3L V8 Engine (L84) Shown, 6.2L V8 Engine(L87) Similar
1. Engine Electric Cooling Fans (Outof View)
2. Coolant Surge Tank and Pressure Cap
{Warning
An underhood electric fan can start up
even when the engine is not running and
can cause injury. Keep hands, clothing,
and tools away from any underhood
electric fan.
{Warning
Do not touch heater, radiator, a/c pipes
or hoses, or other engine parts. They can
be very hot and can burn you. Do not
run the engine if there is a leak; all
coolant could leak out. That could cause
an engine fire and can burn you. Fix any
leak before driving the vehicle.
Engine Coolant
The cooling system in the vehicle is filled
with DEX-COOL engine coolant. This coolant
is designed to remain in the vehicle for
5 years or 240 000 km (150,000 mi),
whichever occurs first.
The following explains the cooling system
and how to check and add coolant when it
is low. If there is a problem with engine
overheating, see Engine Overheating 0346.
What to Use
{Warning
Plain water, or other liquids such as
alcohol, can boil before the proper
coolant mixture will. With plain water or
(Continued)
Page 345 of 463
Chevrolet Silverado 1500 Owner Manual (GMNA-Localizing-U.S./Canada/
Mexico/Paraguay-16515119) - 2023 - CRC - 6/2/22
344 Vehicle Care
Warning (Continued)
the wrong mixture, the engine could get
too hot but there would not be an
overheat warning. The engine could catch
fire and you or others could be burned.
Use a 50/50 mixture of clean, drinkable
water and DEX-COOL coolant. This mixture:
.Gives freezing protection down to −37 °C
(−34 °F), outside temperature.
.Gives boiling protection up to 129 °C
(265 °F), engine temperature.
.Protects against rust and corrosion.
.Will not damage aluminum parts.
.Helps keep the proper engine
temperature.
Caution
Do not use anything other than a mix of
DEX-COOL coolant that meets GM
Standard GMW3420 and clean, drinkable
water. Anything else can cause damage
to the engine cooling system and the
vehicle, which would not be covered by
the vehicle warranty. Never dispose of engine coolant by putting
it in the trash, or by pouring it on the
ground, or into sewers, streams, or bodies of
water. Have the coolant changed by an
authorized service center, familiar with legal
requirements regarding used coolant
disposal. This will help protect the
environment and your health.
Checking Coolant
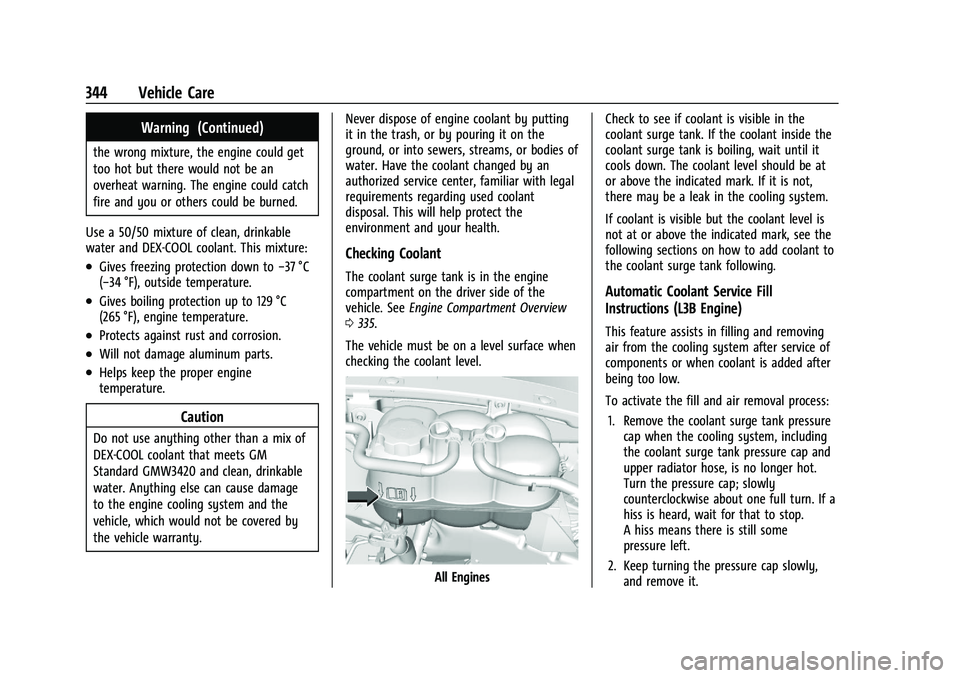
The coolant surge tank is in the engine
compartment on the driver side of the
vehicle. See
Engine Compartment Overview
0 335.
The vehicle must be on a level surface when
checking the coolant level.
All Engines Check to see if coolant is visible in the
coolant surge tank. If the coolant inside the
coolant surge tank is boiling, wait until it
cools down. The coolant level should be at
or above the indicated mark. If it is not,
there may be a leak in the cooling system.
If coolant is visible but the coolant level is
not at or above the indicated mark, see the
following sections on how to add coolant to
the coolant surge tank following.
Automatic Coolant Service Fill
Instructions (L3B Engine)
This feature assists in filling and removing
air from the cooling system after service of
components or when coolant is added after
being too low.
To activate the fill and air removal process:
1. Remove the coolant surge tank pressure cap when the cooling system, including
the coolant surge tank pressure cap and
upper radiator hose, is no longer hot.
Turn the pressure cap; slowly
counterclockwise about one full turn. If a
hiss is heard, wait for that to stop.
A hiss means there is still some
pressure left.
2. Keep turning the pressure cap slowly, and remove it.
Page 346 of 463
Chevrolet Silverado 1500 Owner Manual (GMNA-Localizing-U.S./Canada/
Mexico/Paraguay-16515119) - 2023 - CRC - 6/2/22
Vehicle Care 345
3. Fill the coolant surge tank with theproper mixture to the indicated mark.
4. Connect the vehicle to a battery charger.
5. Set the ignition to service mode, see Ignition Positions 0211.
6. Turn off the air conditioning.
7. Set the parking brake.
8. At the same time, press the accelerator and the brake for automatic vehicles for
two seconds, then release.
9. Listen for pump activation and movement of the control valves while
watching the level of the coolant in the
surge tank. Add fluid as the level drops
below the indicated mark on the surge
tank. Allow 15 minutes for the fill and air
removal process to complete.
10. Reinstall the surge tank cap.
If the tank empties, turn the ignition off,
allow the Electronic Control Module (ECM) to
go to sleep, about two minutes, refill to the
indicated mark, and repeat Steps 5–9.How to Add Coolant to the Coolant
Surge Tank for Gasoline Engines
Except L3B
If the vehicle has a diesel engine, see
“Cooling System” in the Duramax diesel
supplement for the proper coolant fill
procedure.
{Warning
Spilling coolant on hot engine parts can
burn you. Coolant contains ethylene
glycol and it will burn if the engine parts
are hot enough.
{Warning
Plain water, or other liquids such as
alcohol, can boil before the proper
coolant mixture will. With plain water or
the wrong mixture, the engine could get
too hot but there would not be an
overheat warning. The engine could catch
fire and you or others could be burned.
{Warning
Steam and scalding liquids from a hot
cooling system are under pressure.
Turning the pressure cap, even a little,
can cause them to come out at high
speed and you could be burned. Never
turn the cap when the cooling system,
including the pressure cap, is hot. Wait
for the cooling system and pressure cap
to cool.
Caution
Failure to follow the specific coolant fill
procedure could cause the engine to
overheat and could cause system
damage. If coolant is not visible in the
surge tank, contact your dealer.
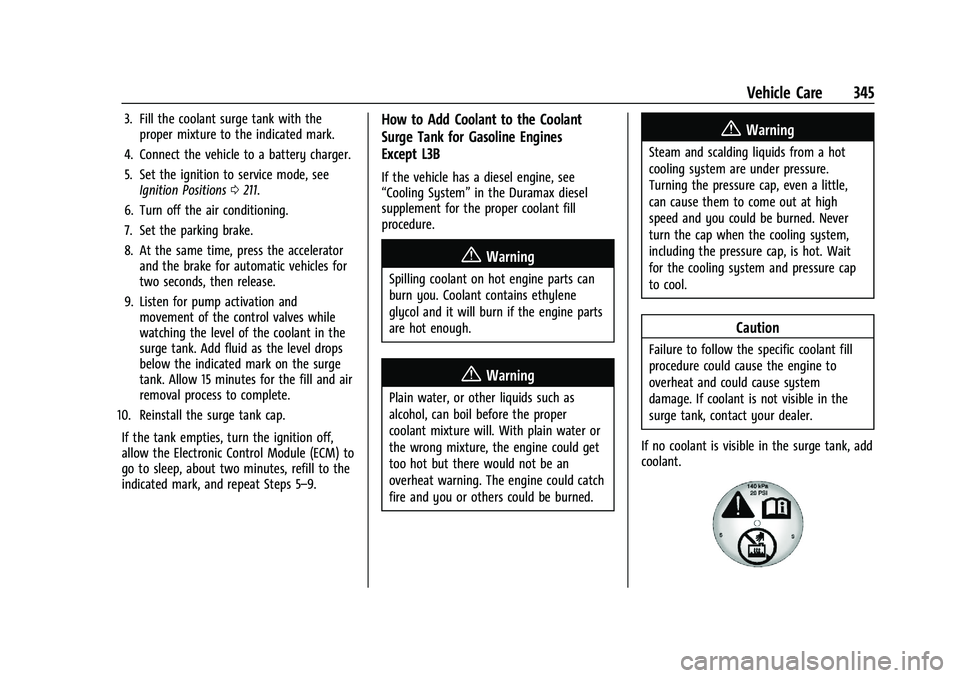
If no coolant is visible in the surge tank, add
coolant.
Page 349 of 463
Chevrolet Silverado 1500 Owner Manual (GMNA-Localizing-U.S./Canada/
Mexico/Paraguay-16515119) - 2023 - CRC - 6/2/22
348 Vehicle Care
If the engine or transmission detects an
impending hot fluid condition, then the
transmission may force upshifts to limit
temperatures. Downshifts may also be
prevented in this instance. Normal operation
may continue unless the display indicates
there is a hot condition and engine should
be idled.
Caution
After driving in the overheated engine
protection operating mode, the engine oil
will be severely degraded. Any repairs
performed before the engine is cool may
cause engine damage. Allow the engine
to cool before attempting any repair.
Repair the cause of coolant loss, change
the oil, and reset the oil life system. See
Engine Oil0338.
Engine Fan
If the vehicle has the Duramax diesel
engine, see the Duramax diesel supplement.
The vehicle has electric cooling fan(s). The
fans may be heard spinning at low speed
during most everyday driving. The fans may
turn off if no cooling is required. Under
heavy vehicle loading, trailer towing, high outside temperatures, or operation of the air
conditioning system, the fans may change
to high speed and an increase in fan noise
may be heard. This is normal and indicates
that the cooling system is functioning
properly. The fans will change to low speed
when additional cooling is no longer
required.
The electric engine cooling fans may run
after the engine has been turned off. This is
normal and no service is required.
Washer Fluid
What to Use
When windshield washer fluid needs to be
added, be sure to read the manufacturer's
instructions before use. Use a fluid that has
sufficient protection against freezing in an
area where the temperature may fall below
freezing.
Adding Washer Fluid
The vehicle has a low washer fluid message
on the DIC that comes on when the washer
fluid is low. The message is displayed for
15 seconds at the start of each ignition cycle.
When the WASHER FLUID LOW ADD FLUID
message displays, washer fluid will need to
be added to the windshield washer fluid
reservoir.
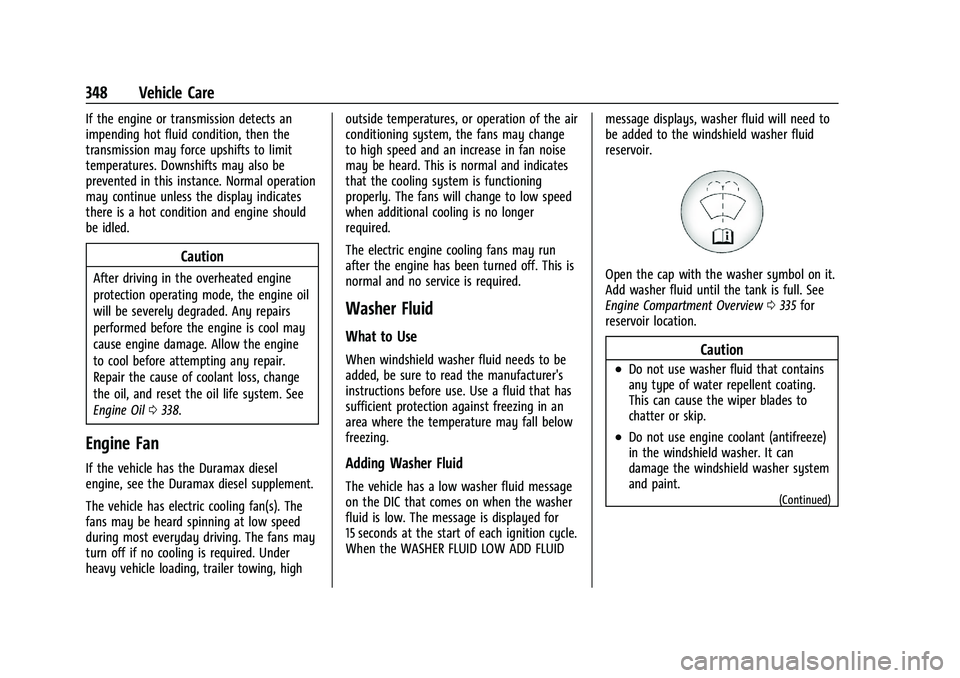
Open the cap with the washer symbol on it.
Add washer fluid until the tank is full. See
Engine Compartment Overview
0335 for
reservoir location.
Caution
.Do not use washer fluid that contains
any type of water repellent coating.
This can cause the wiper blades to
chatter or skip.
.Do not use engine coolant (antifreeze)
in the windshield washer. It can
damage the windshield washer system
and paint.
(Continued)
Page 365 of 463

Chevrolet Silverado 1500 Owner Manual (GMNA-Localizing-U.S./Canada/
Mexico/Paraguay-16515119) - 2023 - CRC - 6/2/22
364 Vehicle Care
FusesUsage
25 EBCM –Electronic Brake
Control Module
26 –
27 Horn
28 Park Lamp Mirror/Grill
29 –
30 Exterior Lighting Module 3
31 Exterior Lighting Module 1
32 –
33 NOT R/C
34 Radars 37 MISC IP Headline Ignition
38 Seat Fan Ignition
39 –
40 MISC Body Ignition 41 Trailer Parking Lamp
42 – Fuses
Usage
44 Trailer Integration Module/DEFC/ICCM
Ignition
45 Secondary Axle Motor
46 Engine Control Module/ Transmission Control
Module/Integrated
Chassis Control Ignition
47 –
48 –
49 Transmission Auxiliary Oil Pump
50 A/C Clutch 51 Transfer Case Control Module
52 Front Wiper
53 Center High-Mounted Stoplamp
54 –
55 Trailer Back-up Lamp
56 SADS –Semi Active
Damping System Fuses
Usage
57 TTPM/SBZA –Side Blind
Zone Alert
58 Starter Motor
60 PWR/TRN Sensors 2 61 –
62 DEFC Battery 1/Canister Vent Solenoid
63 Trailer Brake Control Module
65 –
66 Cooling Fan Motor Left 67 –
68 DEFC Battery 2
69 Starter Pinion 71 Cooling Fan
72 Cooling Fan Right/Lower
73 Trailer Stop/Turn Lamp Left
74 Trailer Interface Module 2
75 Integrated Chassis Control Module
Page 395 of 463
Chevrolet Silverado 1500 Owner Manual (GMNA-Localizing-U.S./Canada/
Mexico/Paraguay-16515119) - 2023 - CRC - 6/2/22
394 Vehicle Care
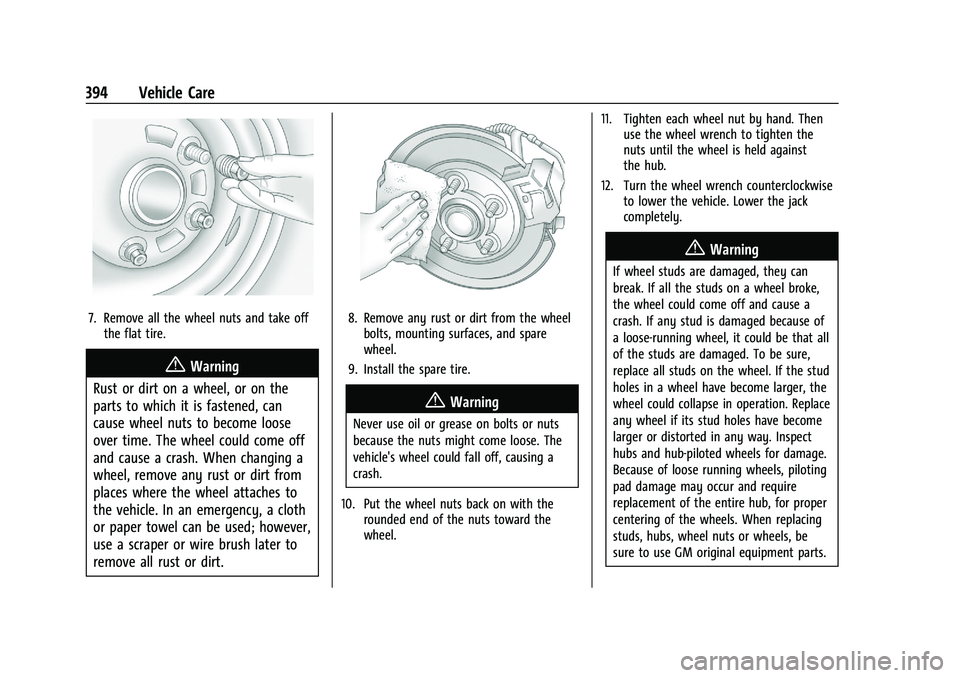
7. Remove all the wheel nuts and take offthe flat tire.
{Warning
Rust or dirt on a wheel, or on the
parts to which it is fastened, can
cause wheel nuts to become loose
over time. The wheel could come off
and cause a crash. When changing a
wheel, remove any rust or dirt from
places where the wheel attaches to
the vehicle. In an emergency, a cloth
or paper towel can be used; however,
use a scraper or wire brush later to
remove all rust or dirt.
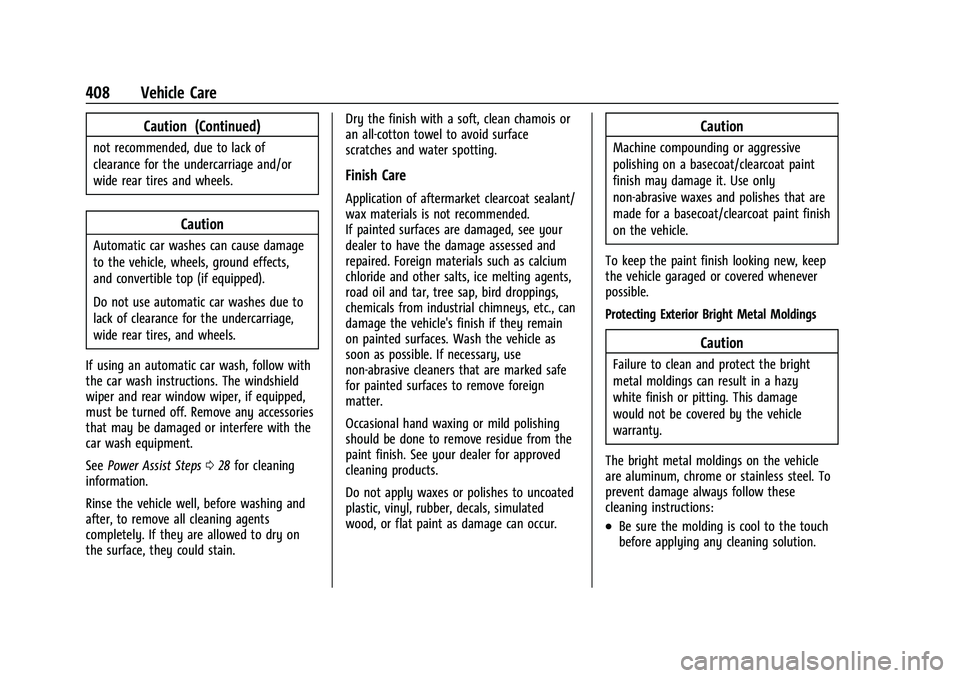
8. Remove any rust or dirt from the wheel bolts, mounting surfaces, and spare
wheel.
9. Install the spare tire.
{Warning
Never use oil or grease on bolts or nuts
because the nuts might come loose. The
vehicle's wheel could fall off, causing a
crash.
10. Put the wheel nuts back on with the rounded end of the nuts toward the
wheel. 11. Tighten each wheel nut by hand. Then
use the wheel wrench to tighten the
nuts until the wheel is held against
the hub.
12. Turn the wheel wrench counterclockwise to lower the vehicle. Lower the jack
completely.
{Warning
If wheel studs are damaged, they can
break. If all the studs on a wheel broke,
the wheel could come off and cause a
crash. If any stud is damaged because of
a loose-running wheel, it could be that all
of the studs are damaged. To be sure,
replace all studs on the wheel. If the stud
holes in a wheel have become larger, the
wheel could collapse in operation. Replace
any wheel if its stud holes have become
larger or distorted in any way. Inspect
hubs and hub‐piloted wheels for damage.
Because of loose running wheels, piloting
pad damage may occur and require
replacement of the entire hub, for proper
centering of the wheels. When replacing
studs, hubs, wheel nuts or wheels, be
sure to use GM original equipment parts.
Page 409 of 463
Chevrolet Silverado 1500 Owner Manual (GMNA-Localizing-U.S./Canada/
Mexico/Paraguay-16515119) - 2023 - CRC - 6/2/22
408 Vehicle Care
Caution (Continued)
not recommended, due to lack of
clearance for the undercarriage and/or
wide rear tires and wheels.
Caution
Automatic car washes can cause damage
to the vehicle, wheels, ground effects,
and convertible top (if equipped).
Do not use automatic car washes due to
lack of clearance for the undercarriage,
wide rear tires, and wheels.
If using an automatic car wash, follow with
the car wash instructions. The windshield
wiper and rear window wiper, if equipped,
must be turned off. Remove any accessories
that may be damaged or interfere with the
car wash equipment.
See Power Assist Steps 028 for cleaning
information.
Rinse the vehicle well, before washing and
after, to remove all cleaning agents
completely. If they are allowed to dry on
the surface, they could stain. Dry the finish with a soft, clean chamois or
an all-cotton towel to avoid surface
scratches and water spotting.
Finish Care
Application of aftermarket clearcoat sealant/
wax materials is not recommended.
If painted surfaces are damaged, see your
dealer to have the damage assessed and
repaired. Foreign materials such as calcium
chloride and other salts, ice melting agents,
road oil and tar, tree sap, bird droppings,
chemicals from industrial chimneys, etc., can
damage the vehicle's finish if they remain
on painted surfaces. Wash the vehicle as
soon as possible. If necessary, use
non-abrasive cleaners that are marked safe
for painted surfaces to remove foreign
matter.
Occasional hand waxing or mild polishing
should be done to remove residue from the
paint finish. See your dealer for approved
cleaning products.
Do not apply waxes or polishes to uncoated
plastic, vinyl, rubber, decals, simulated
wood, or flat paint as damage can occur.
Caution
Machine compounding or aggressive
polishing on a basecoat/clearcoat paint
finish may damage it. Use only
non-abrasive waxes and polishes that are
made for a basecoat/clearcoat paint finish
on the vehicle.
To keep the paint finish looking new, keep
the vehicle garaged or covered whenever
possible.
Protecting Exterior Bright Metal Moldings
Caution
Failure to clean and protect the bright
metal moldings can result in a hazy
white finish or pitting. This damage
would not be covered by the vehicle
warranty.
The bright metal moldings on the vehicle
are aluminum, chrome or stainless steel. To
prevent damage always follow these
cleaning instructions:
.Be sure the molding is cool to the touch
before applying any cleaning solution.