2022 TOYOTA PROACE CITY VERSO instrument panel
[x] Cancel search: instrument panelPage 237 of 320
237
In the event of a breakdown
8
consumption of all of the additional equipment connected exceeds 10 milliamperes.
12 V battery / Accessory
battery
Procedure for starting the engine using another battery or charging a discharged battery.
Lead-acid starter batteries
ECO
Batteries contain harmful substances such as sulphuric acid and lead.They must be disposed of in accordance with regulations and must not, in any circumstances, be discarded with household waste.Take used remote control batteries and vehicle batteries to a special collection point.
WARNI NG
Protect your eyes and face before handling the battery.All operations on the battery must be carried out in a well ventilated area and away from
naked flames and sources of sparks, so as to avoid the risk of explosion or fire.Wash your hands afterwards.
Electric motor
NOTIC E
Flat accessory batteryIt is no longer possible to start the motor or recharge the traction battery.
WARNI NG
Precautions before working on the accessory batterySelect mode P, switch off the ignition, check that the instrument panel is off and that the vehicle is not plugged in.
WARNI NG
Jump-starting another vehicleDo not use the accessory battery to jump-start another vehicle or to charge another vehicle's battery.
Symbols
No sparks or naked flames, no smoking.
Always protect your eyes. Explosive gases can cause blindness and injury.Keep the vehicle's battery out of the reach of children.
The vehicle's battery contains sulphuric acid which can make you go blind or cause severe burns.For more information, refer to the handbook.Explosive gases can be present close to the battery.
Access to the battery
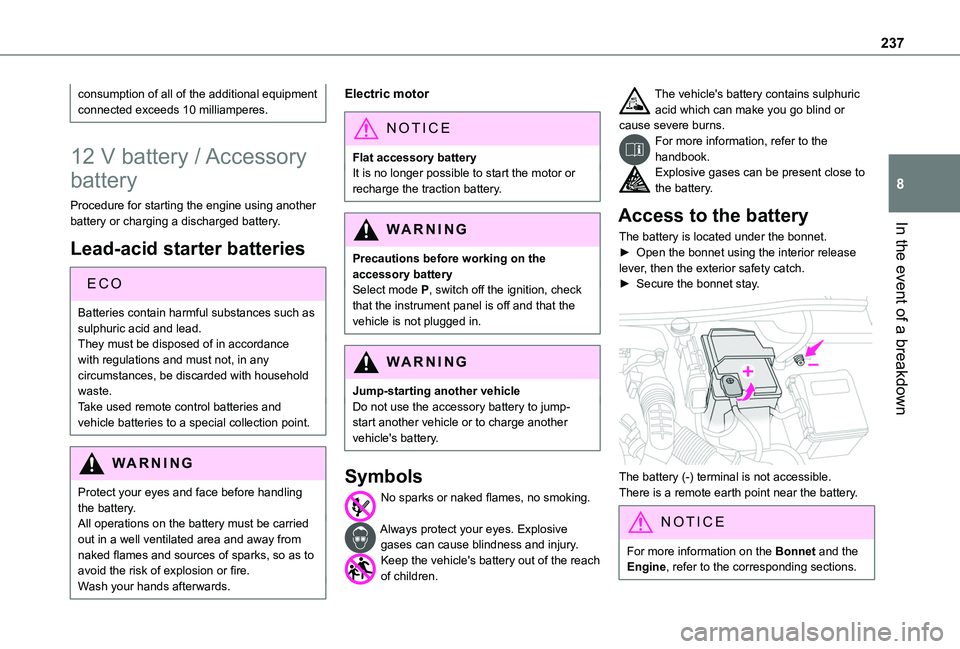
The battery is located under the bonnet.► Open the bonnet using the interior release lever, then the exterior safety catch.► Secure the bonnet stay.
The battery (-) terminal is not accessible.There is a remote earth point near the battery.
NOTIC E
For more information on the Bonnet and the Engine, refer to the corresponding sections.
Page 262 of 320
262
Deleting a telephone
Press the "Bluetooth" button.
Press "Manage connections".In the displayed window select "Delete".The list of paired devices is displayed.Press on the name of the telephone to delete.
Receiving a call
An incoming call is announced by a ring and a superimposed display in the screen.To accept the call:Make a short press on the steering mounted TEL button.To reject the call:Make a long press
on the steering mounted TEL button.
OrPress "End call" on the touch screen.
Making a call
WARNI NG
Using the telephone is not recommended while driving.Parking the vehicle.Make the call using the steering mounted controls.
Calling a new number
Press "Telephone".
Press the "Keypad" button.
Enter the phone number using the digital keypad.Press "OK" to start the call.
Calling a contact
Press the "Telephone" menu.
Or make a long press
on the steering mounted TEL button.
Press "Contacts".Select the desired contact from the list offered.
Calling a recently used number
Press "Telephone".
Press "Calls".OrMake a long press
on the steering mounted TEL button.
Select the desired contact from the list offered.
NOTIC E
A call in progress remains active in the vehicle for 10 minutes after switching off the ignition. After that, the system switches off and the call automatically redirects to the telephone.
NOTIC E
It is always possible to make a call directly from the telephone; as a safety measure, first park the vehicle.
Settings
Adjusting the brightness
Press "Settings".
Select "Display".Press the buttons to adjust the brightness of the screen and/or of the instrument panel (depending on version).
Modifying system settings
Press "Settings".
Press "System".Press "Privacy" to access the privacy settings.
Page 265 of 320
265
TOYOTA Connect Radio
11
TOYOTA Connect Radio
Multimedia audio system -
Applications - Bluetooth®
telephone
NOTIC E
The functions and settings described vary
according to the vehicle version and configuration, as well as the country of sale.
WARNI NG
For safety reasons and because they require sustained attention by the driver, the following operations must be carried out with the vehicle stationary and the ignition on:– Pairing the smartphone with the system via Bluetooth.– Using the smartphone.– Connecting to the CarPlay® or Android Auto applications (certain applications stop displaying when the vehicle is moving).– Changing the system settings and configuration.
NOTIC E
The system is protected so that it only operates in the vehicle.The message Energy economy mode is displayed when the system is about to go into standby.
First steps
With the engine running, a press mutes the sound.With the ignition off, a press turns the system on.Increase or decrease the volume using the wheel or the "plus" or "minus" buttons (depending on the equipment).Use the buttons on either side of or below the touch screen to access the menus, then press the virtual buttons on the touch screen.Depending on the model, use the "Source" and "Menu" buttons on the left of the touch screen to access the menus, then press the virtual buttons
on the touch screen.At all times it is possible to display the rolling menus by pressing the screen briefly with three fingers.All touch-sensitive areas on the screen are white.On pages with multiple tabs at the bottom of the screen, you can switch between pages either by tapping the tab for the desired page or by
swiping the pages to the left or right with your finger.Press in the shaded area to go back up a level or confirm.Press the back arrow to go back a level or confirm.
WARNI NG
The touch screen is of the "capacitive" type.
To clean the screen, use a soft, non-abrasive cloth (e.g. spectacles cloth) with no additional product.Do not use sharp objects on the screen.Do not touch the screen with wet hands.
Certain information is displayed permanently in the upper bar of the touch screen:– Air conditioning status information (depending on version), and direct access to the corresponding menu.– Radio Media and Telephone menu status information.– Privacy status information.– Access to the touch screen and digital instrument panel settings.Audio source selection (depending on equipment):– FM/DAB/AM radio stations (depending on equipment).– Telephone connected via Bluetooth and Bluetooth multimedia broadcast (streaming).– USB Memory stick.
Page 275 of 320
275
TOYOTA Connect Radio
11
on the steering mounted PHONE button to reject the call.OrPress "End call".
Making a call
WARNI NG
Using the telephone is not recommended while driving.Parking the vehicle.Make the call using the steering mounted controls.
Calling a new number
Press Telephone to display the main page. Enter the phone number using the digital keypad.Press "Call" to start the call.
Calling a contact
Press Telephone to display the main page. Or press and hold
the steering mounted PHONE button.
Press "Contacts".
Select the desired contact from the displayed list.Press "Call".
Calling a recently used
number
Press Telephone to display the main page.OrPress and hold
the steering mounted button.
Press "Recent calls".Select the desired contact from the displayed list.
NOTIC E
It is always possible to make a call directly from the telephone; as a safety measure, first park the vehicle.
Setting the ringtone
Press Telephone to display the main page. Press the "OPTIONS" button to access the secondary page.Press "Ring volume" to display the volume bar.Press the arrows or move the slider to set the ring volume.
Settings
Configuring profiles
Press Settings to display the main page.
Press "Profiles".
Select "Profile 1", "Profile 2", "Profile 3” or "Common profile".Press this button to enter a name for the profile using the virtual keypad.Press "OK" to save.
Press the back arrow to confirm.
Press this button to activate the profile.
Press the back arrow again to confirm.
Press this button to reset the selected profile.
Adjusting the brightness
Press Settings to display the main page.
Press Brightness.
Move the slider to adjust the brightness of the screen and/or the instrument panel (depending on version).Press in the shaded area to confirm.
Page 276 of 320
276
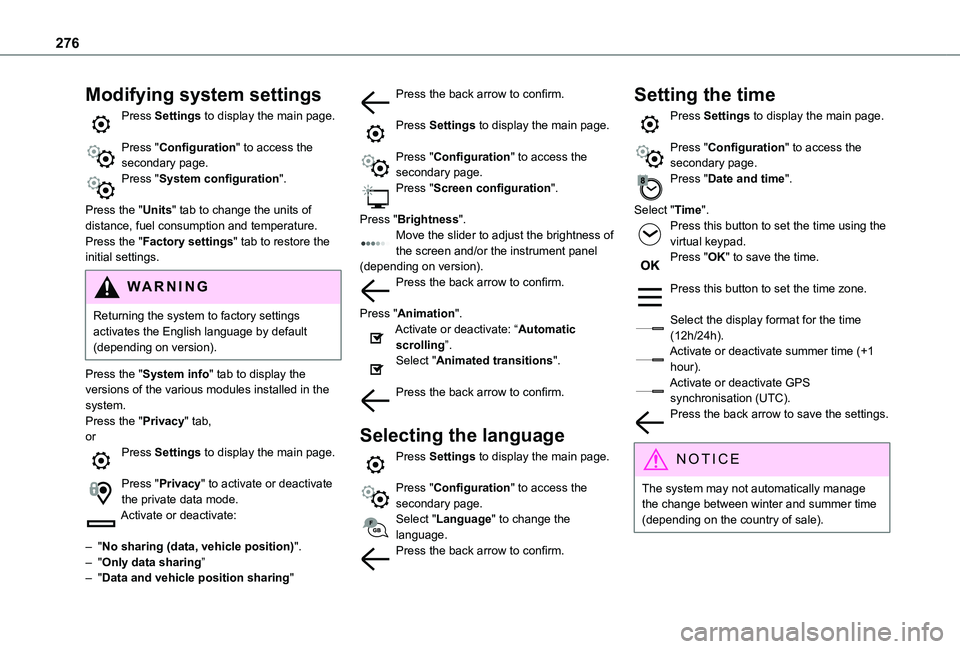
Modifying system settings
Press Settings to display the main page.
Press "Configuration" to access the secondary page.Press "System configuration".
Press the "Units" tab to change the units of distance, fuel consumption and temperature.Press the "Factory settings" tab to restore the initial settings.
WARNI NG
Returning the system to factory settings activates the English language by default (depending on version).
Press the "System info" tab to display the versions of the various modules installed in the system.Press the "Privacy" tab,orPress Settings to display the main page.
Press "Privacy" to activate or deactivate the private data mode.Activate or deactivate:
– "No sharing (data, vehicle position)".– "Only data sharing”– "Data and vehicle position sharing"
Press the back arrow to confirm.
Press Settings to display the main page.
Press "Configuration" to access the secondary page.Press "Screen configuration".
Press "Brightness".Move the slider to adjust the brightness of the screen and/or the instrument panel (depending on version).Press the back arrow to confirm.
Press "Animation".Activate or deactivate: “Automatic scrolling”.Select "Animated transitions".
Press the back arrow to confirm.
Selecting the language
Press Settings to display the main page.
Press "Configuration" to access the secondary page.Select "Language" to change the language.Press the back arrow to confirm.
Setting the time
Press Settings to display the main page.
Press "Configuration" to access the secondary page.Press "Date and time".
Select "Time".Press this button to set the time using the virtual keypad.Press "OK" to save the time.
Press this button to set the time zone.
Select the display format for the time (12h/24h).Activate or deactivate summer time (+1 hour).Activate or deactivate GPS synchronisation (UTC).Press the back arrow to save the settings.
NOTIC E
The system may not automatically manage the change between winter and summer time (depending on the country of sale).
Page 279 of 320
279
TOYOTA Connect Nav
12
TOYOTA Connect Nav
GPS navigation -
Applications - Multimedia
audio system - Bluetooth®
telephone
NOTIC E
The functions and settings described vary according to the vehicle version and configuration, as well as the country of sale.
WARNI NG
For safety reasons and because they require sustained attention by the driver, the following operations must be carried out with the vehicle stationary and the ignition on:– Pairing the smartphone with the system via Bluetooth.– Using the smartphone.– Connecting to the CarPlay® or Android Auto applications (certain applications stop displaying when the vehicle is moving).– Watching a video (the video stops when the vehicle starts to move again).
– Changing the system settings and configuration.
NOTIC E
The system is protected so that it only operates in the vehicle.The message Energy economy mode is displayed when the system is about to go into standby.
NOTIC E
System and map updates can be downloaded from the Brand's website.The update procedure is also available there.
First steps
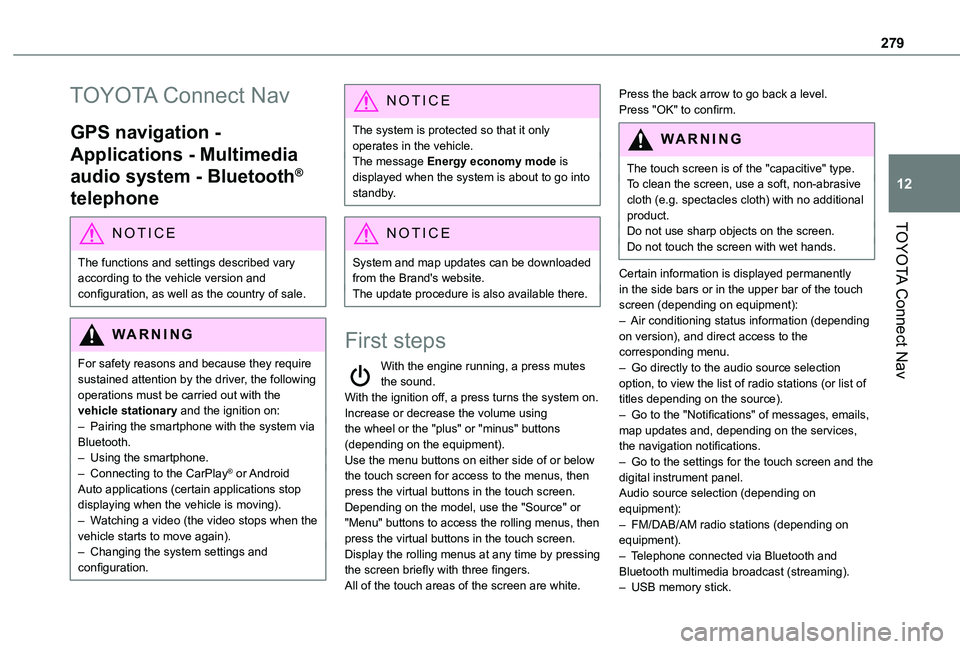
With the engine running, a press mutes the sound.With the ignition off, a press turns the system on.Increase or decrease the volume using the wheel or the "plus" or "minus" buttons (depending on the equipment).Use the menu buttons on either side of or below the touch screen for access to the menus, then press the virtual buttons in the touch screen.Depending on the model, use the "Source" or "Menu" buttons to access the rolling menus, then press the virtual buttons in the touch screen.Display the rolling menus at any time by pressing the screen briefly with three fingers.All of the touch areas of the screen are white.
Press the back arrow to go back a level.Press "OK" to confirm.
WARNI NG
The touch screen is of the "capacitive" type.To clean the screen, use a soft, non-abrasive cloth (e.g. spectacles cloth) with no additional product.Do not use sharp objects on the screen.
Do not touch the screen with wet hands.
Certain information is displayed permanently in the side bars or in the upper bar of the touch screen (depending on equipment):– Air conditioning status information (depending on version), and direct access to the corresponding menu.– Go directly to the audio source selection option, to view the list of radio stations (or list of titles depending on the source).– Go to the "Notifications" of messages, emails, map updates and, depending on the services, the navigation notifications.– Go to the settings for the touch screen and the digital instrument panel.Audio source selection (depending on equipment):– FM/DAB/AM radio stations (depending on equipment).– Telephone connected via Bluetooth and Bluetooth multimedia broadcast (streaming).– USB memory stick.
Page 301 of 320
301
TOYOTA Connect Nav
12
The "Position” settings (All passengers, Driver and Front only) are common to all sources.Activate or deactivate "Touch tones", "Volume linked to speed" and "Auxiliary input".
NOTIC E
Onboard audio: Arkamys Sound Staging©
optimises the sound distribution inside the passenger compartment.
Configuring profiles
Press Settings to display the main page.
Press the "OPTIONS" button to access the secondary page.Select "Setting of the profiles".
Select "Profile 1", "Profile 2", "Profile 3” or "Common profile".Press this button to enter a name for the profile using the virtual keypad.Press "OK" to confirm.
Press this button to add a photograph to the profile.Insert a USB memory stick containing the photograph in the USB port.Select the photograph.
Press "OK" to accept the transfer of the photograph.Press "OK" again to save the settings.
NOTIC E
The location for the photograph is square; the system reshapes the original photograph if in another format.
Press this button to reset the selected profile.
WARNI NG
Resetting the selected profile activates the English language by default.
Select a "Profile" (1 or 2 or 3) to link "Audio settings" with it.Select "Audio settings".
Then select "Ambience", "Position"; "Sound", "Voice" or "Ringtone".Press "OK" to save the selected profile’s settings.
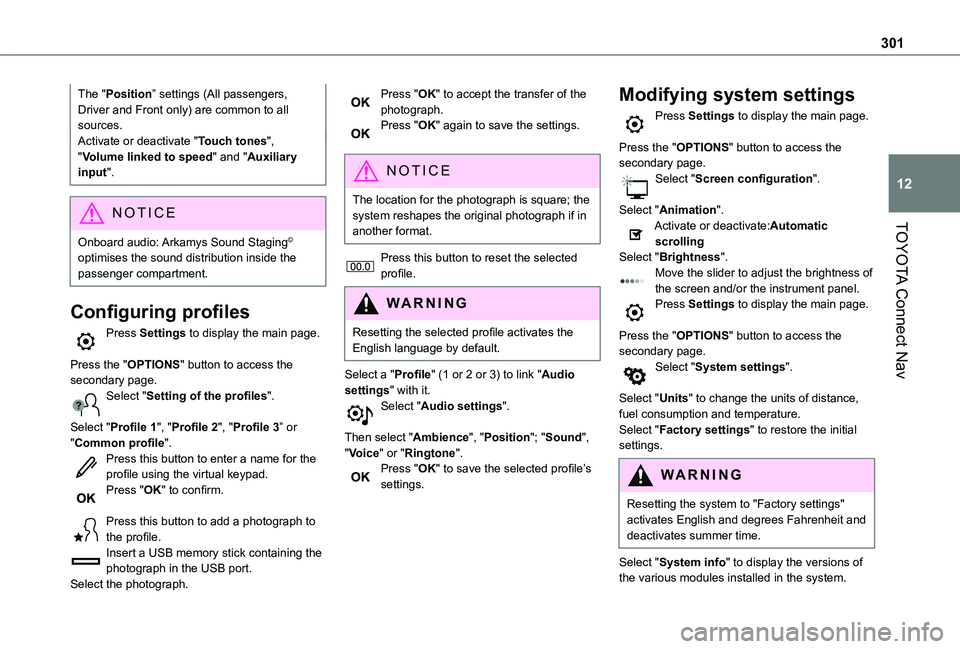
Modifying system settings
Press Settings to display the main page.
Press the "OPTIONS" button to access the secondary page.Select "Screen configuration".
Select "Animation".Activate or deactivate:Automatic scrollingSelect "Brightness".Move the slider to adjust the brightness of the screen and/or the instrument panel.Press Settings to display the main page.
Press the "OPTIONS" button to access the secondary page.Select "System settings".
Select "Units" to change the units of distance, fuel consumption and temperature.Select "Factory settings" to restore the initial
settings.
WARNI NG
Resetting the system to "Factory settings" activates English and degrees Fahrenheit and deactivates summer time.
Select "System info" to display the versions of the various modules installed in the system.
Page 309 of 320
309
Alphabetical index
Inflating tyres 215, 252Inflating tyres and accessories (using the kit) 223–224Infrared camera 153Instrument panel 8, 10, 154Internet browser 286, 290ISOFIX 124
J
Jack 225, 294Jump starting 236
K
Key 31, 33–35, 37, 39Key, electronic 31, 133Keyless Entry and Starting 32–38, 130, 132–133Key not recognised 133
Key with remote control 37–38Kit, hands-free 259, 271–272, 295–296Kit, puncture repair 221Kit, temporary puncture repair 221, 223–225
L
Labels 6, 61Labels, identification 252
Lamps, parking 91Lamps, rear 233Lane departure warning active 171LEDs - Light-emitting diodes 92, 229Level, AdBlue® 213Level, brake fluid 212Level, Diesel additive 213–214Level, engine coolant 18, 212Level, engine oil 2 11Level, headlamp wash 96Levels and checks 210–212Level, screenwash fluid 96, 212Light-emitting diodes - LEDs 92, 229Lighting 90Lighting, exterior 90, 93Lighting, guide-me home 93Lighting, welcome 93Loading 71, 208Load reduction mode 204Load restraint 70Locating your vehicle 32Locking 32–33, 37–38
Locking from the inside 42–43Long load support bar 46Low fuel level 190–192Lumbar 53
M
Mains socket (domestic network) 195Maintenance (advice) 193, 219
Maintenance, routine 18, 154, 213Manoeuvring aids (recommendations) 152Markings, identification 252Mat 63, 154Memorising a speed 167Menu 270Menu, main 28Menus (audio) 254–255, 265–266, 278–279Menu short cuts 28Messages 297Messages, quick 298Mirror, child surveillance 57Mirror, rear view 57Mirrors, door 56, 84, 174Misfuel prevention 192Mobile application 29, 87, 202Motor, electric 132, 2 11, 251Mountings, ISOFIX 122
N
Navigation 284–286Navigation, connected 286–288Net 69–70Net, high load retaining 68Number plate lamps 234
O
Obstacle detection 177