2022 TOYOTA PROACE CITY VERSO EV change time
[x] Cancel search: change timePage 50 of 320
50
Anti-tilt monitoring
The system checks for any change in the attitude of the vehicle.The alarm is triggered if the vehicle is lifted or moved.
NOTIC E
When the vehicle is parked, the alarm will not be triggered if the vehicle is knocked.
Locking the vehicle with full
alarm system
Activation
► Switch off the engine and exit the vehicle.► Lock the vehicle using the remote control or the "Keyless Entry and Starting" system.The monitoring system is active: the red indicator lamp in the button flashes every second and the direction indicators come on for about 2 seconds.
NOTIC E
Following an instruction to lock the vehicle, the exterior perimeter monitoring is activated after 5 seconds and the interior volumetric
and anti-tilt monitoring after 45 seconds.
NOTIC E
If an opening (door, boot or bonnet) is not closed properly, the vehicle is not locked but the exterior perimeter monitoring will be activated after 45 seconds at the same time as the interior volumetric and anti-tilt monitoring.
Deactivation
► Press the unlocking button on the remote control.or► Unlock the vehicle with the Keyless Entry and Starting system.The monitoring system is deactivated: the indicator lamp in the button goes off and the direction indicators flash for about 2 seconds.
NOTIC E
When the vehicle automatically locks itself again (as happens if a door or the boot is not opened within 30 seconds of unlocking), the monitoring system is also reactivated automatically.
Locking the vehicle
with exterior perimeter
monitoring only
Disable volumetric and anti-tilt monitoring to avoid unwanted alarm triggering in certain cases, such as:– Slightly open window or sunroof. – Washing the vehicle.– Changing a wheel.– Towing your vehicle.– Transport on a ship or ferry.
Deactivating the interior volumetric
and anti-tilt monitoring
► Switch off the ignition and within 10 seconds press the alarm button until its red indicator lamp is on fixed.► Get out of the vehicle.► Immediately lock the vehicle using the remote control or the "Keyless Entry and Starting" system.Only the exterior perimeter monitoring is
activated; the red indicator lamp in the button flashes every second.
NOTIC E
To be taken into account, the deactivation must be carried out every time the ignition is switched off.
Page 80 of 320
80
► Position the strap(s) around the head restraint(s) (depending on the position of the partition).► Tighten the strap(s) using the adjustable section in order to correctly retain the items that have been loaded inside the cover.
WARNI NG
Do not place any load in the passenger
compartment outside the protective cover (especially over the cover).
NOTIC E
Regularly check the condition of the protective cover.When signs of wear and tear appear, contact a TOYOTA dealer to have it replaced by a protective cover that meets the specifications and qualities required by TOYOTA and your vehicle.
Heating and Ventilation
Advice
NOTIC E
Using the ventilation and air conditioning system► To ensure that air is distributed evenly,
keep the external air intake grilles at the base of the windscreen, the nozzles, the vents, the air outlets and the air extractor in the boot free from obstructions.► Do not cover the sunshine sensor located on the dashboard; this sensor is used to regulate the automatic air conditioning system.► Operate the air conditioning system for at least 5 to 10 minutes once or twice a month to keep it in perfect working order.► If the system does not produce cold air, switch it off and contact any authorized Toyota retailer or Toyota authorized repairer, or any reliable repairer.When towing the maximum load on a steep gradient in high temperatures, switching off the air conditioning increases the available engine power, enhancing the towing capacity.
WARNI NG
Avoid driving for too long with the ventilation off or with prolonged operation of interior air recirculation. Risk of misting and deterioration of the air quality!
If the interior temperature is very high after the vehicle has stood for a long time in the sunshine, air the passenger compartment for a few moments.Put the air flow control at a setting high enough to quickly change the air in the passenger compartment.
NOTIC E
Condensation created by the air conditioning results in a discharge of water underneath the vehicle. This is perfectly normal.
Page 88 of 320
88
► Then set/save the activation time for each selection.► Press "OK" to confirm.
NOTIC E
You must allow at least 60 minutes between programming operations.
NOTIC E
Depending on the outside temperature, a certain amount of pre-conditioning time is necessary in order to reach the programmed temperature by the stored activation time.This pre-conditioning time lasts up to 45 min. with a Diesel engine and up to 30 min. with a petrol engine.
Long range remote control
(Depending on version.)This enables you to switch the heating in
the passenger compartment on or off from a distance.The remote control has a range of about 1 km (0.6 miles) in open country.
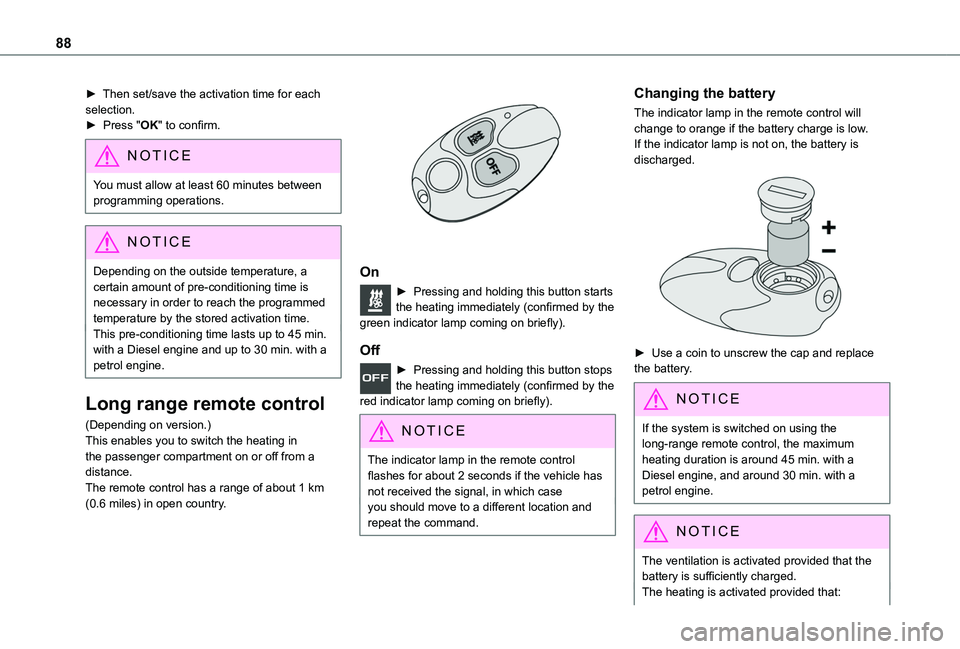
On
► Pressing and holding this button starts the heating immediately (confirmed by the green indicator lamp coming on briefly).
Off
► Pressing and holding this button stops the heating immediately (confirmed by the red indicator lamp coming on briefly).
NOTIC E
The indicator lamp in the remote control flashes for about 2 seconds if the vehicle has not received the signal, in which caseyou should move to a different location and repeat the command.
Changing the battery
The indicator lamp in the remote control will change to orange if the battery charge is low.If the indicator lamp is not on, the battery is discharged.
► Use a coin to unscrew the cap and replace the battery.
NOTIC E
If the system is switched on using the long-range remote control, the maximum
heating duration is around 45 min. with a Diesel engine, and around 30 min. with a petrol engine.
NOTIC E
The ventilation is activated provided that the battery is sufficiently charged. The heating is activated provided that:
Page 96 of 320
96
WARNI NG
MaintenanceClean the windscreen regularly, particularly the area in front of the camera.The internal surface of the windscreen can also become misted around the camera. In humid and cold weather, demist the windscreen regularly.Do not allow snow to accumulate on the bonnet or roof of the vehicle as this could obstruct the camera.
Automatic headlamp
dipping
WARNI NG
For more information, refer to the General recommendations for automatic lighting systems.
Whit the ring of the lighting control lever is in the "AUTO” position and the function activated on the touch screen, this system automatically switches between dipped and main beam headlamps, according to the lighting and traffic conditions, using a camera located at the top of the windscreen.
WARNI NG
This system is a driving aid.The driver remains responsible for the vehicle's lighting, its correct use in the prevailing light, visibility and traffic conditions, and for compliance with driving and vehicle regulations.
NOTIC E
The system becomes operational when the vehicle exceeds 25 km/h (16 mph).When the speed falls below 15 km/h (9 mph), the function is no longer operational.
Activation/Deactivation
The settings are changed via the Driving / Vehicle touch screen menu.
When deactivated, the lighting system changes to "automatic illumination of headlamps" mode.The state of the system is stored when the ignition is switched off.
Operation
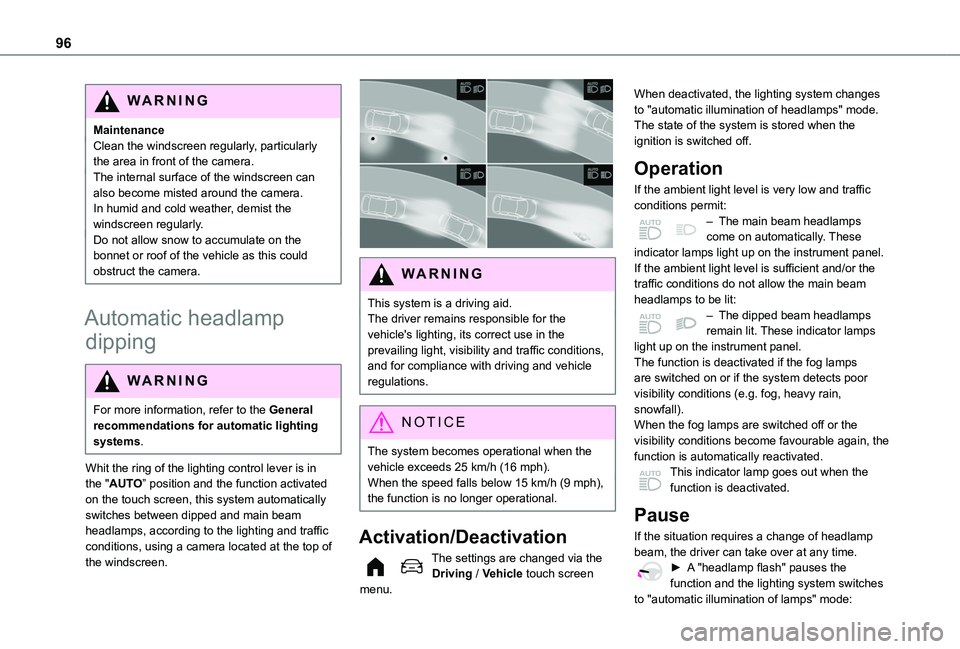
If the ambient light level is very low and traffic conditions permit:– The main beam headlamps come on automatically. These indicator lamps light up on the instrument panel.If the ambient light level is sufficient and/or the traffic conditions do not allow the main beam headlamps to be lit:– The dipped beam headlamps remain lit. These indicator lamps light up on the instrument panel.The function is deactivated if the fog lamps are switched on or if the system detects poor visibility conditions (e.g. fog, heavy rain, snowfall).When the fog lamps are switched off or the visibility conditions become favourable again, the
function is automatically reactivated.This indicator lamp goes out when the function is deactivated.
Pause
If the situation requires a change of headlamp beam, the driver can take over at any time.► A "headlamp flash" pauses the function and the lighting system switches
to "automatic illumination of lamps" mode:
Page 108 of 320
108
All terrain (mud, damp grass, etc.)
This mode, when moving off, allows considerable spin on the wheel with the least grip to optimise clearing of the mud and to regain grip. At the same time, the wheel with the most grip is controlled in such a way as to transmit as much torque as possible.When moving, the system optimises wheel spin to respond to the driver's requirements as fully as possible.(mode active up to 50 km/h (31 mph))
Sand
This mode allows little spin on the two driving wheels at the same time to allow the vehicle to move forward and limit the risks of getting stuck in the sand.(mode active up to 120 km/h (75 mph))
WARNI NG
Do not use the other modes on sand as the vehicle may become stuck.
Deactivation
You can deactivate the ASR and DSC systems by turning the knob to the "OFF" position.
NOTIC E
The ASR and DSC systems will no longer act on the operation of the engine or of the brakes in the event of a change of trajectory.These systems are reactivated automatically from 50 km/h (31 mph) and whenever the ignition is switched on.
WARNI NG
RecommendationsYour vehicle is designed principally to drive on tarmac roads but it allows you to occasionally drive on other less passable terrain.However, it does not permit off-road driving such as:– crossing and driving on terrain which could damage the underbody or strip away components (fuel pipe, fuel cooler, etc.) due to obstacles or stones in particular,– driving on terrain with steep gradients and
poor grip,– crossing a stream.
Hill Assist Descent
Control
Hill Assist Descent Control system for medium to steep slopes, on tarmac or other road surfaces (e.g. gravel, mud).This system reduces the risk of slip or loss of control of the vehicle when descending, whether going forward or in reverse.During a descent, the system assists the driver in maintaining a constant speed, depending on the gear engaged, while progressively releasing the brakes.
NOTIC E
For the system to activate, the gradient must be greater than 5%.The system can be used with the gearbox in neutral.Otherwise, engage a gear corresponding to the speed to prevent the engine stalling.With an automatic gearbox, the system can be used with the selector at N, D or R.
WARNI NG
When the system is regulating, the Active Safety Brake system is automatically
deactivated.
Page 113 of 320
11 3
Safety
5
Unfastened
After the ignition is switched on, warning lamp 1 (depending on version) and the corresponding indicator lamps light up if the driver and/or one or more passengers unfasten their seat belts.At a speed greater than 12 mph (20 km/h), these warning lamps flash, accompanied by an audible signal for approximately two minutes. After this time, these warning lamps remain on as long as the seatbelts are not refastened.
Advice
WARNI NG
The driver must ensure that passengers use the seat belts correctly and that they are all fastened before setting off.Wherever seated in the vehicle, you must always fasten the seat belt, even for short journeys.Do not invert the seat belt buckles, as they will not fulfil their role properly.To ensure the proper functioning of the belt buckles, make sure that there are no foreign bodies present (e.g. a coin) before fastening.Before and after use, ensure that the seat belt is reeled in correctly.After folding or moving a seat or rear bench seat, ensure that the seat belt is positioned and reeled in correctly.
WARNI NG
InstallationThe lower part of the strap must be positioned as low as possible over the pelvis.The upper part must be positioned in the hollow of the shoulder.At the front, adjusting the position of the seat belt may require the seat height to be adjusted.In order to be effective, a seat belt must:– be tightened as close to the body as possible.– be pulled in front of you with a smooth movement, ensuring that it is not twisted.– must only be used to secure one person.– not show signs of tearing or fraying.– not be changed or modified, in order to avoid affecting its performance.
WARNI NG
Recommendations for childrenUse a suitable child seat if the passenger is less than 12 years old or shorter than 1.5 metres (4 ft 11").Never use the same seat belt to secure more than one child.Never carry a child on your lap.For more information on Child seats, refer to the corresponding section.
WARNI NG
MaintenanceIn accordance with current safety regulations, for all work on your vehicle's seat belts, contact a qualified workshop with the skills and equipment needed, which any authorized Toyota retailer or Toyota authorized repairer, or any reliable repairer is able to provide.Have the seat belts checked regularly by any authorized Toyota retailer or Toyota authorized repairer, or any reliable repairer, particularly if the straps show signs of damage.Clean the seat belt straps with soapy water or a textile cleaning product, sold by any authorized Toyota retailer or Toyota authorized repairer, or any reliable repairer.
WARNI NG
In the event of an impact
Depending on the nature and seriousness of impacts, the pyrotechnic pretensioner device may trigger before and independently of airbag deployment. Deployment of the pretensioners is accompanied by a slight discharge of harmless smoke and a noise, due to the activation of the pyrotechnic cartridge incorporated in the system.
Page 142 of 320
142
Moving off
► With your foot on the brake, select position P.► Start the engine.If the conditions are not met, there is an audible signal, accompanied by a message on the instrument panel screen.► Release the parking brake, unless it is set to automatic mode (with electric parking brake).► Select position R, N or D.
WARNI NG
If you are setting off from a steep slope with a loaded vehicle, depress the brake pedal, select position D, release the parking brake, unless it is set to automatic mode (with electric parking brake), then release the brake pedal.
► Gradually release the brake pedal.Or► Accelerate gradually in order to release the electric parking brake (if it is set to automatic mode).The vehicle moves off immediately.
NOTIC E
If P is displayed on the instrument panel but the selector is in another position, place the selector in position P to allow the engine to be started.If position N is selected inadvertently while driving, allow the engine to return to idle, then select position D to accelerate.
WARNI NG
When the engine is running at idle with the brakes released, if position R, D or M is selected, the vehicle moves even without the accelerator being pressed.Never leave children inside the vehicle unsupervised.As a safety measure, never leave the vehicle without taking your key or remote control with you, even for a short time.When carrying out maintenance with the engine running, apply the parking brake and select position P.
WARNI NG
With an automatic gearbox, never try to start
the engine by pushing the vehicle.
Automatic operation
► Select position D for automatic changing of the gears.The gearbox then operates in auto-adaptive mode, without any intervention on the part of the driver. It continuously selects the most suitable gear according to the driving style, the road profile and the load in the vehicle.► For maximum acceleration without touching the selector, fully depress the accelerator pedal (kick-down).The gearbox changes down automatically or holds the gear selected until the maximum engine speed is reached.When braking, the gearbox changes down automatically to provide effective engine braking.If you release the accelerator sharply, the gearbox will not shift to a higher gear for safety reasons.
WARNI NG
Never select position N while the vehicle is moving.Never select positions P or R unless the vehicle is completely stationary.
Page 143 of 320
143
Driving
6
Temporary manual control
of gear changes
You can temporarily assume control of gear changing using the "+" et "-” steering-mounted controls. The gear change request will be executed if the engine speed permits. This function allows you to anticipate certain situations, such as overtaking another vehicle or approaching a bend in the road. After a few seconds with no inputs via the control paddles, the gearbox reverts to automatic operation.
Creeping (moving without
using the accelerator)
This function facilitates manoeuvring of the vehicle at low speed (when parking, in traffic jams, etc.).When the engine is at idle, with the parking brake released and gear position D, M or R selected, the vehicle begins to creep forward as soon as you take your foot off the brake pedal
(even without pressing the accelerator).
WARNI NG
As a safety precaution, never leave the vehicle with the engine running and the doors closed.
Manual operation
► With the selector in position D, press button M to enable 6-speed sequential gear changing.The indicator lamp for the button comes on.► Operate the "+" or "-" steering mounted controls. M appears and the engaged gears are shown in succession on the instrument panel.► You can revert to automatic operation at any time by pressing button M again.The indicator lamp for the button goes off.
NOTIC E
In manual mode, there is no need to release the accelerator pedal while changing gear.
NOTIC E
It is only possible to change from one gear to another if the vehicle speed and engine speed permit.
NOTIC E
If the engine speed is too low or too high, the selected gear flashes for a few seconds, then the gear actually engaged is shown.When the vehicle is stationary or moving very slowly, the gearbox automatically selects gear M1.
NOTIC E
To preserve the brakes while descending a steep incline, use engine braking to reduce your speed (change down or select a lower gear).Keeping the brake pedal pressed continuously for long periods can overheat the brakes, with the risk of damaging the braking system or making it inoperative.Only use the brakes when necessary, to slow or stop the vehicle.
NOTIC E
Depending on the road configuration (e.g. mountainous road), manual operation may be preferable.Automatic operation may not always be
suitable, and does not enable engine braking.