2022 TOYOTA PROACE CITY AUX
[x] Cancel search: AUXPage 296 of 320

296
Media
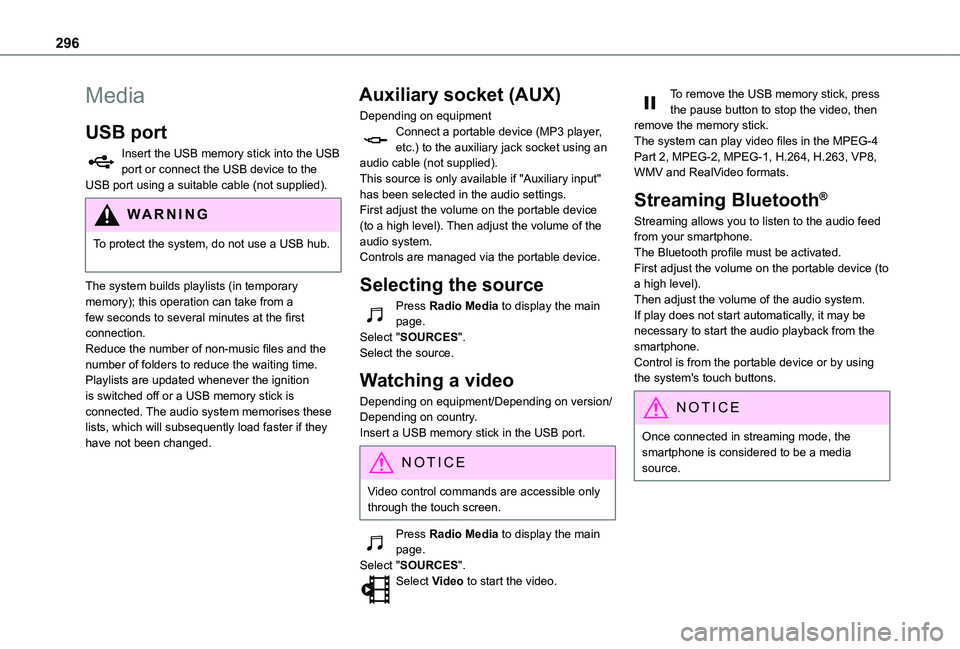
USB port
Insert the USB memory stick into the USB port or connect the USB device to the USB port using a suitable cable (not supplied).
WARNI NG
To protect the system, do not use a USB hub.
The system builds playlists (in temporary memory); this operation can take from a few seconds to several minutes at the first connection.Reduce the number of non-music files and the number of folders to reduce the waiting time.Playlists are updated whenever the ignition is switched off or a USB memory stick is connected. The audio system memorises these lists, which will subsequently load faster if they have not been changed.
Auxiliary socket (AUX)
Depending on equipmentConnect a portable device (MP3 player, etc.) to the auxiliary jack socket using an audio cable (not supplied).This source is only available if "Auxiliary input" has been selected in the audio settings.First adjust the volume on the portable device (to a high level). Then adjust the volume of the audio system.Controls are managed via the portable device.
Selecting the source
Press Radio Media to display the main page.Select "SOURCES".Select the source.
Watching a video
Depending on equipment/Depending on version/Depending on country.Insert a USB memory stick in the USB port.
NOTIC E
Video control commands are accessible only through the touch screen.
Press Radio Media to display the main page.Select "SOURCES".Select Video to start the video.
To remove the USB memory stick, press the pause button to stop the video, then remove the memory stick.The system can play video files in the MPEG-4 Part 2, MPEG-2, MPEG-1, H.264, H.263, VP8, WMV and RealVideo formats.
Streaming Bluetooth®
Streaming allows you to listen to the audio feed from your smartphone.The Bluetooth profile must be activated.First adjust the volume on the portable device (to a high level).Then adjust the volume of the audio system.If play does not start automatically, it may be necessary to start the audio playback from the smartphone.Control is from the portable device or by using the system's touch buttons.
NOTIC E
Once connected in streaming mode, the smartphone is considered to be a media source.
Page 297 of 320

297
TOYOTA Connect Nav
12
Connecting Apple® players
Connect the Apple® player to the USB port using a suitable cable (not supplied).Play starts automatically.Control is via the audio system.
NOTIC E
The classifications available are those of the portable device connected (artists/albums/
genres/playlists/audio books/podcasts).The default classification used is by artist. To modify the classification used, return to the first level of the menu then select the desired classification (playlists for example) and confirm to go down through the menu to the desired track.
The version of software in the audio system may not be compatible with the generation of the Apple® player.
Information and advice
The system supports USB mass storage devices, BlackBerry® devices and Apple® players via the USB ports. The adapter cable is not supplied.Devices are managed using the audio system controls.
Other devices, not recognised on connection, must be connected to the auxiliary socket using a jack cable (not supplied) or via Bluetooth streaming, if compatible.The audio system will only play audio files with ".wma", ".aac", ".flac", ".ogg" and ".mp3" file extensions, at bit rates between 32 Kbps and 320 Kbps.It also supports VBR (Variable Bit Rate) mode.No other file types (".mp4", etc.) can be read.All ".wma" files must be standard WMA 9 files.The supported sampling rates are 32, 44 and 48 KHz.To avoid reading and display problems, we recommend choosing file names less than 20 characters long that do not contain any special characters (e.g. “ ? . ; ù).Use only USB memory sticks in FAT32 format (File Allocation Table).
NOTIC E
We recommend using the original USB cable for the portable device.
Telephone
Pairing a Bluetooth®
telephone
WARNI NG
The services available depend on the network, the SIM card and the compatibility of
the Bluetooth devices used. Consult the telephone user guide and the service provider to check which services are available.
NOTIC E
The Bluetooth function must be activated and the telephone configured as "Visible to all” (in the telphone settings).
To complete the pairing, whichever procedure is used (from the telephone or from the system), ensure that the code is the same in the system and in the telephone.
NOTIC E
If the pairing procedure fails, we recommend deactivating and then reactivating the Bluetooth function on the telephone.
Page 301 of 320

301
TOYOTA Connect Nav
12
The "Position” settings (All passengers, Driver and Front only) are common to all sources.Activate or deactivate "Touch tones", "Volume linked to speed" and "Auxiliary input".
NOTIC E
Onboard audio: Arkamys Sound Staging©
optimises the sound distribution inside the passenger compartment.
Configuring profiles
Press Settings to display the main page.
Press the "OPTIONS" button to access the secondary page.Select "Setting of the profiles".
Select "Profile 1", "Profile 2", "Profile 3” or "Common profile".Press this button to enter a name for the profile using the virtual keypad.Press "OK" to confirm.
Press this button to add a photograph to the profile.Insert a USB memory stick containing the photograph in the USB port.Select the photograph.
Press "OK" to accept the transfer of the photograph.Press "OK" again to save the settings.
NOTIC E
The location for the photograph is square; the system reshapes the original photograph if in another format.
Press this button to reset the selected profile.
WARNI NG
Resetting the selected profile activates the English language by default.
Select a "Profile" (1 or 2 or 3) to link "Audio settings" with it.Select "Audio settings".
Then select "Ambience", "Position"; "Sound", "Voice" or "Ringtone".Press "OK" to save the selected profile’s settings.
Modifying system settings
Press Settings to display the main page.
Press the "OPTIONS" button to access the secondary page.Select "Screen configuration".
Select "Animation".Activate or deactivate:Automatic scrollingSelect "Brightness".Move the slider to adjust the brightness of the screen and/or the instrument panel.Press Settings to display the main page.
Press the "OPTIONS" button to access the secondary page.Select "System settings".
Select "Units" to change the units of distance, fuel consumption and temperature.Select "Factory settings" to restore the initial
settings.
WARNI NG
Resetting the system to "Factory settings" activates English and degrees Fahrenheit and deactivates summer time.
Select "System info" to display the versions of the various modules installed in the system.
Page 311 of 320

3 11
Alphabetical index
Seat, rear bench 59, 61Seats, front 52–54, 57–59Seats, front bench 57–59Seats, heated 55Seats, Multiflex ~ Extenso Cab 73Seats, rear 52, 57, 59–62, 11 6Selector, gear 143–145Sensors (warnings) 153Serial number, vehicle 252Service indicator 18Servicing 213Settings, equipment 28–29Settings, system 260–261, 274, 299Sidelamps 90–92, 229, 231Side parking sensors 179Side repeater 230Silent vehicle warning sound (Electric) 102, 128Sliding side door, electric 37–38, 45Smart Entry & Start 130, 133Snow chains 150, 204–205Snow chains, link 204
Socket, 12 V accessory 63, 65Socket, 220 V 65Socket, auxiliary 257, 269, 294Socket, Jack 294Speed limiter 156–159, 167Speed limit recognition 154, 156Speedometer 10, 154Sport mode 146Stability control (ESC) 104Starting a Diesel engine 190
Starting the engine 129, 132Starting the vehicle 130, 133, 139–142, 144Starting using another battery 133, 236Station, radio 256, 266–267, 292–293Stay, bonnet 209–210Steering mounted controls, audio 254, 264, 278Steering wheel, adjustment 55Stickers, customising ~ Stickers, expressive 220Stopping the vehicle 132–133, 139–142, 144Stop & Start 27, 79, 84, 147–149, 191, 209, 213, 238Storage 63–64Storage boxes 67Stowing rings 70Sunshine sensor 78Super-fast charging (Electric) 201, 203, 251Surround Rear Vision 181Switching off the engine 129, 131–132Synchronising the remote control 41
T
Tables of engines 251Tank, fuel 190–192Technical data 247, 249–251Telephone 66, 259–260, 271–273, 295–298Temperature, coolant 18Three flashes (direction indicators) 91Time (setting) 261, 274, 300TMC (Traffic info) 286
Tools 221Topping-up AdBlue® 217Top Rear Vision 184Touch screen 27–29, 87Towbar 104, 206Towed loads 246–247, 249–251Towing another vehicle 239–240Towing eye 240Toyota Traction Select 105Traction battery charge 196Traction battery (Electric) 29, 193–194, 251Traction control (ASR) 103, 105–106Traffic information (TMC) 286Trailer 104, 206Trailer stability assist (TSA) 104Trajectory control systems 103Triangle, warning 71Trip computer 26–27Type of bulbs 229Tyres 215, 252Tyre under-inflation detection 149–150, 224
U
Under-inflation (detection) 149Unlocking 31–32, 34–37Unlocking from the inside 42–43Unlocking, selective 33–35Unlocking, total 33–35Updating the date 275, 300Updating the time 261, 274, 300