2022 TOYOTA PROACE CITY check engine light
[x] Cancel search: check engine lightPage 21 of 320
21
Instruments
1
Service spannerLights up temporarily when the ignition is switched on.Between 3,000 km (1,800 miles) and 1,000 km (600 miles) remain before the next service is due.Fixed, when the ignition is switched on.The service is due in less than 1,000 km (600 miles).Have your vehicle serviced very soon.
Service spanner flashingFlashing then fixed, when the ignition is switched on.(With Diesel engines, combined with the Service warning lamp.)The servicing interval has been exceeded.Have your vehicle serviced as soon as possible.
Resetting the service indicator
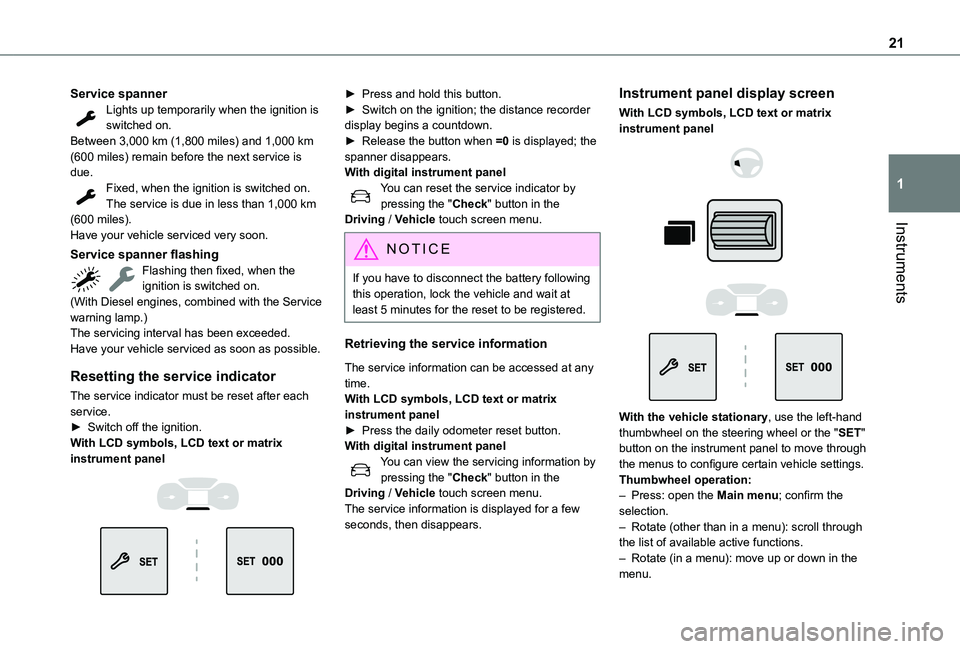
The service indicator must be reset after each service.► Switch off the ignition.With LCD symbols, LCD text or matrix
instrument panel
► Press and hold this button.► Switch on the ignition; the distance recorder display begins a countdown.► Release the button when =0 is displayed; the spanner disappears.With digital instrument panelYou can reset the service indicator by pressing the "Check" button in the Driving / Vehicle touch screen menu.
NOTIC E
If you have to disconnect the battery following this operation, lock the vehicle and wait at least 5 minutes for the reset to be registered.
Retrieving the service information
The service information can be accessed at any time.With LCD symbols, LCD text or matrix instrument panel► Press the daily odometer reset button.With digital instrument panelYou can view the servicing information by pressing the "Check" button in the Driving / Vehicle touch screen menu.The service information is displayed for a few seconds, then disappears.
Instrument panel display screen
With LCD symbols, LCD text or matrix instrument panel
With the vehicle stationary, use the left-hand thumbwheel on the steering wheel or the "SET" button on the instrument panel to move through the menus to configure certain vehicle settings.
Thumbwheel operation:– Press: open the Main menu; confirm the selection.– Rotate (other than in a menu): scroll through the list of available active functions.– Rotate (in a menu): move up or down in the menu.
Page 22 of 320
22
With digital instrument panelThe configuration of some parameters of the vehicle is done by pressing the "Check" button in the Driving / Vehicle touch screen menu.
Distance recorders
The total and trip distances are displayed for thirty seconds when the ignition is switched off, when the driver's door is opened and when the vehicle is locked or unlocked.
Total distance recorder
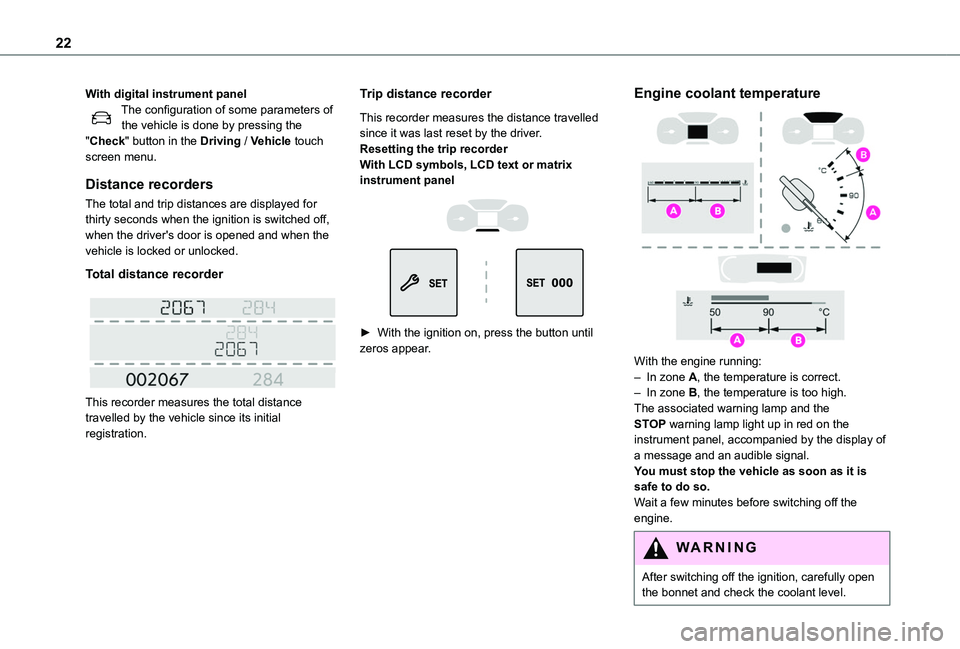
This recorder measures the total distance travelled by the vehicle since its initial registration.
Trip distance recorder
This recorder measures the distance travelled since it was last reset by the driver.Resetting the trip recorderWith LCD symbols, LCD text or matrix instrument panel
► With the ignition on, press the button until zeros appear.
Engine coolant temperature
With the engine running:– In zone A, the temperature is correct.– In zone B, the temperature is too high. The associated warning lamp and the STOP warning lamp light up in red on the instrument panel, accompanied by the display of a message and an audible signal.You must stop the vehicle as soon as it is safe to do so.Wait a few minutes before switching off the engine.
WARNI NG
After switching off the ignition, carefully open the bonnet and check the coolant level.
Page 24 of 320
24
miles and 0 miles)), a warning lamp lights up when the ignition is switched on and an estimate of the distance that can be travelled before engine starting is prevented is displayed in the instrument panel.
WARNI NG
The engine starting prevention system required by regulations is activated
automatically once the AdBlue® tank is empty.
It is then no longer possible to start the engine until the minimum level of AdBlue® has been topped up.
Manual display of the range
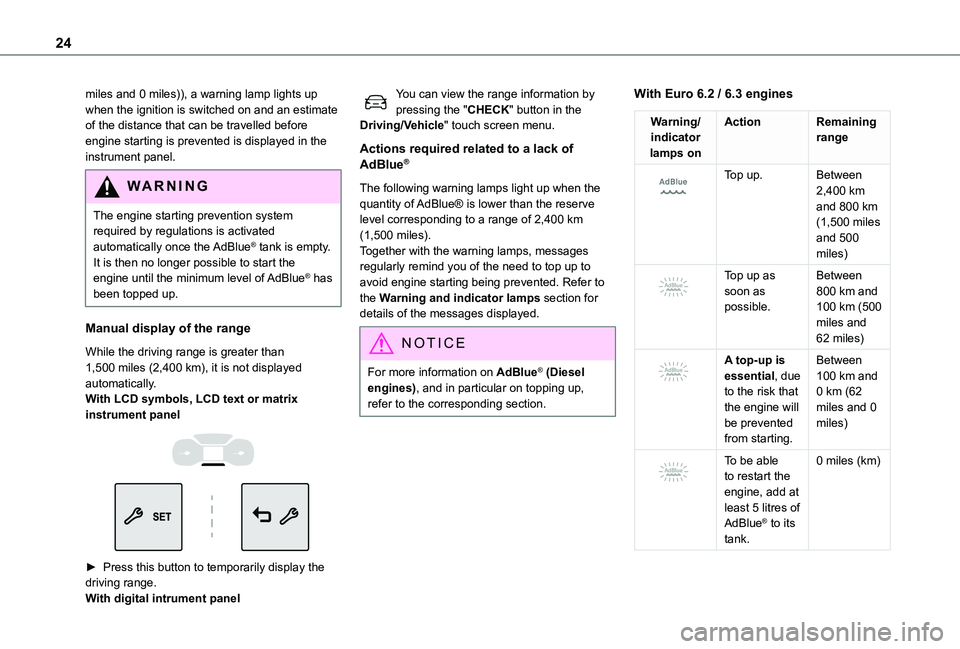
While the driving range is greater than 1,500 miles (2,400 km), it is not displayed automatically.With LCD symbols, LCD text or matrix instrument panel
► Press this button to temporarily display the driving range. With digital intrument panel
You can view the range information by pressing the "CHECK" button in the Driving/Vehicle" touch screen menu.
Actions required related to a lack of AdBlue®
The following warning lamps light up when the quantity of AdBlue® is lower than the reserve level corresponding to a range of 2,400 km (1,500 miles).Together with the warning lamps, messages regularly remind you of the need to top up to avoid engine starting being prevented. Refer to the Warning and indicator lamps section for details of the messages displayed.
NOTIC E
For more information on AdBlue® (Diesel engines), and in particular on topping up, refer to the corresponding section.
With Euro 6.2 / 6.3 engines
Warning/indicator lamps on
ActionRemaining range
Top up.Between 2,400 km and 800 km (1,500 miles and 500
miles)
Top up as soon as possible.
Between 800 km and 100 km (500 miles and 62 miles)
A top-up is essential, due to the risk that the engine will be prevented from starting.
Between 100 km and 0 km (62 miles and 0 miles)
To be able to restart the engine, add at least 5 litres of AdBlue® to its tank.
0 miles (km)
Page 50 of 320
50
Anti-tilt monitoring
The system checks for any change in the attitude of the vehicle.The alarm is triggered if the vehicle is lifted or moved.
NOTIC E
When the vehicle is parked, the alarm will not be triggered if the vehicle is knocked.
Locking the vehicle with full
alarm system
Activation
► Switch off the engine and exit the vehicle.► Lock the vehicle using the remote control or the "Keyless Entry and Starting" system.The monitoring system is active: the red indicator lamp in the button flashes every second and the direction indicators come on for about 2 seconds.
NOTIC E
Following an instruction to lock the vehicle, the exterior perimeter monitoring is activated after 5 seconds and the interior volumetric
and anti-tilt monitoring after 45 seconds.
NOTIC E
If an opening (door, boot or bonnet) is not closed properly, the vehicle is not locked but the exterior perimeter monitoring will be activated after 45 seconds at the same time as the interior volumetric and anti-tilt monitoring.
Deactivation
► Press the unlocking button on the remote control.or► Unlock the vehicle with the Keyless Entry and Starting system.The monitoring system is deactivated: the indicator lamp in the button goes off and the direction indicators flash for about 2 seconds.
NOTIC E
When the vehicle automatically locks itself again (as happens if a door or the boot is not opened within 30 seconds of unlocking), the monitoring system is also reactivated automatically.
Locking the vehicle
with exterior perimeter
monitoring only
Disable volumetric and anti-tilt monitoring to avoid unwanted alarm triggering in certain cases, such as:– Slightly open window or sunroof. – Washing the vehicle.– Changing a wheel.– Towing your vehicle.– Transport on a ship or ferry.
Deactivating the interior volumetric
and anti-tilt monitoring
► Switch off the ignition and within 10 seconds press the alarm button until its red indicator lamp is on fixed.► Get out of the vehicle.► Immediately lock the vehicle using the remote control or the "Keyless Entry and Starting" system.Only the exterior perimeter monitoring is
activated; the red indicator lamp in the button flashes every second.
NOTIC E
To be taken into account, the deactivation must be carried out every time the ignition is switched off.
Page 68 of 320
68
► Connect your multimedia or other electrical device (telephone charger, laptop computer, CD-DVD player, bottle warmer, etc.).In the event of a malfunction, the green indicator lamp flashes.Have the socket checked by a TOYOTA dealer or a qualified workshop.
WARNI NG
Connect only one device at a time to the socket (do not use extension leads or multi-socket adapters).Connect only devices with class II insulation (shown on the device).Do not use metal-cased devices (e.g. electric shaver, etc.).
NOTIC E
As a safety measure, if power consumption is high and power is required by the vehicle's electrical system (due to severe weather conditions, electrical overload, etc.), power to the socket may be cut off, in which case the green indicator lamp goes off.
Wireless smartphone
charger
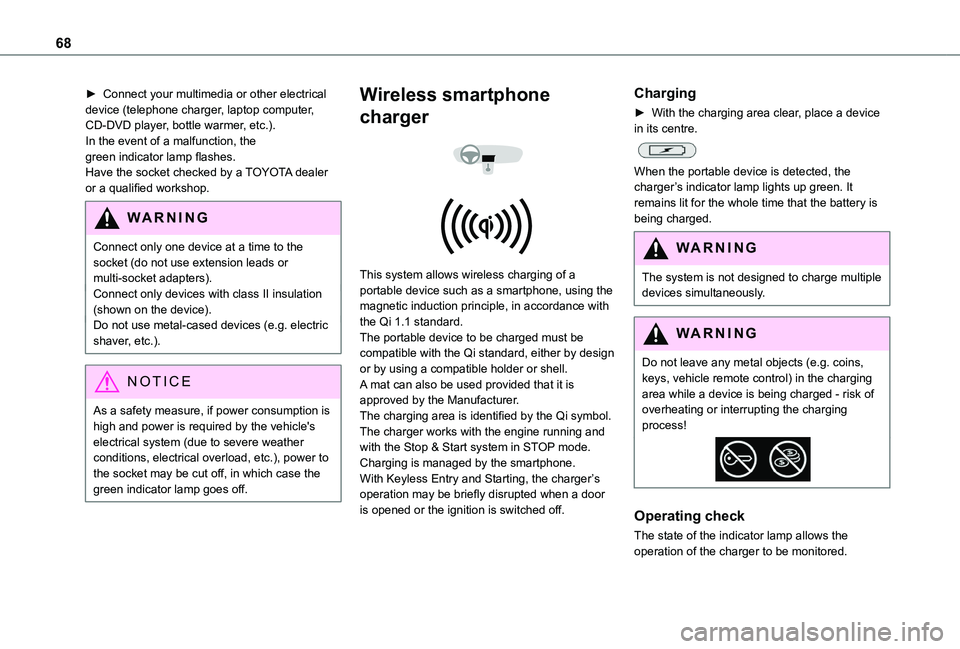
This system allows wireless charging of a portable device such as a smartphone, using the magnetic induction principle, in accordance with the Qi 1.1 standard.The portable device to be charged must be compatible with the Qi standard, either by design or by using a compatible holder or shell.A mat can also be used provided that it is approved by the Manufacturer.The charging area is identified by the Qi symbol.The charger works with the engine running and with the Stop & Start system in STOP mode.Charging is managed by the smartphone.With Keyless Entry and Starting, the charger’s operation may be briefly disrupted when a door is opened or the ignition is switched off.
Charging
► With the charging area clear, place a device in its centre.
When the portable device is detected, the charger’s indicator lamp lights up green. It remains lit for the whole time that the battery is being charged.
WARNI NG
The system is not designed to charge multiple devices simultaneously.
WARNI NG
Do not leave any metal objects (e.g. coins, keys, vehicle remote control) in the charging area while a device is being charged - risk of overheating or interrupting the charging process!
Operating check
The state of the indicator lamp allows the
operation of the charger to be monitored.
Page 94 of 320

94
► Within one minute after switching off the ignition, operate the lighting control lever upwards or downwards, depending on the side of the traffic (for example: when parking on the right; push the lighting control lever down to light up on the left).This is confirmed by an audible signal and illumination of the corresponding direction indicator lamp in the instrument panel.► To switch off the parking lamps, return the lighting control lever to the central position.
Automatic headlamp
illumination
When a low level of ambient light is detected by a sunshine sensor, the number plate lamps, sidelamps and dipped beam headlamps are switched on automatically, without any action on the part of the driver. They can also come on if rain is detected, at the same time as the automatic rain sensitive wipers.As soon as the brightness returns to a sufficient
level or after the windscreen wipers are switched off, the lamps are switched off automatically.
► Turn the ring to the "AUTO" position. When the function is activated, a message is also displayed.
► Turn the ring to another position. An onscreen message is displayed to confirm that the function has been deactivated.
Malfunction
In the event of a malfunction of the rain/sunshine sensor, the vehicle’s lamps come on and this warning lamp is displayed on the instrument panel, accompanied by an audible signal and/or the display of a message.Have it checked by any authorized Toyota retailer or Toyota authorized repairer, or any reliable repairer.
WARNI NG
Do not cover the rain/sunshine sensor located on the dashboard or at the top centre of the windscreen behind the interior rear view mirror (depending on equipment); the associated functions would no longer be controlled.
NOTIC E
In fog or snow, the rain/sunshine sensor may detect sufficient light. For this reason, the lighting will not come on automatically.
NOTIC E
The inner surface of the windscreen may become misted up and affect the proper operation of the rain/sunshine sensor.In humid and cold weather, demist the windscreen regularly.
Daytime running lamps /
Sidelamps
The front lamps light up automatically when the engine starts.They provide the following functions:– Daytime running lamps (lighting control lever in the "AUTO" position with adequate light level).– Sidelamps (lighting control lever in the "AUTO" position with low light levels or "Sidelamps only” or "Dipped/main beam headlamps").
Page 105 of 320
105
Safety
5
Vehicle stability control
(VSC)
The electronic stability control programme includes the following systems:– Anti-lock braking system (ABS) and Electronic brake force distribution (EBFD).– Emergency braking assistance (EBA).– Anti-slip regulation (ASR).– Dynamic stability control (DSC).– Trailer stability assist (TSA).
Anti-lock braking system
(ABS)/Electronic brake force
distribution (EBFD)
These systems enhance the vehicle’s stability and handling during braking, and enable greater control while cornering, particularly on poor or slippery road surfaces.ABS prevents wheel locking in the event of emergency braking.Electronic brake force distribution (EBFD)
manages overall braking pressure on each individual wheel.► When braking in an emergency, depress the pedal very firmly and maintain this pressure.
NOTIC E
Normal operation of the ABS may make itself felt by slight vibrations of the brake pedal.
The fixed illumination of this warning lamp signals that there is a fault with the ABS.The vehicle retains conventional braking. Drive carefully at a moderate speed.Have it checked by any authorized Toyota retailer or Toyota authorized repairer, or any reliable repairer.This warning lamp, when lit together with the STOP and ABS warning lamps, accompanied by a message and an audible signal, indicates an EBFD malfunction.You must stop the vehicle.Stop as soon as it is safe to do so and switch off the ignition.Contact any authorized Toyota retailer or Toyota authorized repairer, or any reliable repairer.
WARNI NG
When changing wheels (tyres and rims), ensure that these are approved for your vehicle.
WARNI NG
After an impactHave it checked by any authorized Toyota retailer or Toyota authorized repairer, or any reliable repairer.
Emergency braking
assistance (EBA)
This system reduces the emergency stopping distance, by optimising the braking pressure.It is triggered in relation to the speed at which the brake pedal is depressed. The effect of this is a reduction in the resistance of the pedal and an increase in breaking efficiency.
Anti-slip regulation (ASR)
/ Dynamic stability control
(DSC)
Anti-slip regulation (or traction control) optimises traction by using engine braking and by applying the brakes on the driving wheels to avoid one or more wheels spinning. It also enhances the vehicle's directional stability.If there is a difference between the vehicle’s trajectory and the path desired by the driver, the dynamic stability control system automatically uses engine braking and the brakes on one or
more wheels to return the vehicle to the desired path, within the limits of the laws of physics.These systems are activated automatically every time the vehicle is started.These systems are activated in the event of a problem with grip or trajectory (confirmed by this warning lamp flashing on the instrument panel).
Page 107 of 320
107
Safety
5
Malfunction
If a fault occurs, this warning lamp lights up on the instrument panel, accompanied by a message and an audible signal.To continue towing a trailer, reduce speed and drive carefully!Have it checked by any authorized Toyota retailer or Toyota authorized repairer, or any reliable repairer.
WARNI NG
The trailer stability control system provides an extra safety feature under normal driving conditions, when following the recommendations for use of trailers and current legislation in force in your country. It must not encourage the driver to take extra risks, such as using a trailer in unsuitable conditions of operation (e.g. excessive load, exceeded nose weight, worn or under-inflated tyres, faulty braking system) or driving at excessive speed.In certain cases, the system may not detect trailer snaking, particularly with a light trailer.When driving on slippery or poor surfaces, the system may not be able to prevent sudden trailer snaking.
Toyota Traction Select
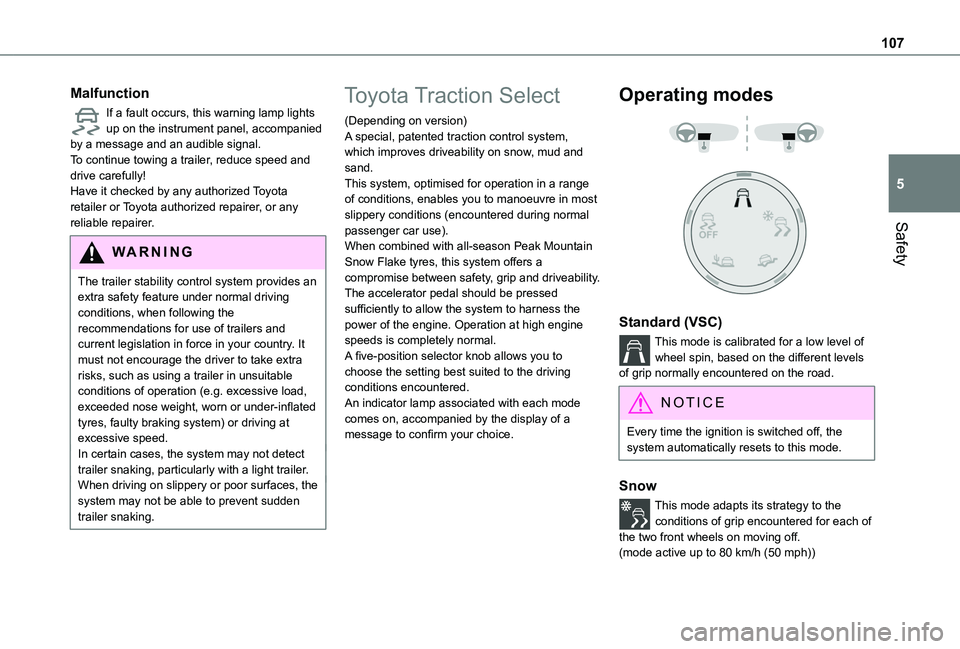
(Depending on version)A special, patented traction control system, which improves driveability on snow, mud and sand.This system, optimised for operation in a range of conditions, enables you to manoeuvre in most slippery conditions (encountered during normal passenger car use).When combined with all-season Peak Mountain Snow Flake tyres, this system offers a compromise between safety, grip and driveability.The accelerator pedal should be pressed sufficiently to allow the system to harness the power of the engine. Operation at high engine speeds is completely normal.A five-position selector knob allows you to choose the setting best suited to the driving conditions encountered.An indicator lamp associated with each mode comes on, accompanied by the display of a message to confirm your choice.
Operating modes
Standard (VSC)
This mode is calibrated for a low level of wheel spin, based on the different levels of grip normally encountered on the road.
NOTIC E
Every time the ignition is switched off, the system automatically resets to this mode.
Snow
This mode adapts its strategy to the conditions of grip encountered for each of the two front wheels on moving off.
(mode active up to 80 km/h (50 mph))