2022 TOYOTA HIGHLANDER oil change
[x] Cancel search: oil changePage 83 of 568

832-1. Instrument cluster
2
Vehicle status information and indicators
■Display items
Odometer
Displays the total distance the vehi-
cle has been driven.
Trip meter A/trip meter B
Displays the distan ce the vehicle
has been driven si nce the meter
was last reset. Trip meters A and B
can be used to record and display
different distances independently.
Distance until next engine oil
change
Displays the distan ce the vehicle
can be driven until an oil change is
necessary.
■Changing the display
Each time the “ODO TRIP”
switch is pressed, the displayed
item will be changed. When the
trip meter is displayed, pressing
and holding the switch will reset
the trip meter.
■Pop-up display
In some situations the following
will be temporarily displayed:
Distance until next engine oil
change
Displays the distance until the next
engine oil change. This display will
be displayed in the following situa-
tions:
When the engine switch is
turned to ON.
When a warning message
indicating that oil mainte-
nance should be performed
soon or is required is dis-
played.
The brightness of the instrument
panel lights can be adjusted.
NOTICE
●The engine may be overheating
if the engine coolant tempera-
ture gauge is in the red zone
(H). In this case, immediately
stop the vehicle in a safe place,
and check the engine after it
has cooled completely.
( P.494)
Odometer and trip meter
display
Changing the instrument
panel light brightness
Page 91 of 568

912-1. Instrument cluster
2
Vehicle status information and indicators
Select the open position when
power back door is fully open.
•“Volume”
Select to set the volume of the
buzzer which sounds when the
power back door system operates.
(Stop & Start) (if
equipped) ( P.272)
Select to set the length of time the
Stop & Start system will operate
when the “A/C” switch of the air
conditioning system is on.
“TPWS” (Tire Pressure Warn-
ing System) ( P.420)
• “Set Pressure” (tire pressure
warning system initialization)
Select to initialize the tire pressure
warning system.
• “Change Wheel” (register tire pressure warning system sensor
ID codes)
Select to register the ID codes of
the tire pressure s ensors to the tire
pressure warning system.
“Rear Seat Reminder”
( P. 1 1 9 )
Select to enable/disable the rear
seat reminder.
“Scheduled Maintenance”
( P.401)
Select to reset the scheduled main-
tenance information (maintenance
required message and distance
until maintenance necessary) after
all maintenance is performed.
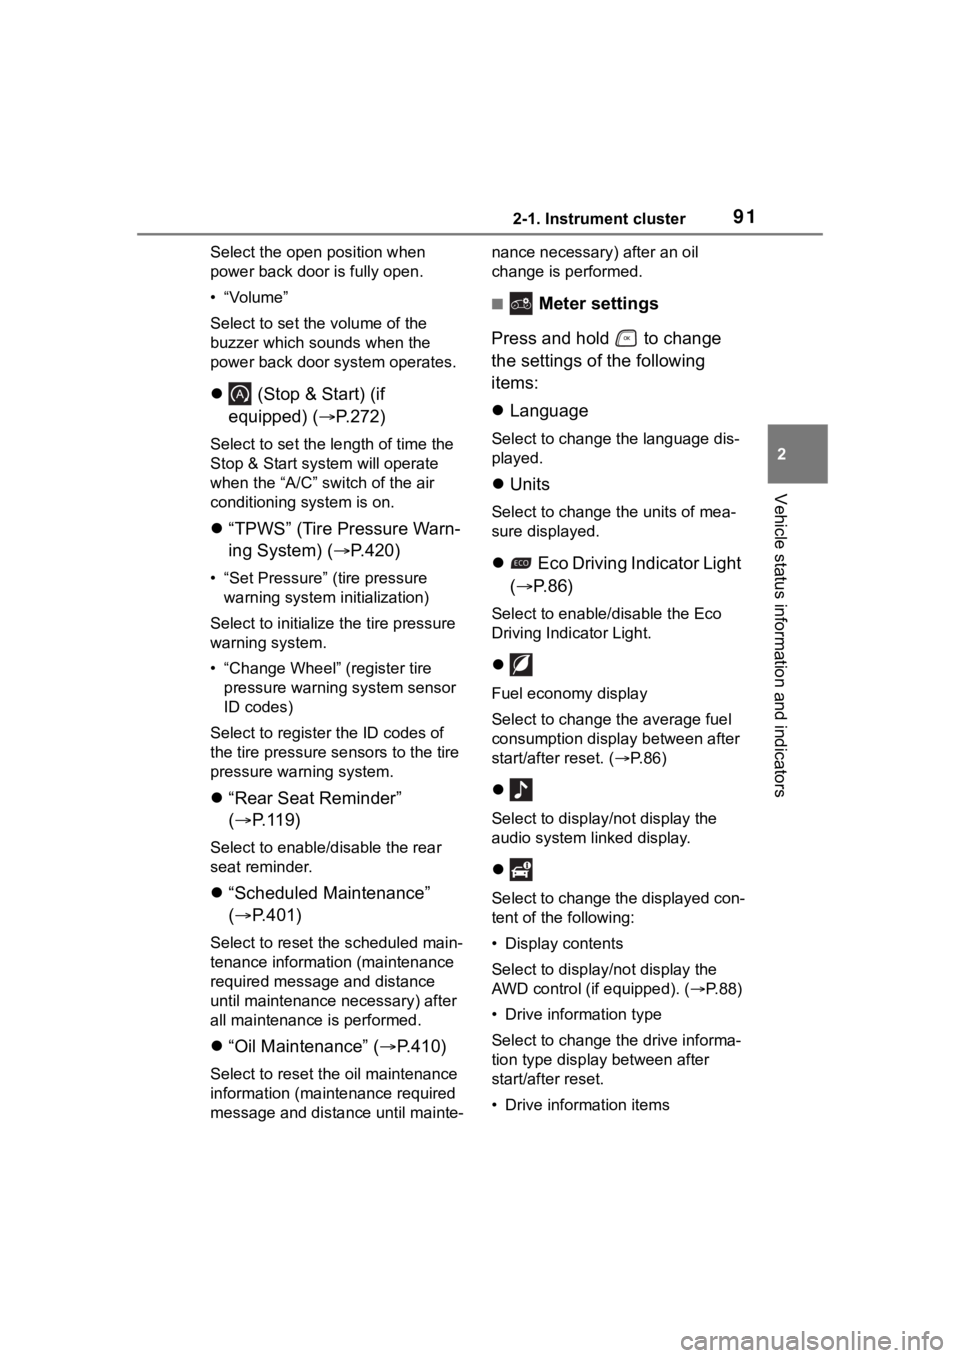
“Oil Maintenance” ( P.410)
Select to reset the oil maintenance
information (maintenance required
message and distance until mainte- nance necessary) after an oil
change is performed.
■ Meter settings
Press and hold to change
the settings of the following
items:
Language
Select to change the language dis-
played.
Units
Select to change the units of mea-
sure displayed.
Eco Driving Indicator Light
( P.86)
Select to enable/disable the Eco
Driving Indi cator Light.
Fuel economy display
Select to change the average fuel
consumption display between after
start/after reset. ( P. 8 6 )
Select to displa y/not display the
audio system linked display.
Select to change the displayed con-
tent of the following:
• Display contents
Select to displa y/not display the
AWD control (if equipped). ( P.88)
• Drive information type
Select to change the drive informa-
tion type display between after
start/after reset.
• Drive information items
Page 101 of 568

1012-1. Instrument cluster
2
Vehicle status information and indicators
• “Change Wheel” (register tire pressure warning system sensor
ID codes)
Select to register the ID codes of
the tire pressure s ensors to the tire
pressure warning system.
“Rear Seat Reminder”
( P. 1 1 9 )
Select to enable/disable the rear
seat reminder.
“Scheduled Maintenance”
( P.401)
Select to reset the scheduled main-
tenance information (maintenance
required message and distance
until maintenance necessary) after
all maintenance is performed.
“Oil Maintenance” ( P.410)
Select to reset the oil maintenance
information (maintenance required
message and distance until mainte-
nance necessary) after an oil
change is performed.
■ Meter settings
Press and hold to change
the settings of the following
items:
Language
Select to change the language dis-
played.
Units
Select to change t he units of mea-
sure displayed.
Eco Driving Indicator Light
( P. 9 5 )
Select to enable/disable the Eco
Driving Indicator Light.
Speedometer display (digital
speed)
Select to enable/disable the speed-
ometer display.
Gadget content
Select to turn the display of a gad-
get.
Fuel economy type
Select to change the average fuel
consumption display and an item to
be displayed as gadget.
Pop-up display
Select to enable/disable pop-up
displays for each relevant system.
Multi-information display off
Displays a blank screen.
Default setting
Select to reset the meter display
settings to the default setting.
■Vehicle functions and set-
tings that can be changed
P.521
■Background color of the indica-
tor/shift position display area
The background color of the indica-
tor/shift position display area is
changed accordi ng to the driving
mode as follows ( P.311):
●Eco drive mode: Blue
●Sport mode: Red
■Suspension of the settings dis-
play
●Some settings cannot be changed
while driving. When changing set-
tings, park the vehicle in a safe
place.
●If a warning message is displayed,
operation of the settings display
will be suspended.
Page 135 of 568

1353-2. Opening, closing and locking the doors
3
Before driving
wireless remote control or the
mechanical key, to unlock the
doors.
■Turning an electronic key to
battery-saving mode
When battery-savi ng mode is set,
battery depletion is minimized by
stopping the electronic key from
receiving radio waves.
Press twice while pressing and
holding . Confirm that the elec-
tronic key indicator flashes 4 times.
While the battery-saving mode is
set, the smart key system cannot be
used. To cancel the function, press
any of the electronic key buttons.
■Conditions affecting operation
The smart key system uses weak
radio waves. In the following situa-
tions, the communication between
the electronic key and the vehicle
may be affected, preventing the
smart key system, wireless remote
control and engine immobilizer sys-
tem from operating properly. (Ways
of coping: P.488)
●When the electronic key battery is
depleted
●Near a TV tower, electric power
plant, gas station , radio station,
large display, airpo rt or other facil-
ity that generates strong radio
waves or electrical noise
●When the electronic key is in con-
tact with, or is covered by the fol-
lowing metallic objects
• Cards to which al uminum foil is
attached
• Cigarette boxes that have alumi- num foil inside • Metallic wallets or bags
•Coins
• Hand warmers made of metal
• Media such as CDs and DVDs
●When other wirel
ess keys (that
emit radio waves) are being used
nearby
●When carrying the electronic key
together with the following devices
that emit radio waves
• Portable radio, cellular phone, cordless phone or other wireless
communication devices
• Another electronic key or a wire- less key that emits radio waves
• Personal computers or personal
digital assistants (PDAs)
• Digital audio players
• Portable game systems
●If window tint wit h a metallic con-
tent or metallic objects are
attached to the rear window
●When the electronic key is placed
near a battery charger or elec-
tronic devices
●When the vehicle is parked in a
pay parking spot where radio
waves are emitted
■Note for the entry function
●Even when the electronic key is
within the effective range (detec-
tion areas), the system may not
operate properly in the following
cases:
• The electronic key is too close to the window or outside door han-
dle, near the ground, or in a high
place when the doors are locked
or unlocked.
• The electronic key is on the instru-
ment panel, luggage compart-
ment, floor, or in the door pockets
or glove box when the engine is
started or engine switch modes
are changed.
●Do not leave the electronic key on
top of the instrument panel or near
the door pockets when exiting the
vehicle. Depending on the radio
wave reception conditions, it may
be detected by the antenna out-
Page 185 of 568

1854-1. Before driving
4
Driving
NOTICE
●When driving over bumps on
the road, drive as slowly as pos-
sible to avoid damaging the
wheels, underside of the vehi-
cle, etc.
■If you get a flat tire while driv-
ing
A flat or damaged tire may cause
the following situations. Hold the
steering wheel firmly and gradu-
ally depress the brake pedal to
slow down the vehicle.
●It may be difficult to control your
vehicle.
●The vehicle will make abnormal
sounds or vibrations.
●The vehicle will lean abnor-
mally.
Information on what to do in case
of a flat tire (
P.471)
■When encountering flooded
roads
Do not drive on a road that has
flooded after heavy rain etc.
Doing so may cause the following
serious damage to the vehicle:
●Engine stalling
●Short in electrical components
●Engine damage caused by
water immersion
In the event that you drive on a
flooded road and the vehicle is
flooded, be sure to have your Toy-
ota dealer check the following:
●Brake function
●Changes in quantity and quality
of oil and fluid used for the
engine, transaxle, transfer
(AWD models), rear differential
(AWD models), etc.
●Lubricant condition for the pro-
peller shaft (AWD models),
bearings and suspension joints
(where possible), and the func-
tion of all joints, bearings, etc.
Page 469 of 568

4697-2. Steps to take in an emergency
7
When trouble arises
■If “Maintenance Required
Soon” is displayed
Indicates that all maintenance
according to the dr iven distance on
the maintenance schedule
* should
be performed soon.
Comes on approximately 4500
miles (7200 km) after the message
has been reset. If necessary, per-
form maintenance. Please reset the
message after the maintenance is
performed. ( P.401)
*: Refer to the separate “Scheduled
Maintenance Guide” or “Owner’s
Manual Supplement” for the main-
tenance interval applicable to your
vehicle.
■If “Maintenance Required Visit
Your Dealer” is displayed
Indicates that all maintenance is
required to correspond to the driven
distance on the maintenance sched-
ule
*.
Comes on approximately 5000
miles (8000 km) after the message
has been reset. (The indicator will
not work properly unless the mes-
sage has been reset.) Perform the
necessary maintenance. Please
reset the message after the mainte-
nance is performed. ( P.401)
*: Refer to the separate “Scheduled
Maintenance Guide” or “Owner’s
Manual Supplement” for the main-
tenance interval applicable to your
vehicle.
■If “Oil Maintenance Required
Soon” is displayed
Indicates that the engine oil should
be scheduled to be changed.
Check the engine oil and change it if
necessary. After changing the
engine oil, make sure to reset the
message. ( P.412)
■If “Oil Maintenance Required” is
displayed
Indicates that the engine oil should
be changed.
Check and change the engine oil,
and oil filter by your Toyota dealer.
After changing the engine oil, make
sure to reset t he message.
( P.412)
■If a message that indicates the
need for visiting your Toyota
dealer is displayed
The system or part shown on the
multi-information di splay is malfunc-
tioning. Have the vehicle inspected
by your Toyota dealer immediately.
■If a message that indicates the
need for referring to Owner’s
Manual is displayed
●If any of the following messages
are shown on the multi-informa-
tion display, it may indicate a mal-
function. Immediately stop the
vehicle and contact your Toyota
dealer.
• “Braking Power Low Stop in a Safe Place See Owner's Manual”
• “Oil Pressure Low Stop in a Safe
Place See Owner's Manual”
• “Charging System Malfunction Stop in a Safe Place See Owner's
Manual”
●If “Smart Key System Malfunction
See Owner's Manual” is shown on
the multi-information display, it
may indicate a malfunction. Have
the vehicle inspected by your Toy-
ota dealer immediately.
●If any of the following messages
are shown on the multi-informa-
tion display, follow the instruc-
tions.
• “Engine Coolant Temp High Stop in a Safe Place See Owner's Man-
ual” ( P.494)
• “High Transmission Fluid Temp See Owner's Manual” ( P.206)
Page 502 of 568

5028-1. Specifications
■Oil capacity (Drain and
refillreference
*)
*: The engine oil capacity is a refer-
ence quantity to be used when
changing the engine oil. Warm up
and turn off the engine, wait more
than 5 minutes, and check the oil
level on the dipstick.
■Engine oil selection
“Toyota Genuine Motor Oil” is
used in your Toyota vehicle. Use
Toyota approved “Toyota Genu-
ine Motor Oil” or equivalent to
satisfy the following grade and
viscosity.
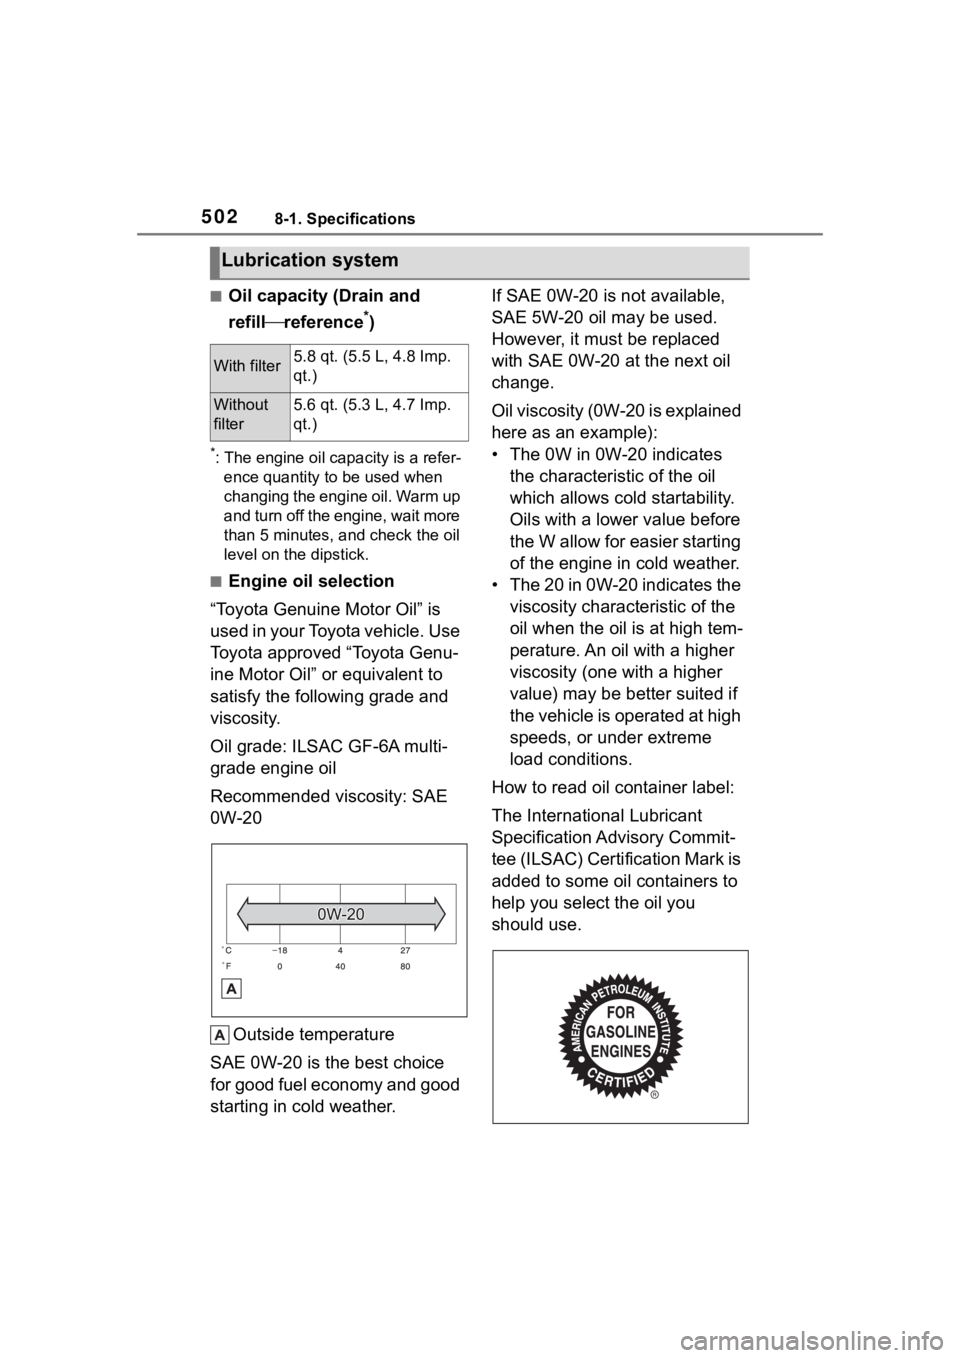
Oil grade: ILSAC GF-6A multi-
grade engine oil
Recommended viscosity: SAE
0W-20
Outside temperature
SAE 0W-20 is the best choice
for good fuel economy and good
starting in cold weather. If SAE 0W-20 is not available,
SAE 5W-20 oil may be used.
However, it must be replaced
with SAE 0W-20 at the next oil
change.
Oil viscosity (0W-20 is explained
here as an example):
• The 0W in 0W-20 indicates
the characteristic of the oil
which allows cold startability.
Oils with a lower value before
the W allow for easier starting
of the engine in cold weather.
• The 20 in 0W-20 indicates the viscosity characteristic of the
oil when the oil is at high tem-
perature. An oil with a higher
viscosity (one with a higher
value) may be better suited if
the vehicle is operated at high
speeds, or under extreme
load conditions.
How to read oil container label:
The International Lubricant
Specification Advisory Commit-
tee (ILSAC) Certification Mark is
added to some oil containers to
help you select the oil you
should use.
Lubrication system
With filter5.8 qt. (5.5 L, 4.8 Imp.
qt.)
Without
filter5.6 qt. (5.3 L, 4.7 Imp.
qt.)
Page 533 of 568

5338-3. Initialization
8
Vehicle specifications
8-3.Initialization
*: If equipped
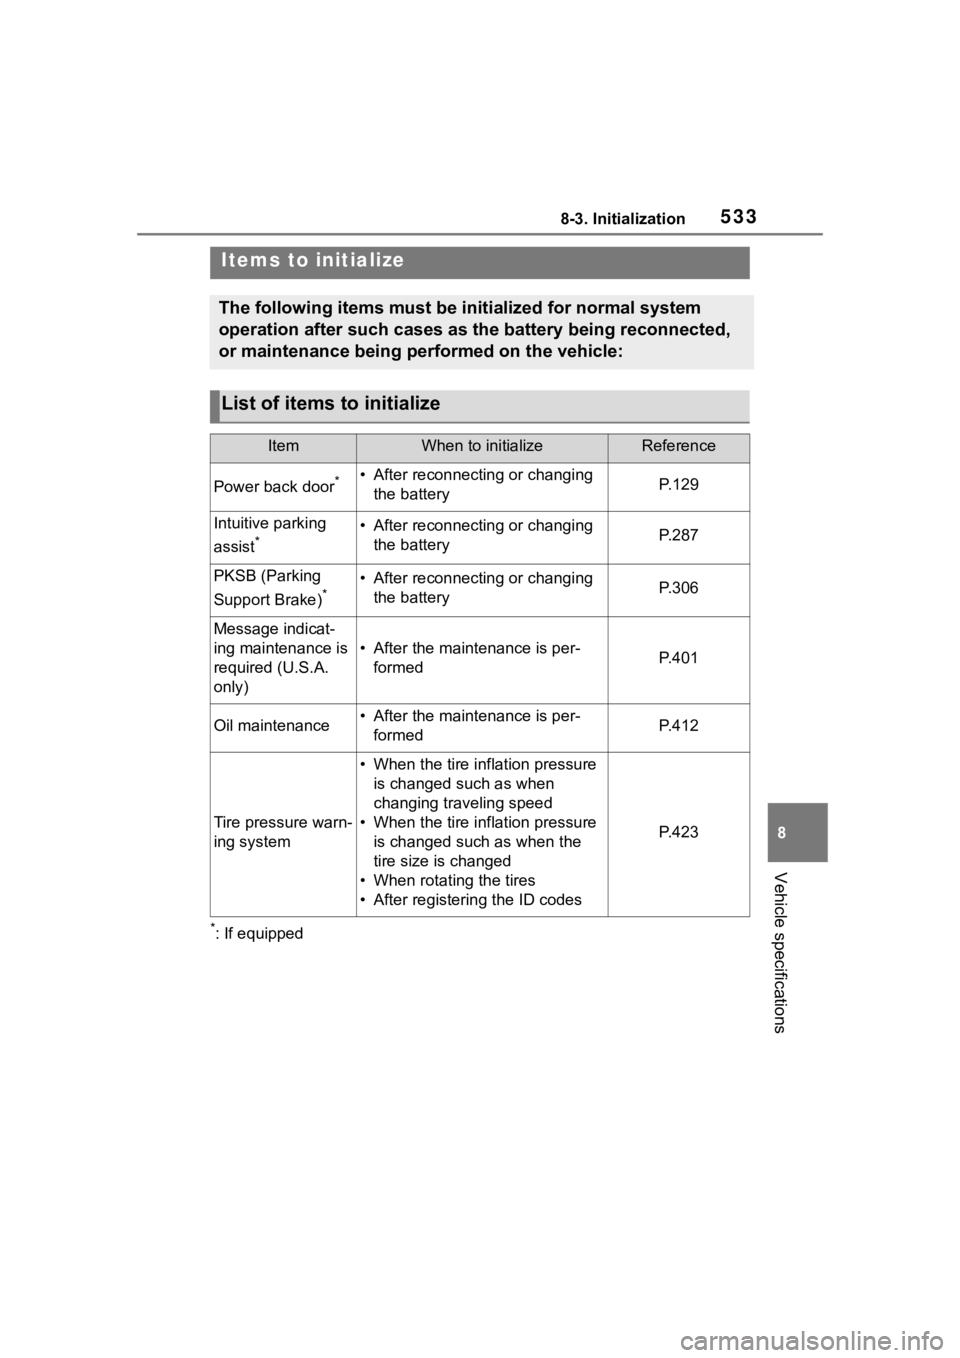
Items to initialize
The following items must be initialized for normal system
operation after such cases as the battery being reconnected,
or maintenance being performed on the vehicle:
List of items to initialize
ItemWhen to initializeReference
Power back door*• After reconnecting or changing the batteryP. 1 2 9
Intuitive parking
assist
*• After reconnecting or changing the batteryP. 2 8 7
PKSB (Parking
Support Brake)
*• After reconnecting or changing the batteryP. 3 0 6
Message indicat-
ing maintenance is
required (U.S.A.
only)
• After the maintenance is per-formedP. 4 0 1
Oil maintenance• After the maintenance is per-formedP. 4 1 2
Tire pressure warn-
ing system
• When the tire inflation pressure is changed such as when
changing traveling speed
• When the tire inflation pressure is changed such as when the
tire size is changed
• When rotating the tires
• After registering the ID codes
P. 4 2 3